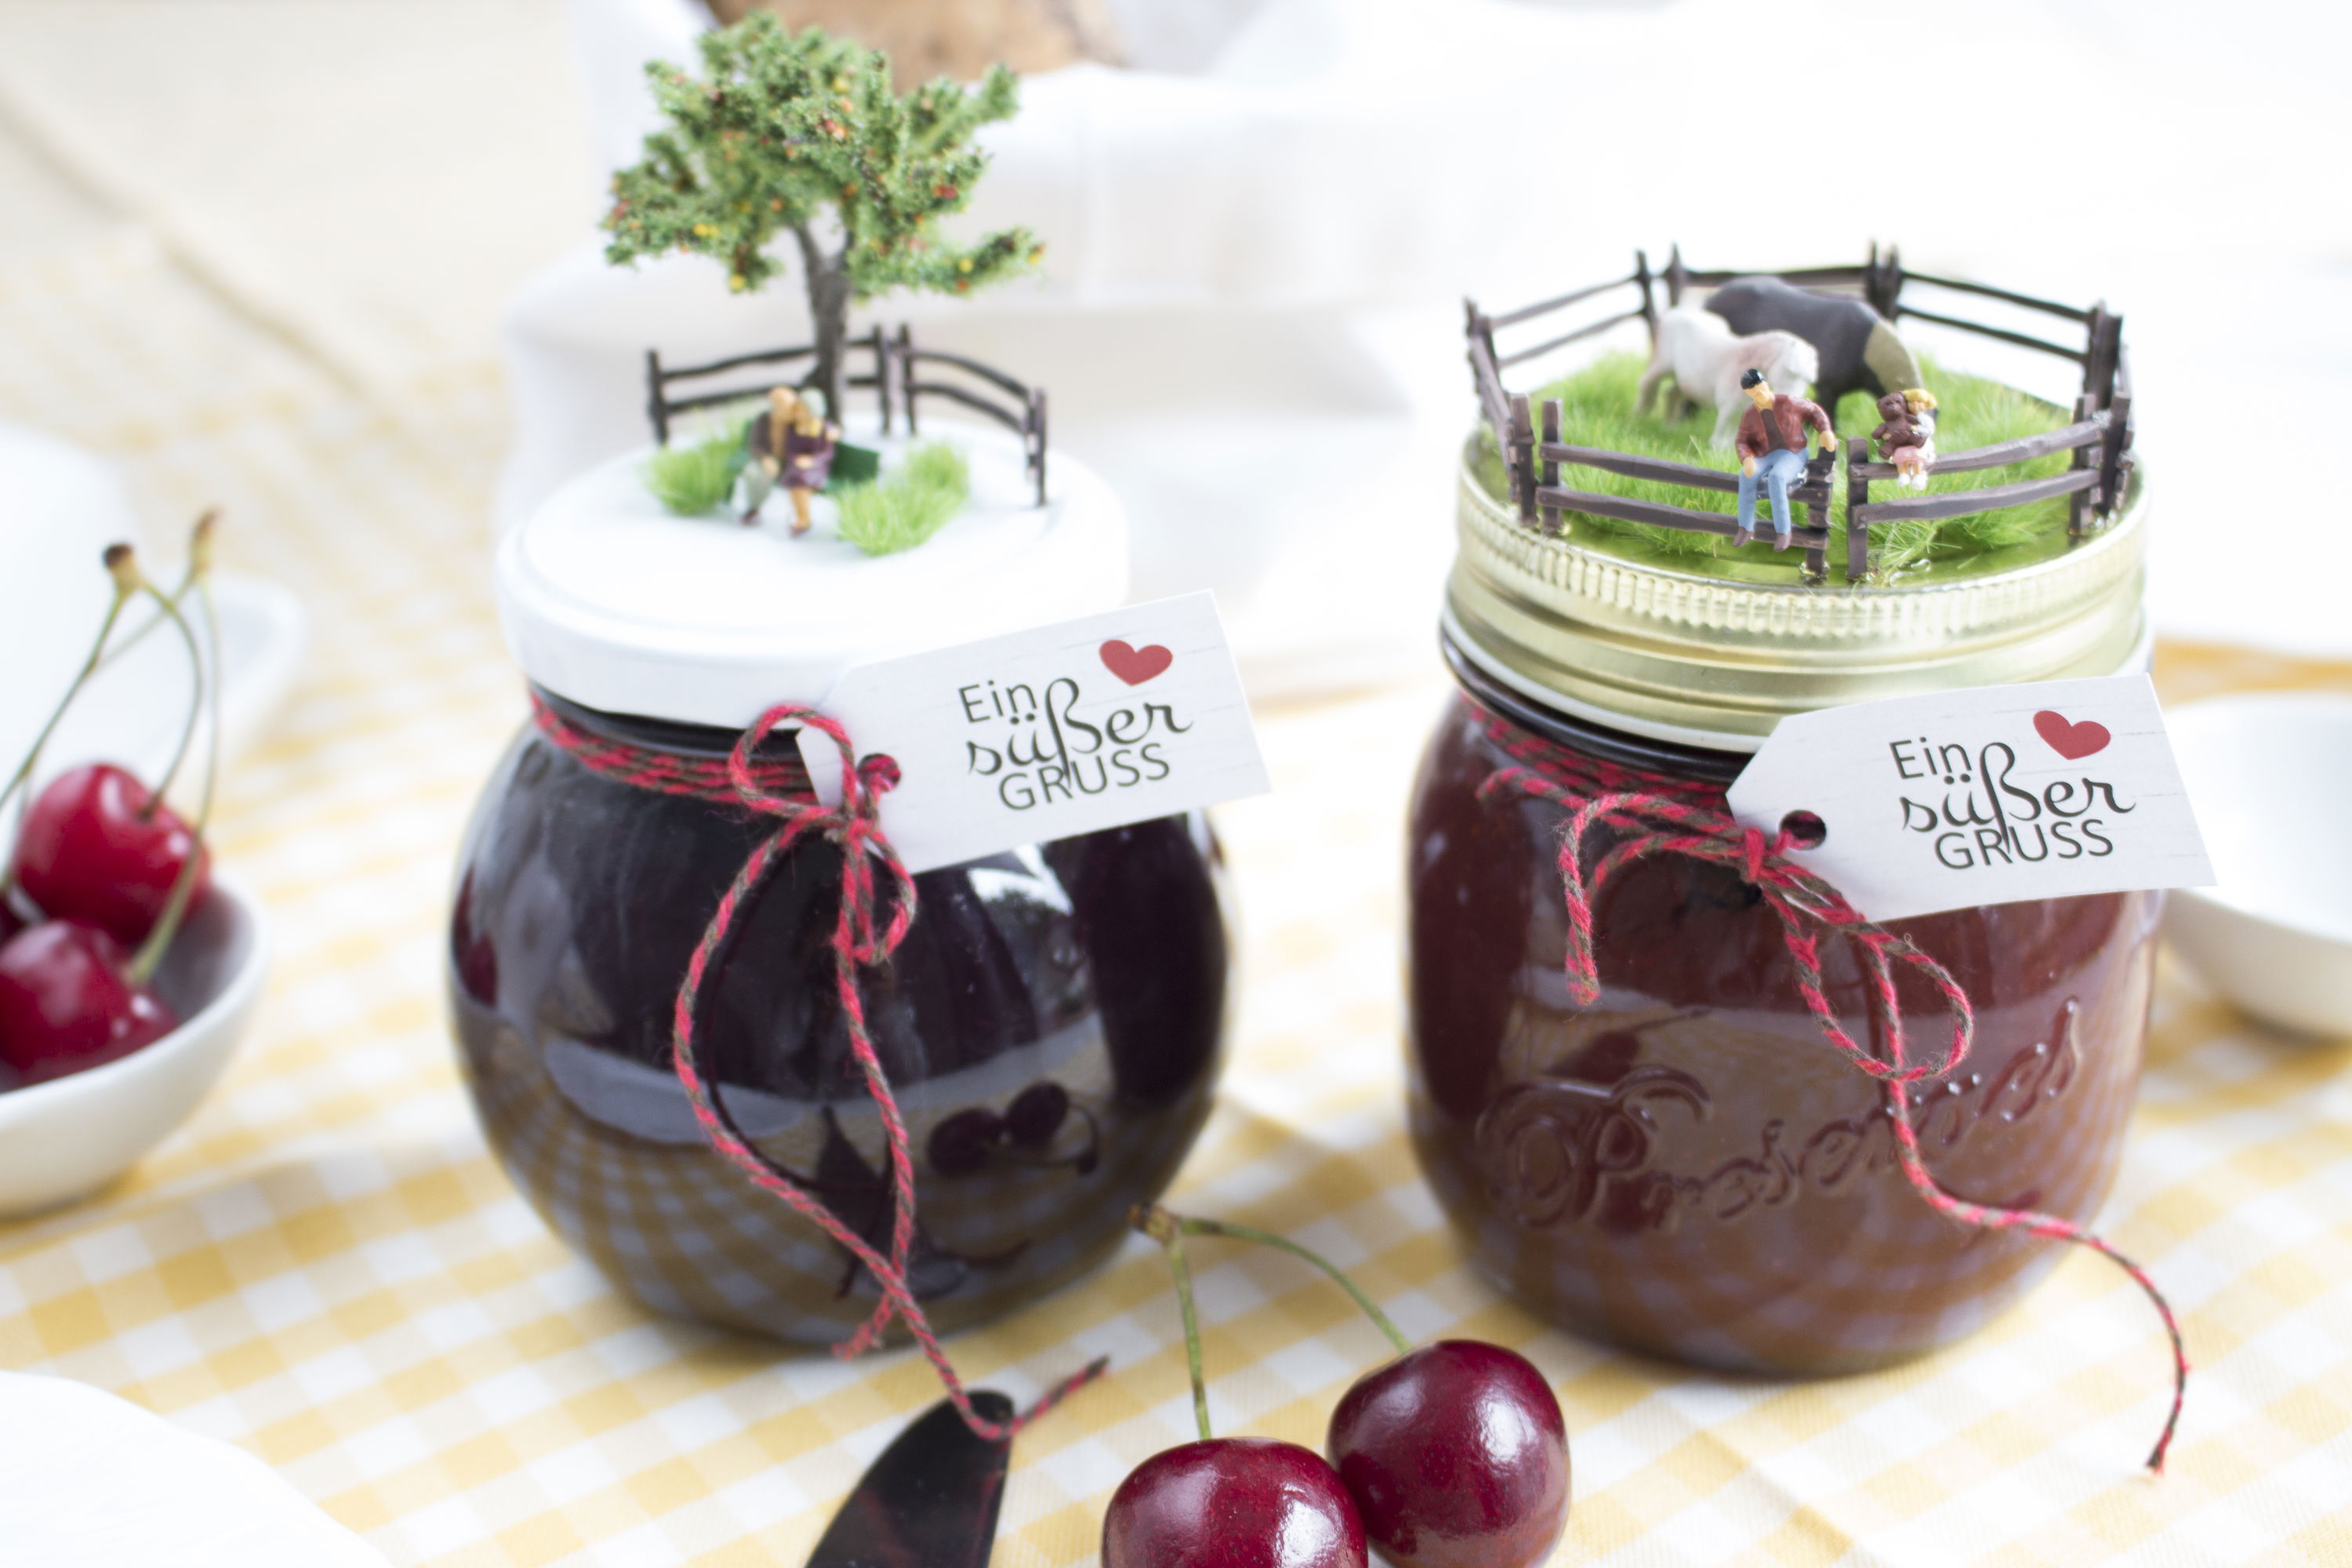
A sweet greeting for the loved ones!
Summer souvenir: Jam jars lovingly decorated as a gift! Summertime is jam-making time. Although Steffi and Moni usually belong to the less domesticated type of women, once a year they get into the habit of cooking and go to the cooker to boil down jams. And since the two of them are also into handicrafts, they also decorate the jam jars beautifully. They will now tell you how they do it!
Step-by-step instruction
Instructions from Moni & Steffi
Easy
35 min.
You need that
jam (you will find a recipe below)a beautiful jar of jam
glue gun
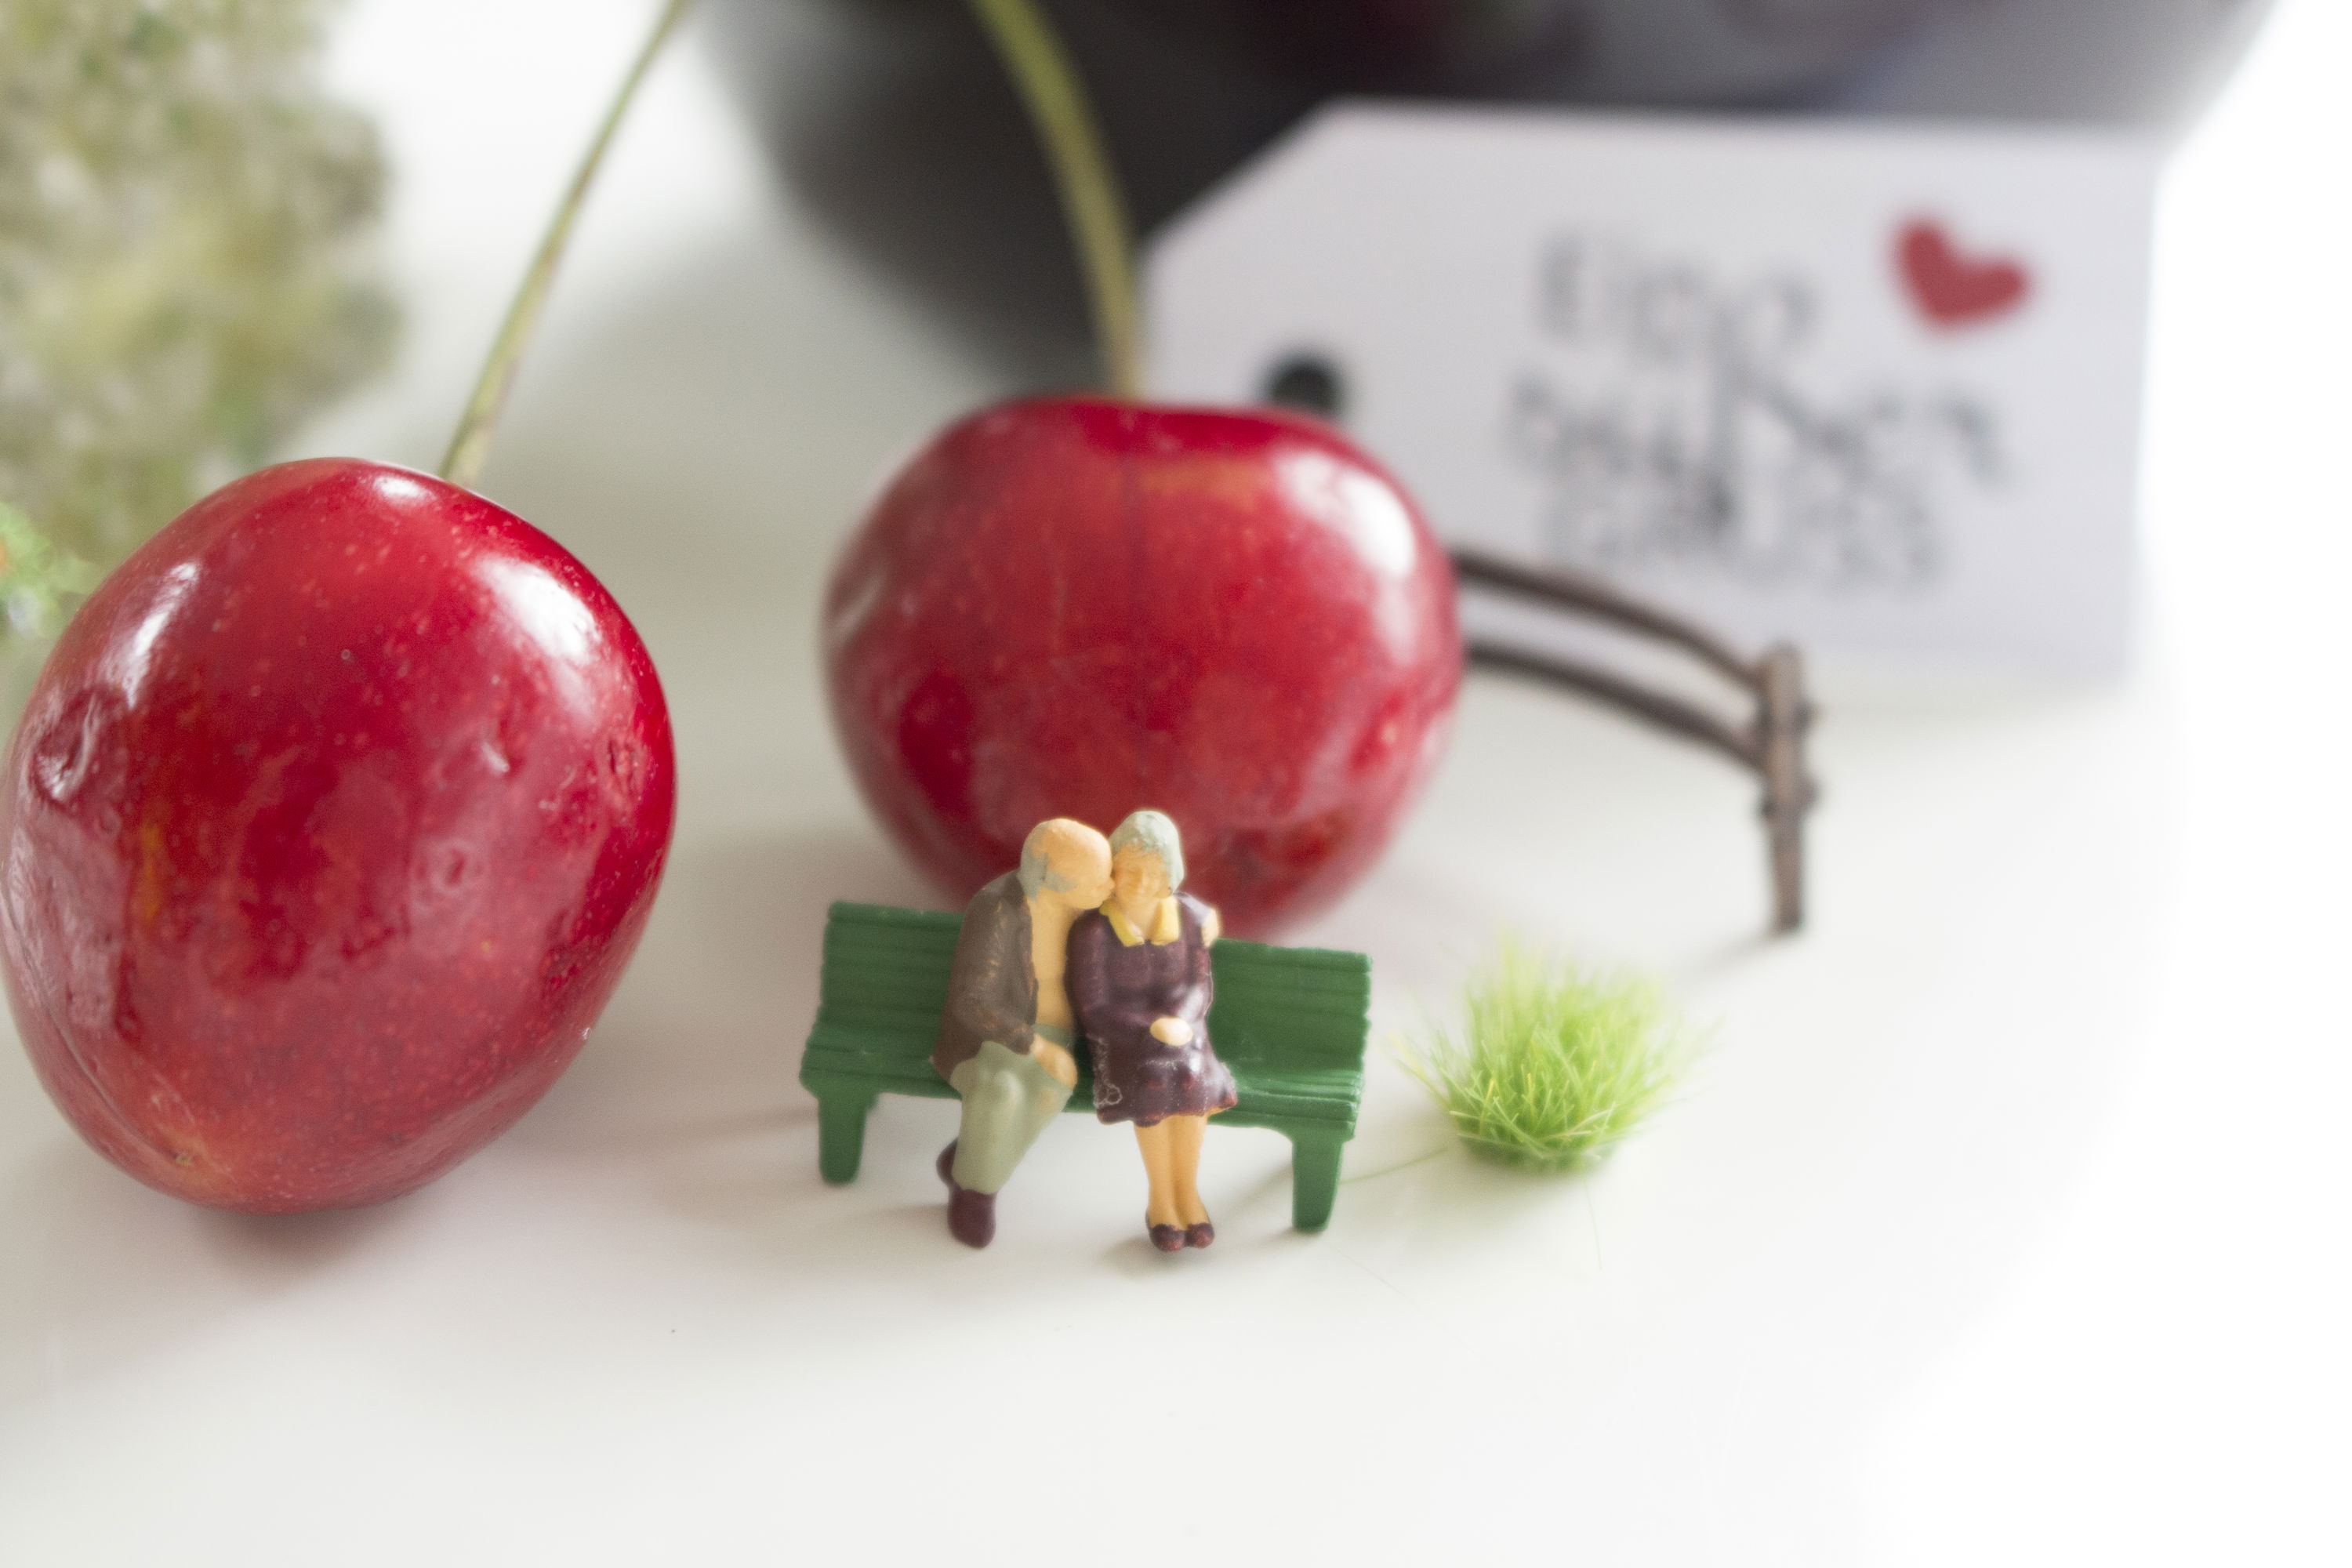
mini-figures (e.g. lovers)
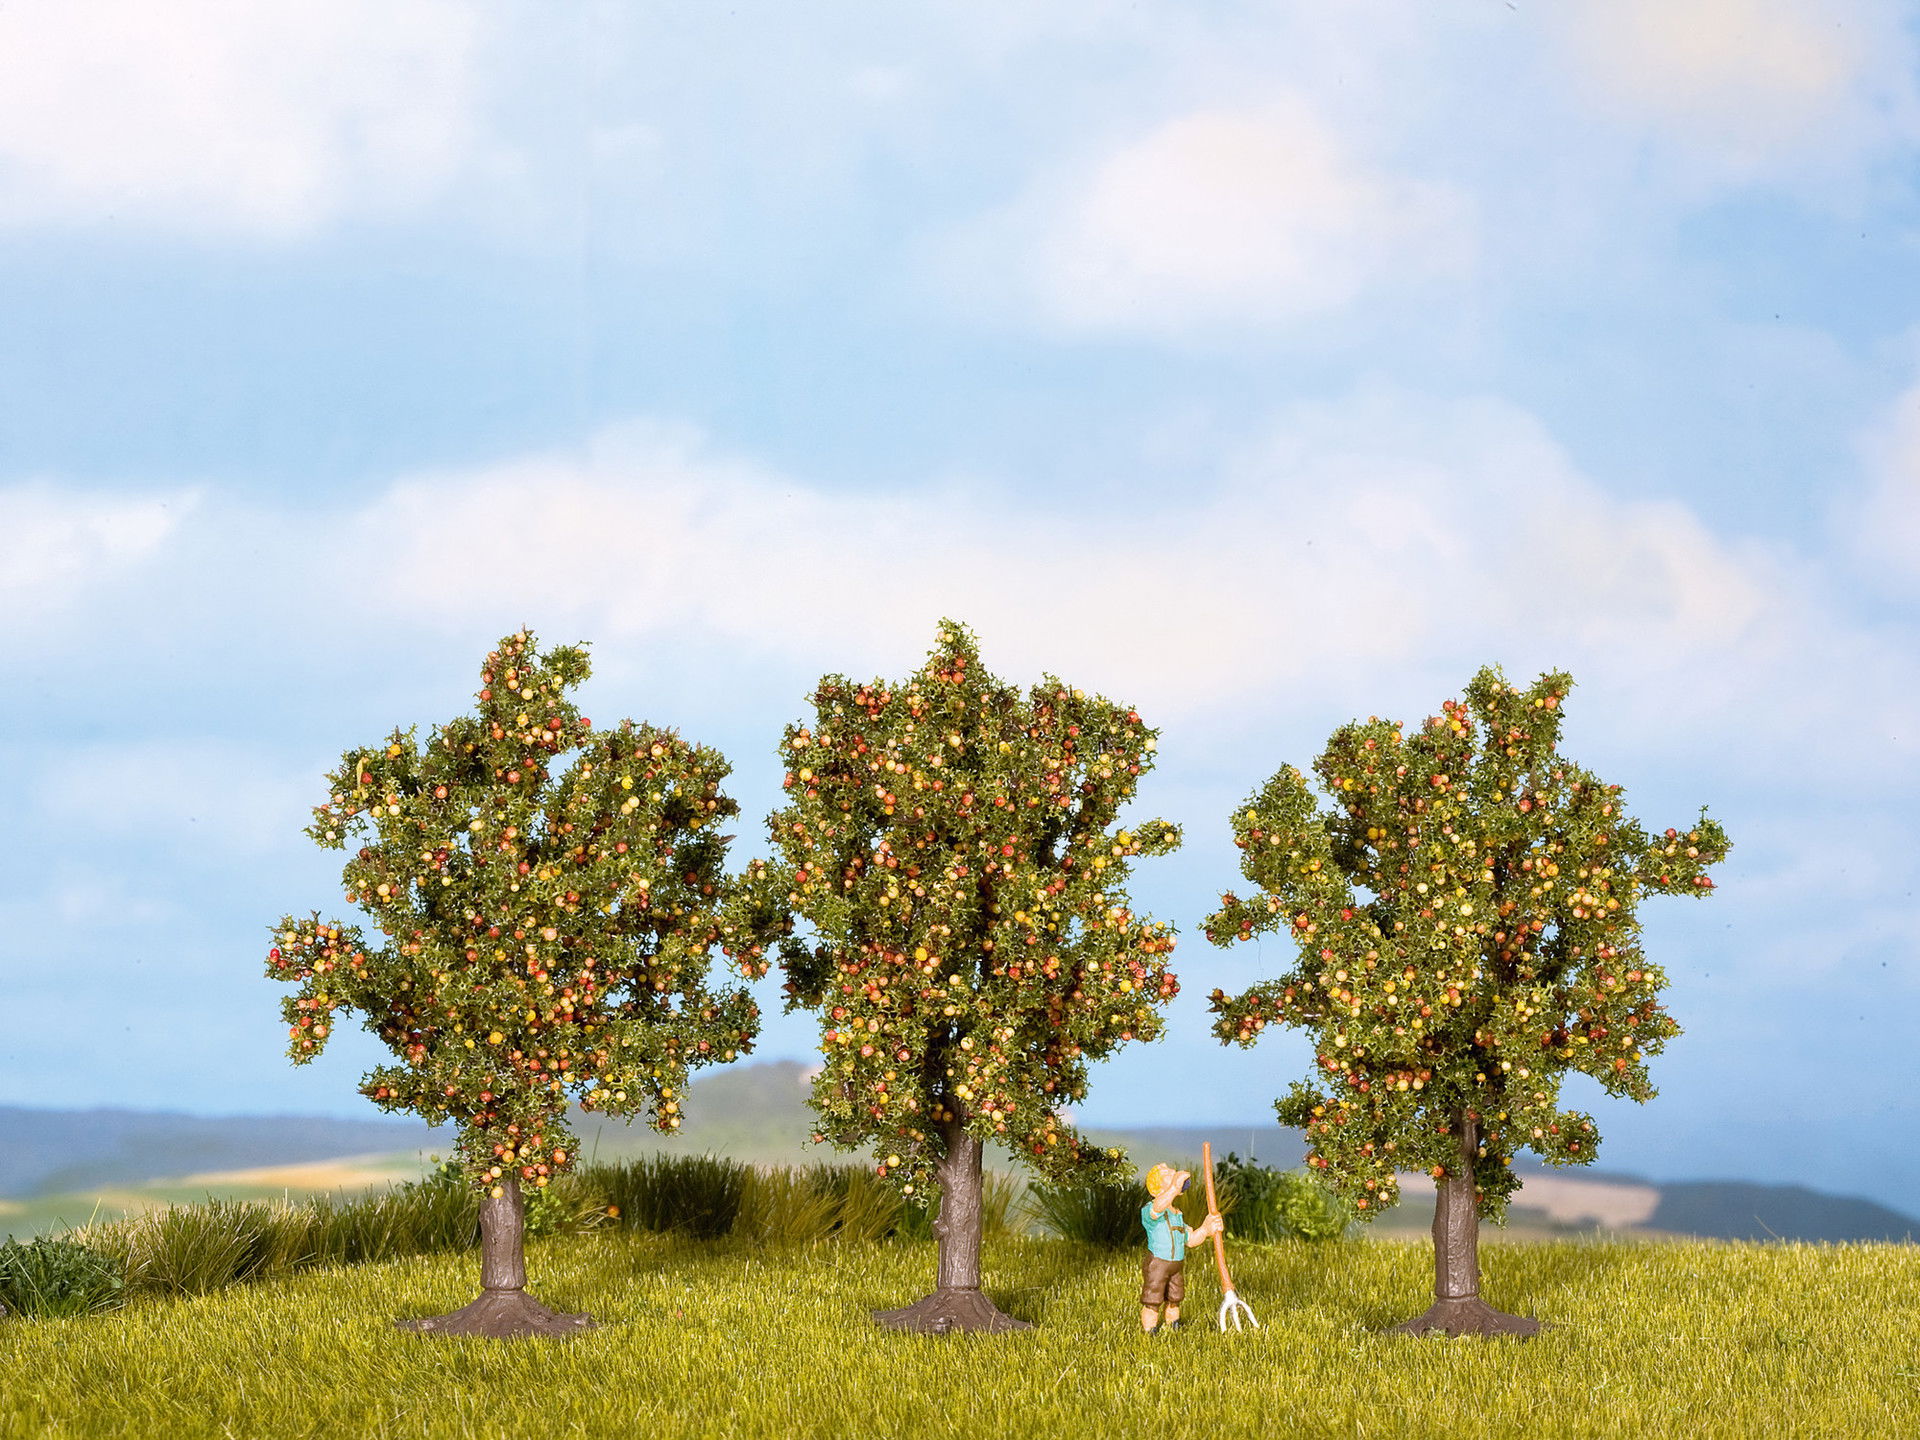
model trees (e.g. apple trees)
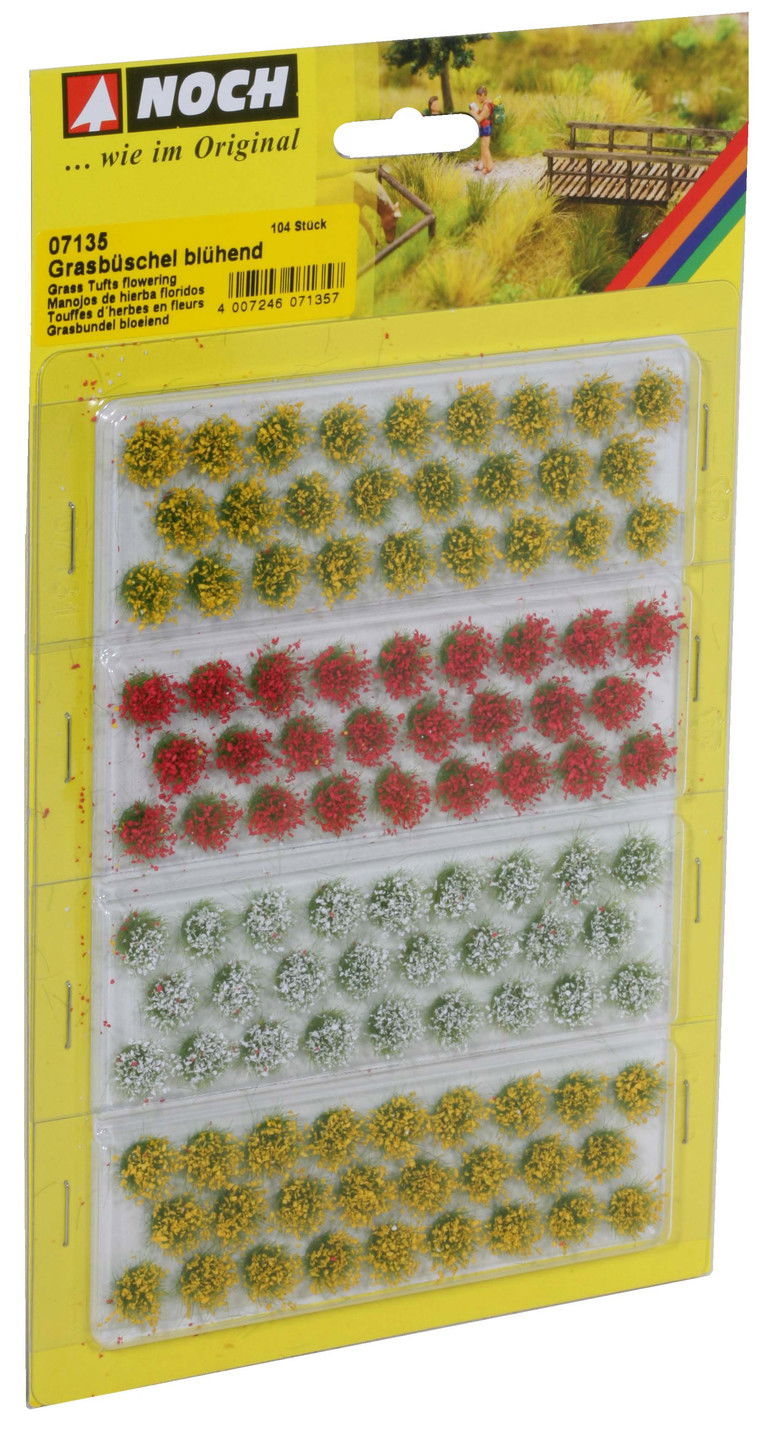
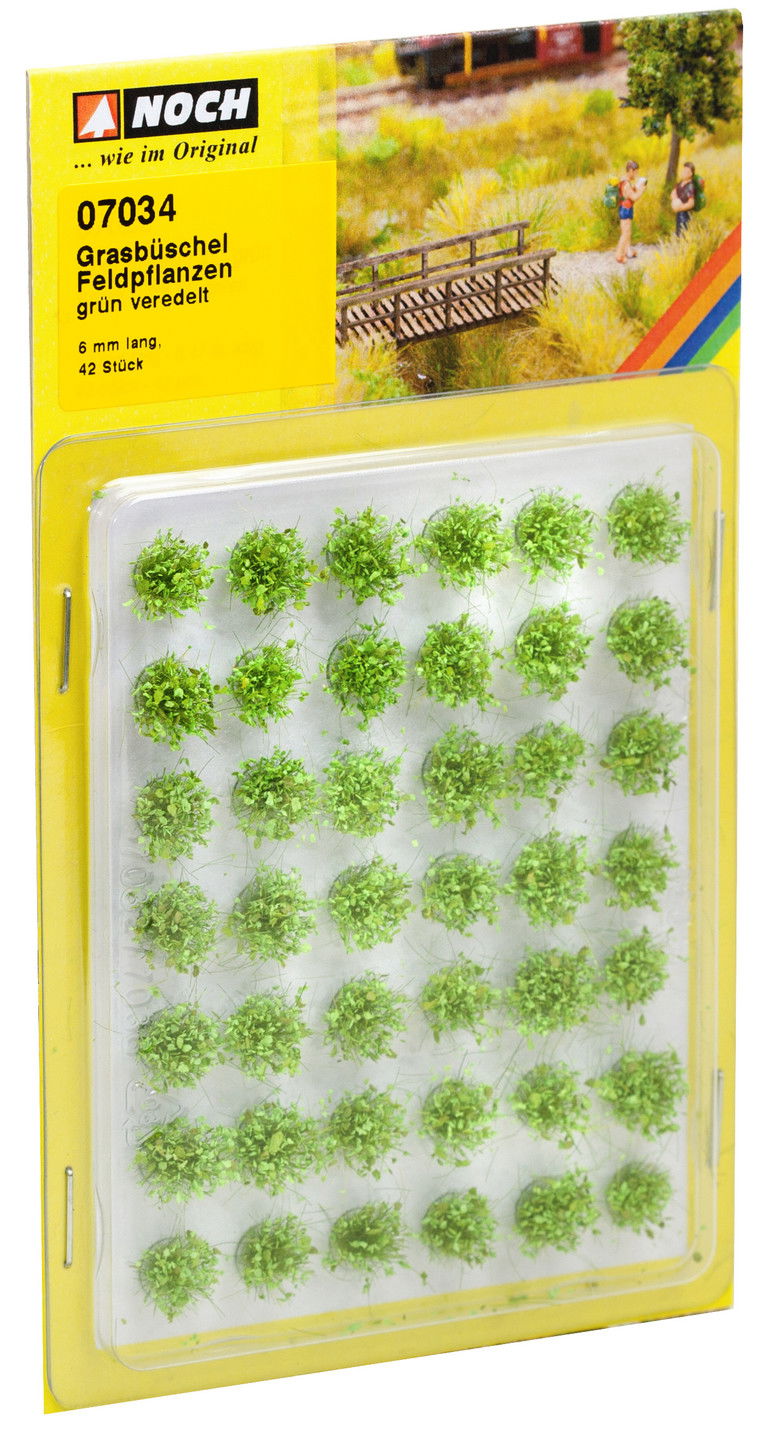
Grass tufts and accessories
Pendant
glue gun
mini-figures (e.g. lovers)
model trees (e.g. apple trees)
Grass tufts and accessories
Pendant
1) A great souvenir for every summer party!
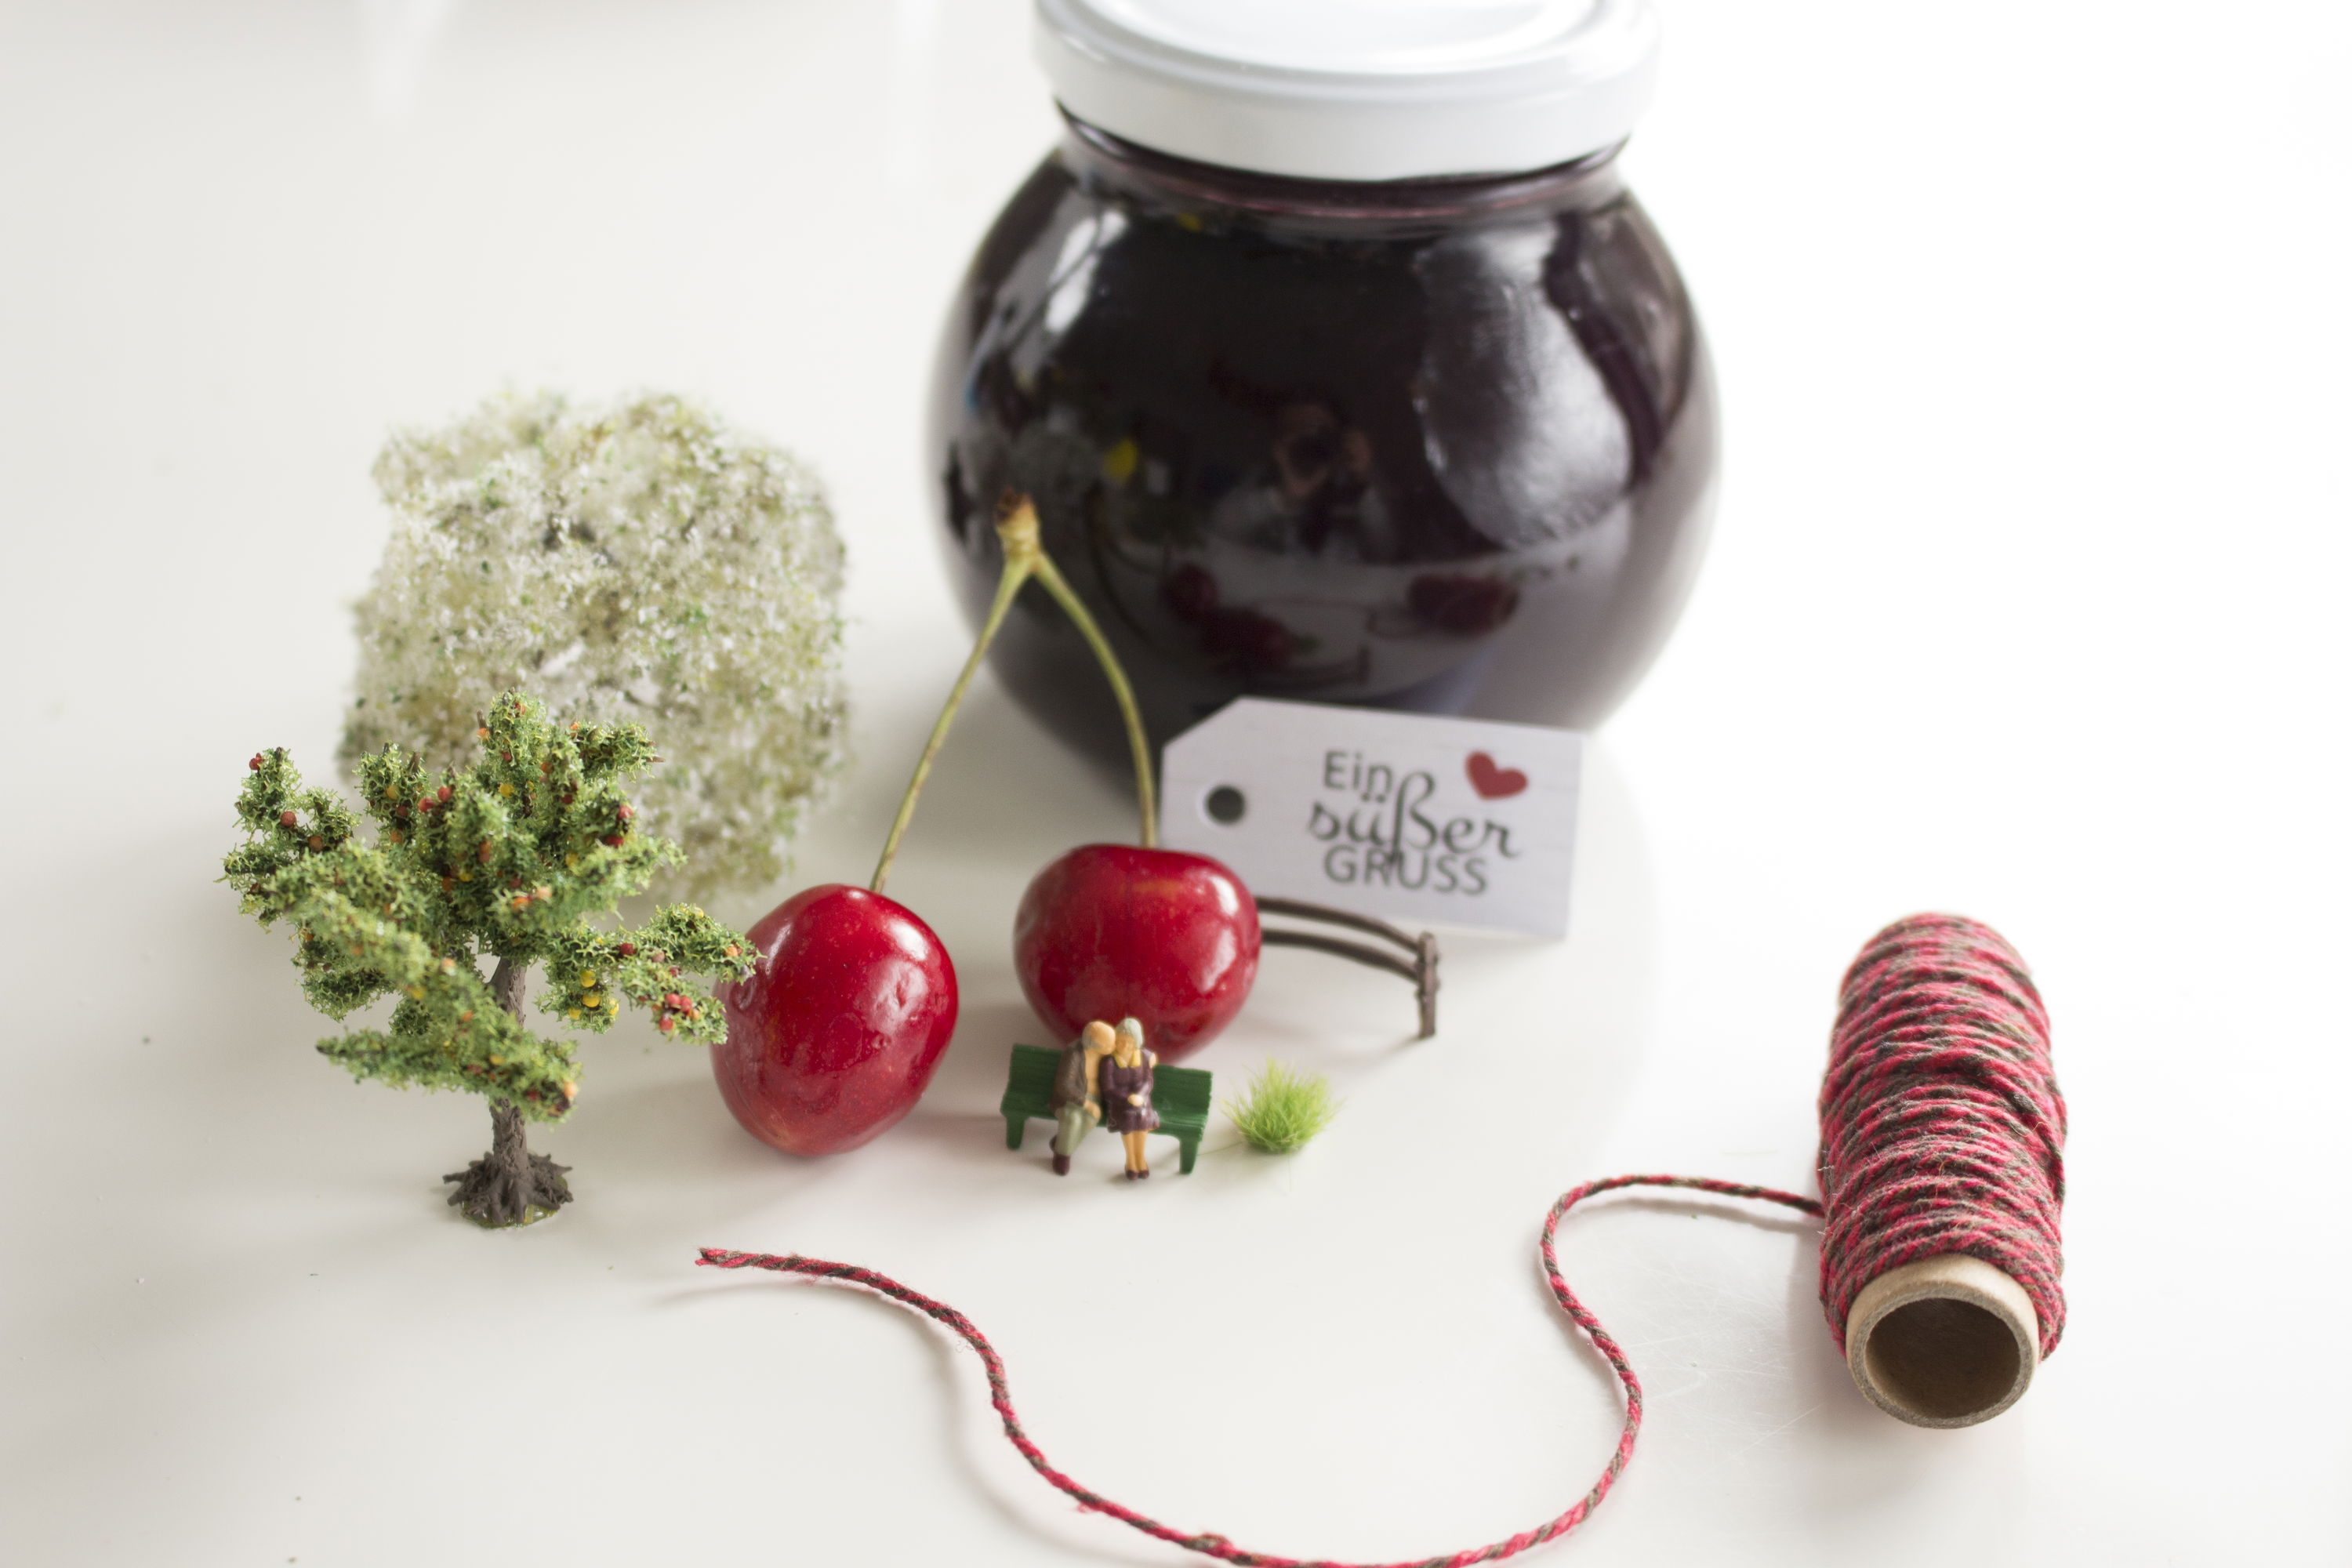
Apart from the fact that homemade jam tastes much better than store-bought and you know what's in it, it's a wonderful way to give a small, handmade gift to a loved one. Turning a normal jam jar into a very special present is very easy thanks to the mini figures from NOCH kreativ: in the online shop you will find lots of figures and landscaping accessories that go wonderfully with summer and fruit. We have designed two different jars for you.
02
2) First things first: boil down the jam!
First you need to fill the jars with jam and let them cool. If you've never made jam before, we've got the easiest recipe EVER for you to make your own super-easy jam.
Recipe for fruit jam:
1 kg fruit (e.g. cherries or strawberries)
500 g jam sugar 2:1
5 empty and boiled jam jars with screw lids
Blender
500 g jam sugar 2:1
5 empty and boiled jam jars with screw lids
Blender
First remove the stones and stems from the fruits and then cut them into small pieces. Then put everything into a saucepan. Puree the raw fruit to the desired degree and then add the preserving sugar. Now boil the whole thing for 3 to 4 minutes until bubbling, stirring as you go. The boiled jars are (hopefully) ready and can now be filled directly with the jam mixture. Do not take too much time, but fill them quickly. Then screw the lids on tightly and immediately turn the jars upside down for about 5 minutes. After that, you can turn them upside down again, the lid now sucks itself tightly onto the jar. You can now let the jars cool down a bit before decorating the lid.
3) And now for the "decorative part": A pretty lid is created!
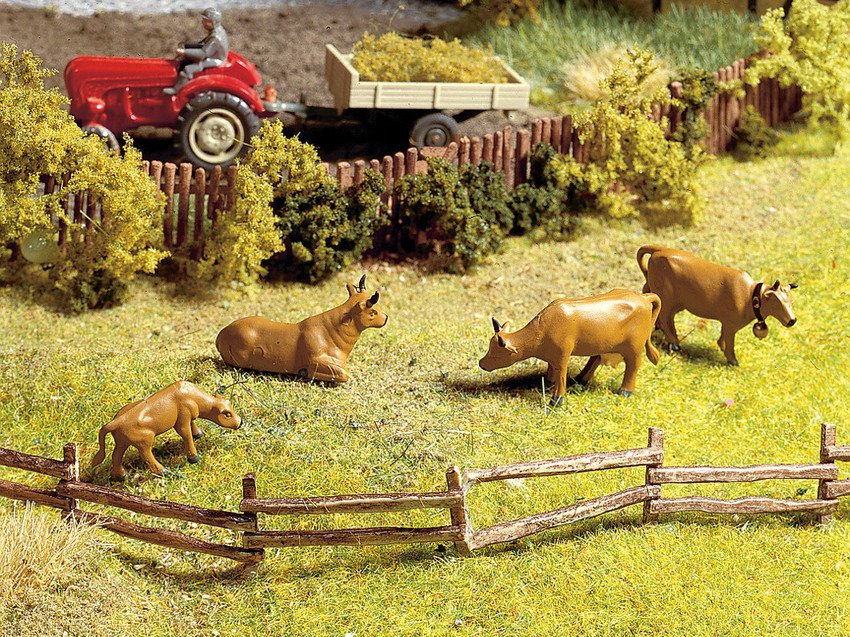
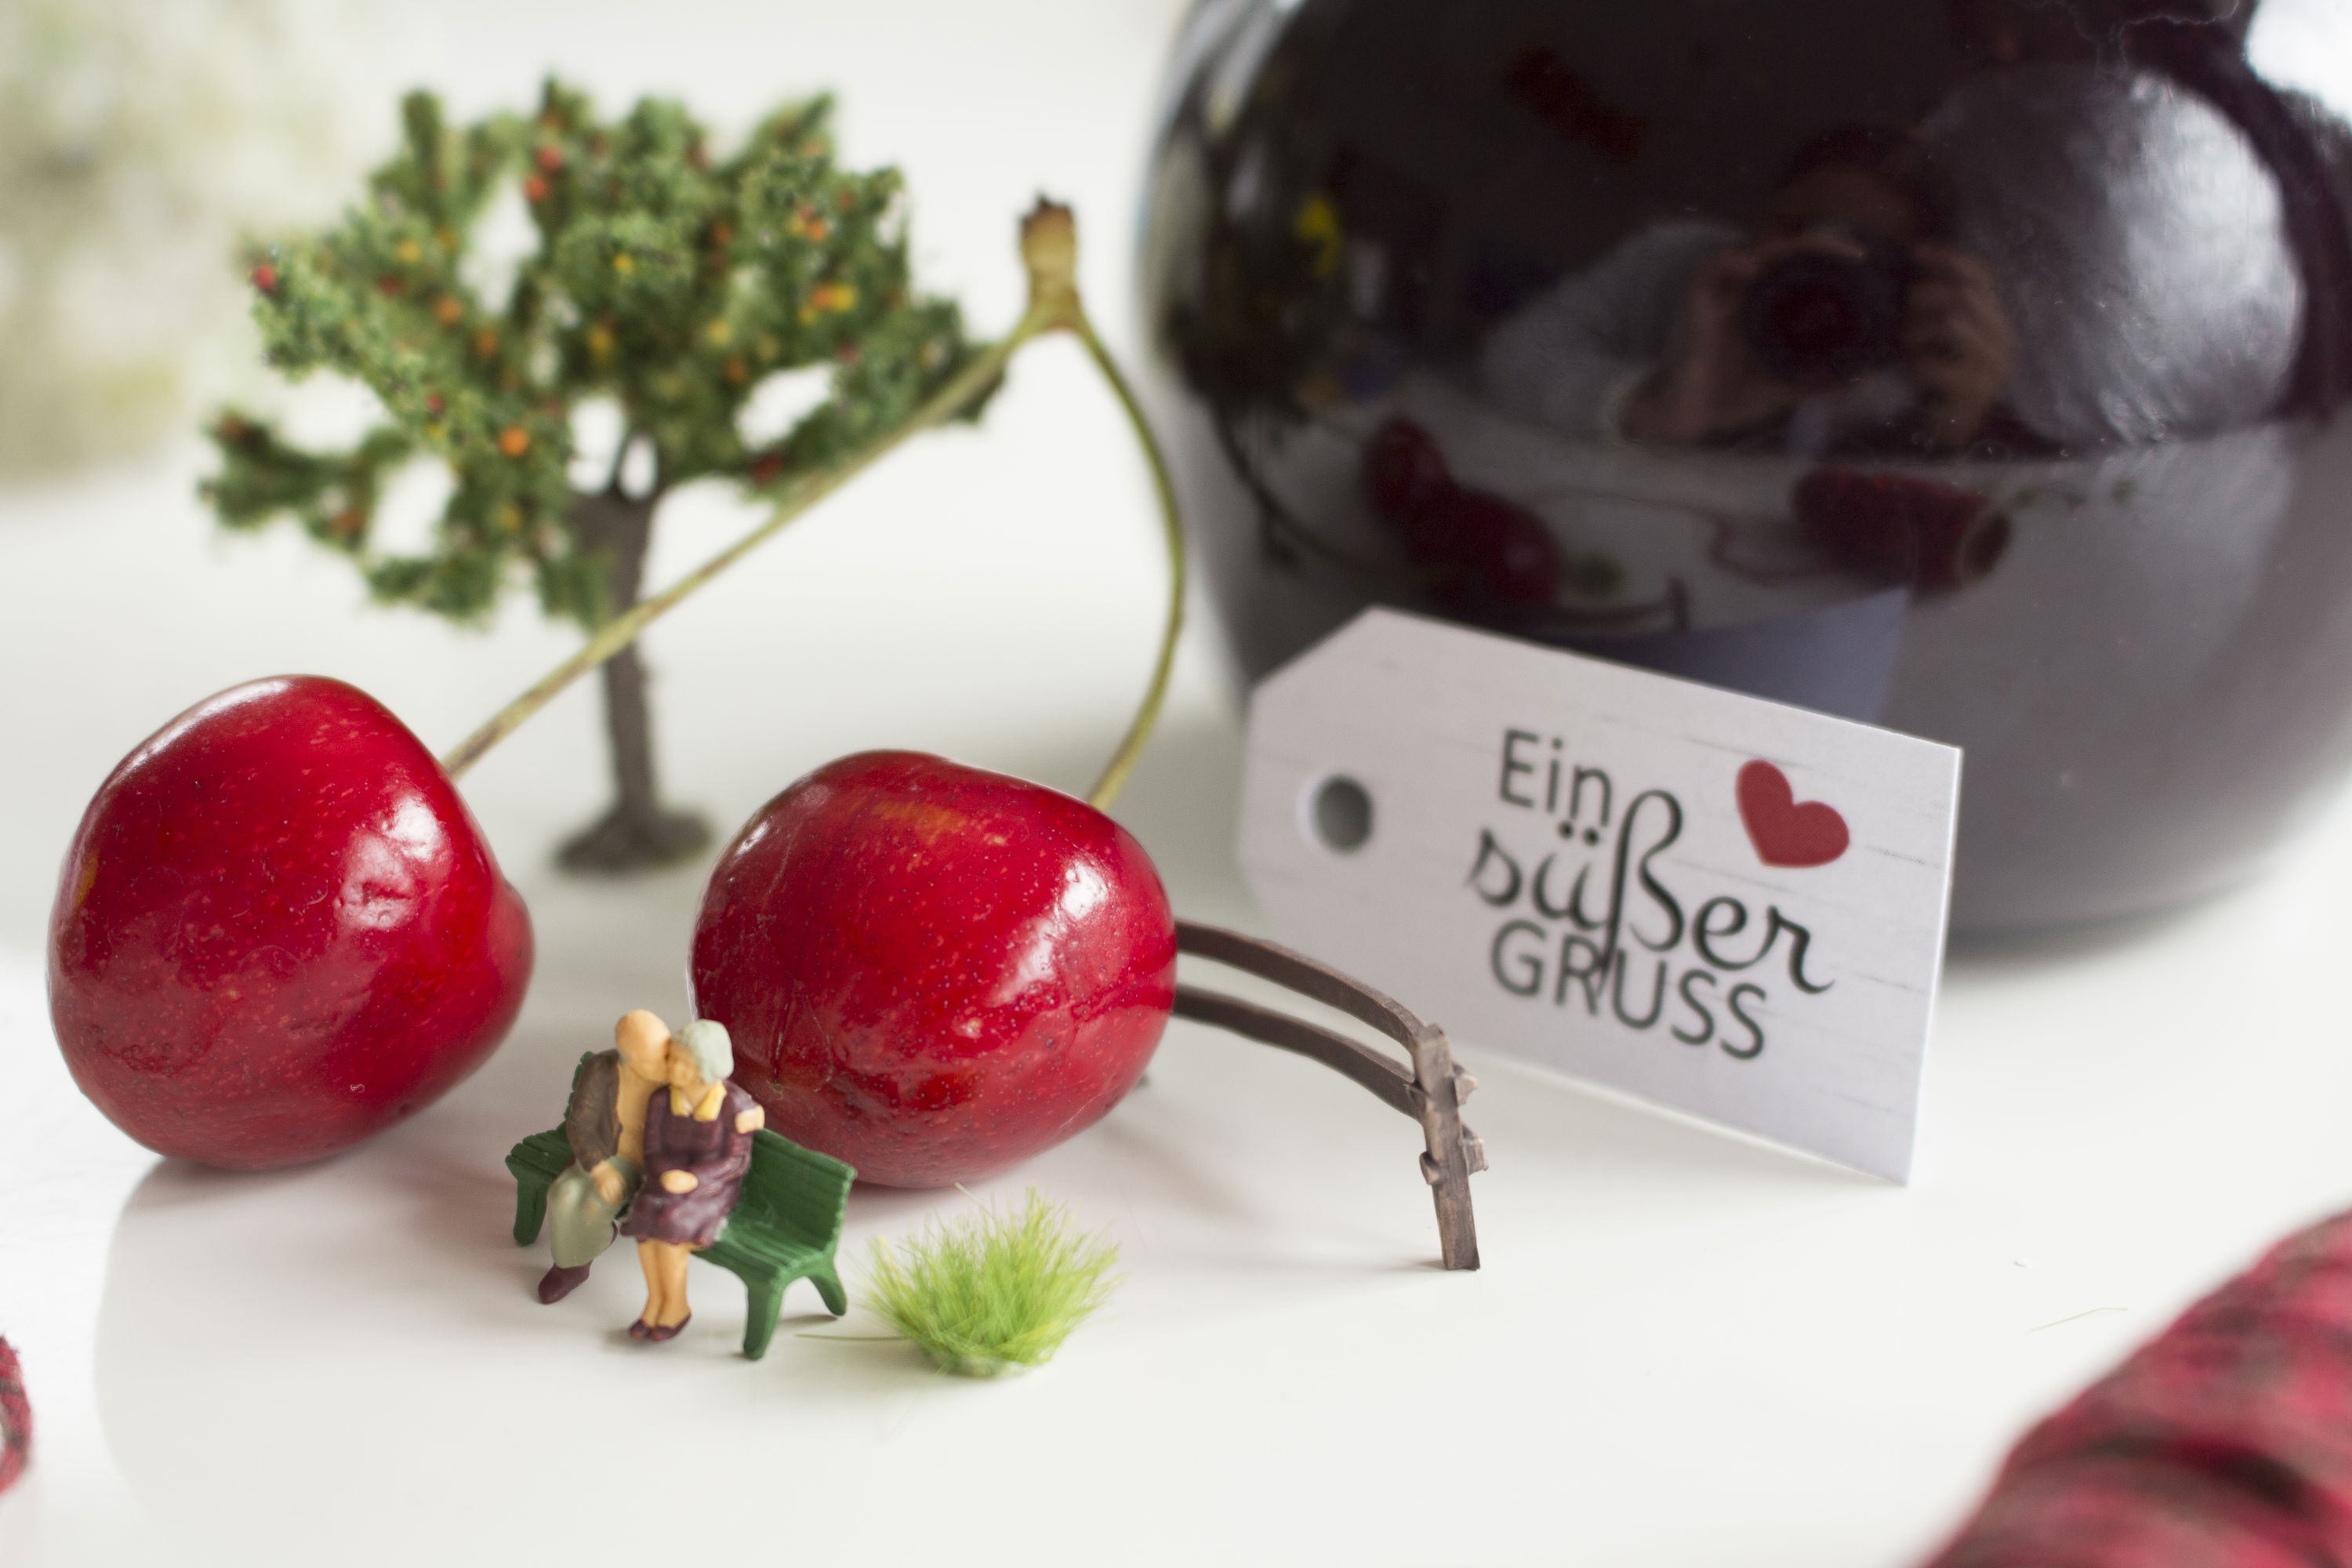
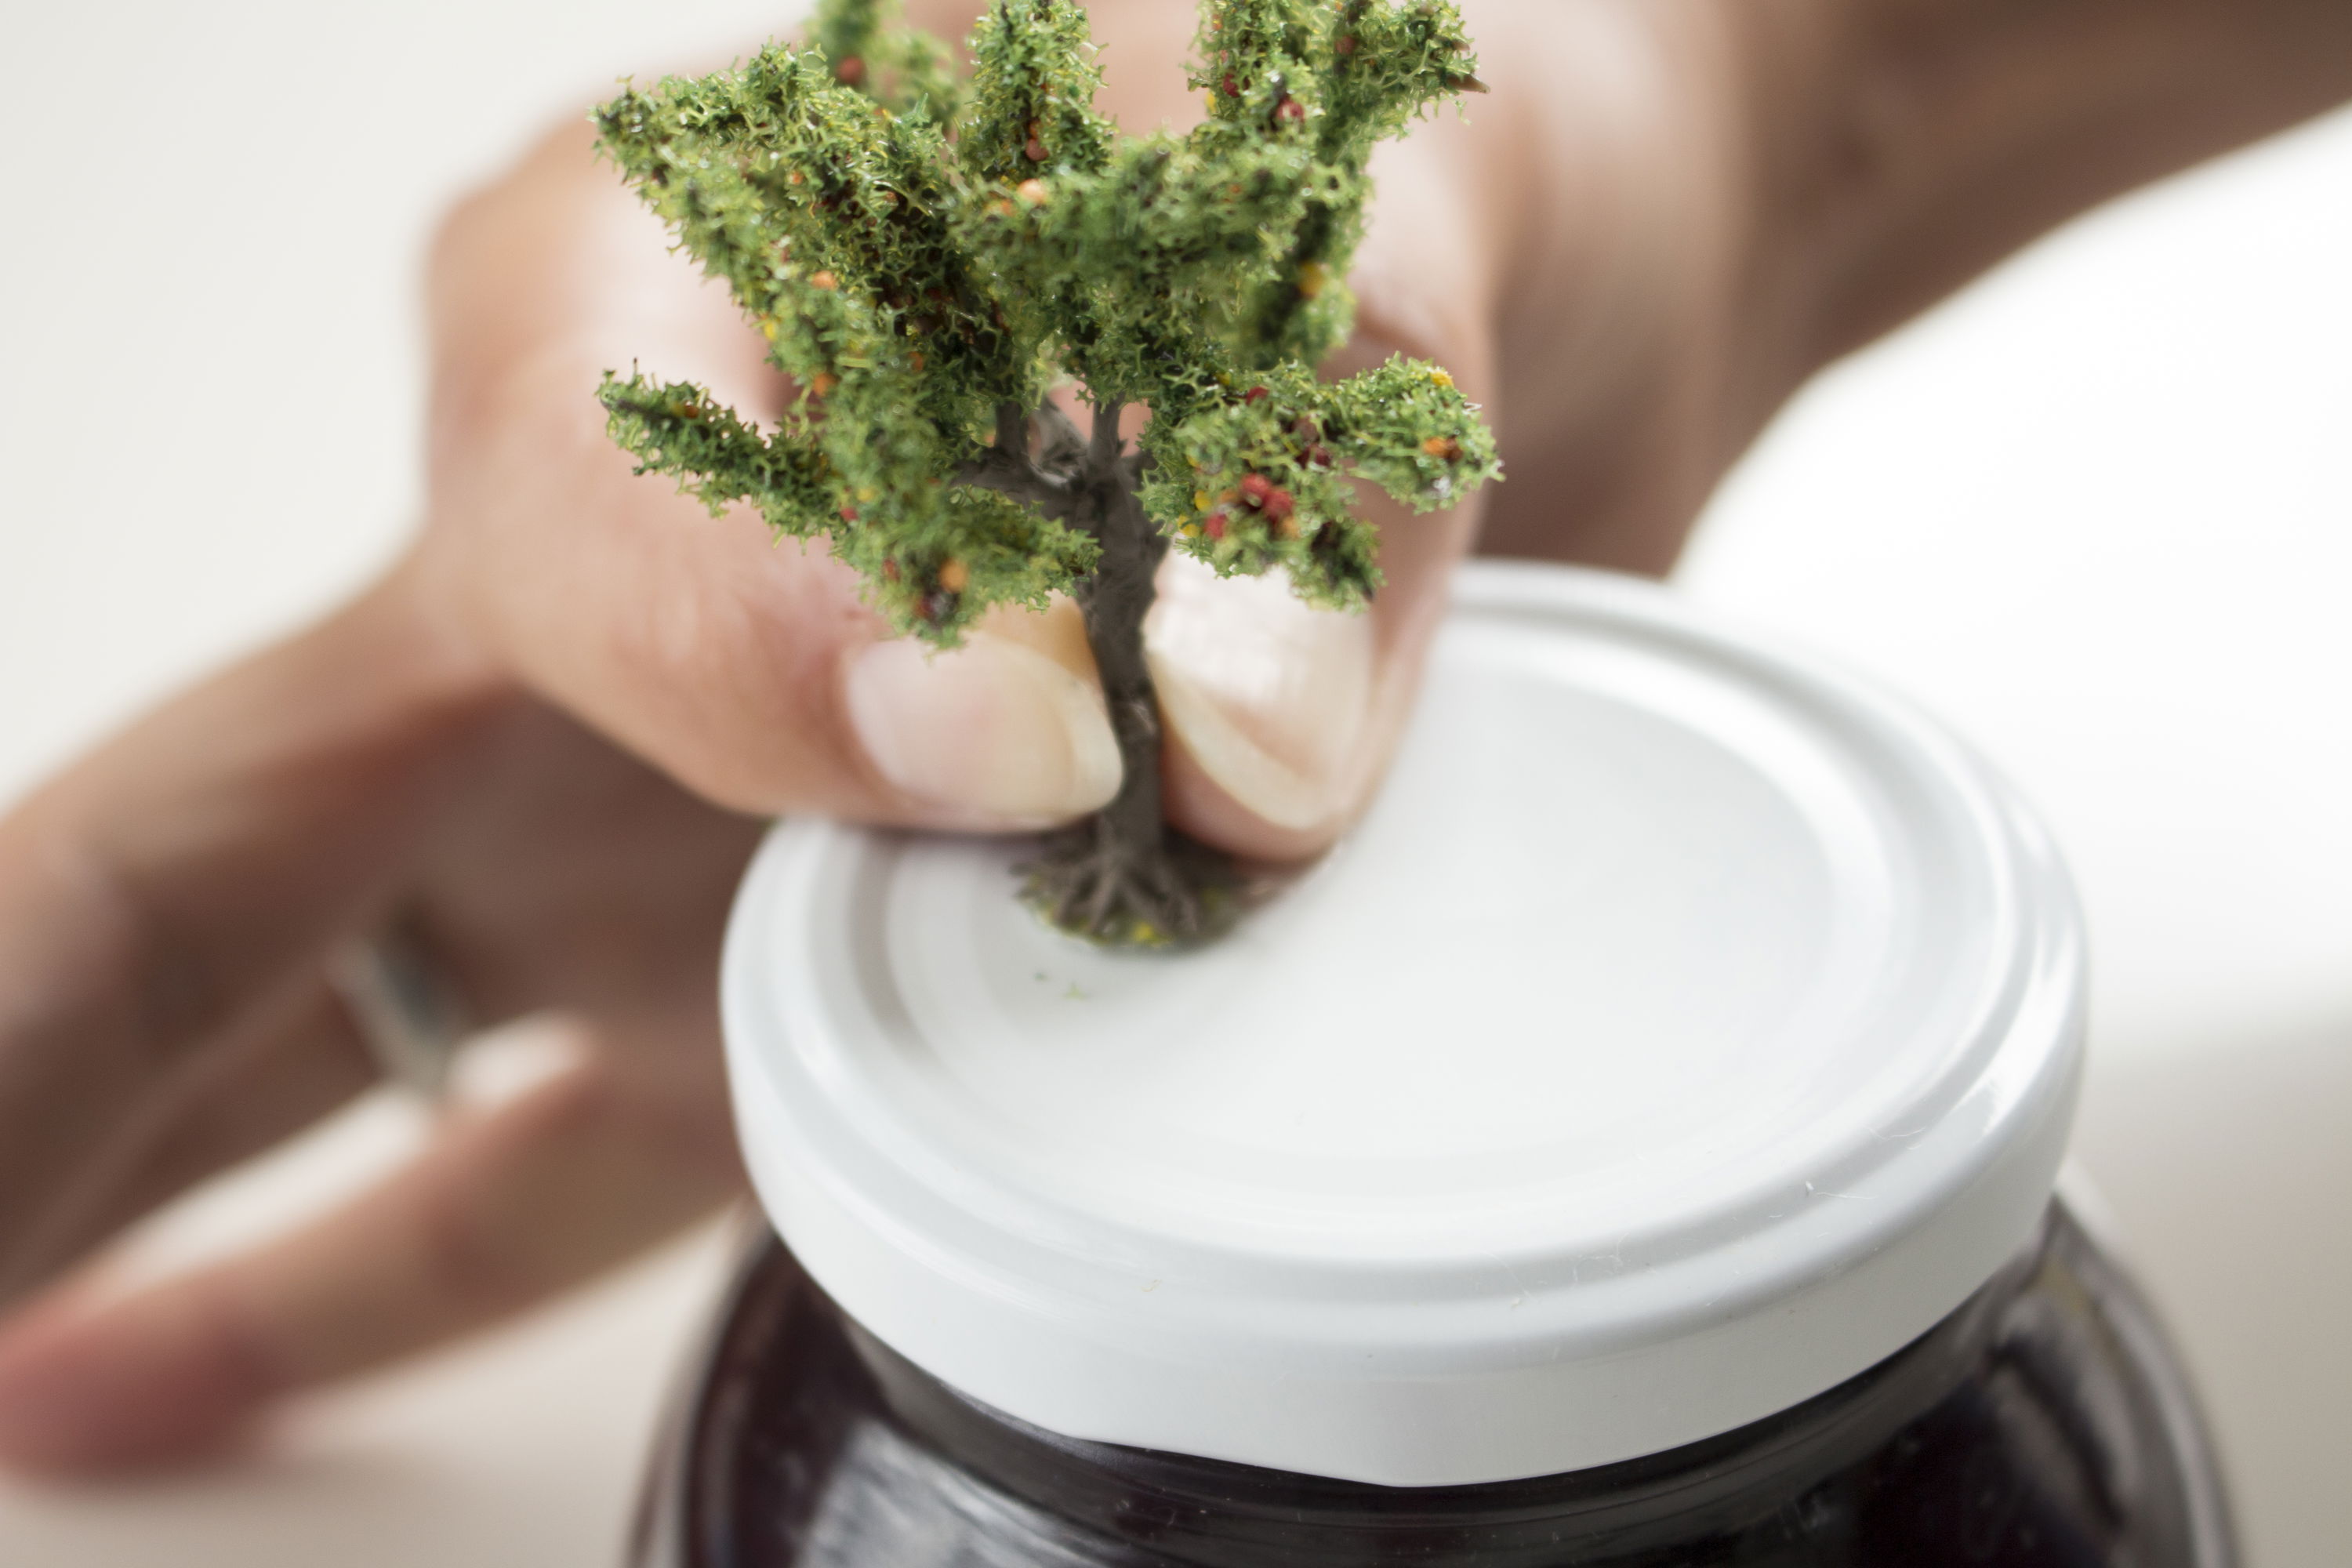
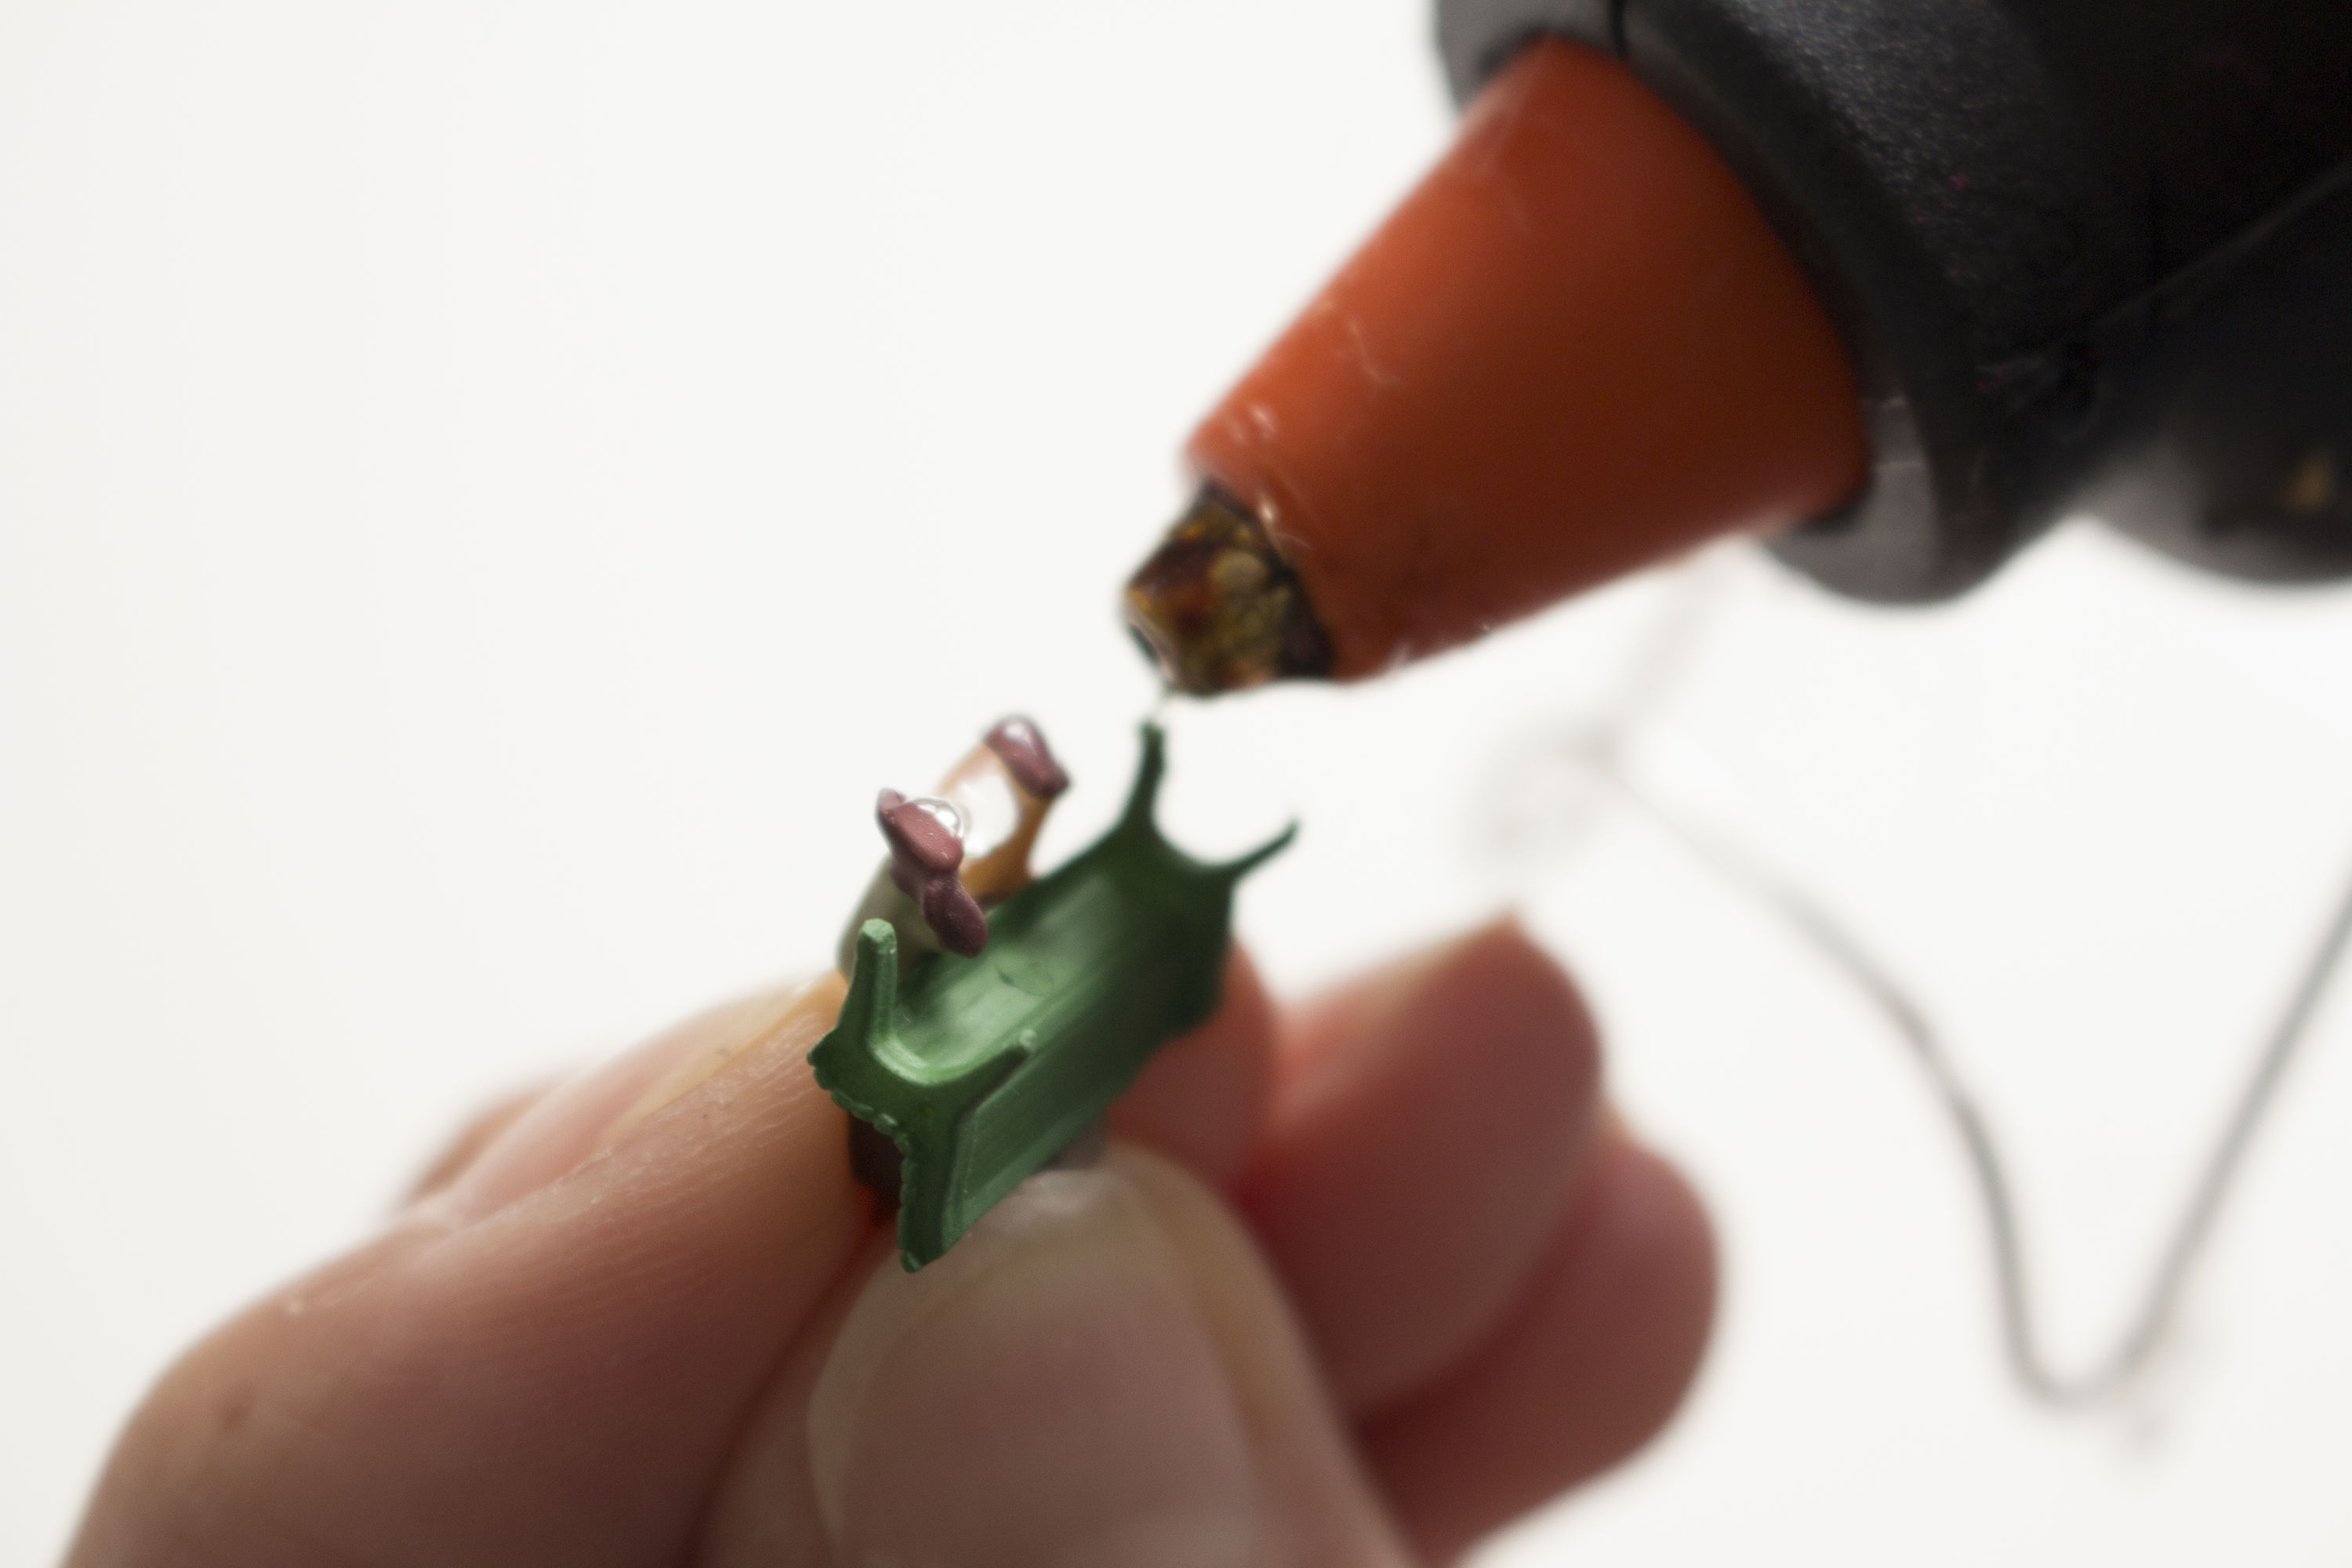
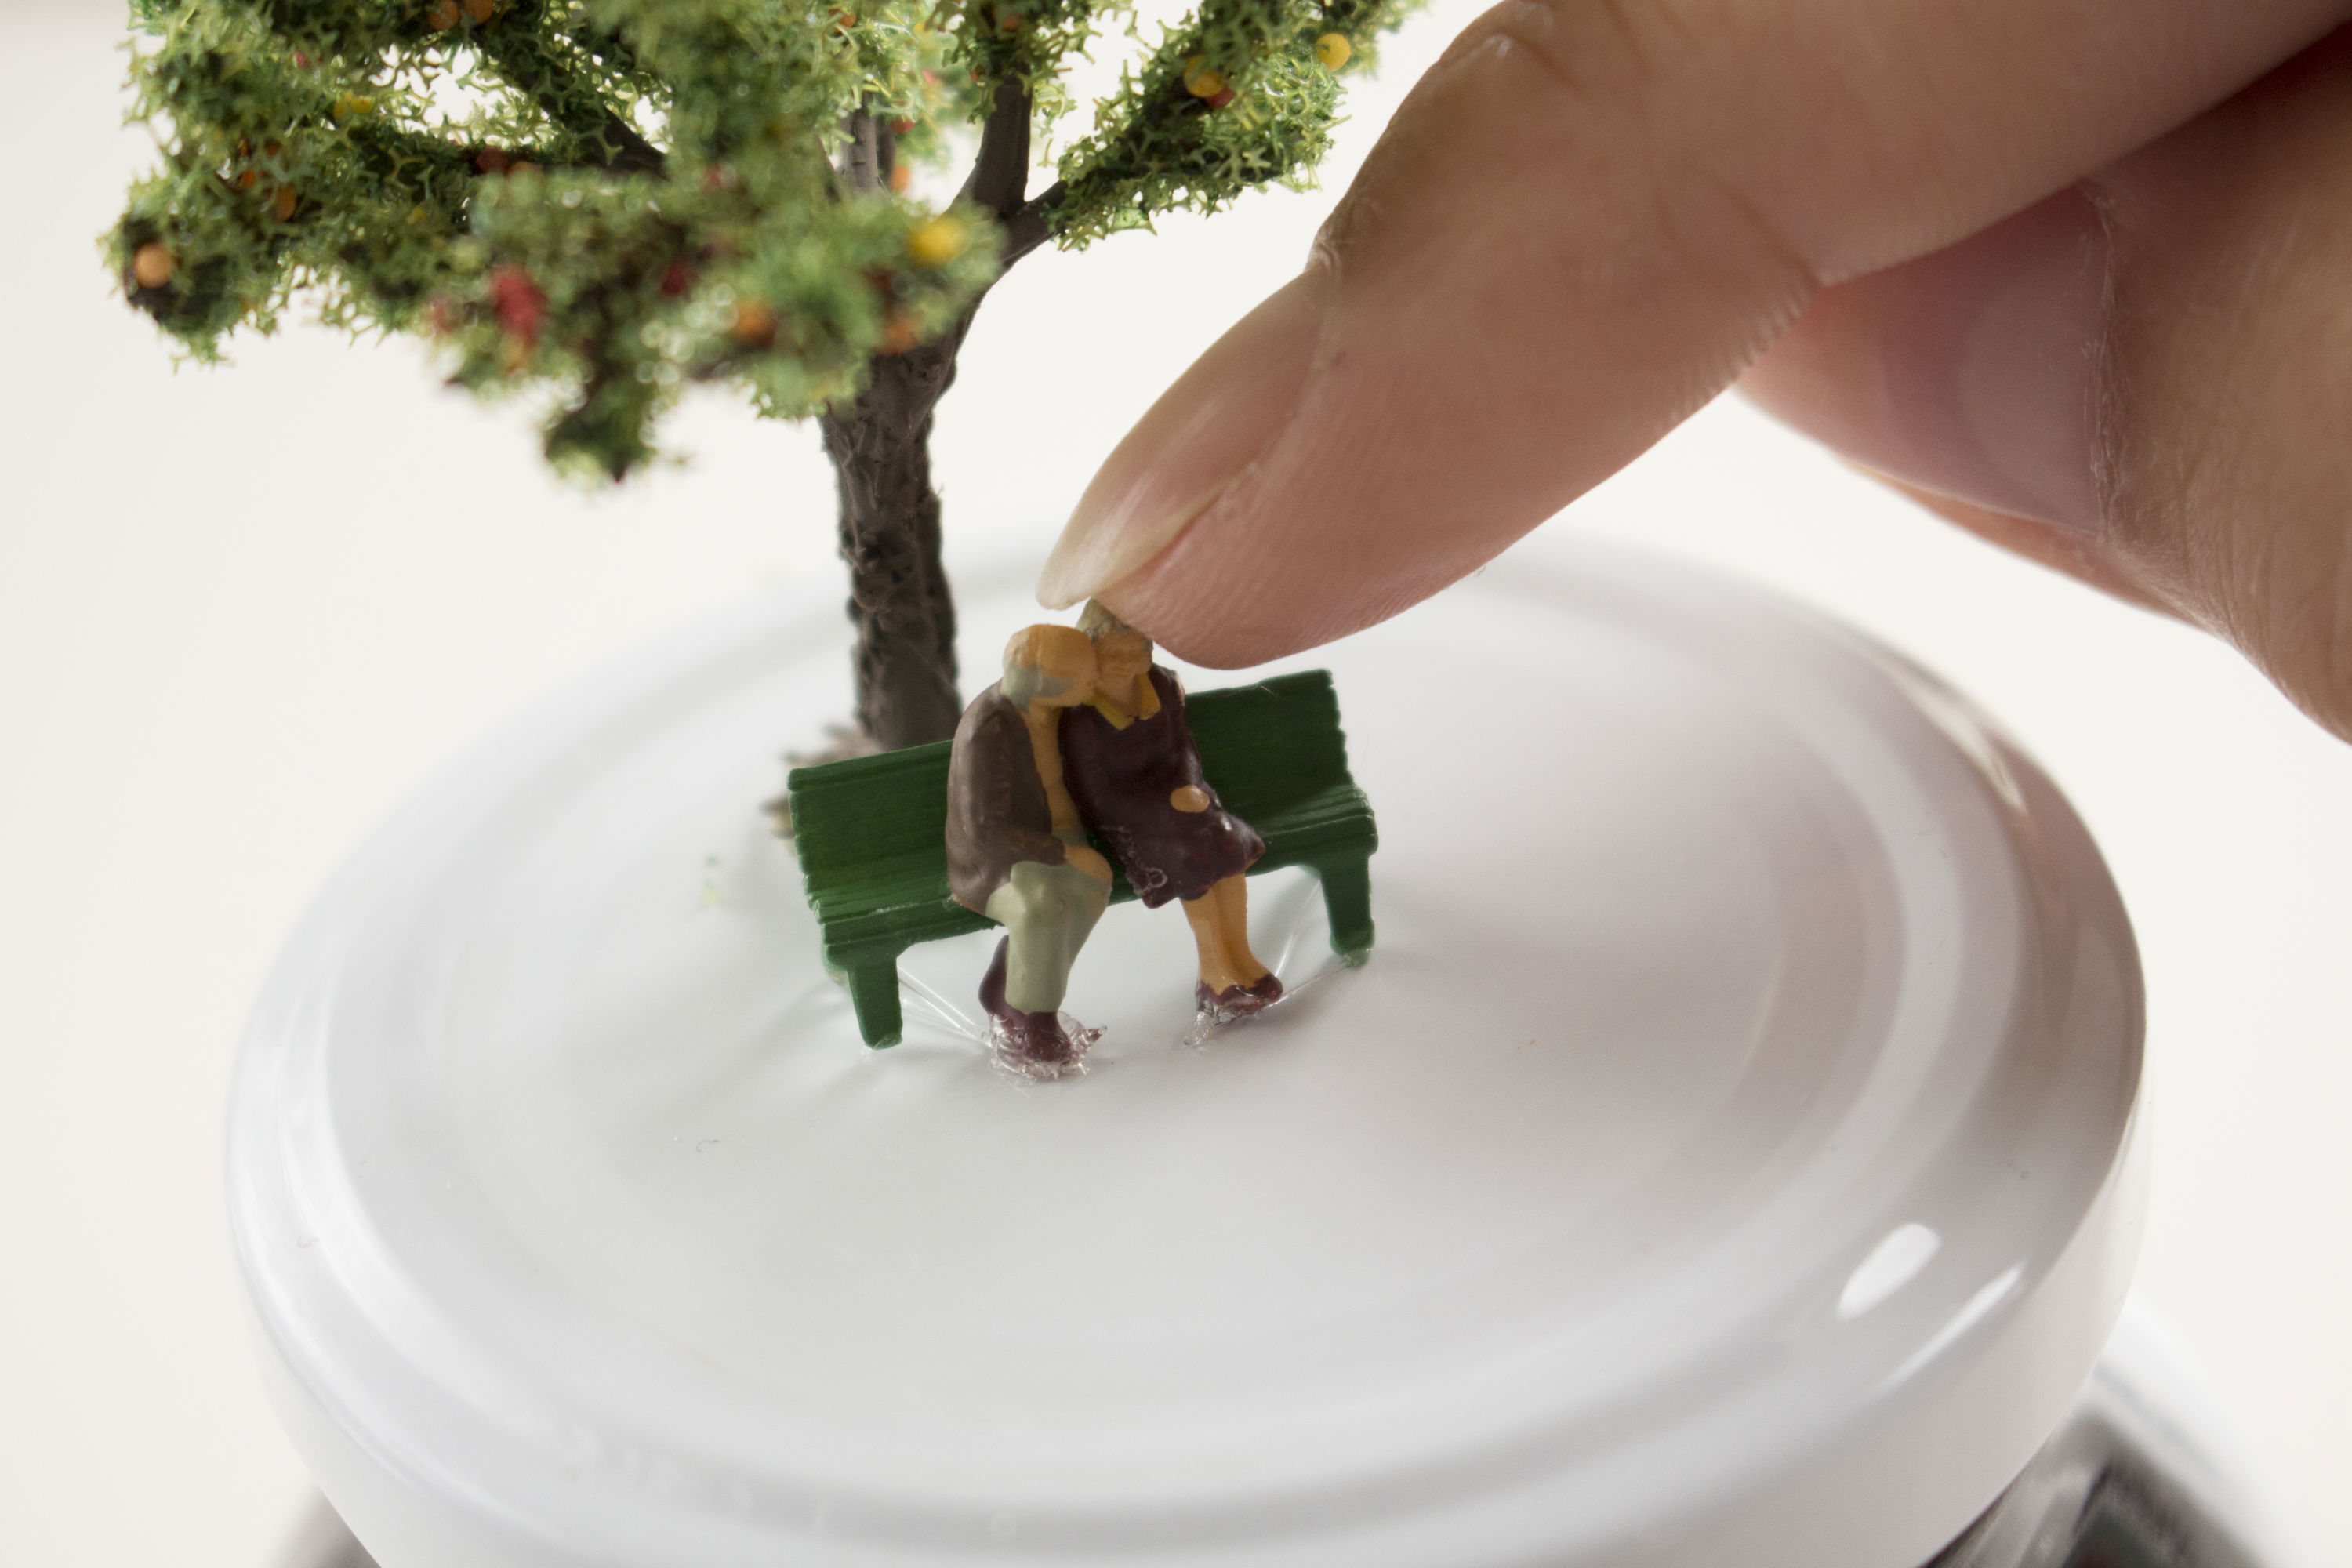
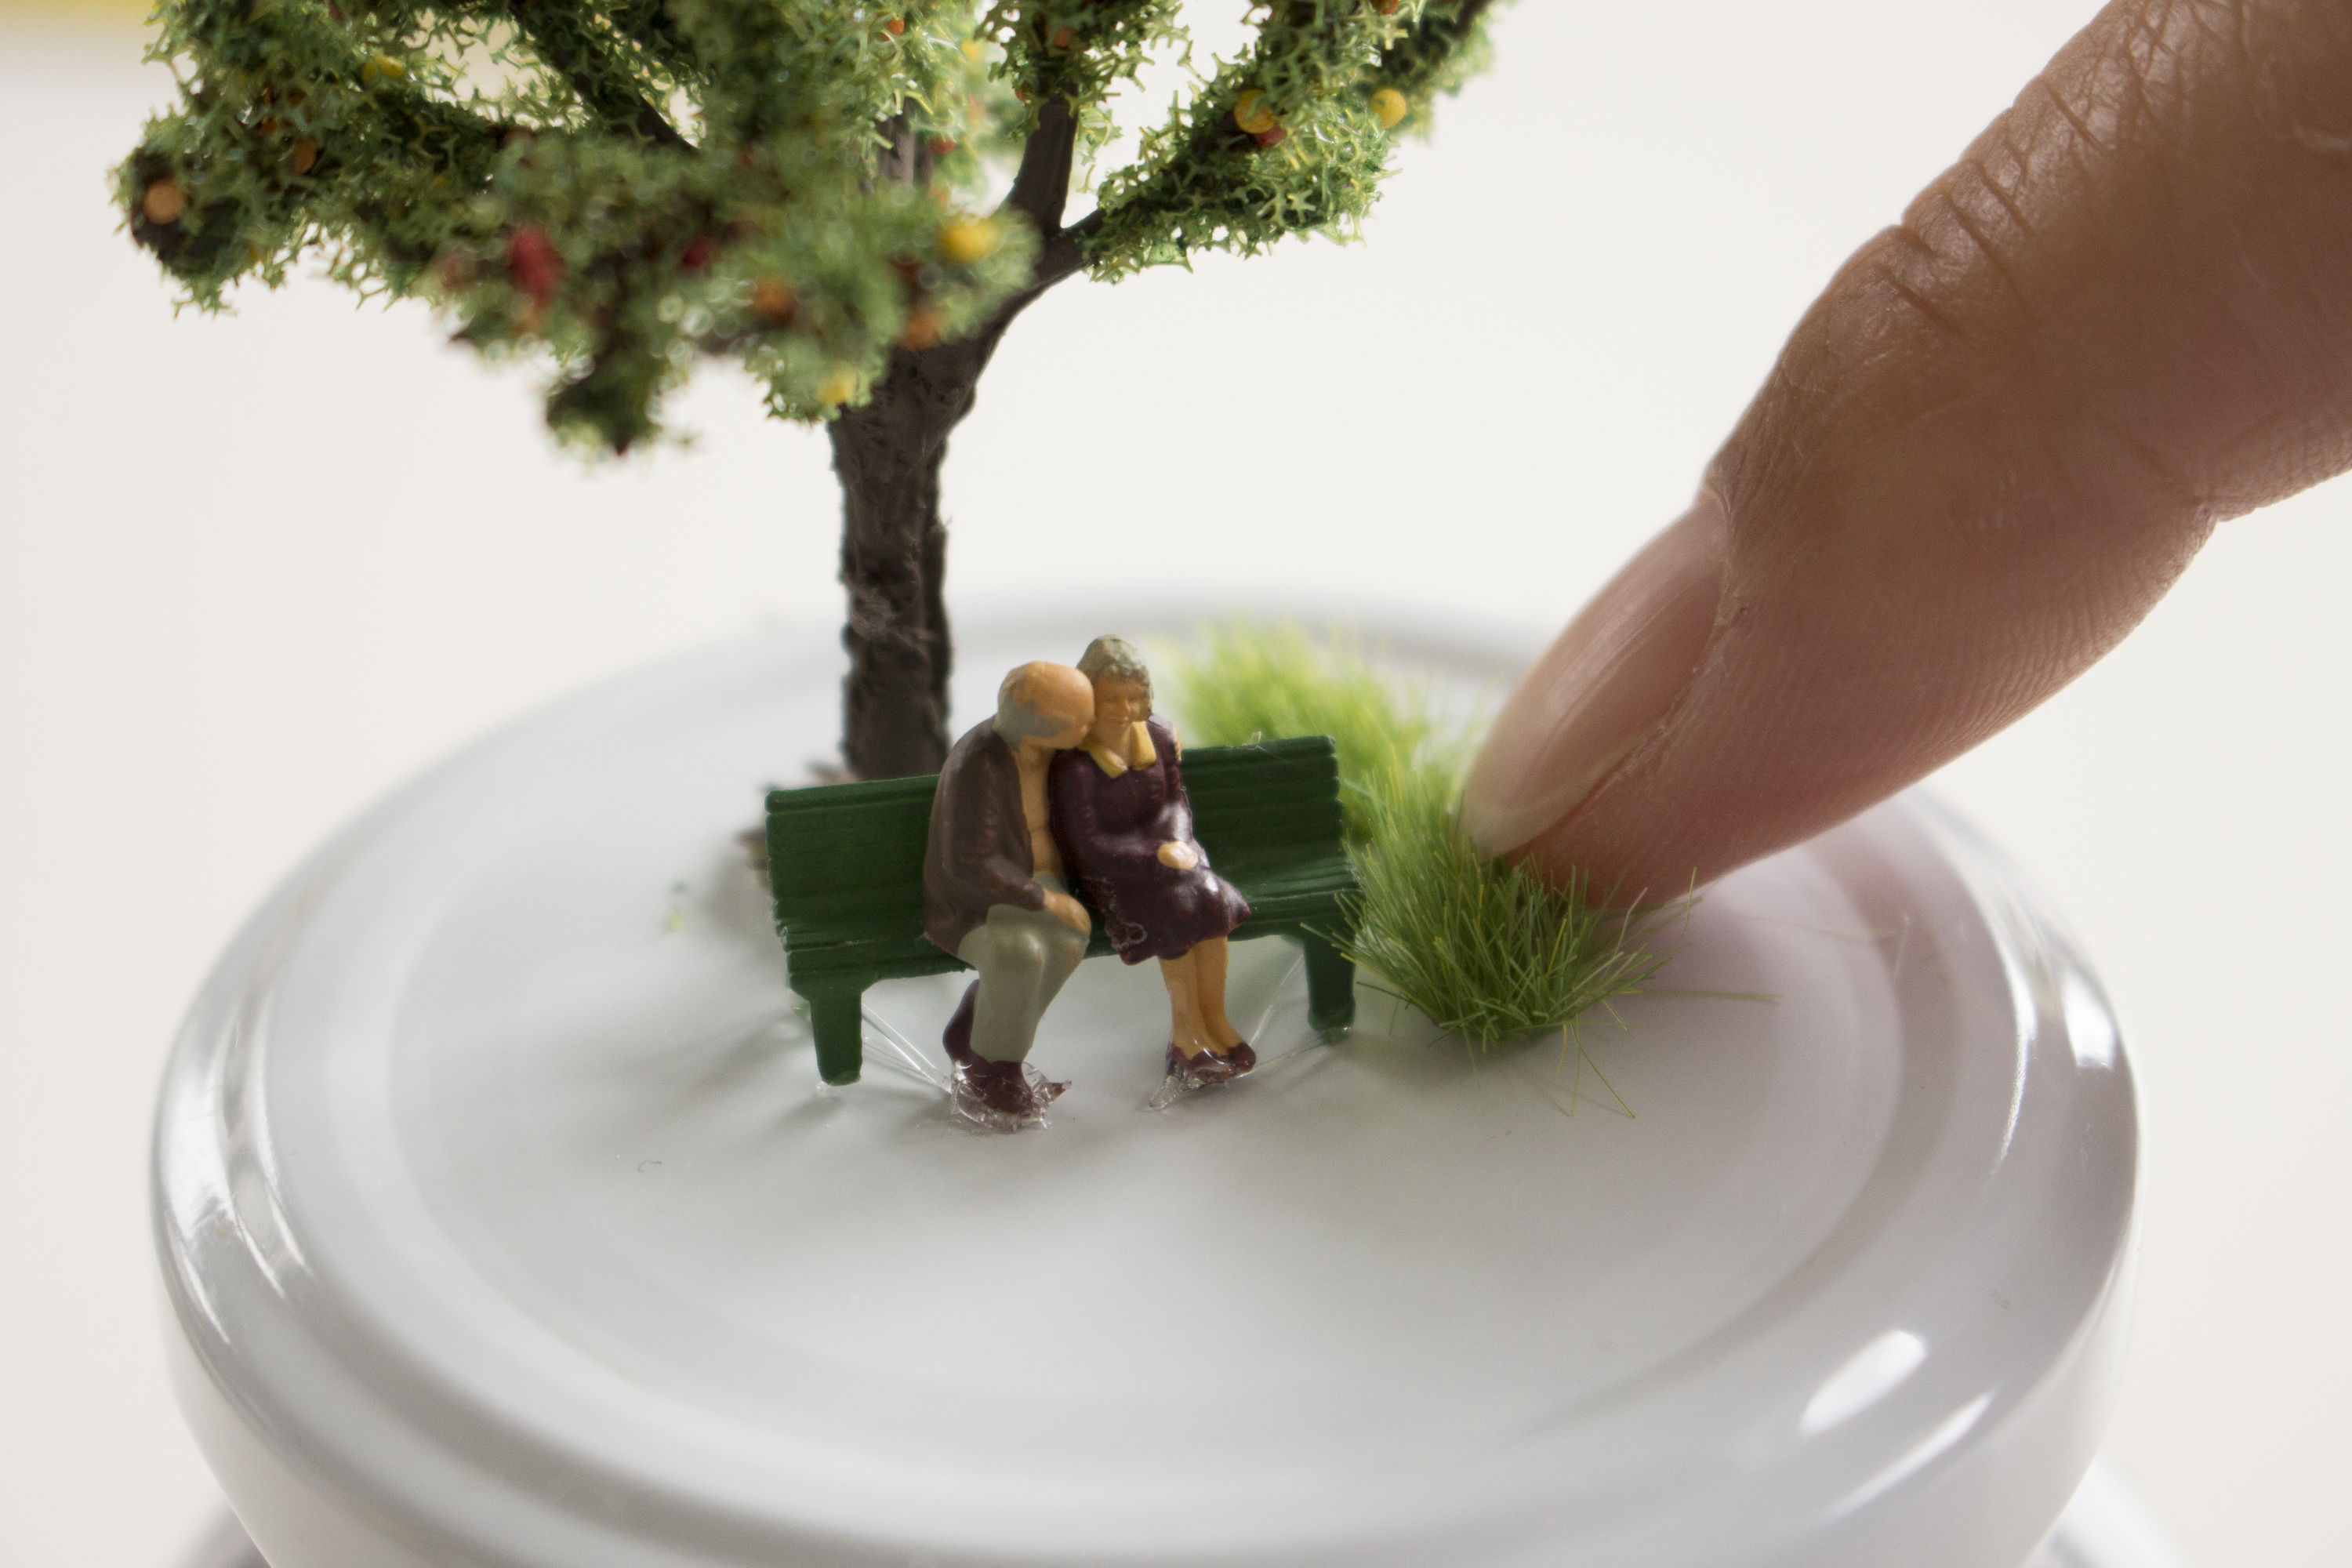
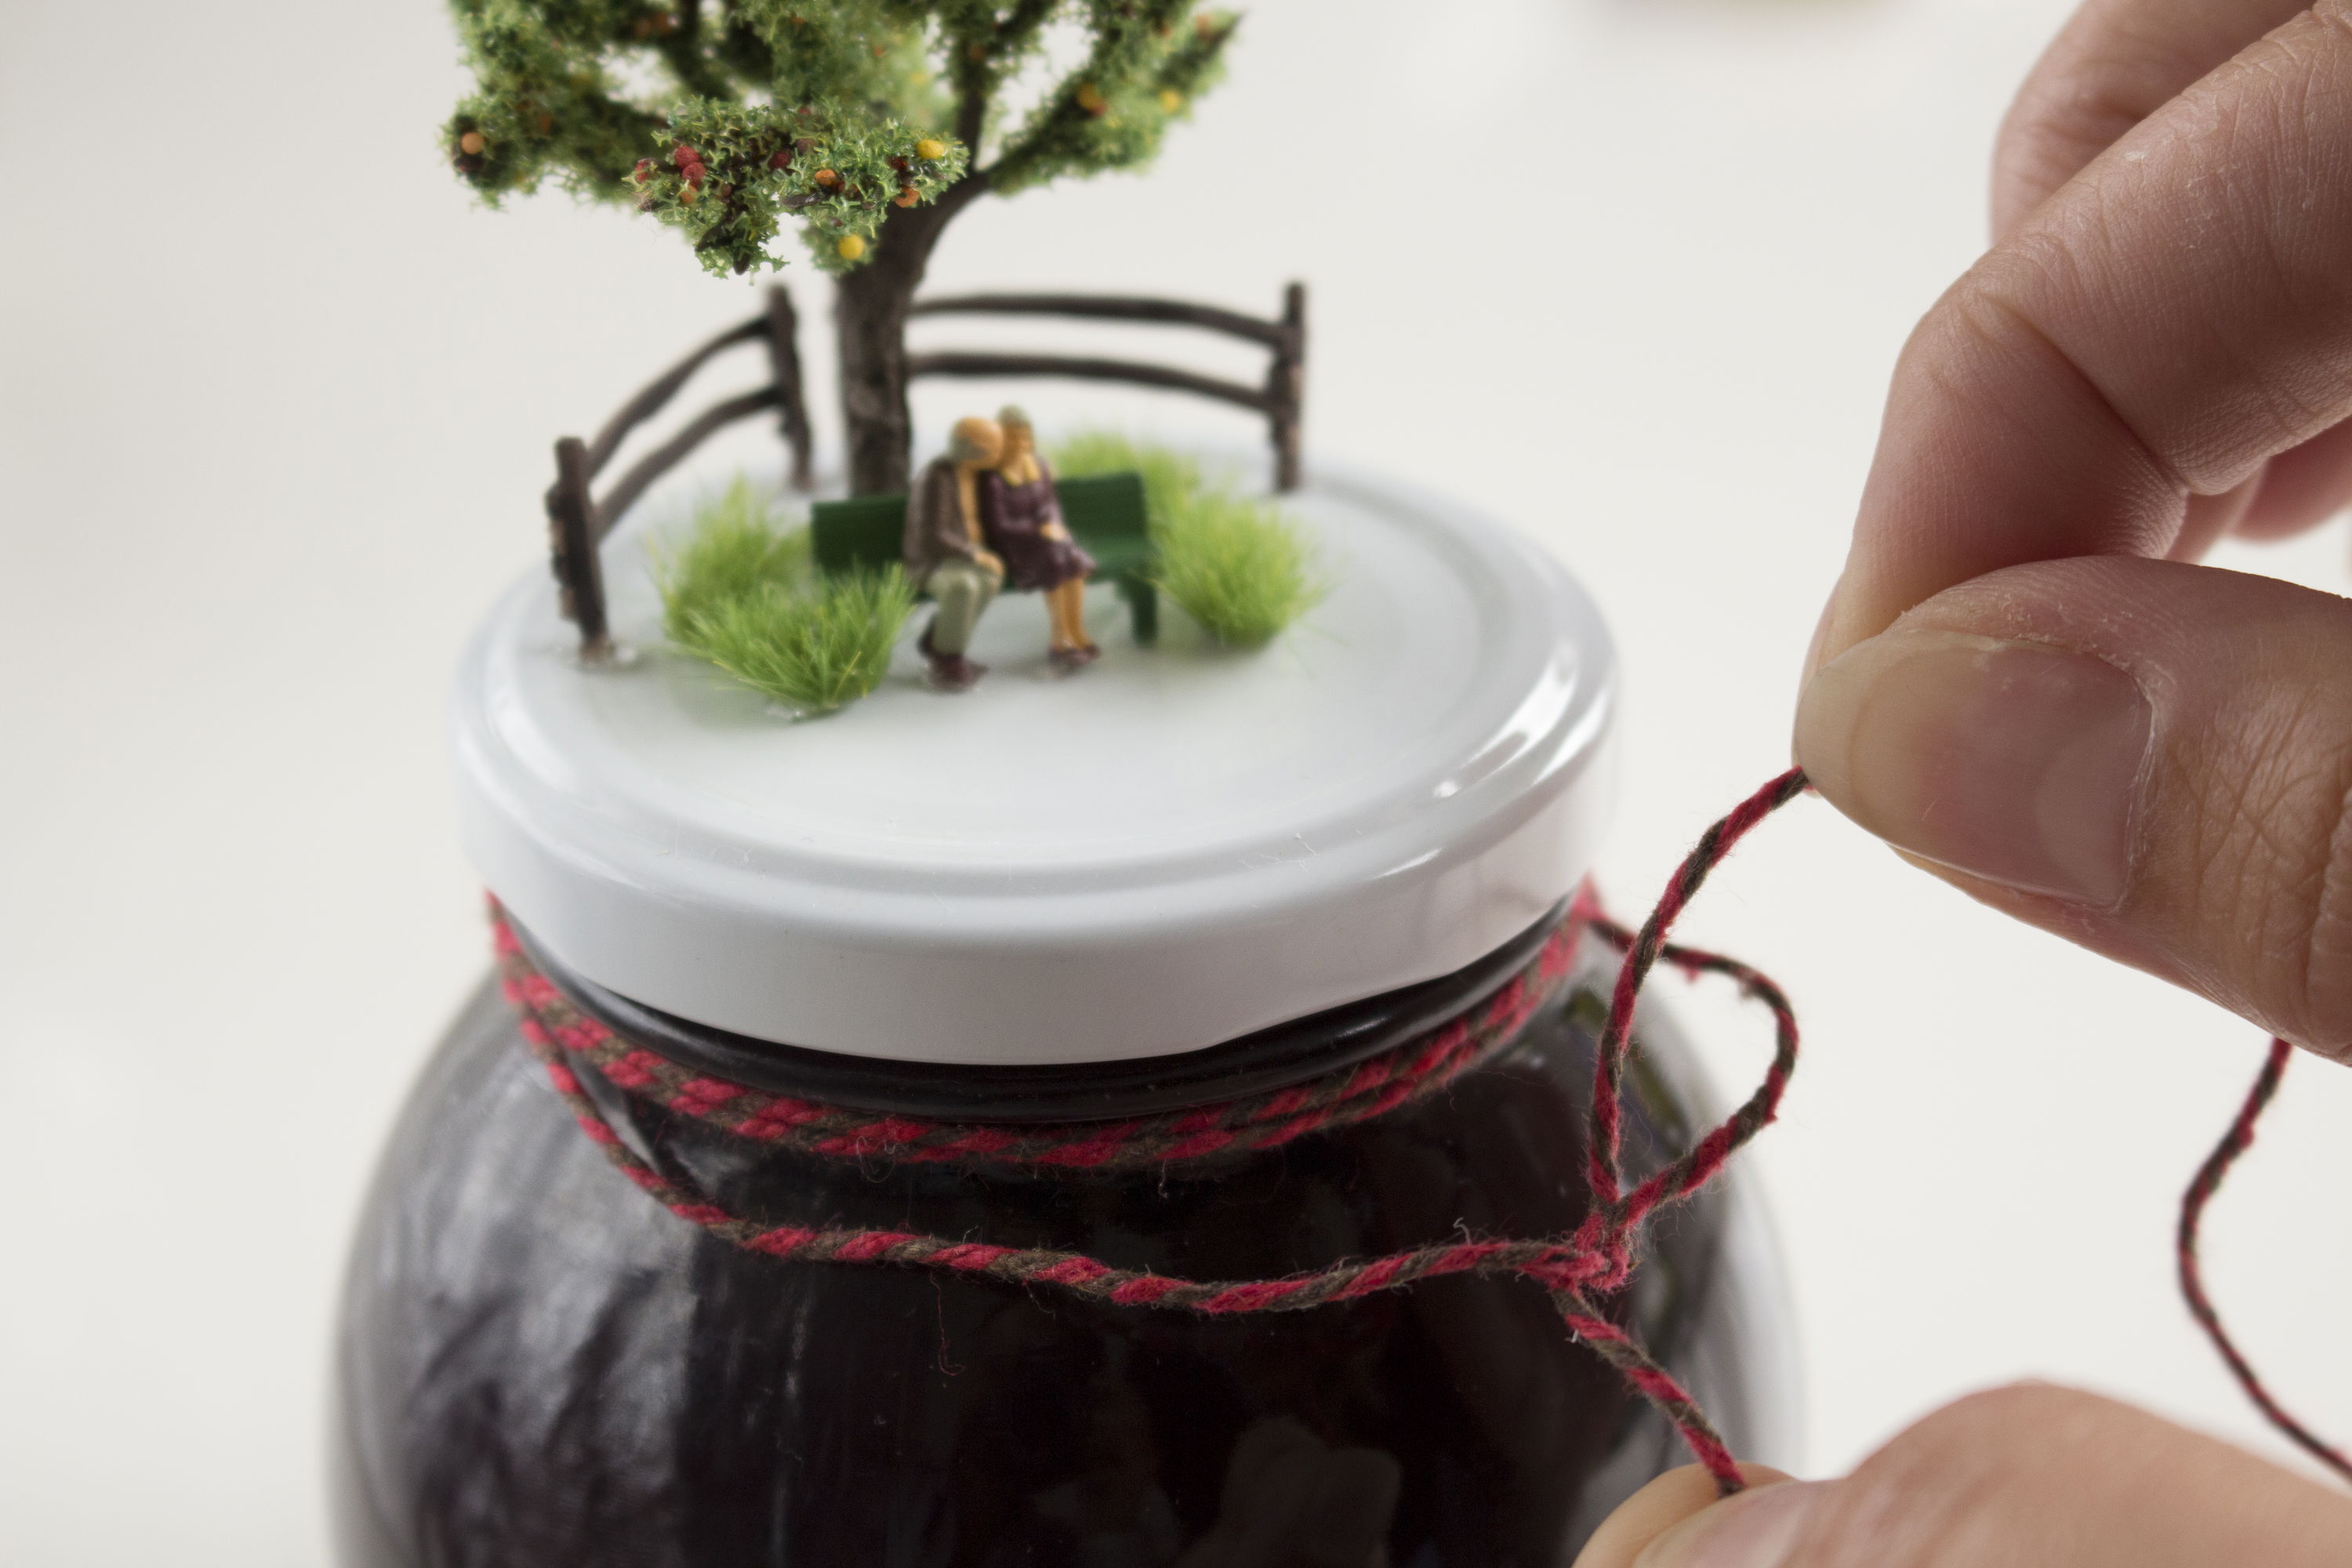
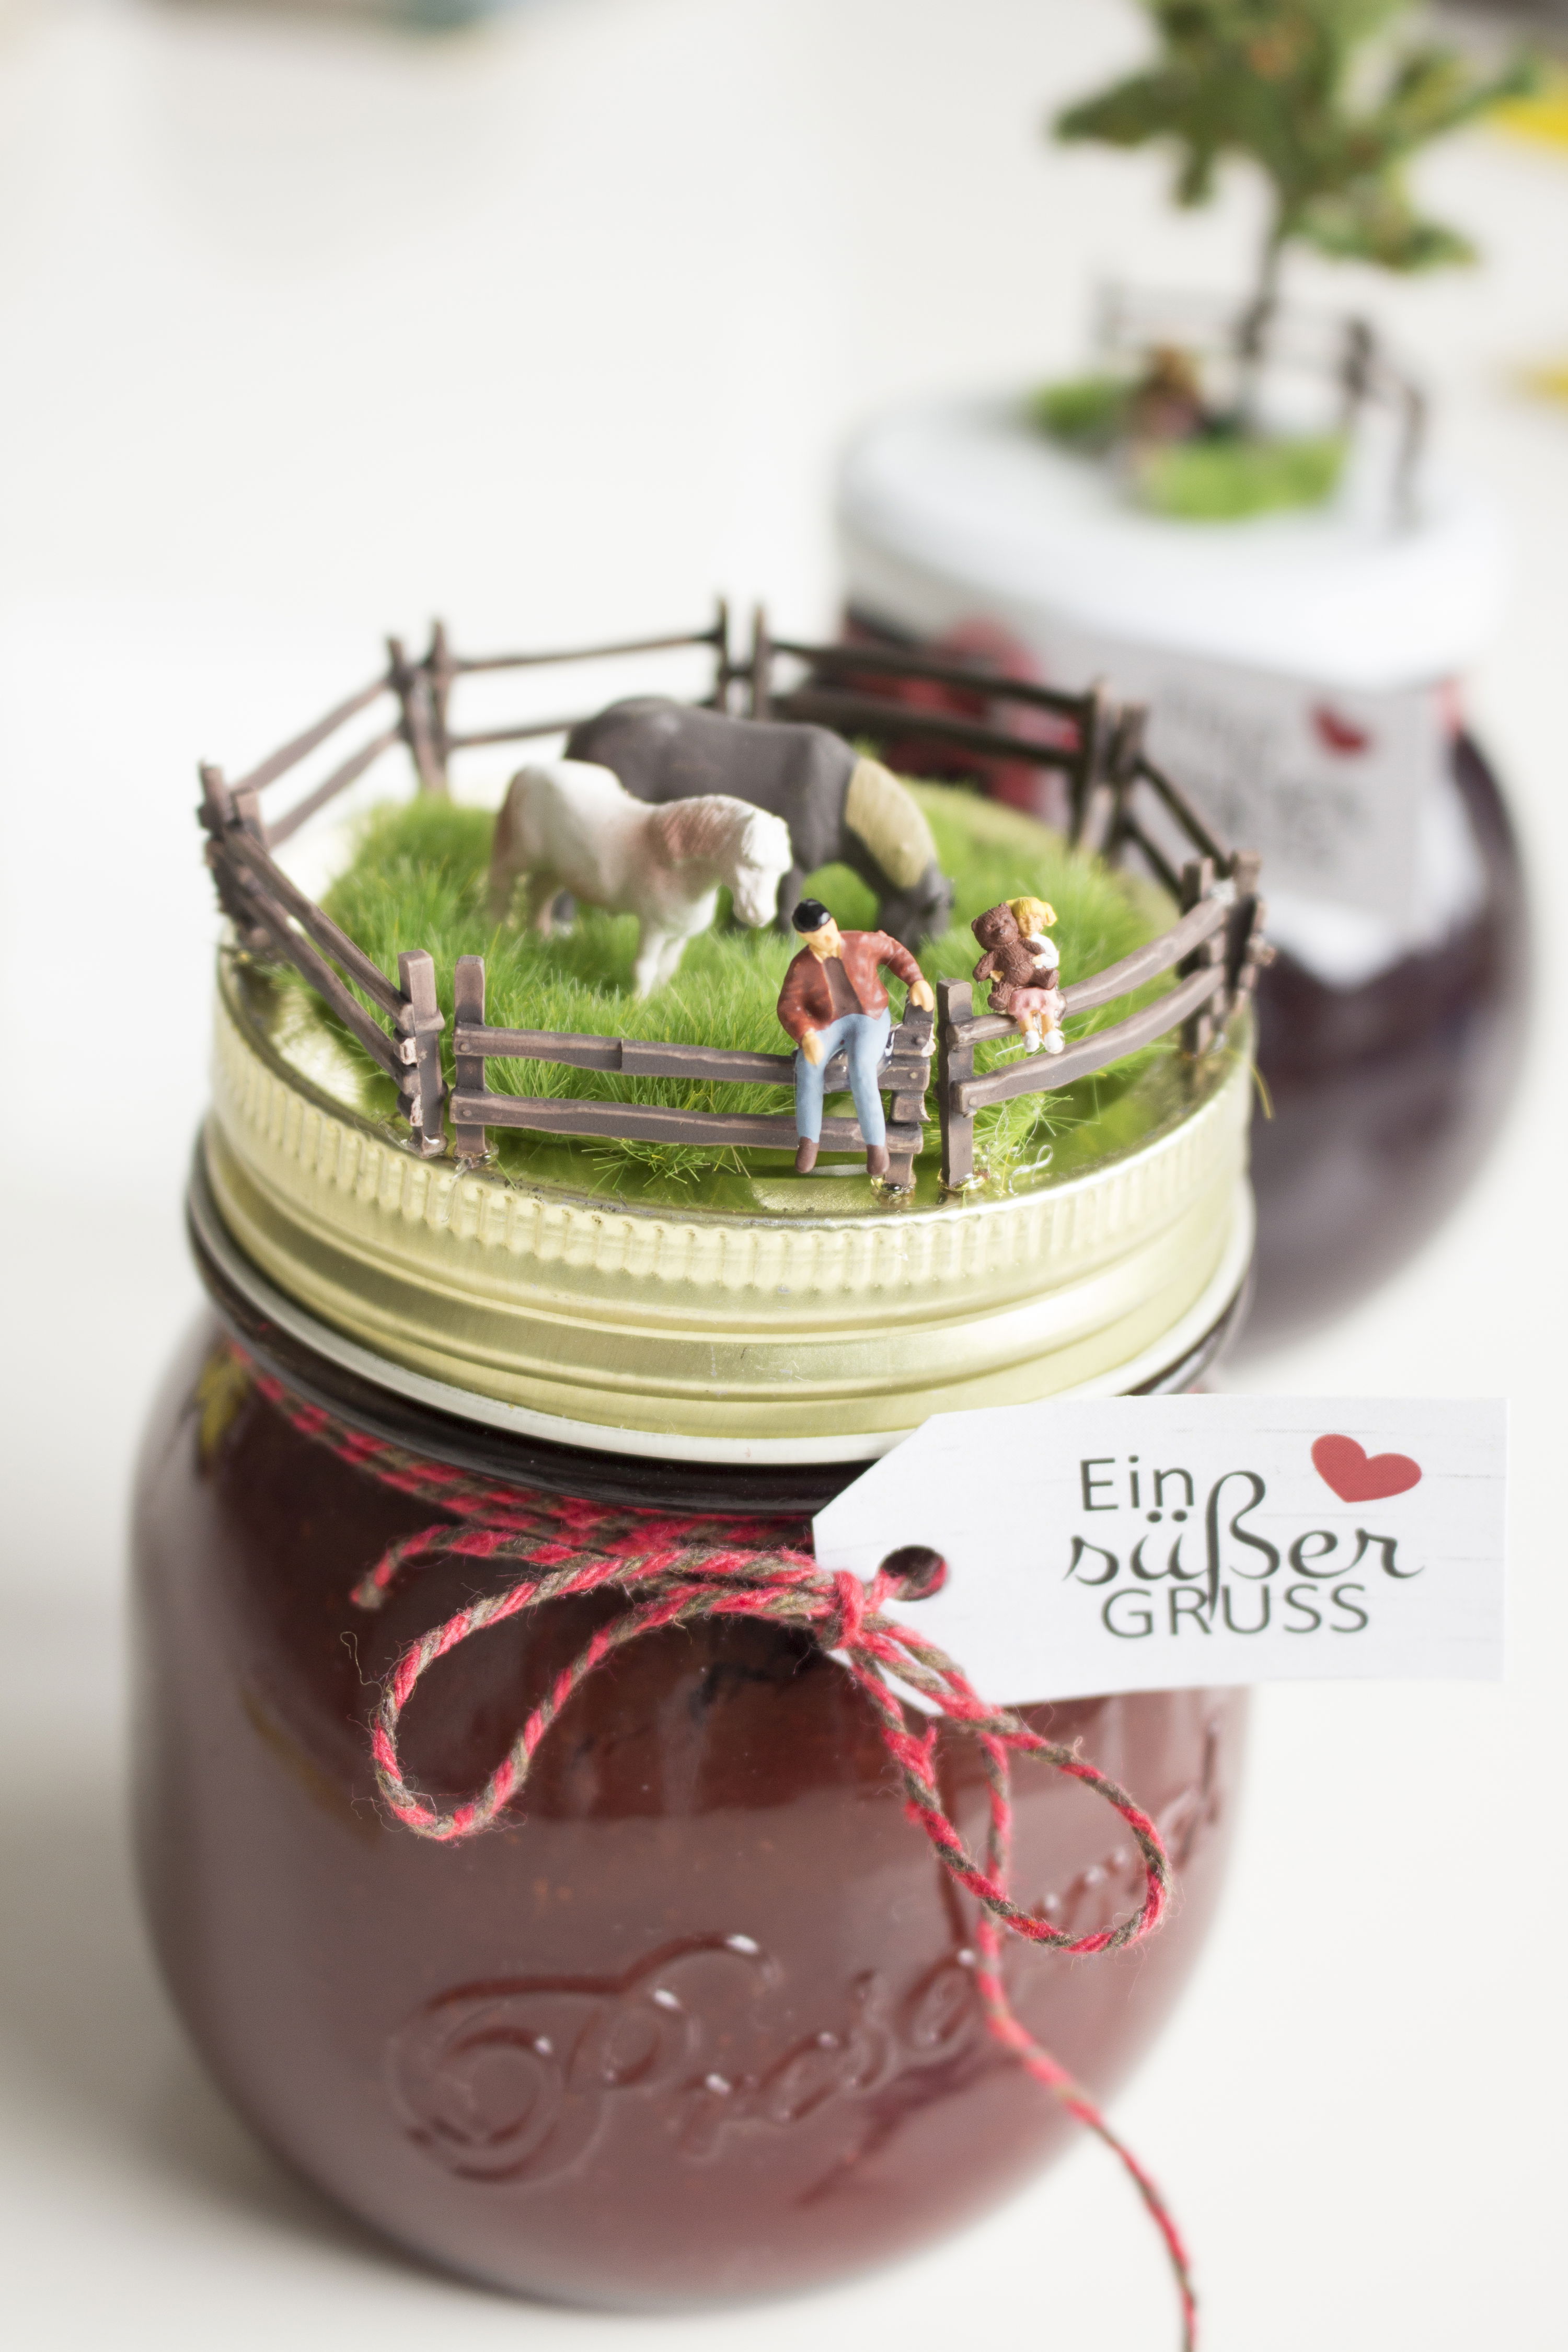
From the assortment of NOCH kreativ you choose the matching mini-figures and accessories and glue everything onto the lid with the glue gun. We have chosen an apple tree, an elderly couple on a bench, a little girl with her daddy, fences, horses and tufts of grass. You can let your creativity run wild when decorating the lids!
4) Print and attach pretty tags yourself.
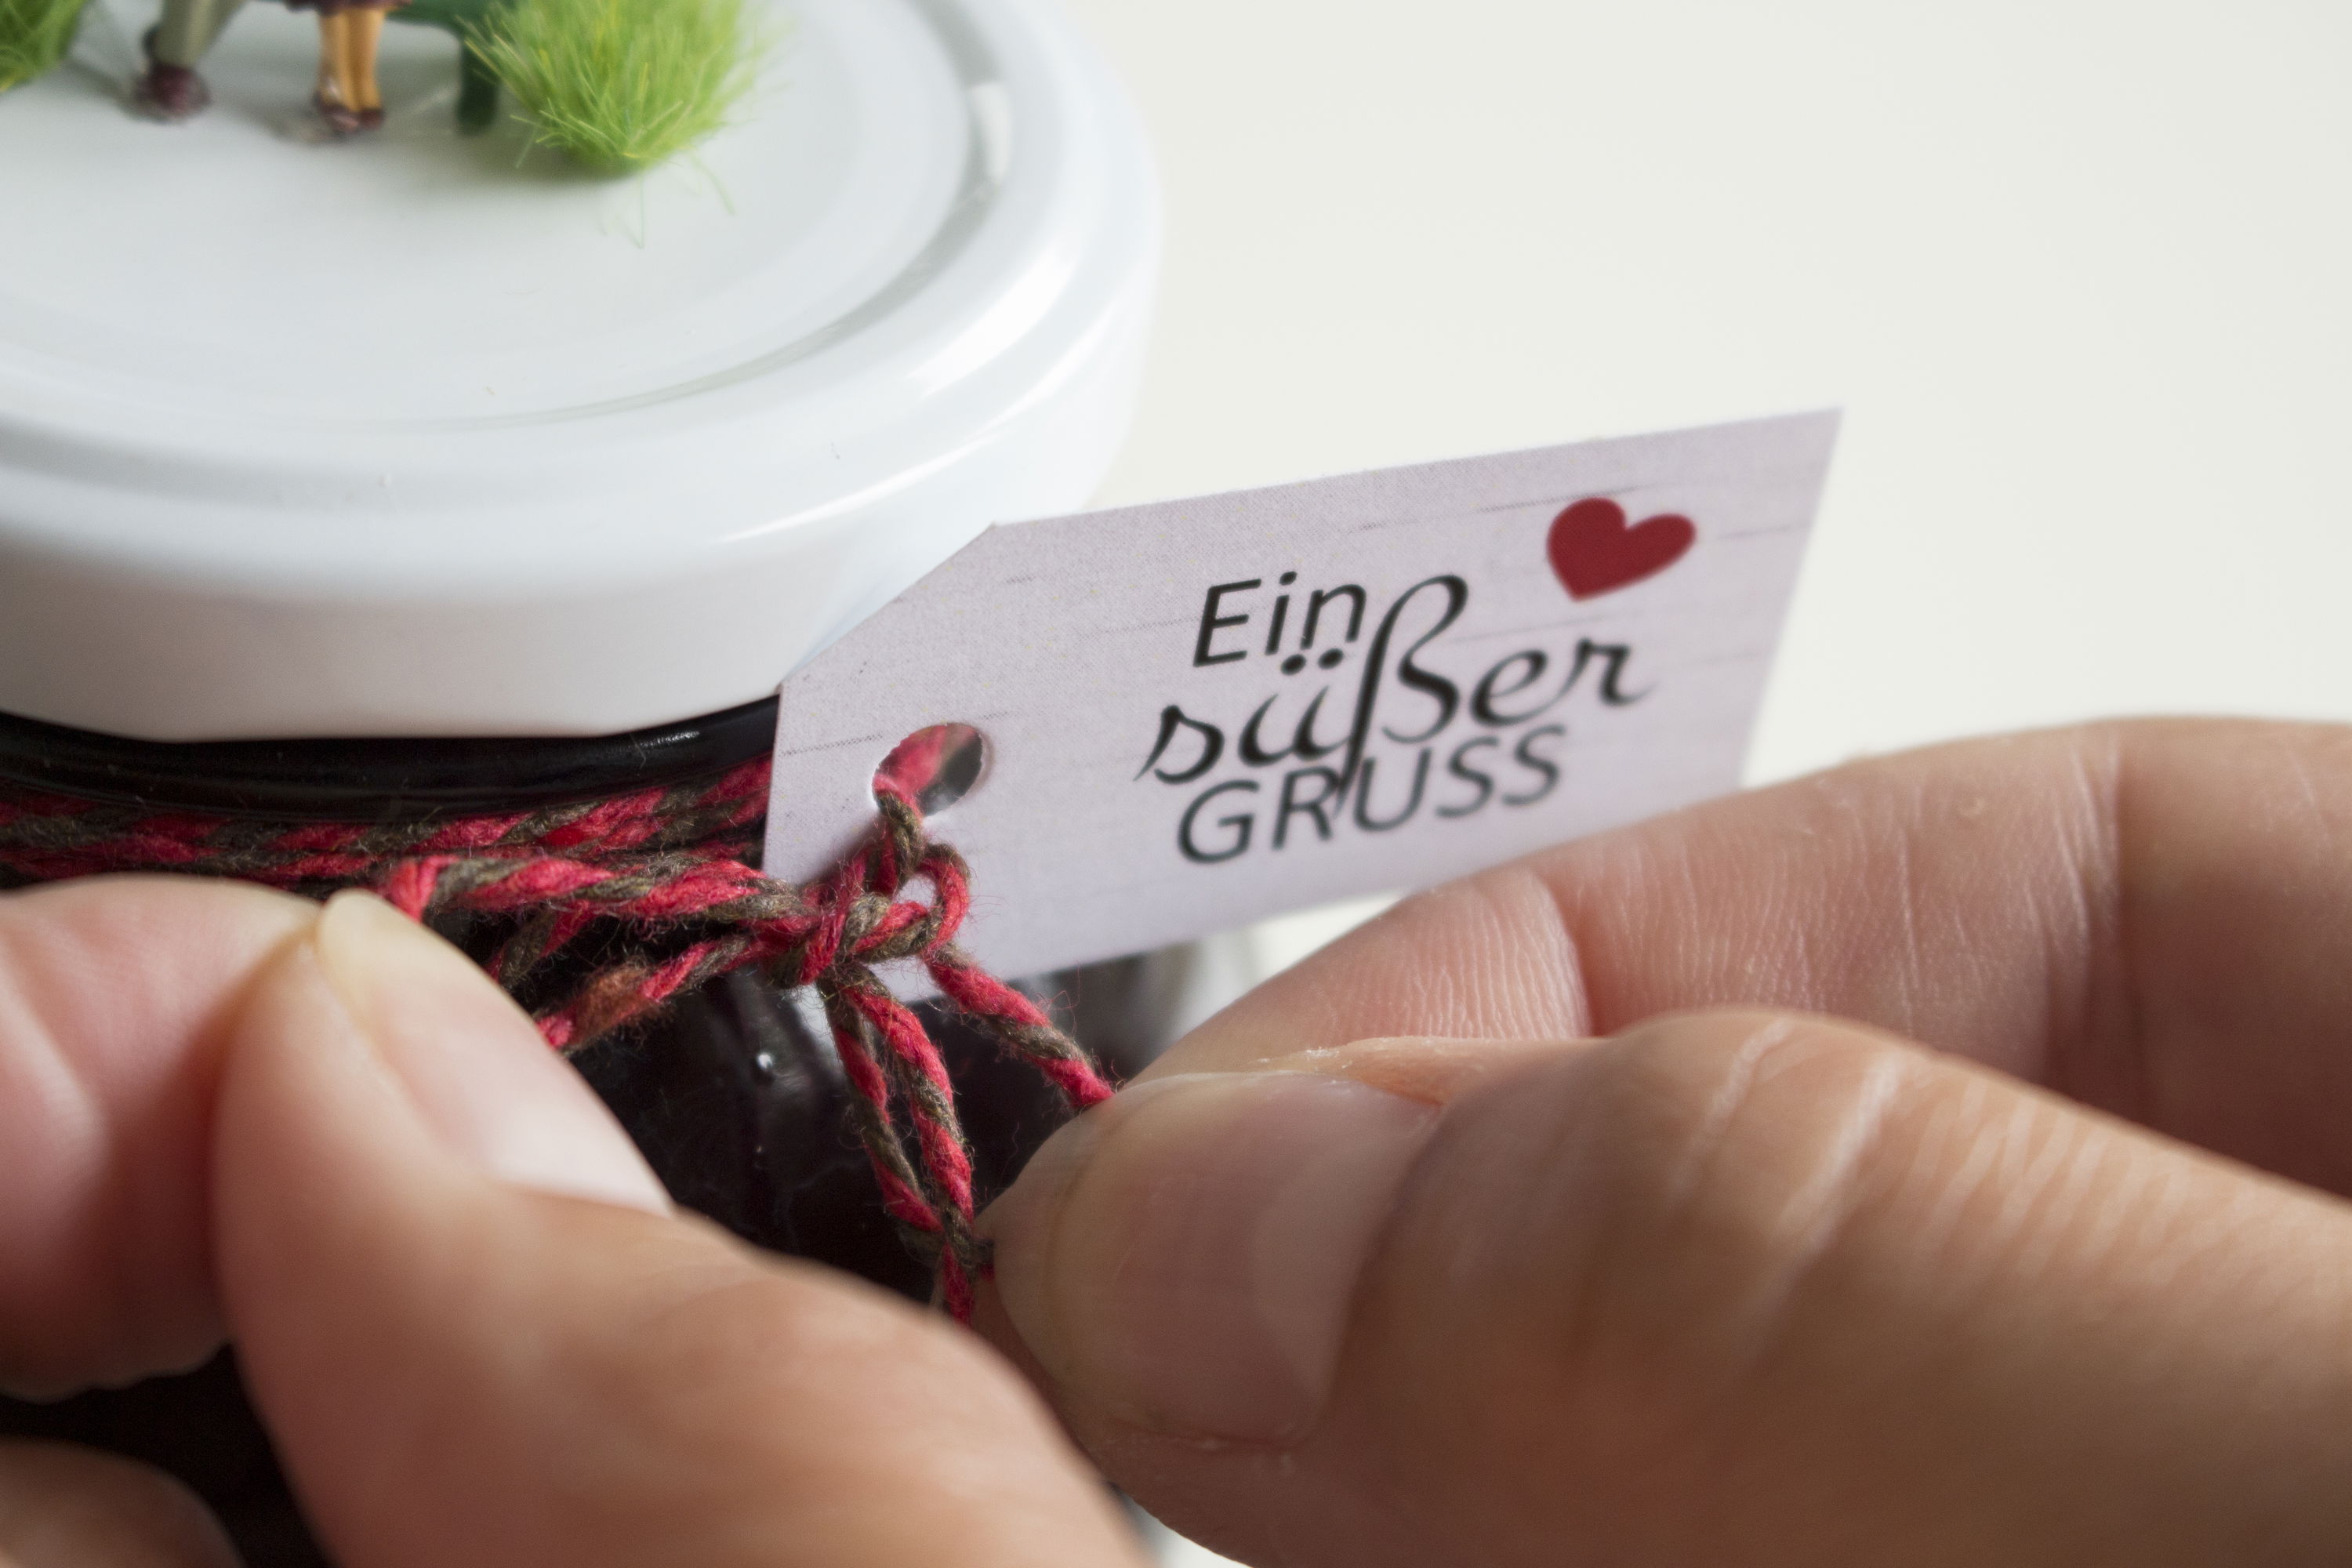
Finally, when your lid is finished decorating, you can tie a little label to the jar. "A sweet greeting" on which you can write by hand on the back what is in the jar (e.g. strawberry-rhubarb jam).
Your crafted results
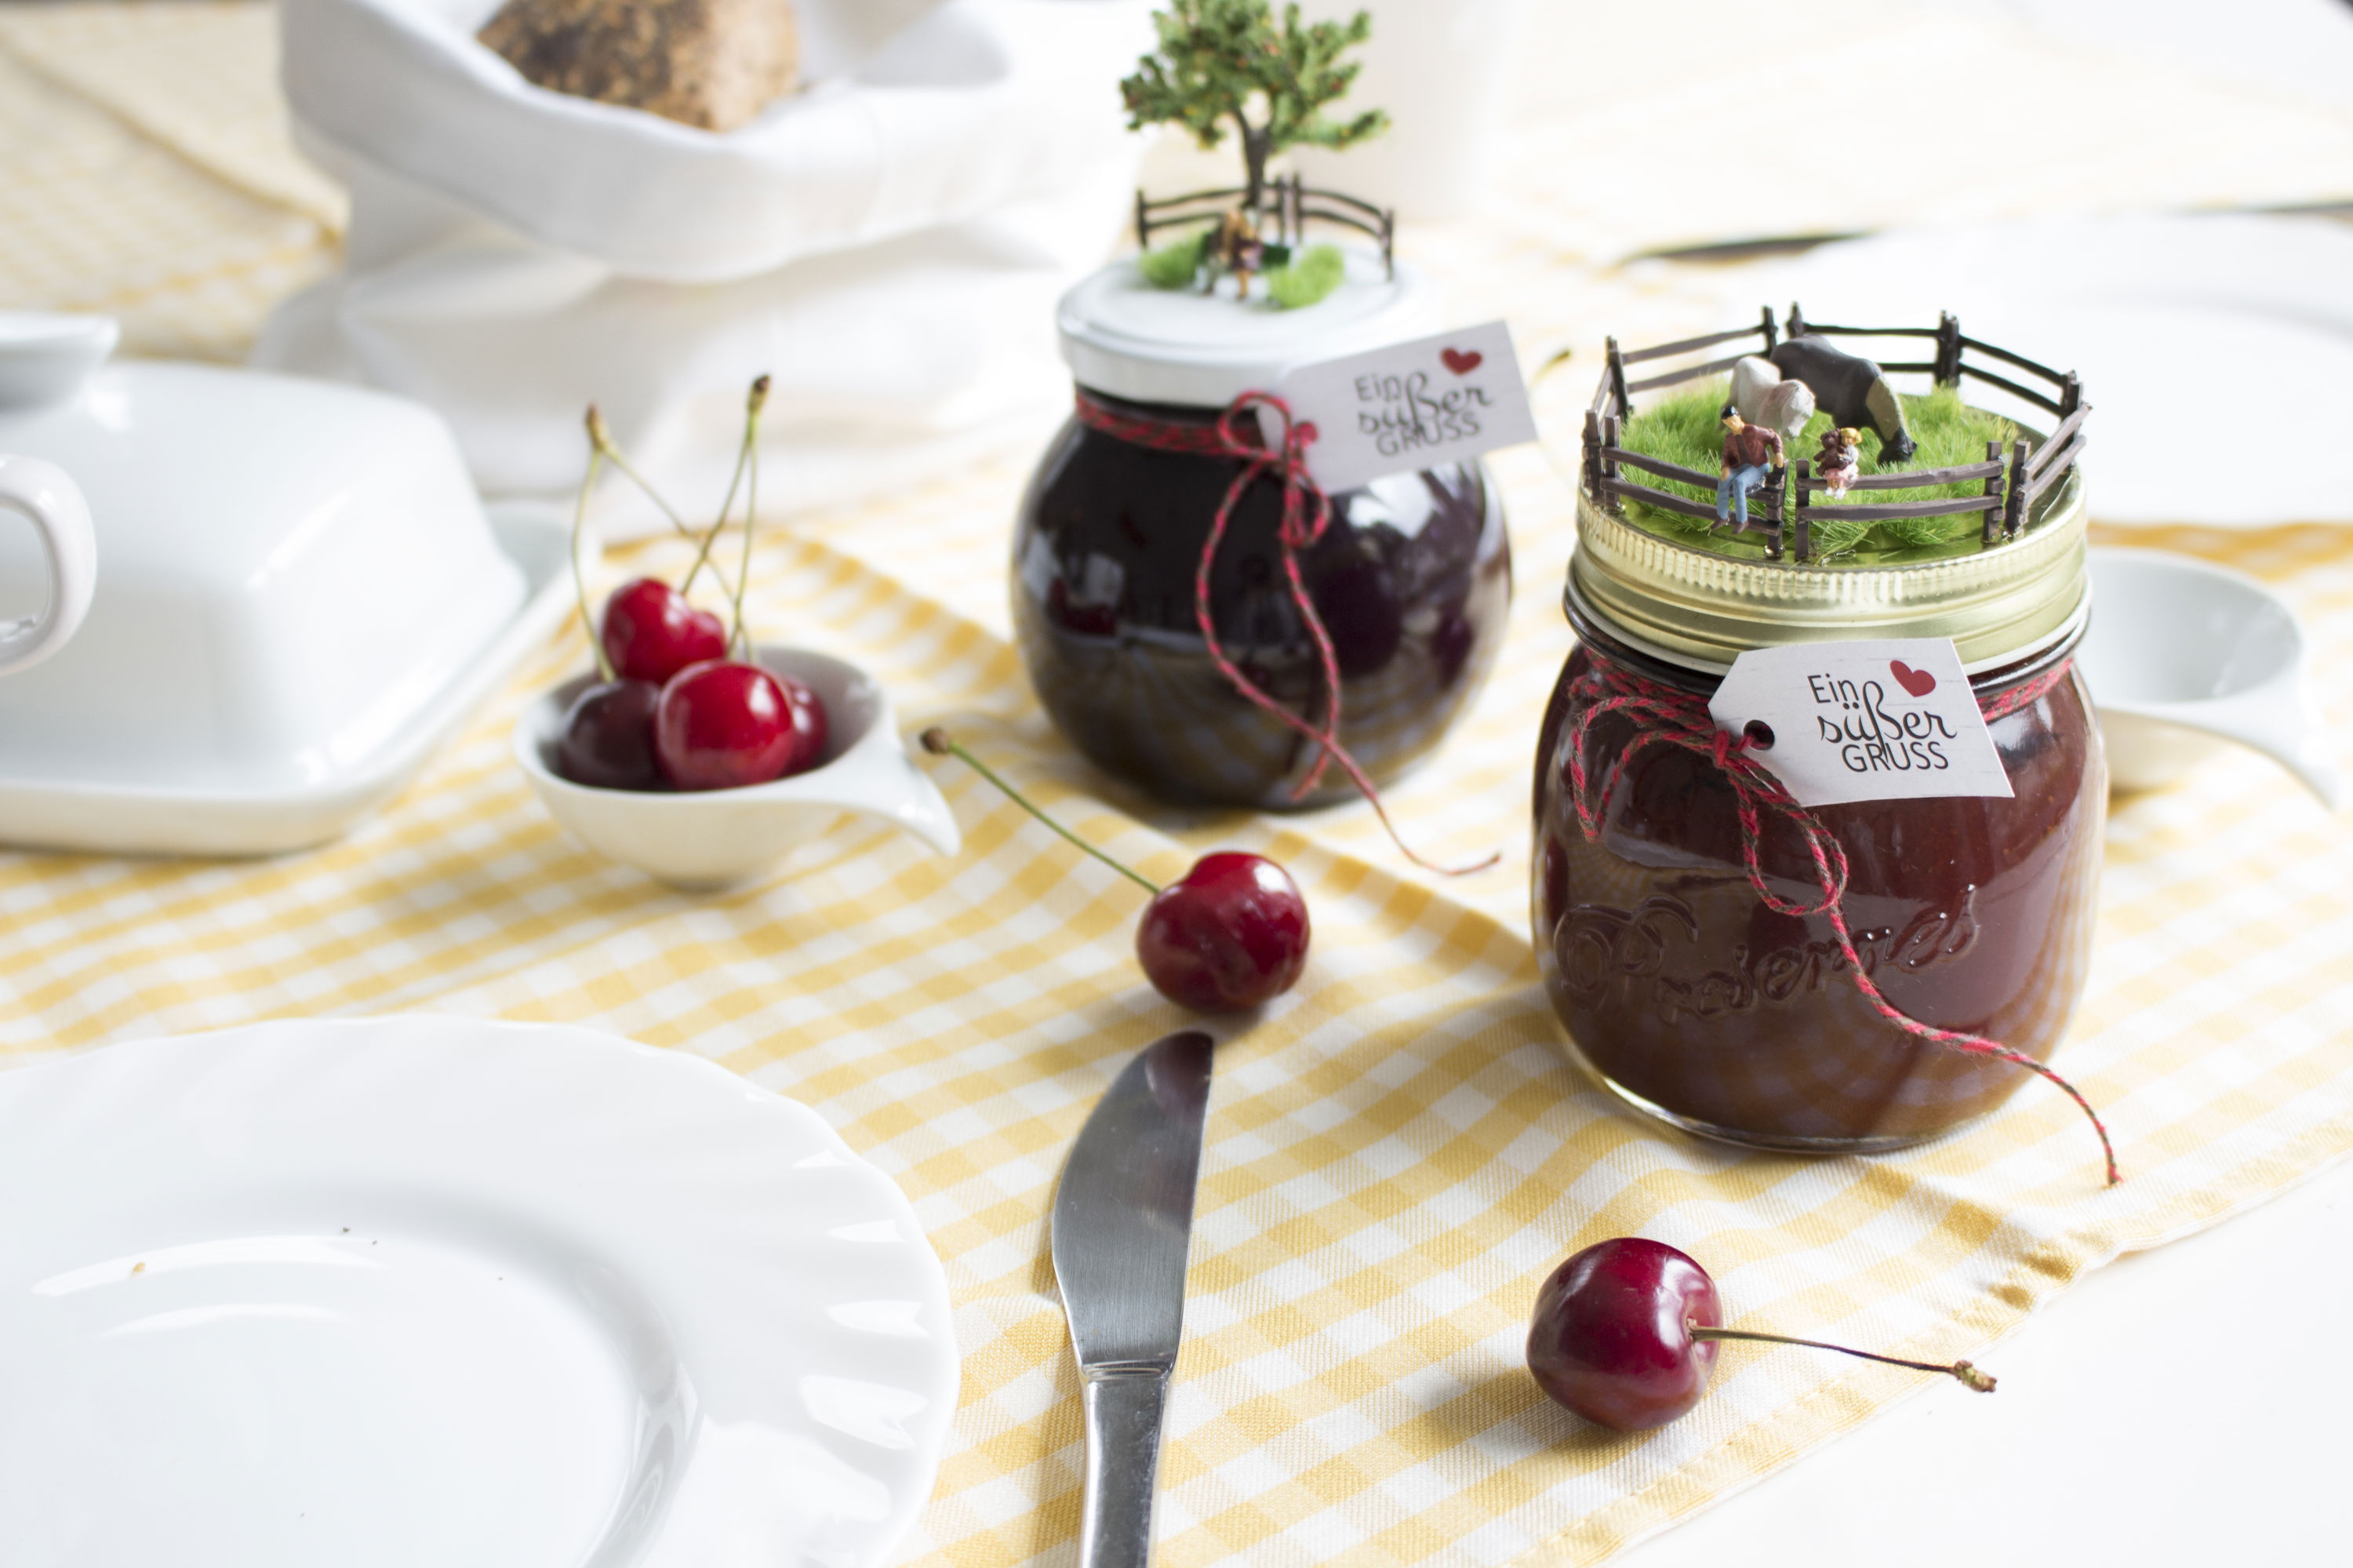
Everything is very fast and easy and yet has such a great effect! It looks so sweet and loving when it's on the breakfast table - you almost don't want to open the jam!
We wish you lots of fun at jam time and when giving away (or eating yourself) your little works of art!
Greetings
Moni & Steffi
Featured products
Shopping List
