Cool pins for your notes!
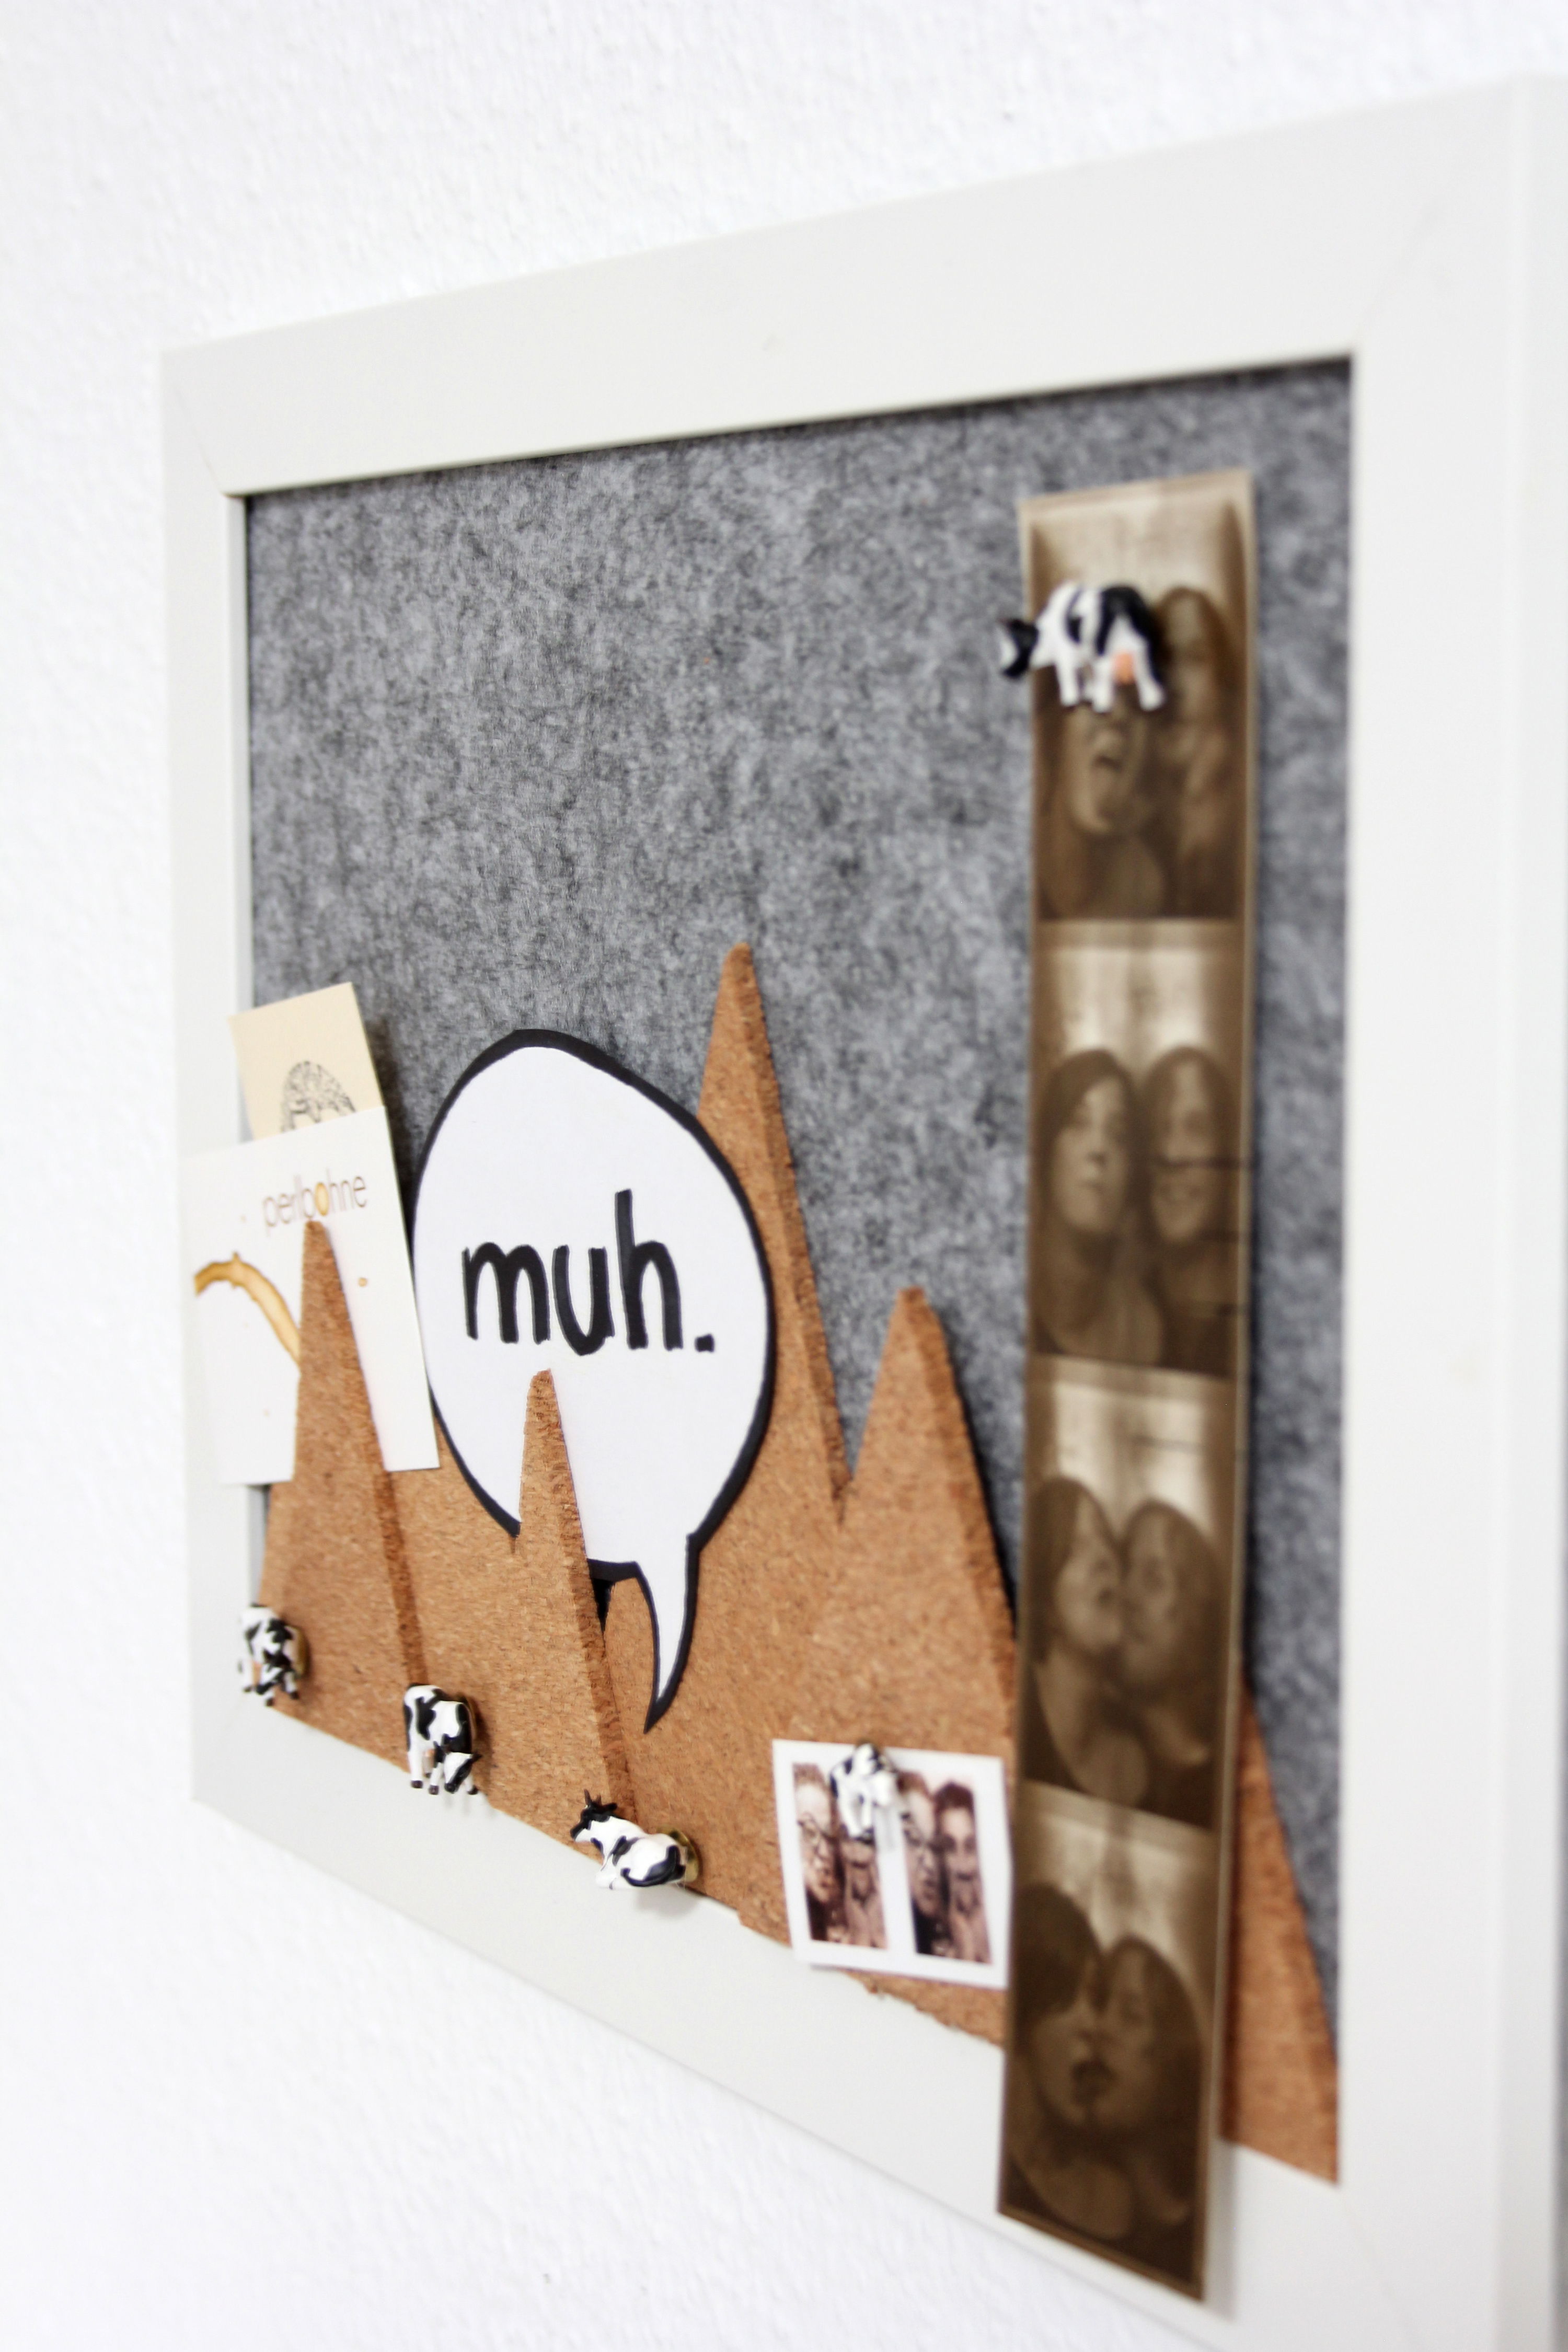
DIY: Make your own pinboard! Order is a must. Or should be. Let's say it would be nice if things were tidy. Especially at the workplace, Liska from dekotopia.net thinks order is very important, even though she would rather describe herself as a "creative chaotic person". Liska shows how to create an individual pinboard in alpine style with cow pins in the handicraft instructions so that you and Liska can have order in the office and on the desk! If you would also rather have a "cow pasture on the wall" instead of a "pigsty on the desk", you'd better get started right now!
Step-by-step instruction
Instructions from Liska from dekotopia.net
Easy
25 min.
You need that
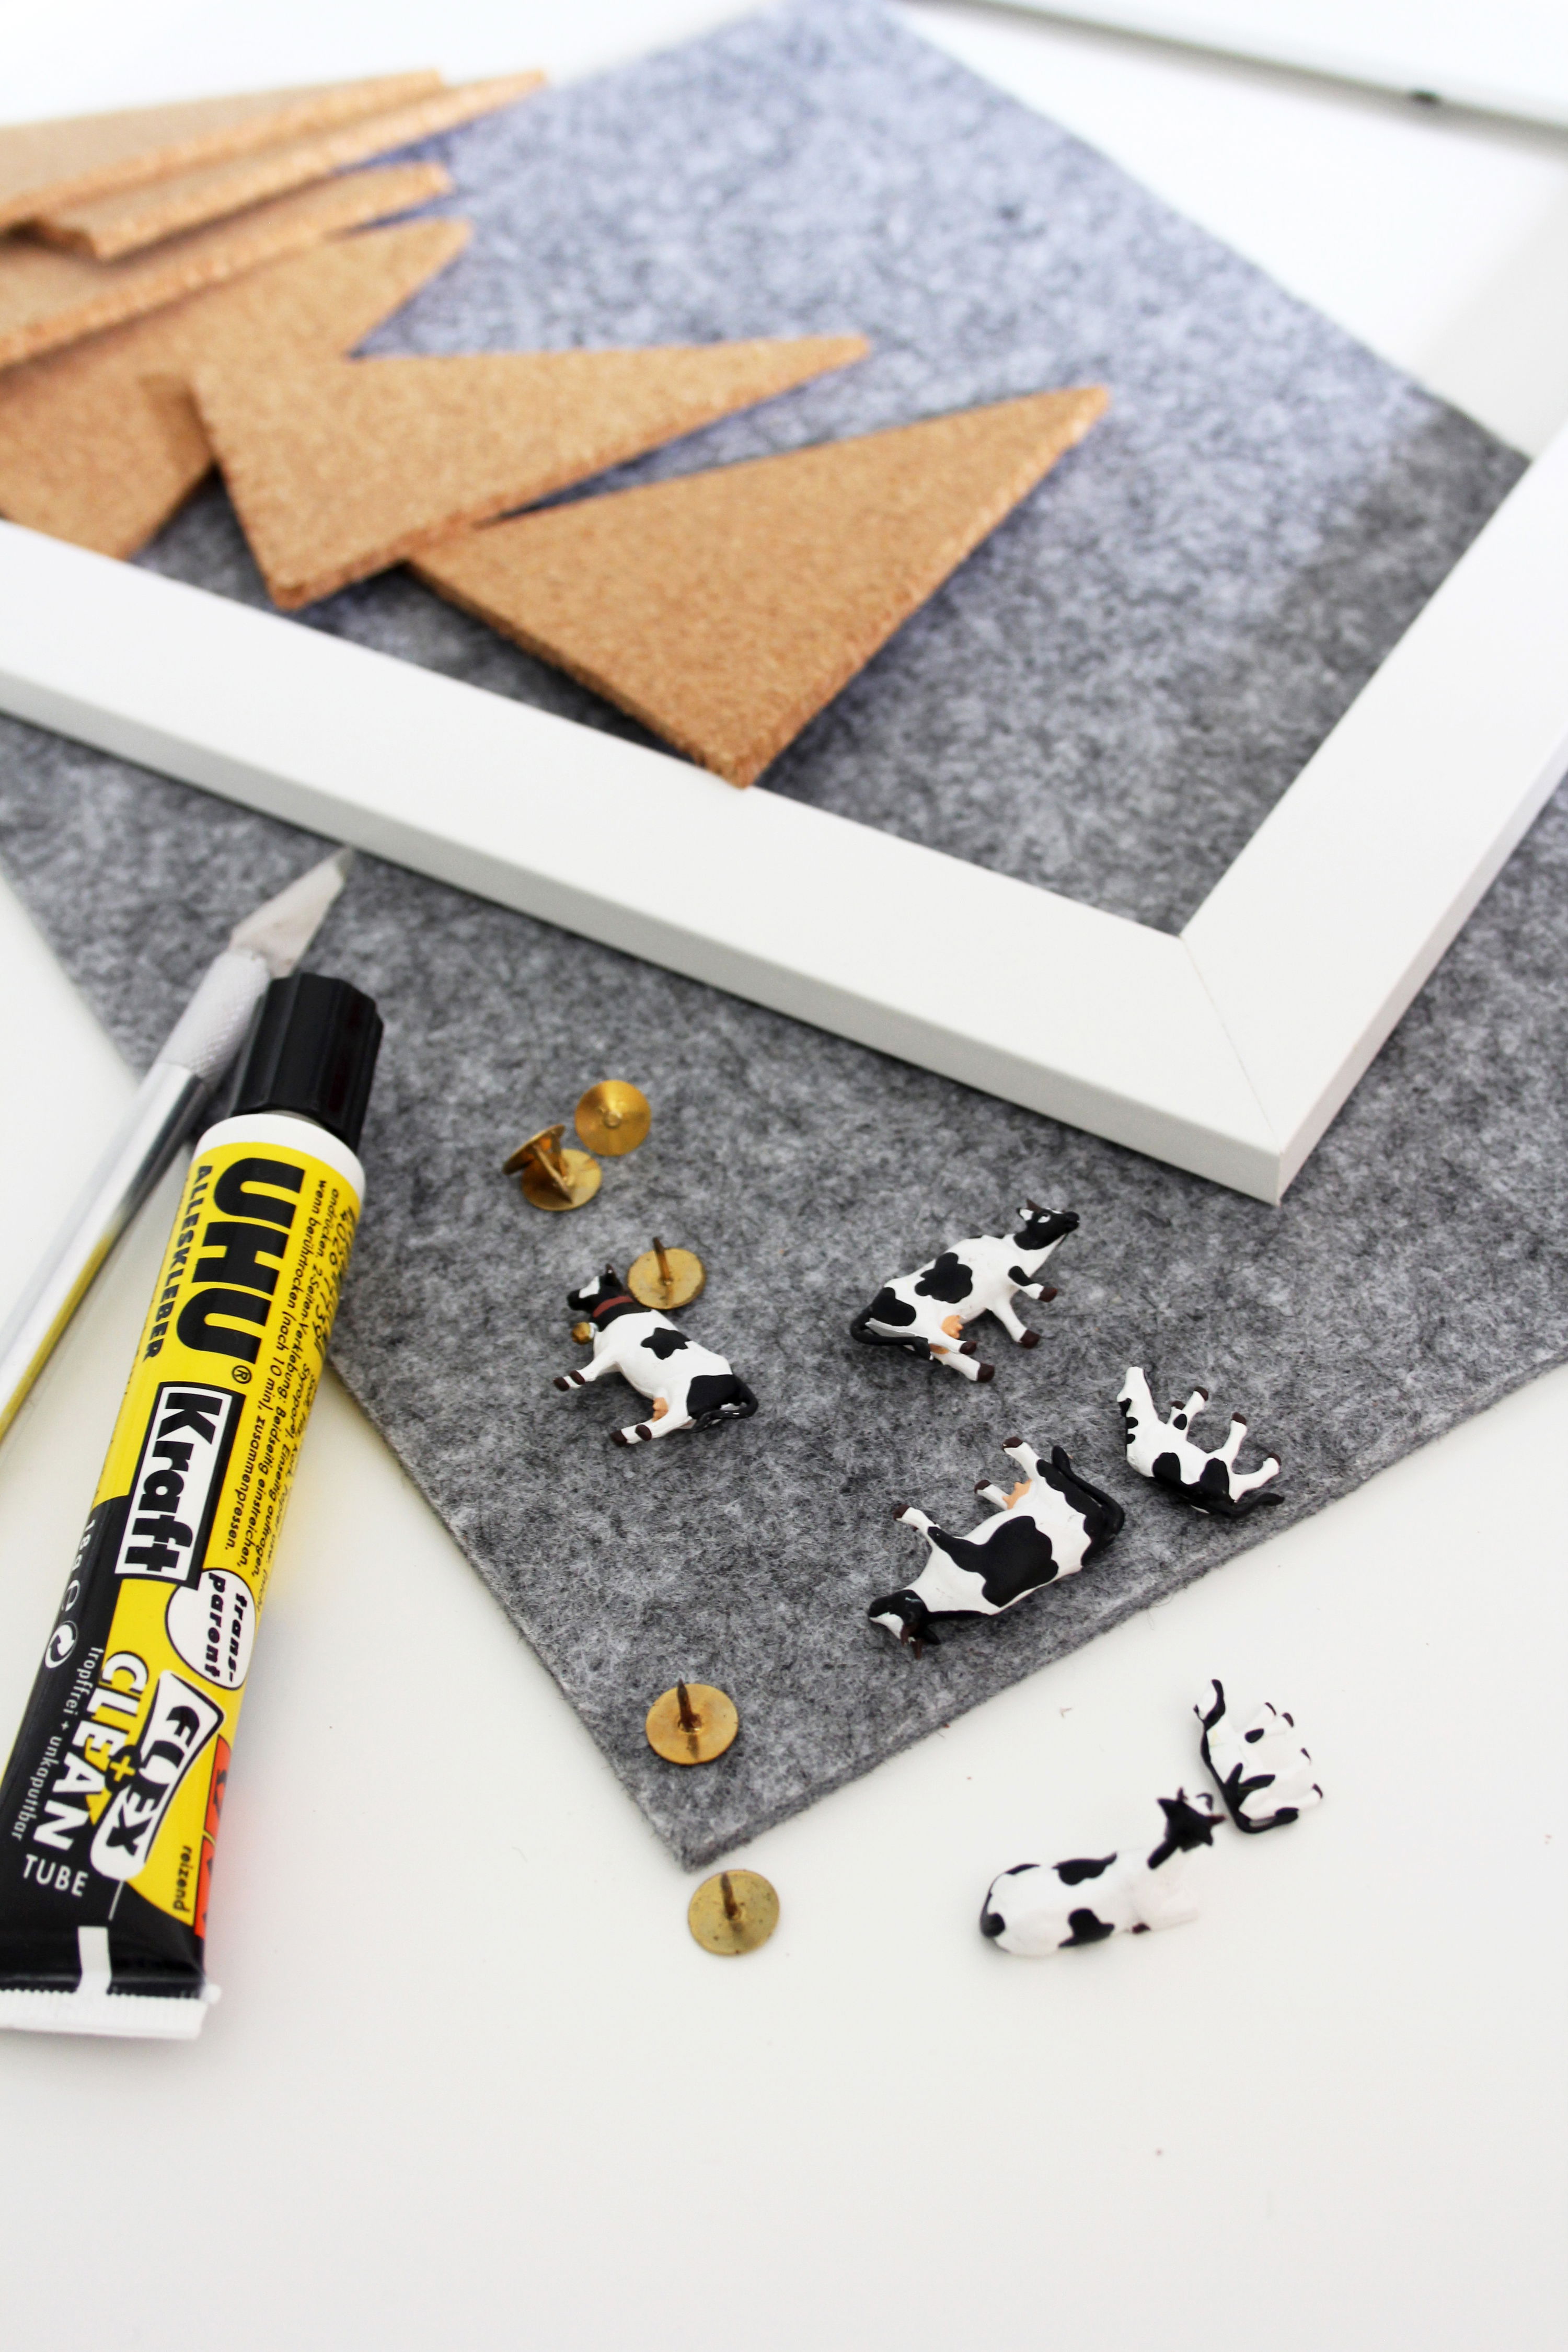
DIN A4 picture frameThick felt board (at least 5 mm thick), DIN A4
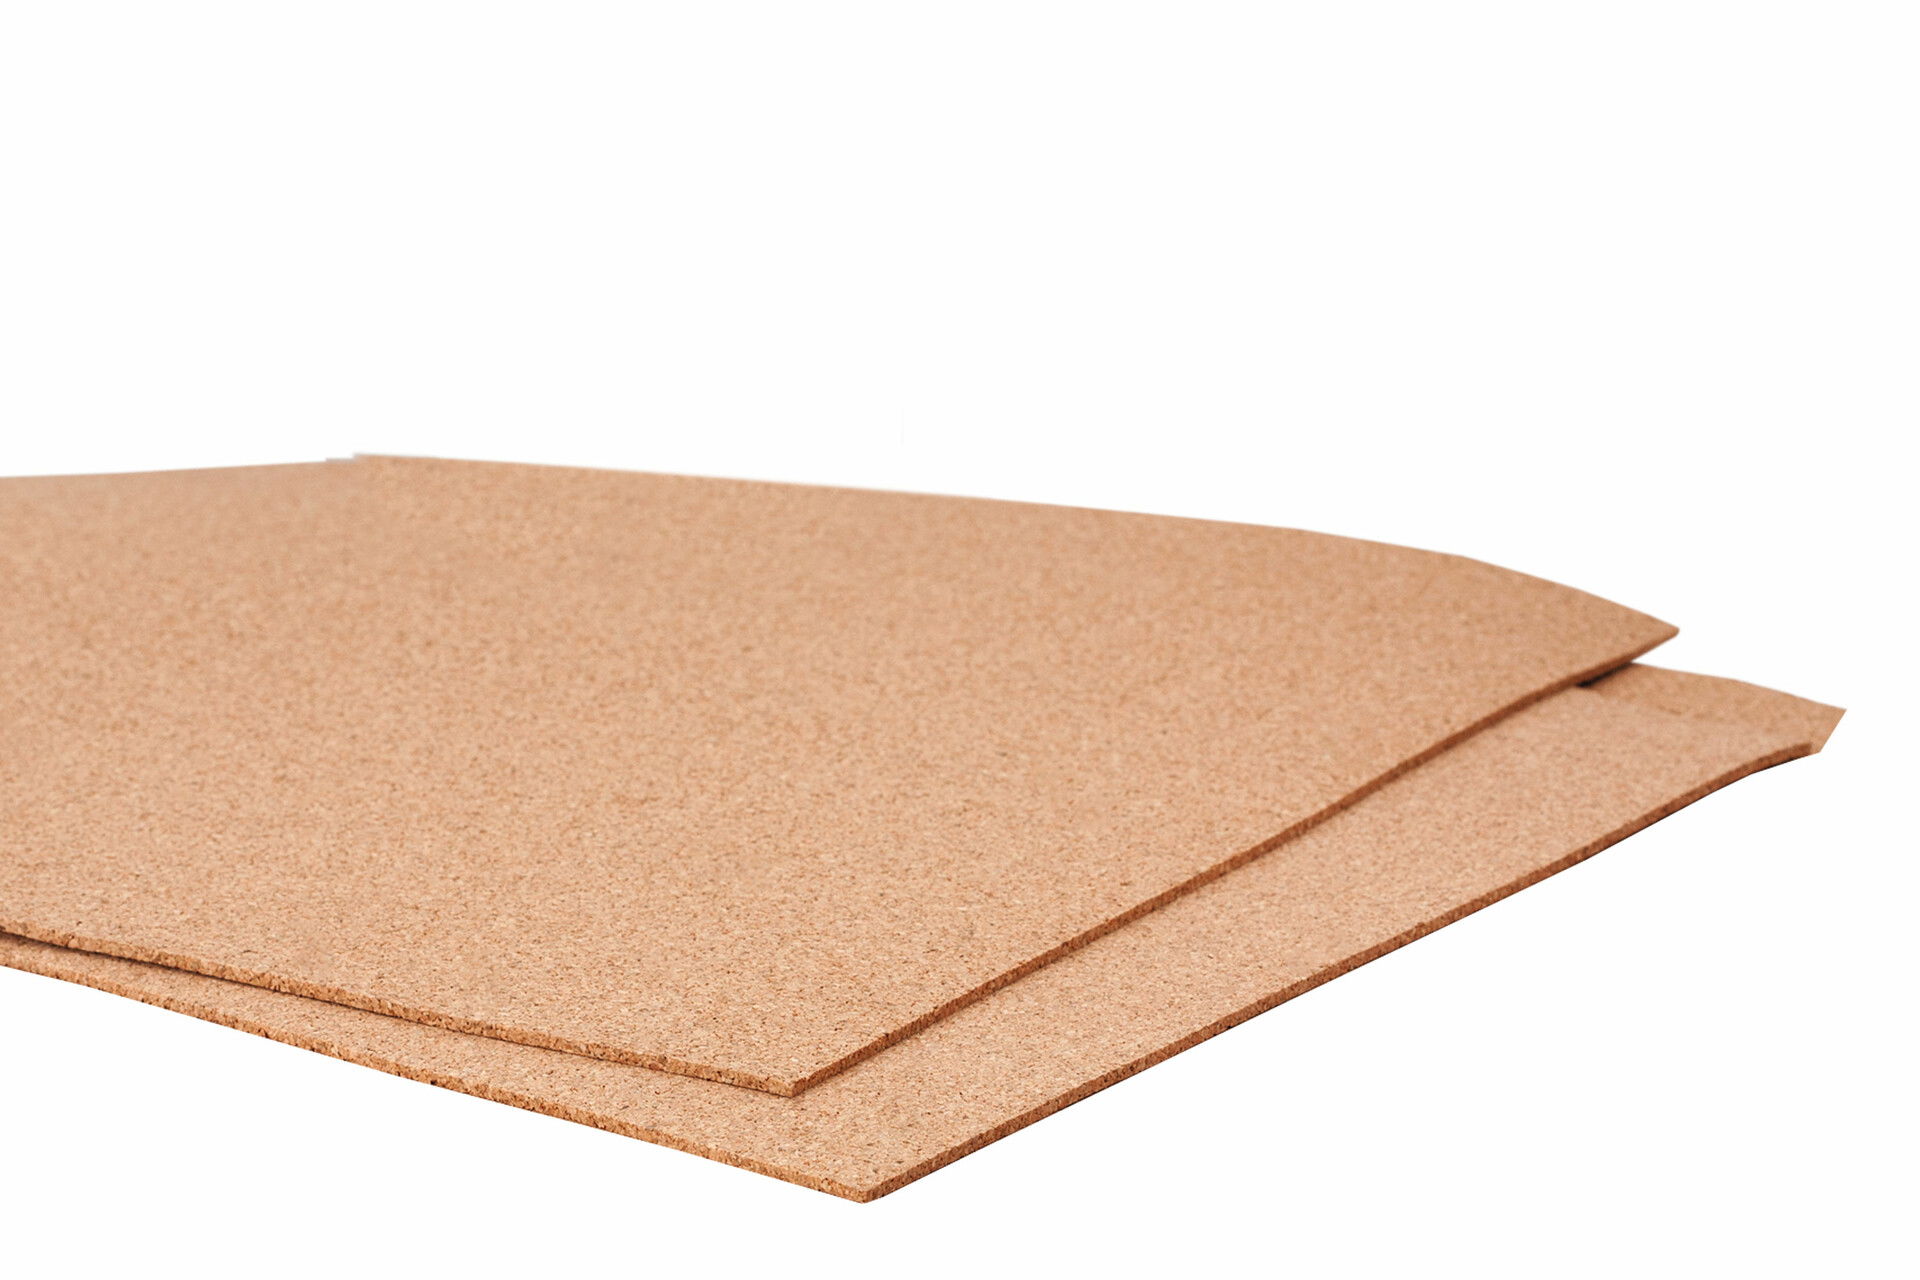
Cork boards
Cutter & Ruler
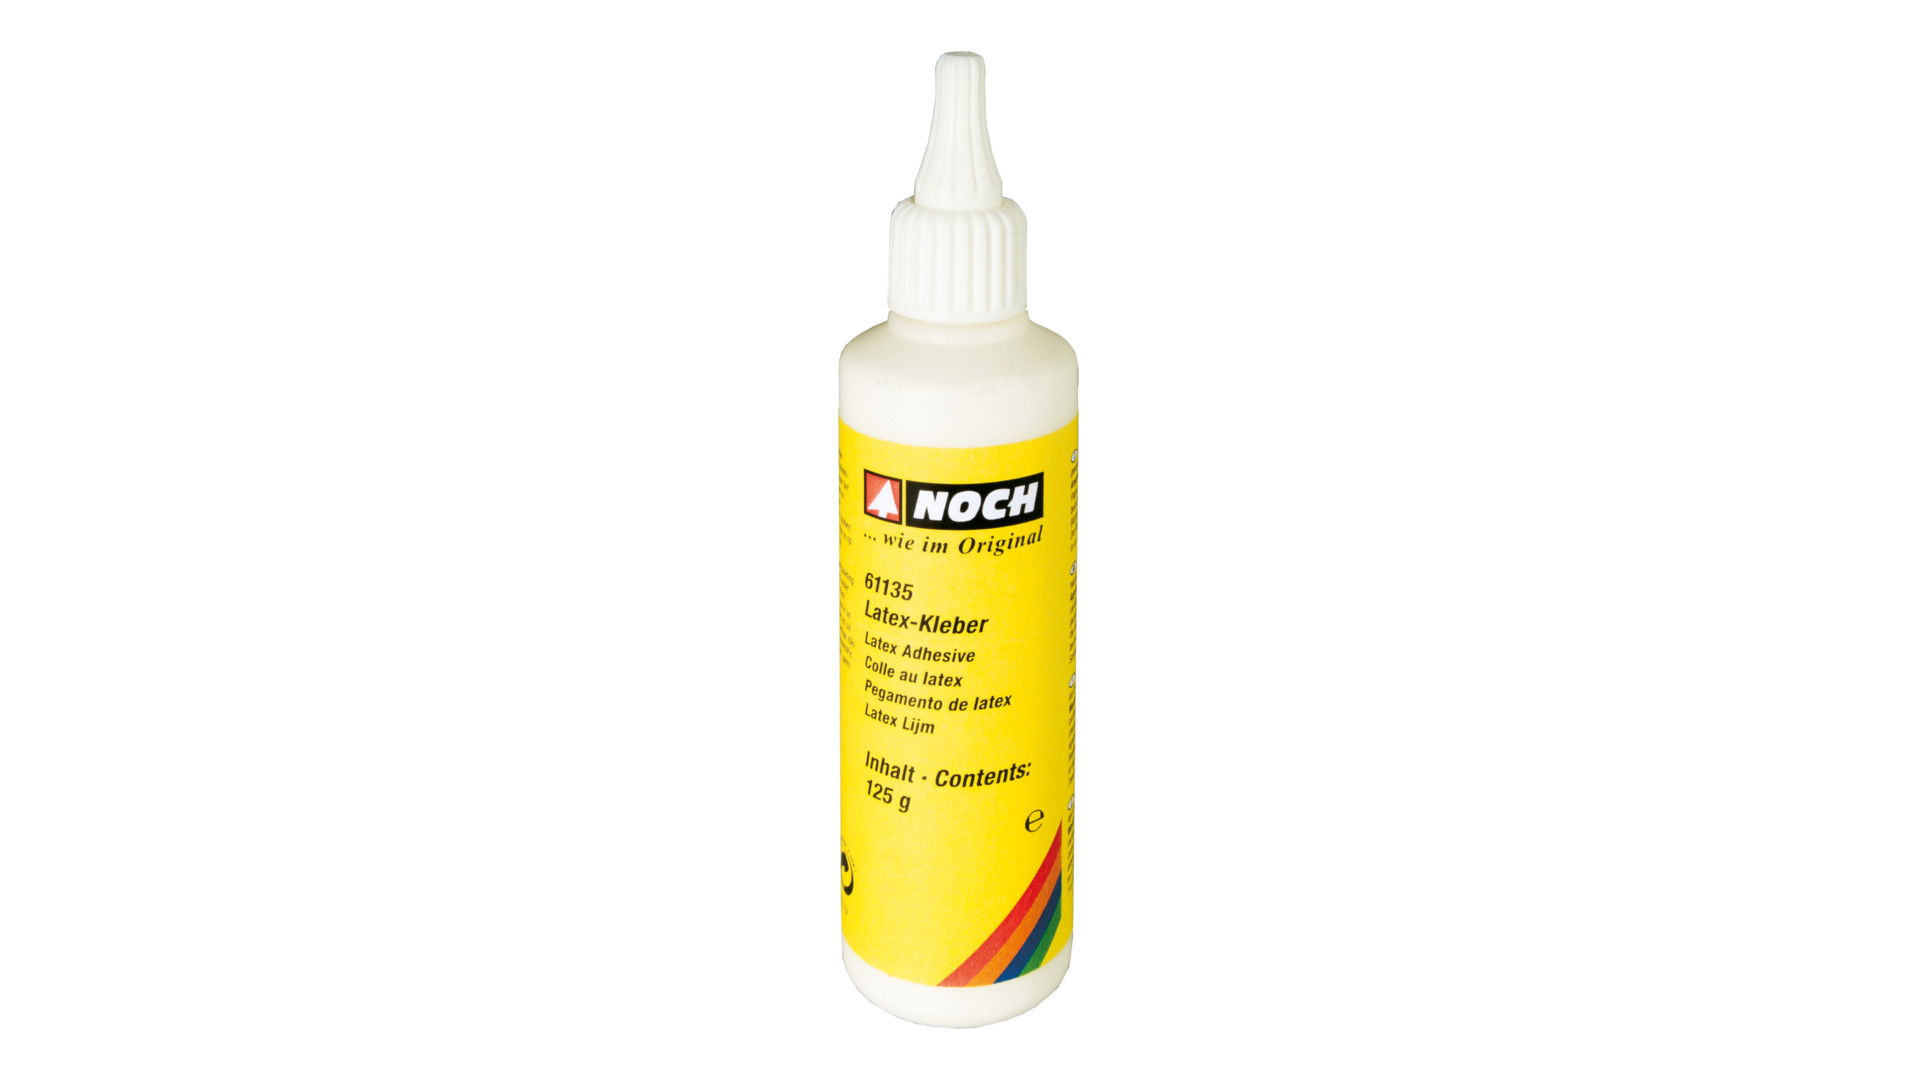
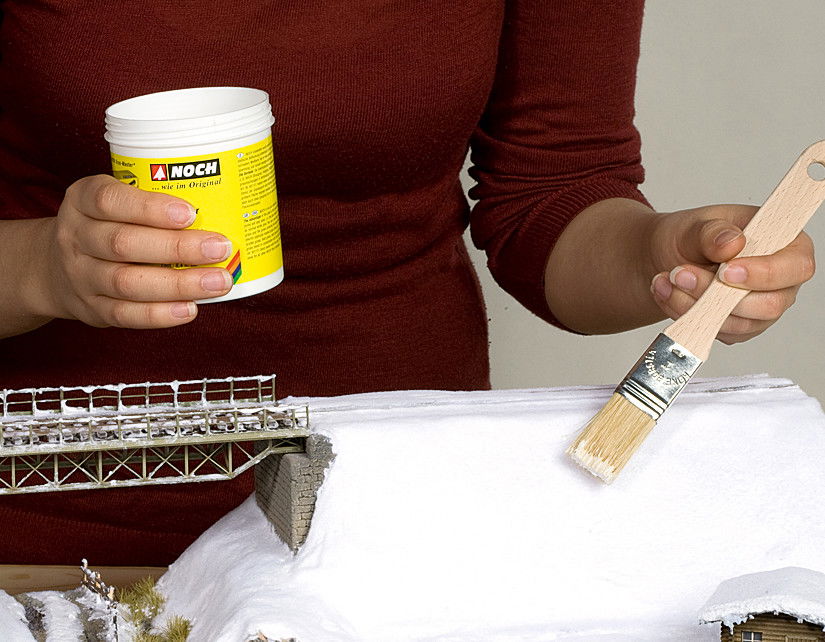
Latex Adhesive
Mini-figures “Cow”
Drawing pins
All-purpose or superglue
Cork boards
Cutter & Ruler
Latex Adhesive
Mini-figures “Cow”
Drawing pins
All-purpose or superglue
1) Make a pinboard landscape in a picture frame.
I like to have sheets of paper and started projects stacked on top of each other, and any free space is only too happy to be used as storage. If I then want to do something, I usually have to move everything around until I have shovelled enough space for myself. That's annoying! It's not that I don't like having a free desk, I just find it hard to make it happen.
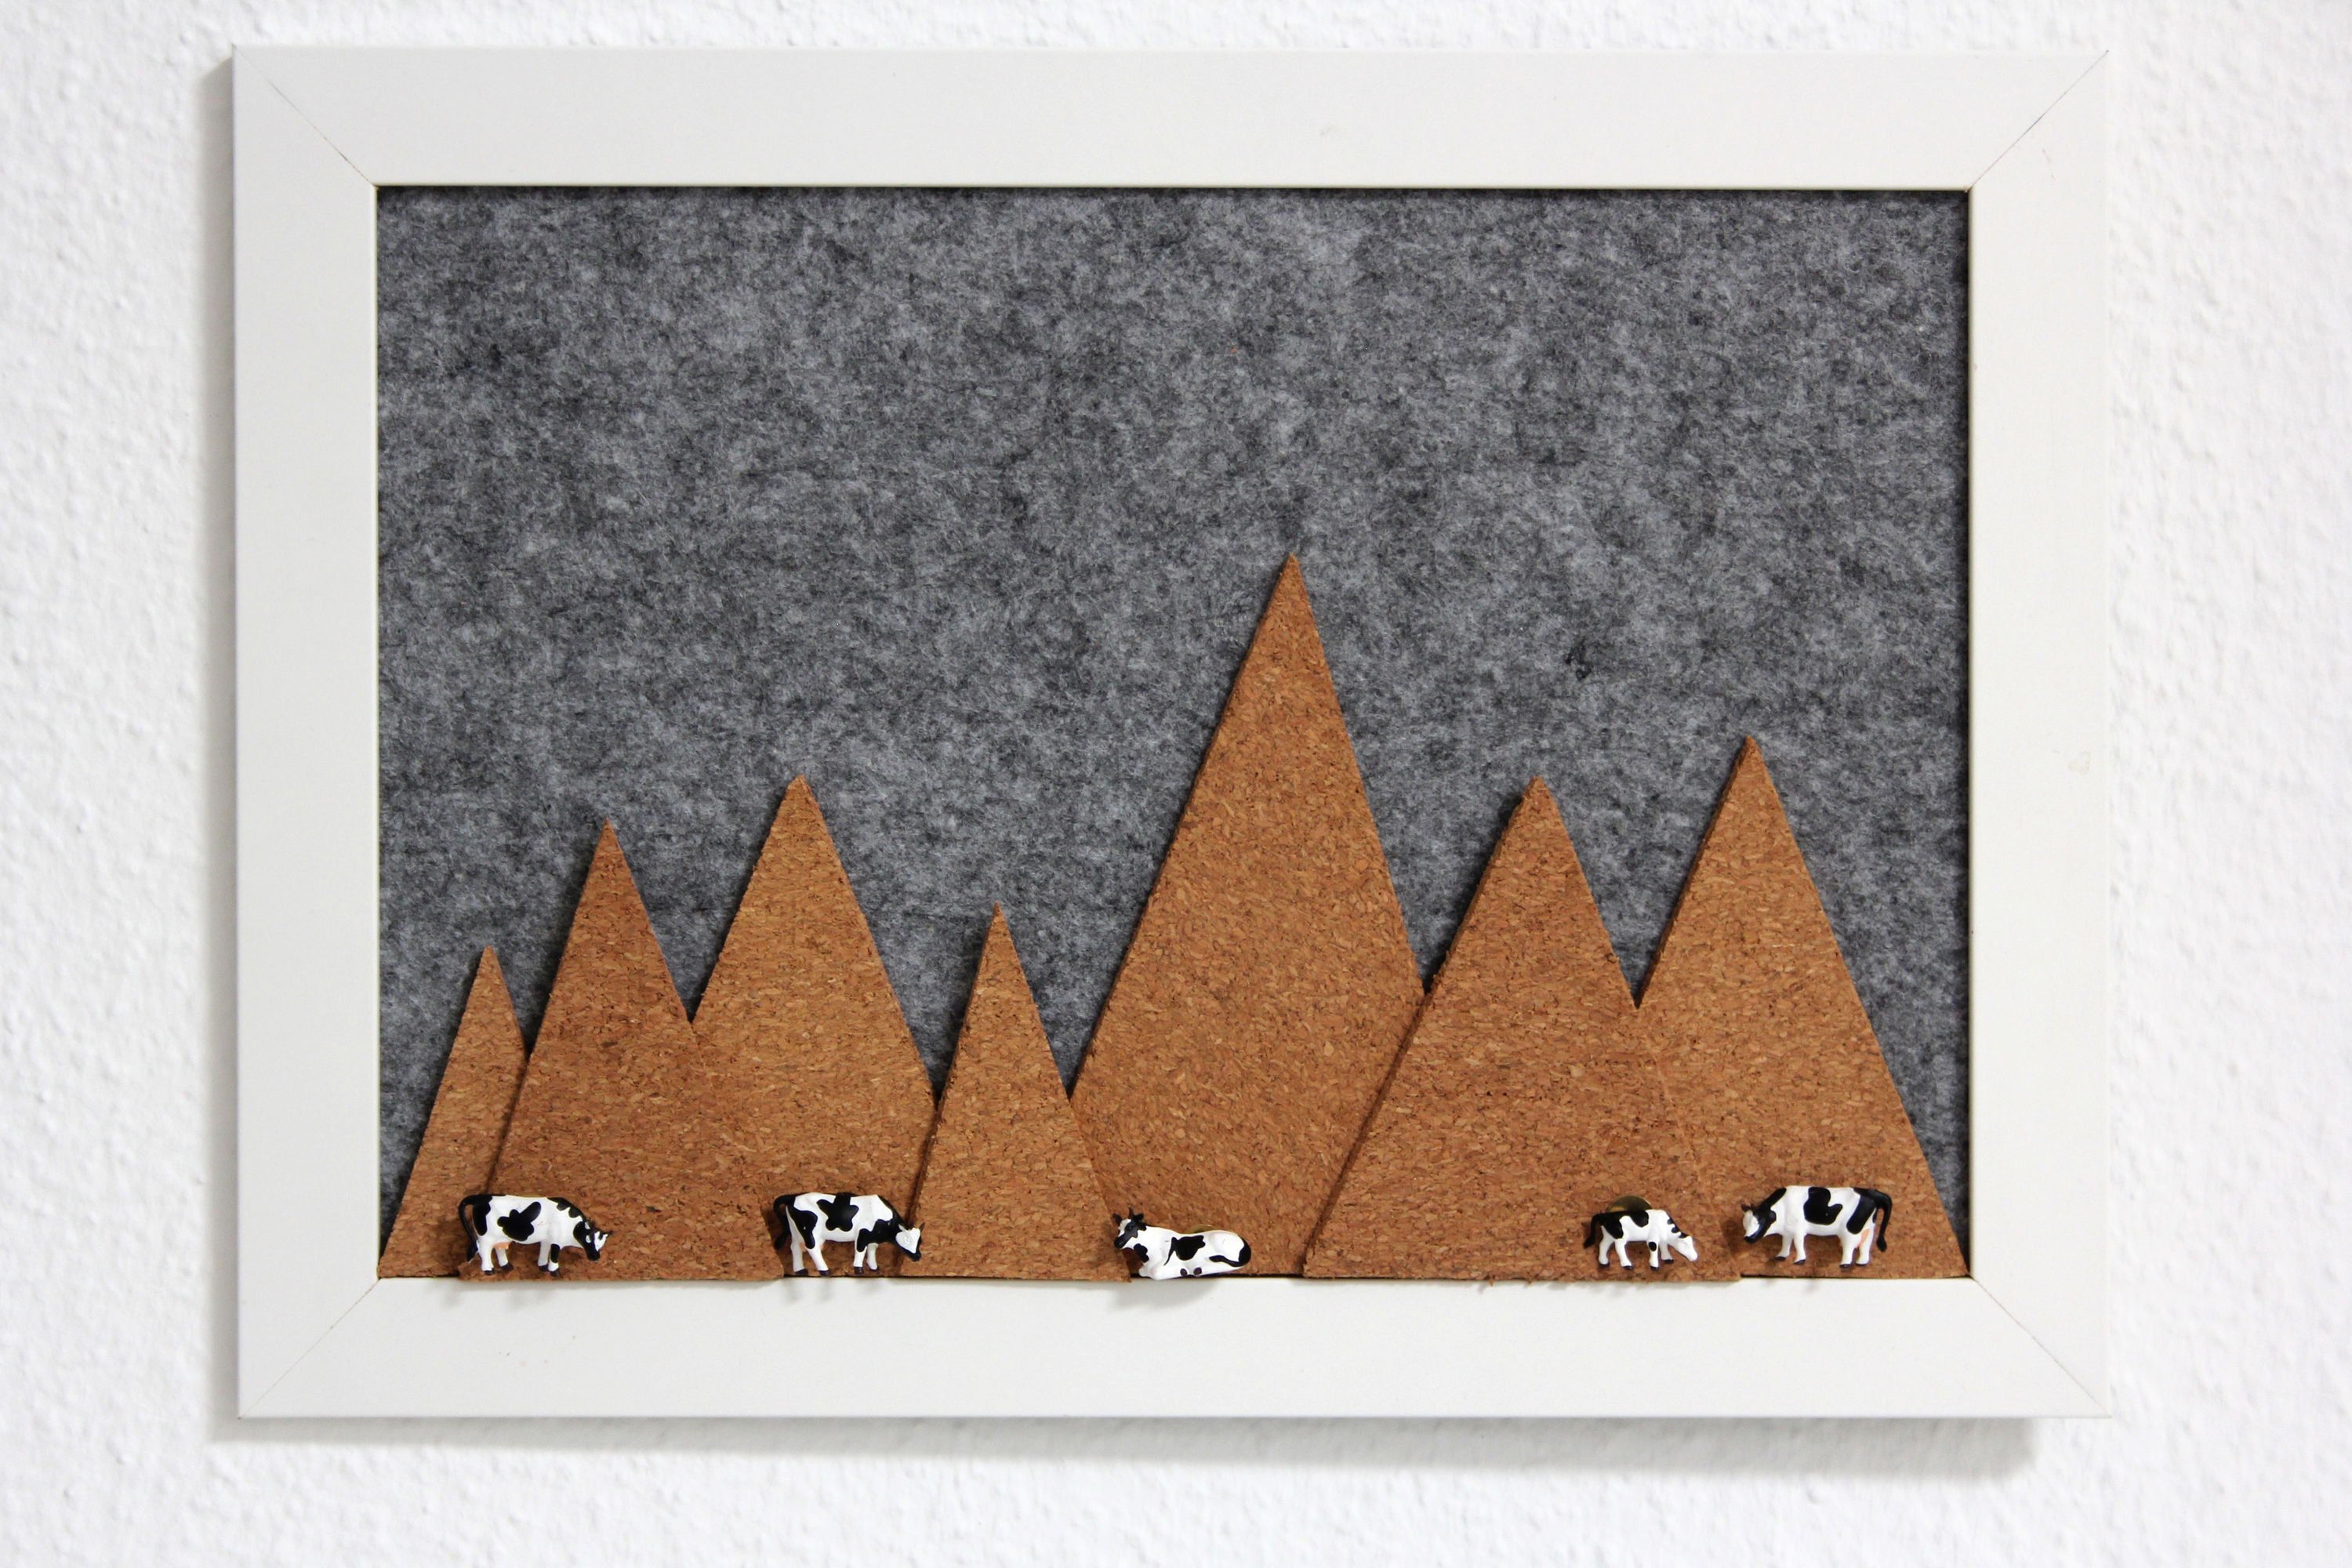
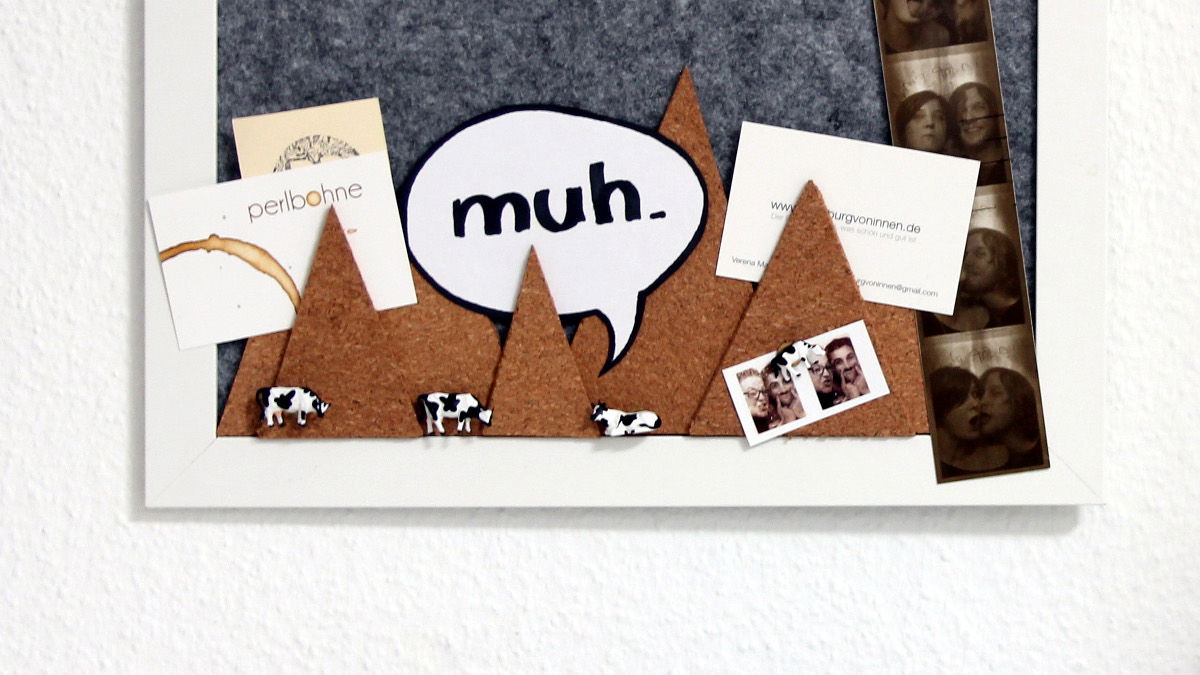
As a little help, I want to make myself a pinboard - that way I can at least quickly get rid of a few notes, photos and the odd business card. After all, you have to start somewhere. I combined two materials, cork and felt, and made a small mountain landscape as a pinboard - including grazing cows! This way, the memo board is not only practical, but also looks pretty. The "mountains" made of cork can be used in two ways: You can pin things to them, but you can also stick business cards and small notes behind them. This is especially practical when you run out of tacks (again) ;)
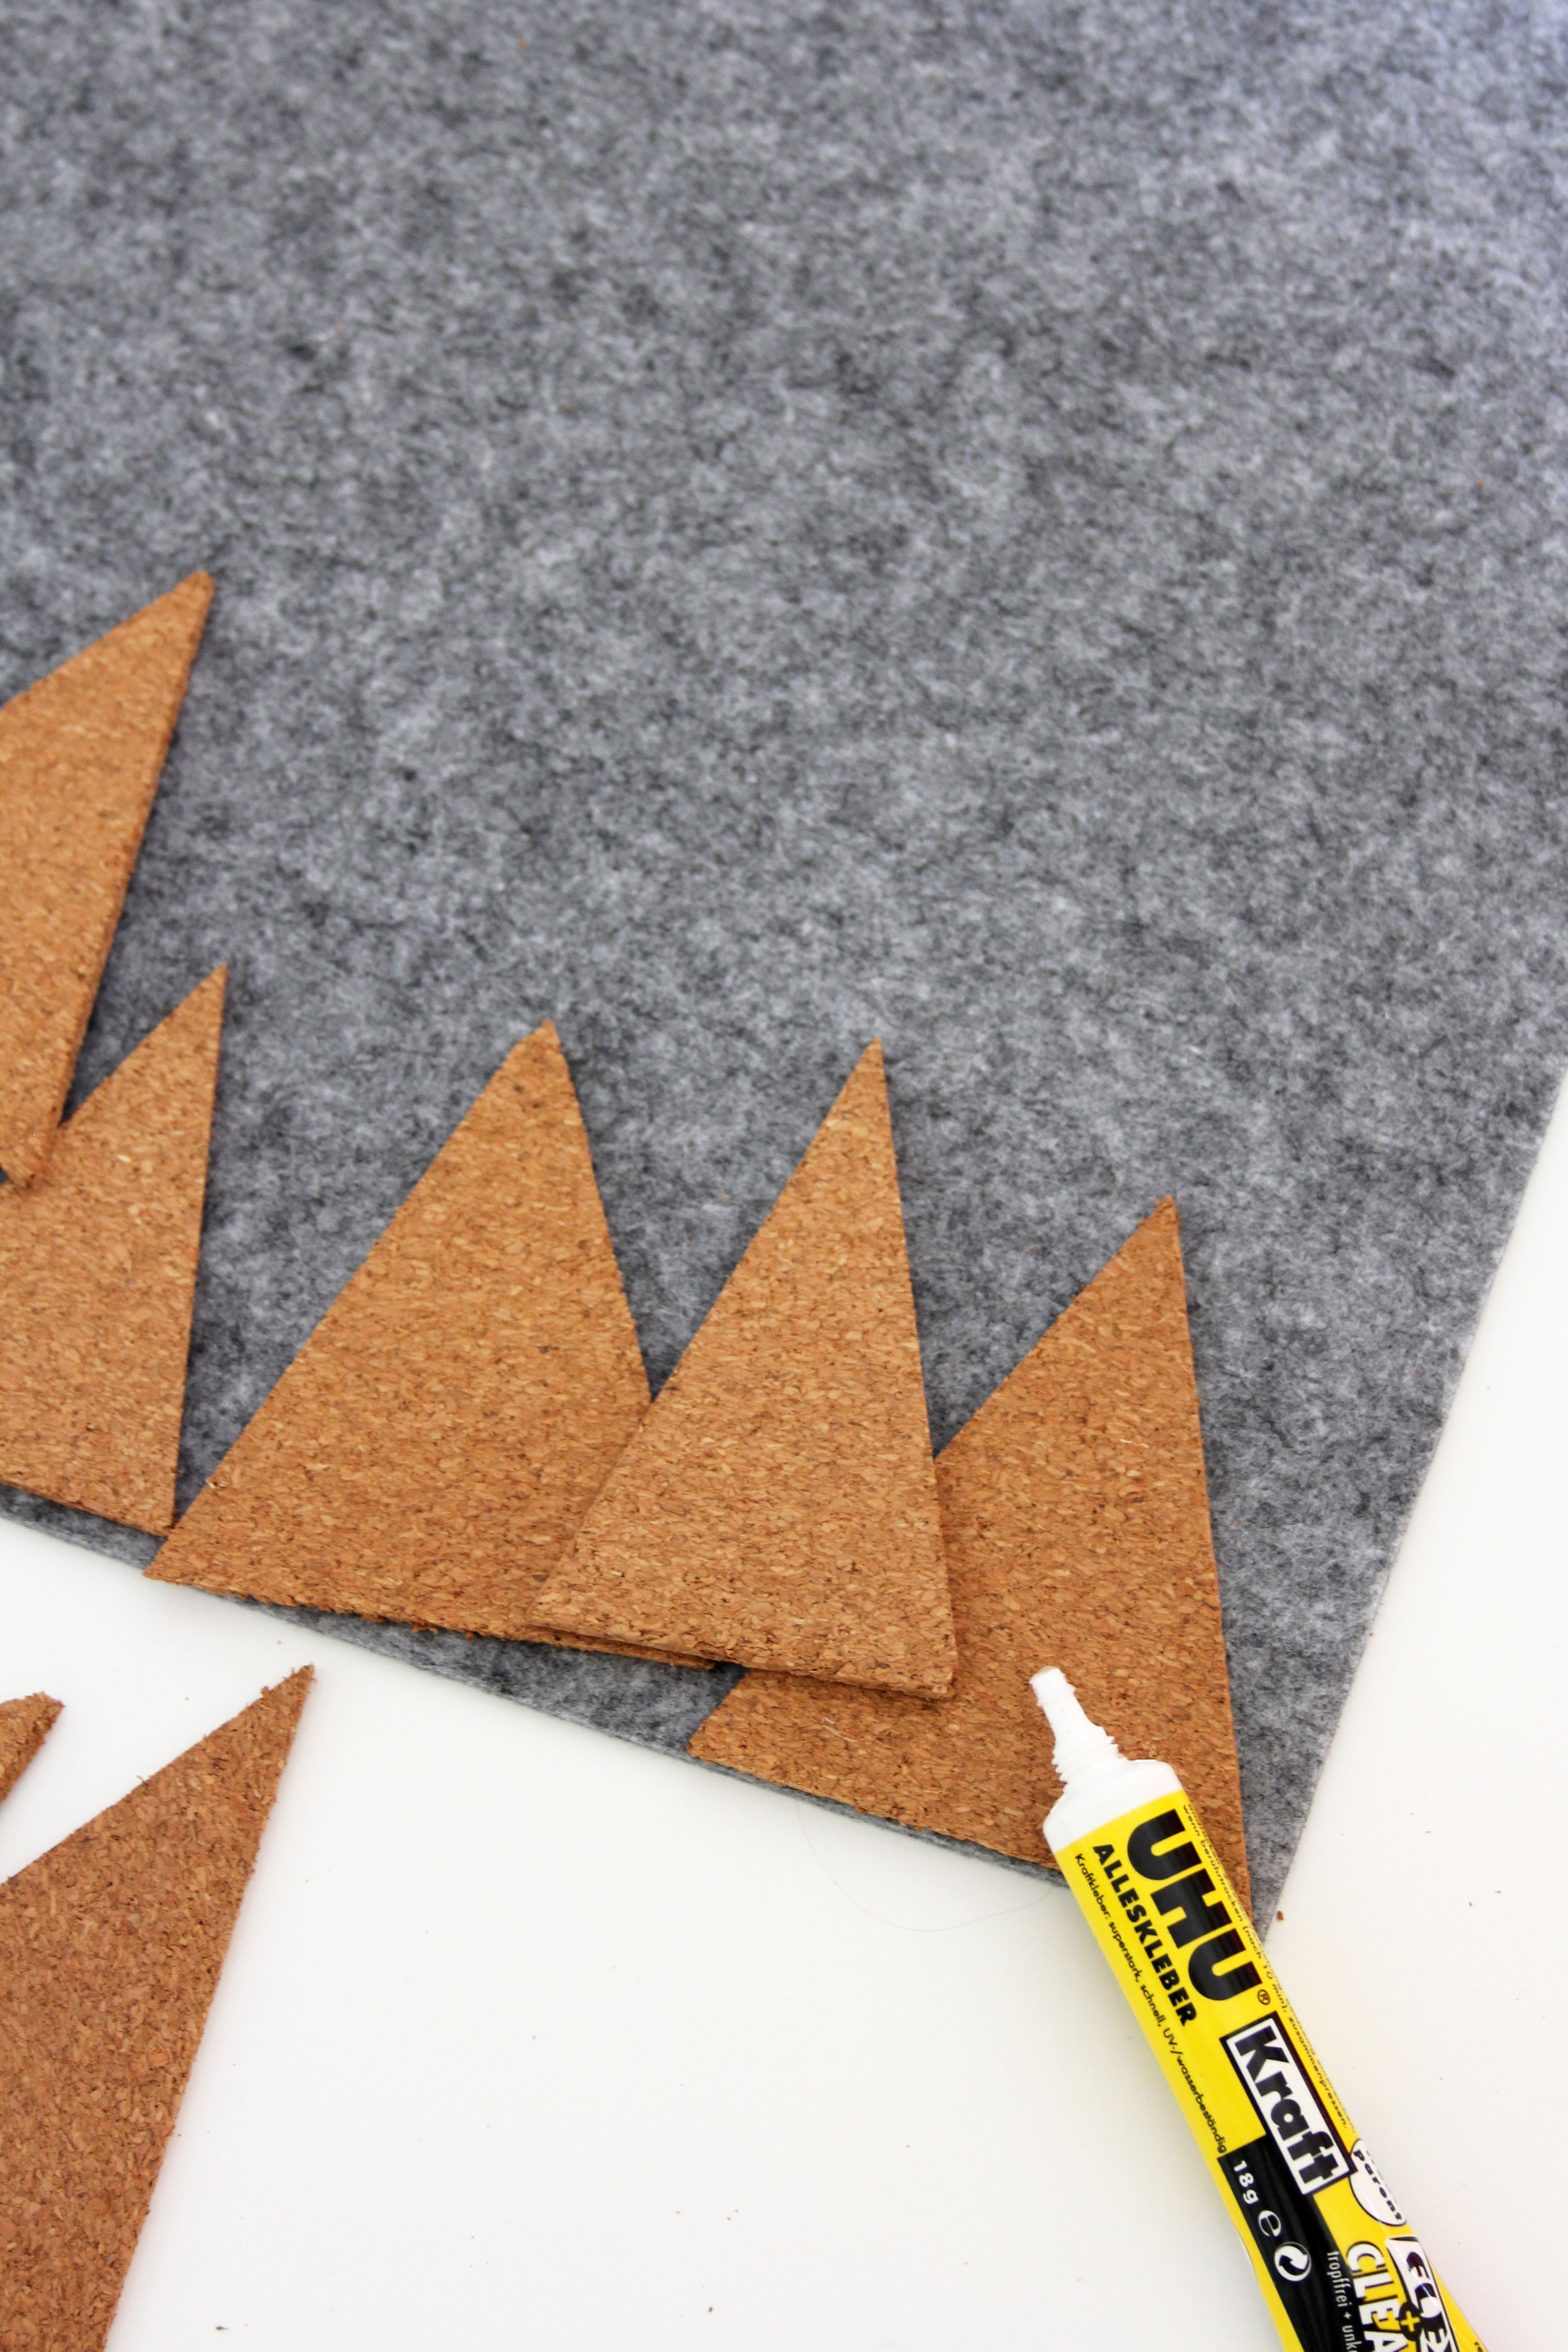
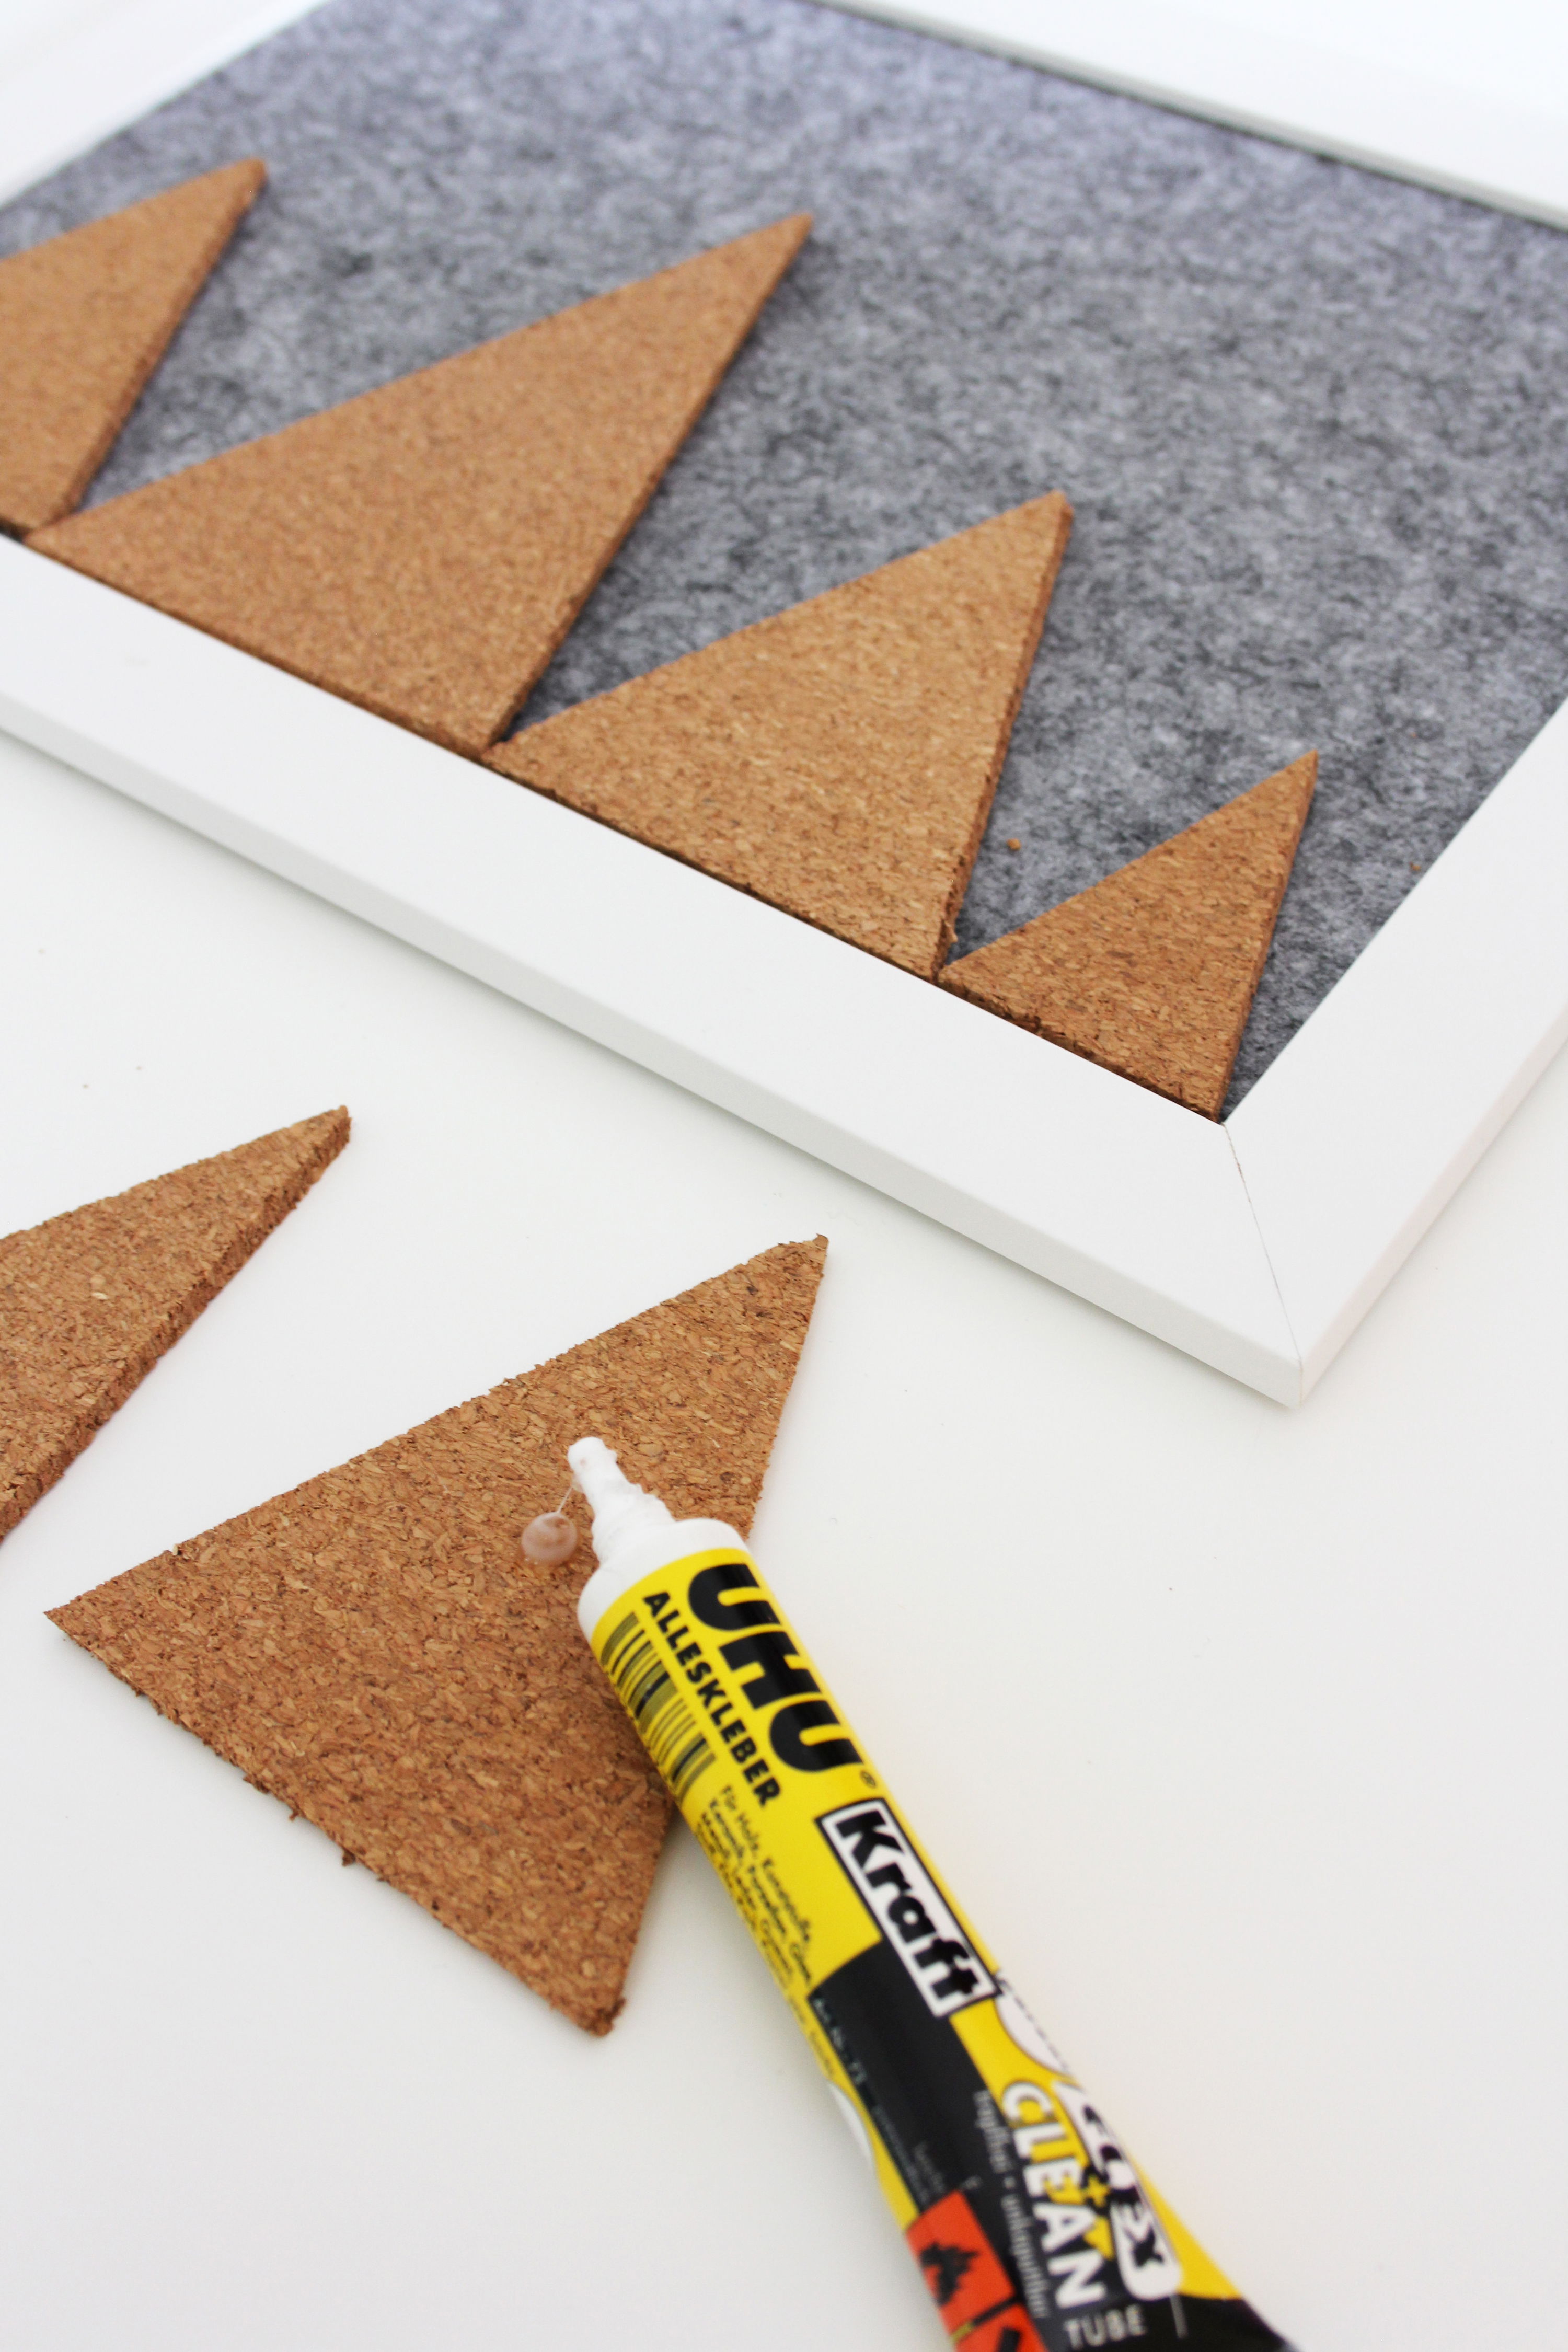
First of all, get a thick felt board from a craft shop. It should be at least 5 mm thick. I took one in DIN A4, because I also had a matching frame. Of course, you can also use a larger board and a larger frame to make your pinboard. Cut the mountains out of the cork sheets with a cutter and a ruler. Then glue them to the felt board with latex glue. The second row of mountains should be glued offset from the first so that notes and business cards can be stuck behind the peaks later. The latex glue is also very suitable for this.
2) Make cow pins
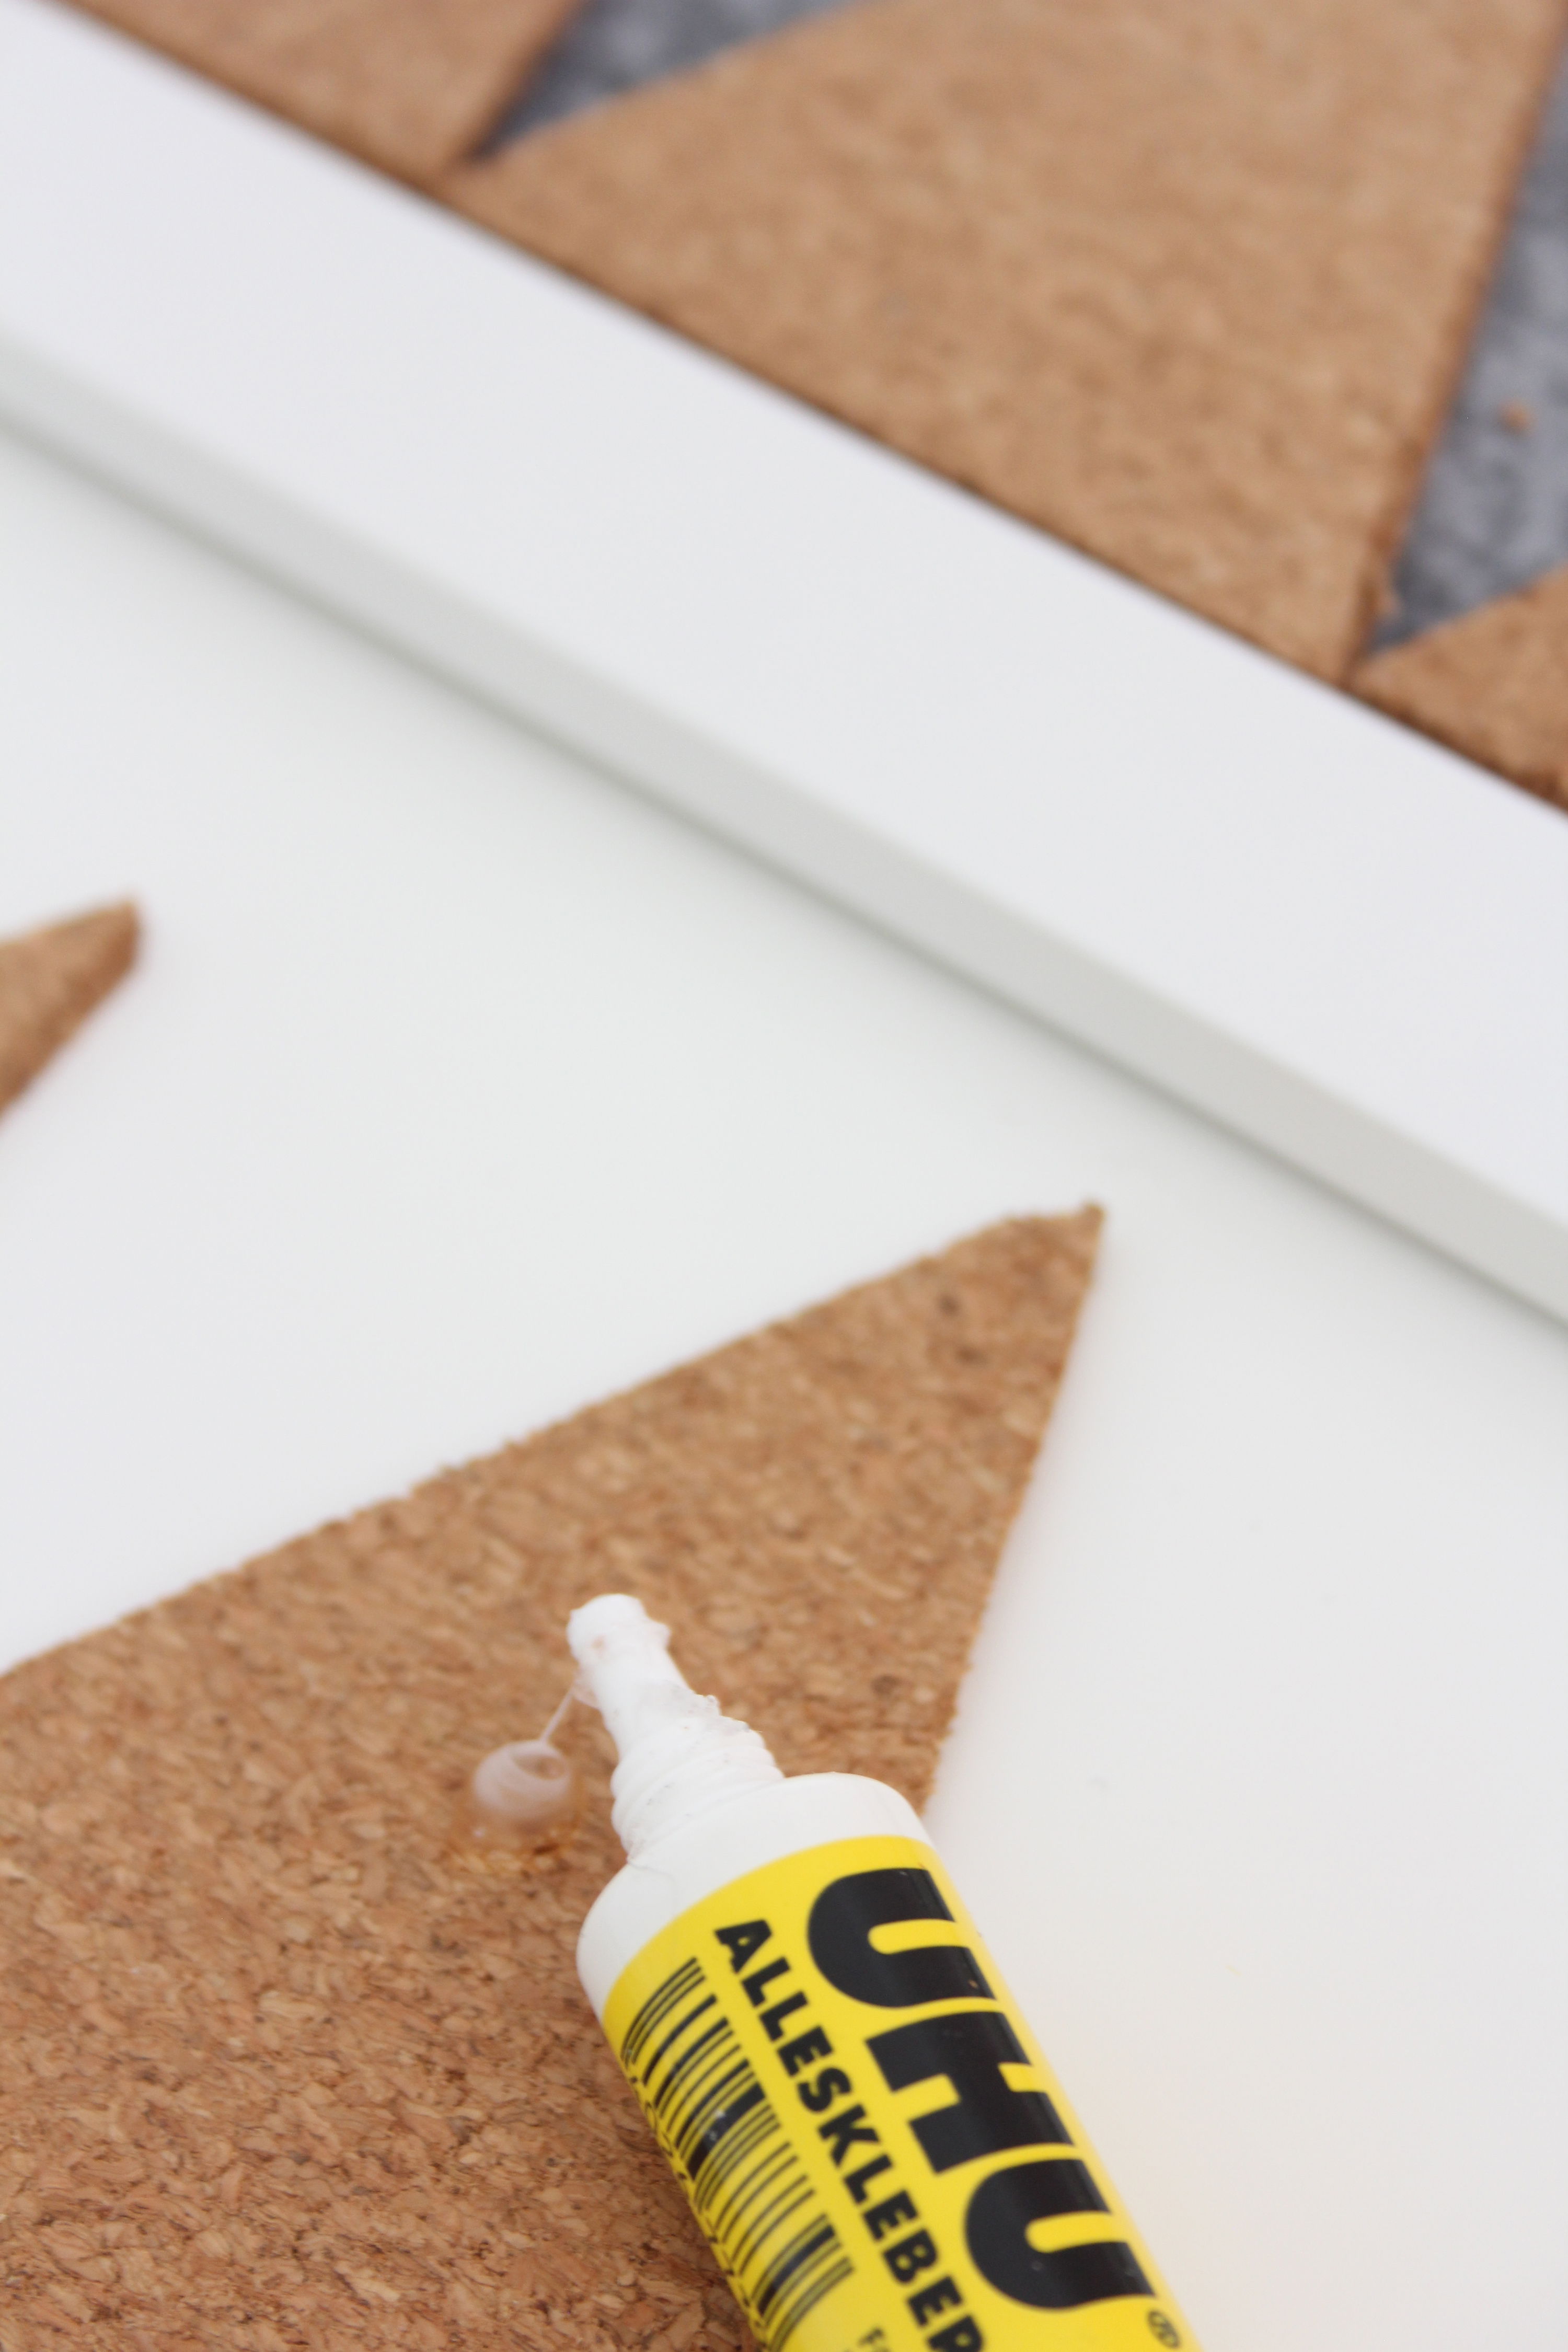
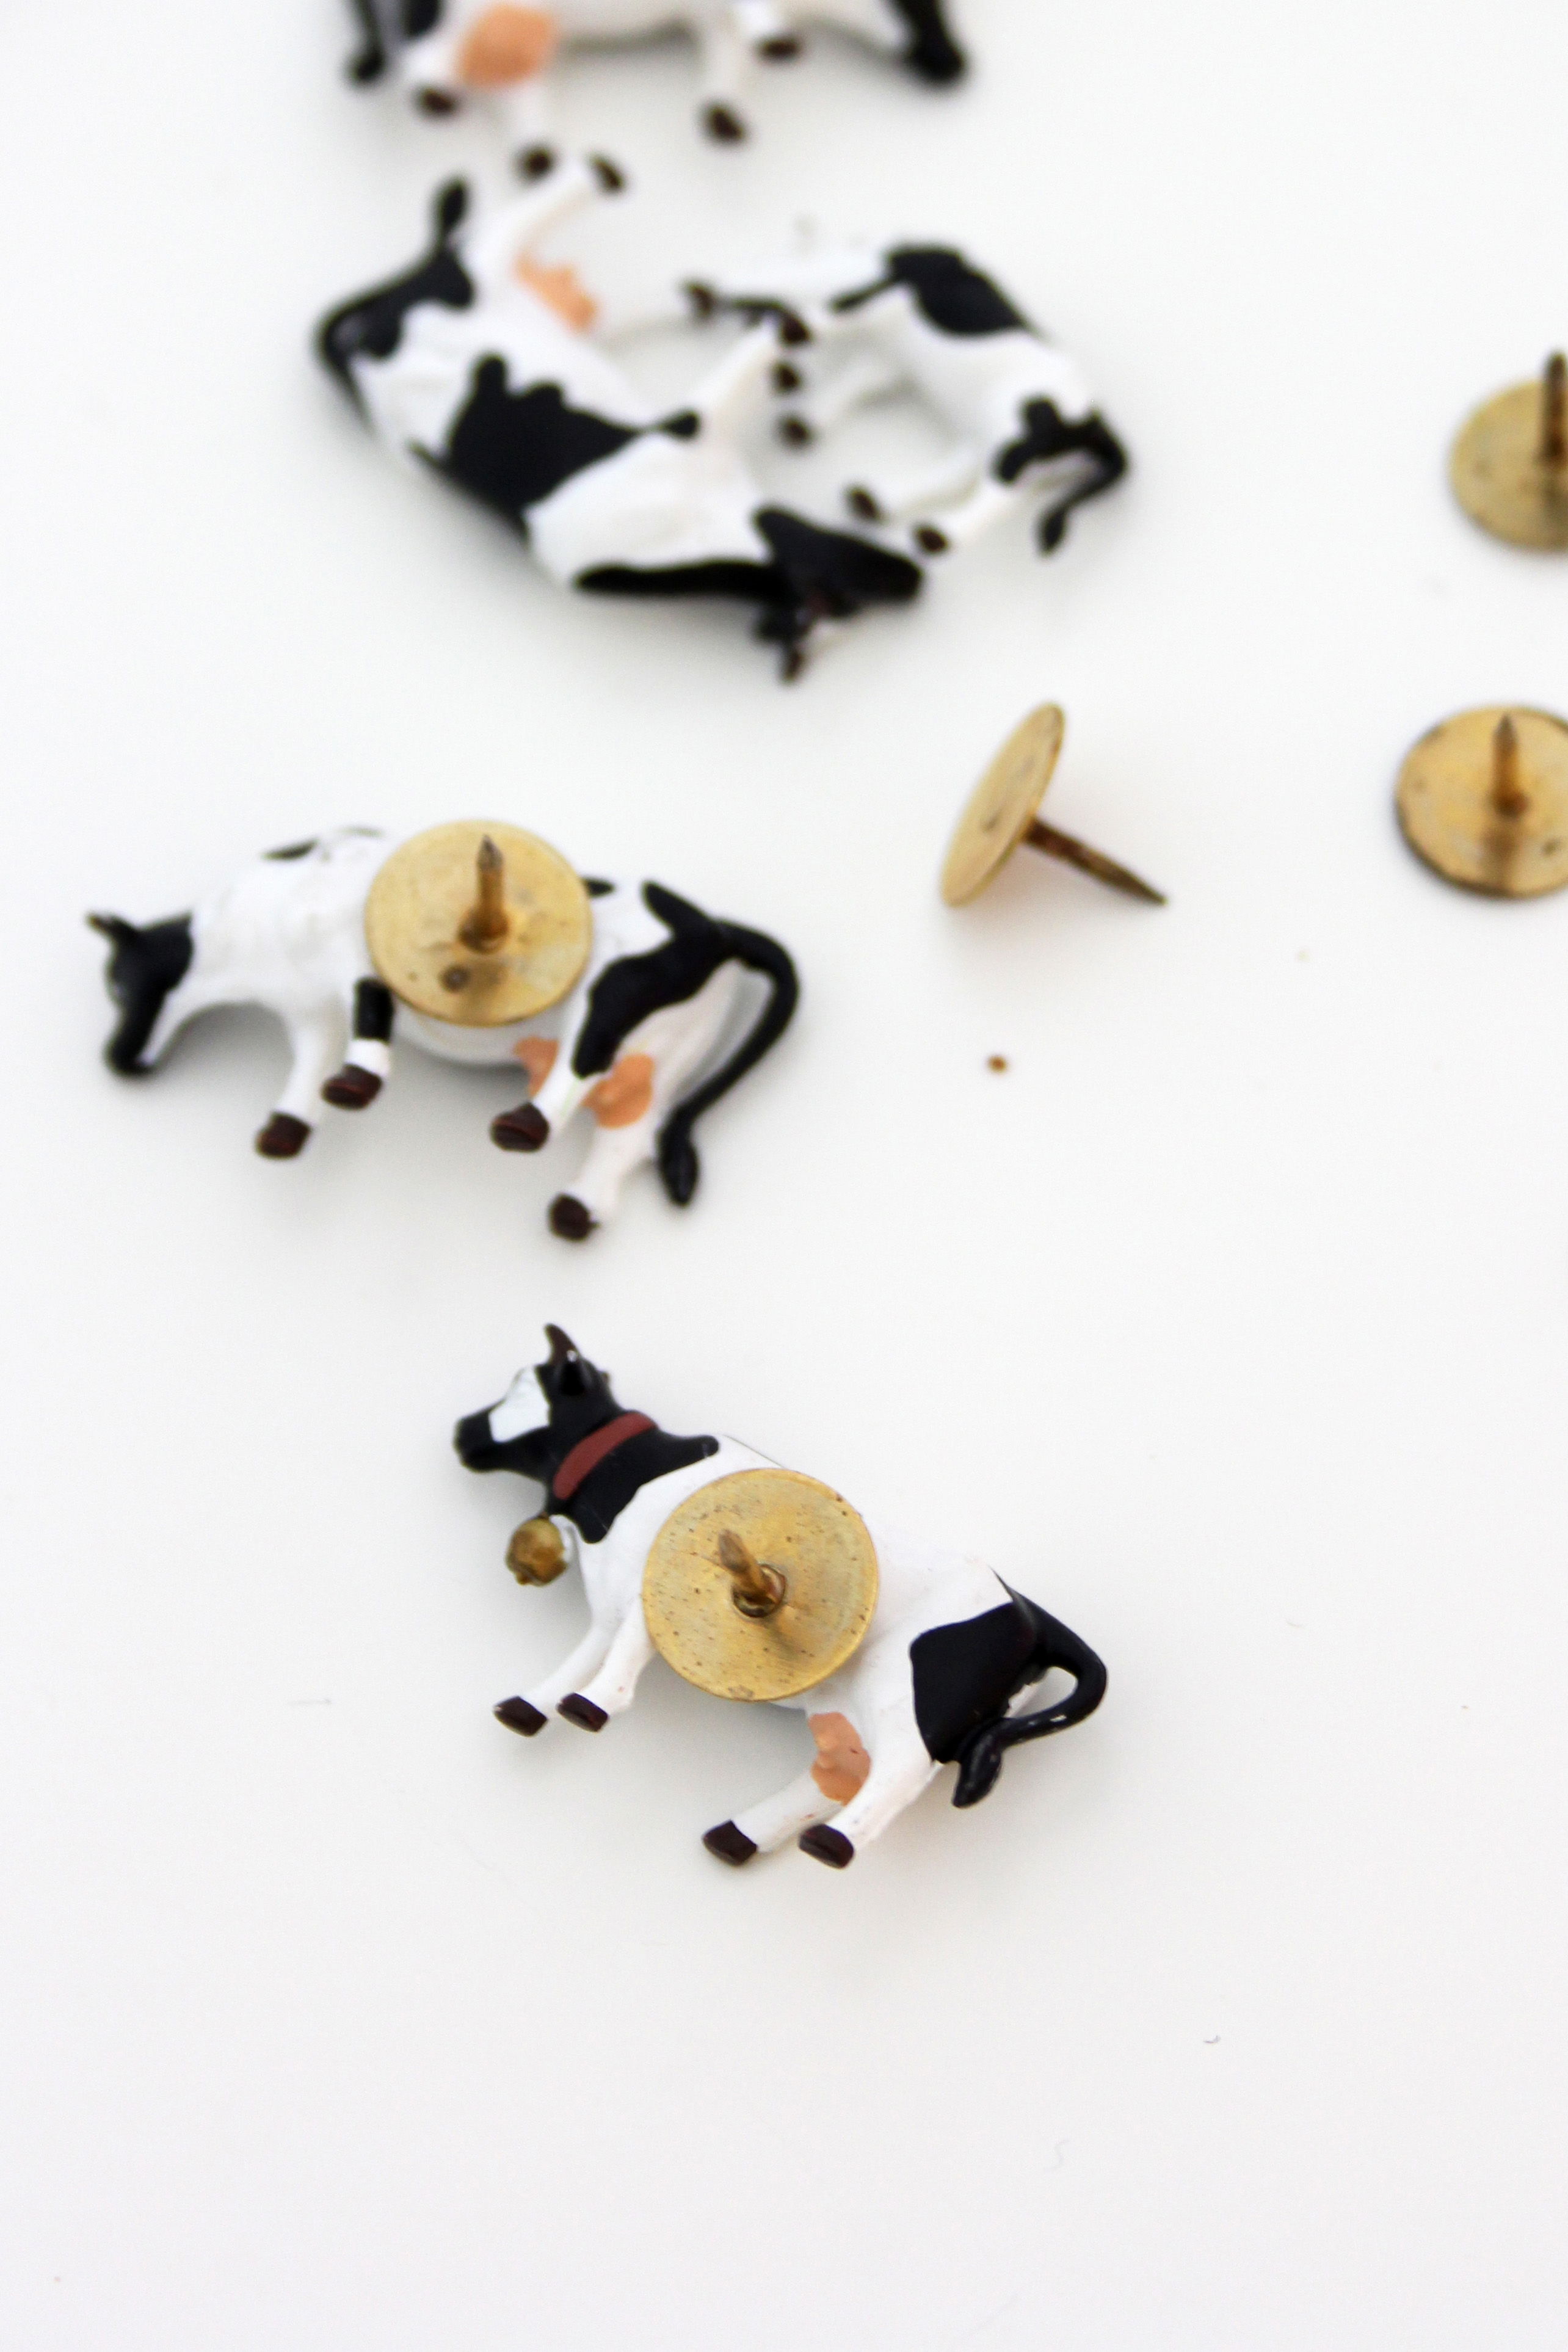
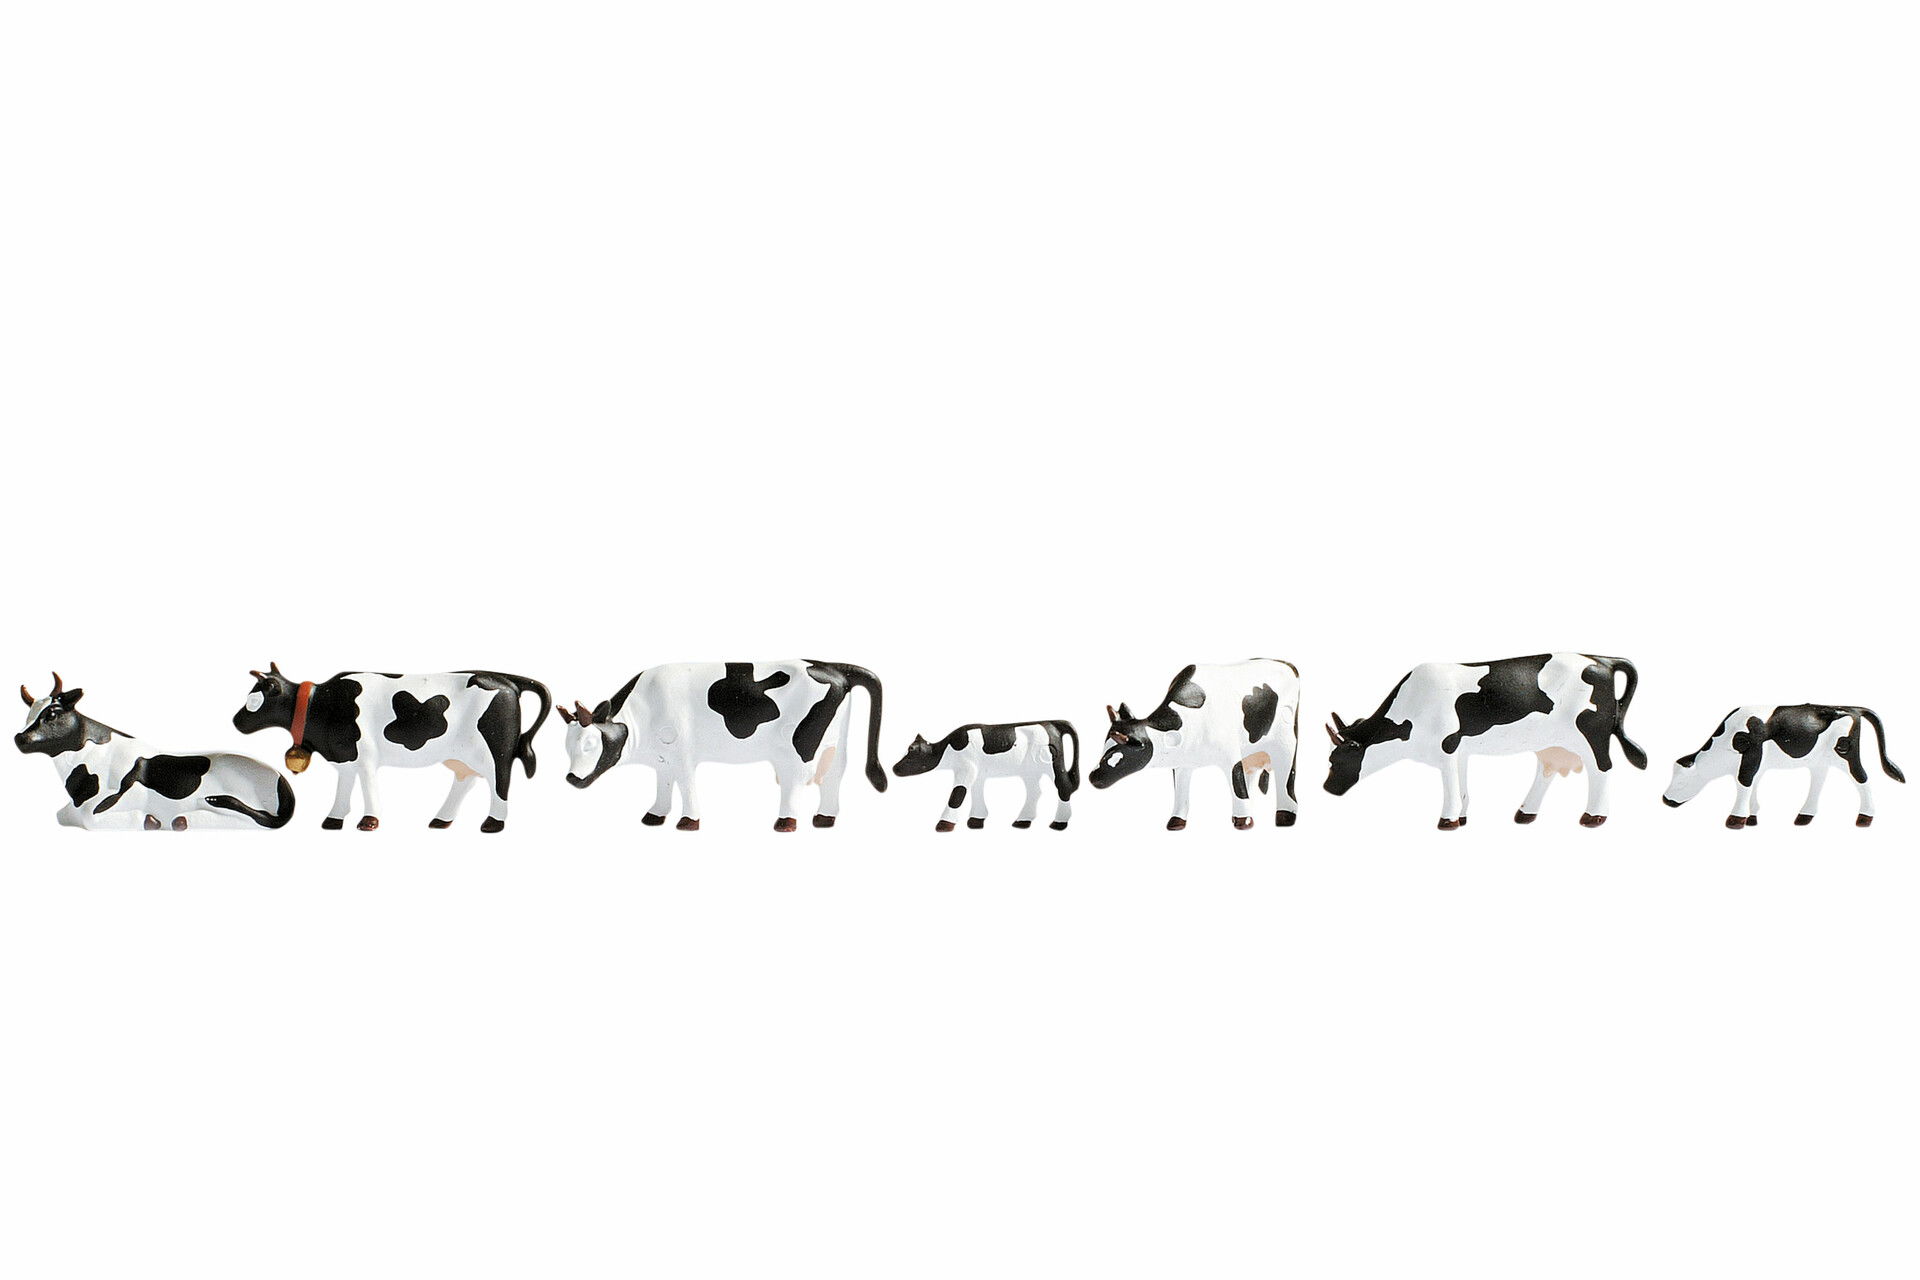
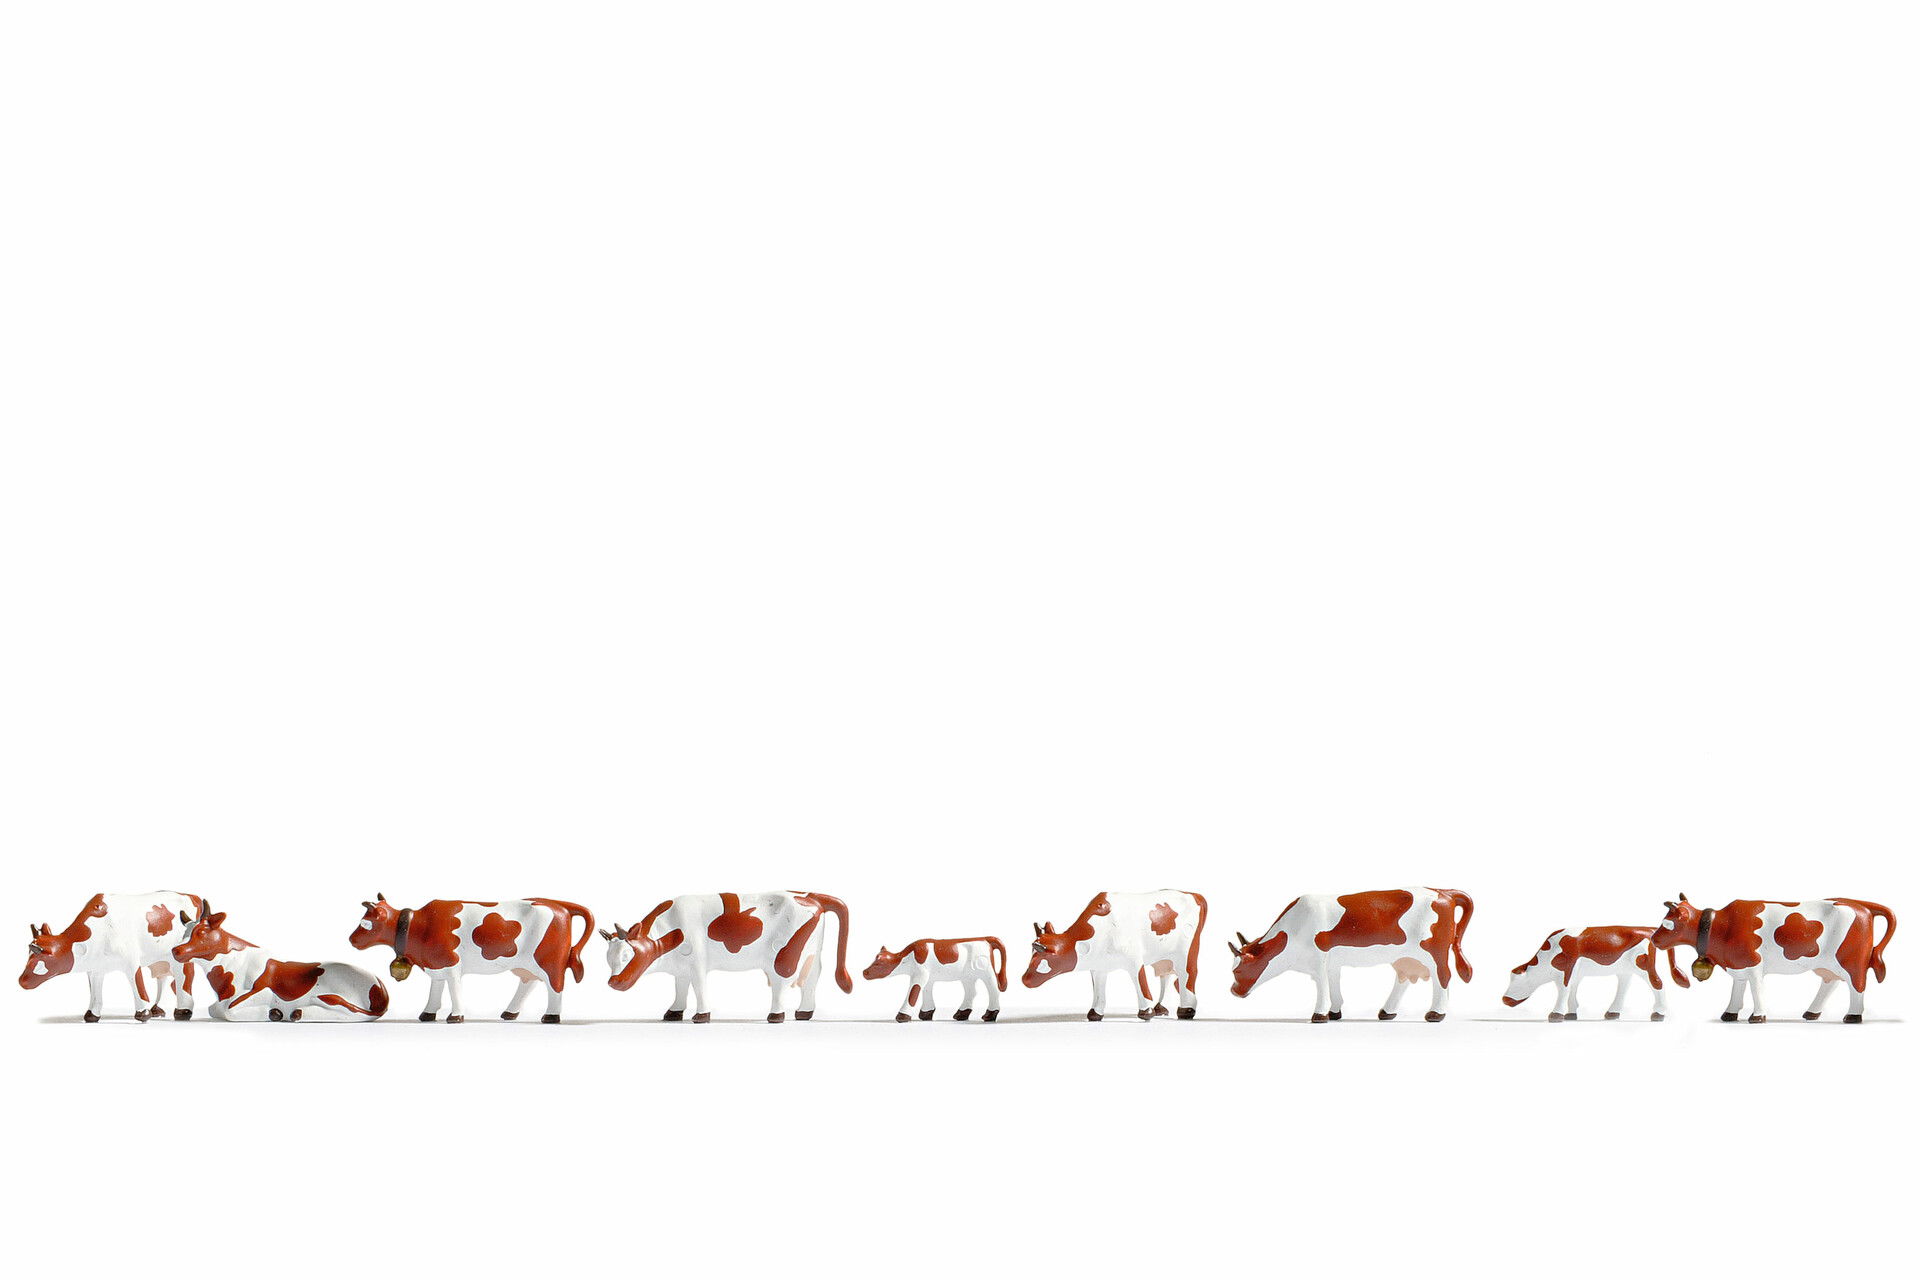
Now glue the little cows onto drawing pins. The best glue for this is superglue or all-purpose glue from the DIY store. Let the cow pins dry in peace so that the drawing pins really stick well. I used black and white cows here, but NOCH kreativ also offers brown and white, brown and dark brown (Allgäu)cows as mini-figures. Maybe you want to use completely different animals. Just have a look around the online shop to see what you like!
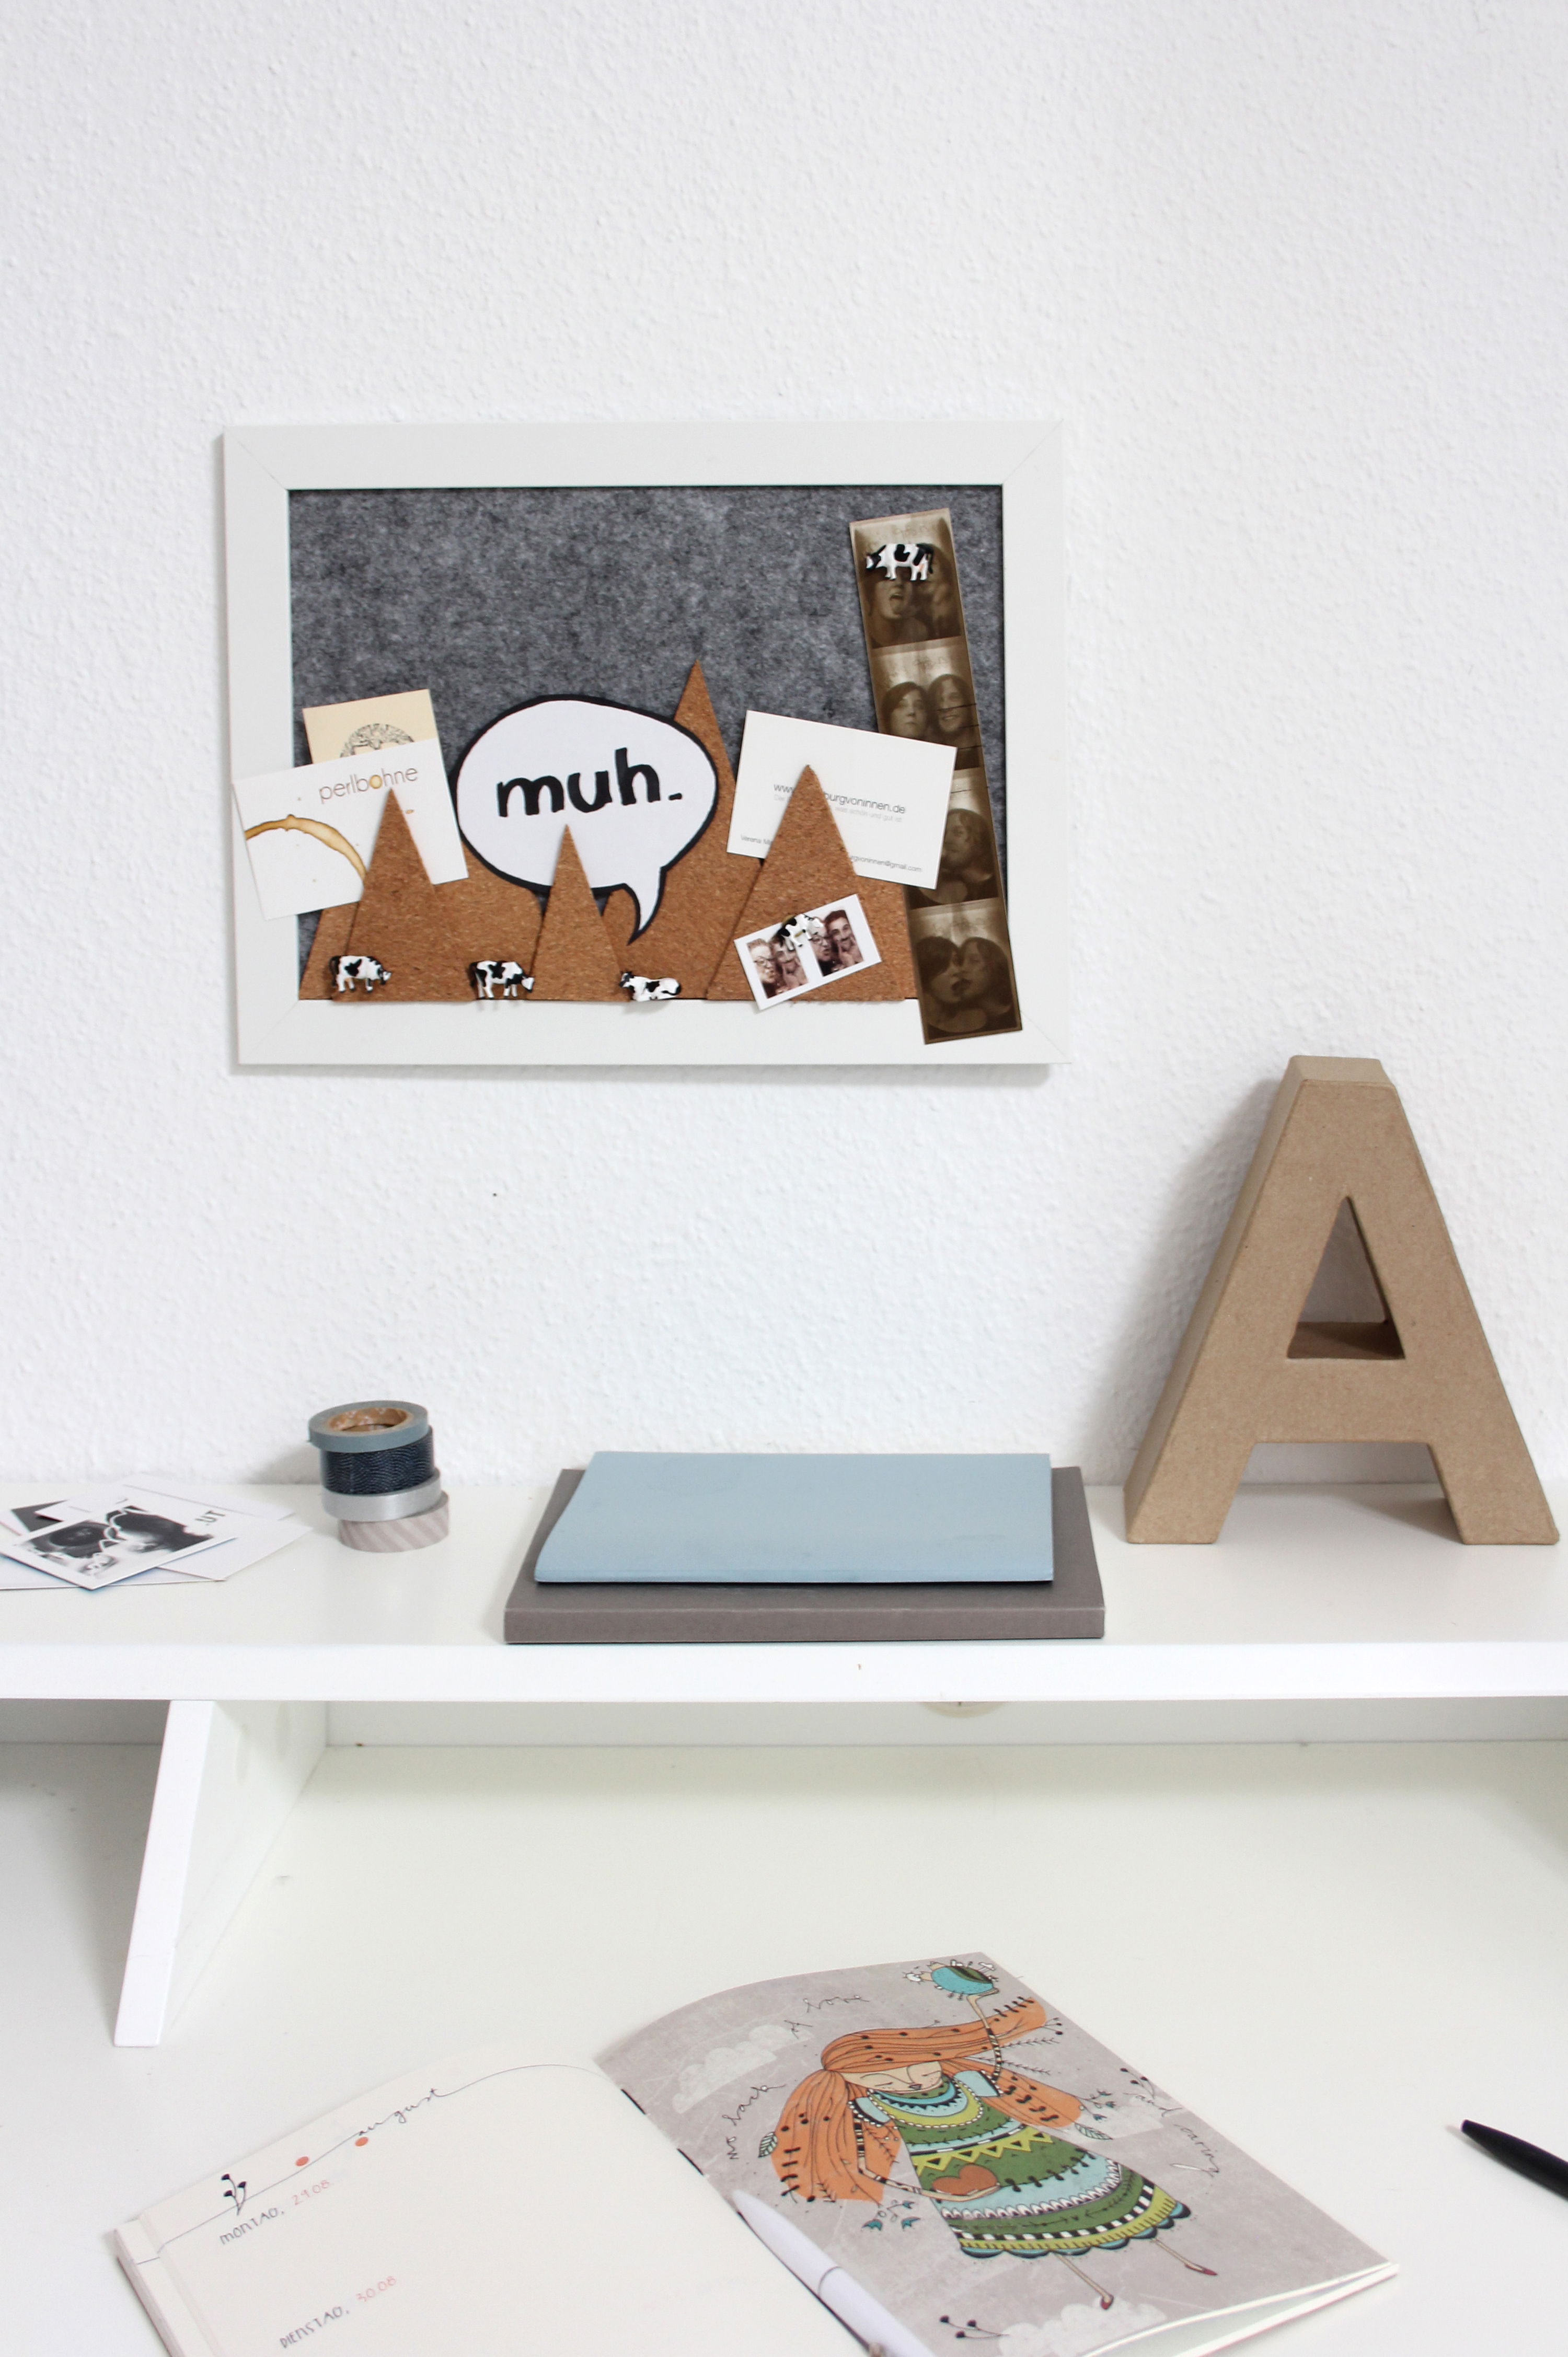
3) Now the cows come to the mountains: Pin your notes to the wall!
Now you can pin your notes to the pinboard and create order. You can attach notes, photos, business cards and much more with the cow pins or simply stick them behind the mountains - it looks great!
Your crafted results

I wish you a lot of fun with the re-crafting and to create order! If you feel like it, visit me on my blog dekotopia.net - I look forward to seeing you!
Greetings
Liska
Featured products
Shopping List

€12.49
(€83.27 / 1 qm)
In production. Expected to be available from 29 Jan 2026

€12.49
(€83.27 / 1 qm)
In production. Expected to be available from 29 Jan 2026
