Create a mushroom landscape!
Colourful autumn landscape for your living room!
In
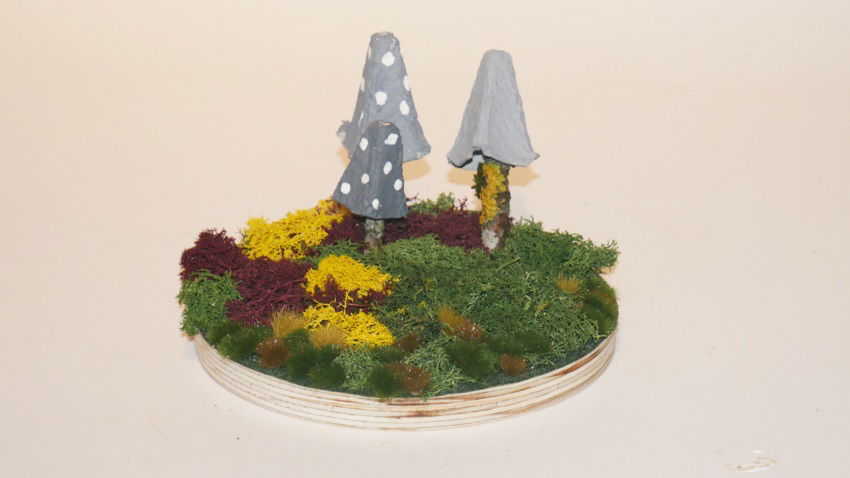
this crafting-tip, we show you how to create this autumnal mushroom landscape.
What could be better than a walk on a bright autumn day? The leaves are
changing their colours and the ground is slowly covered in a colourful layer of
leaves, which rustle softly as you walk. Bring these beautiful scenarios into
your home with the little mushroom landscape and decorate your home autumnally
in this way.
We wish you lots of fun while crafting!
Step-by-step instruction
Instructions from
Easy
20 min.
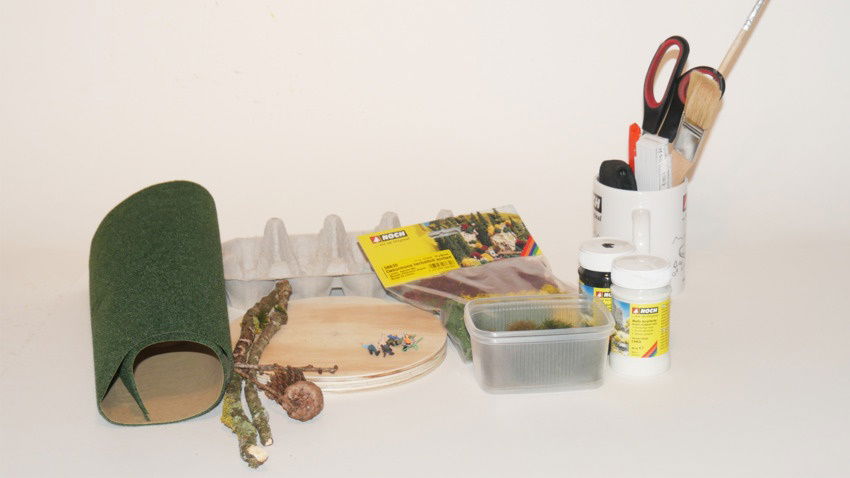
You need that
- Round wooden plate
- Sticks
- Egg box
- Grass mat (dark green)
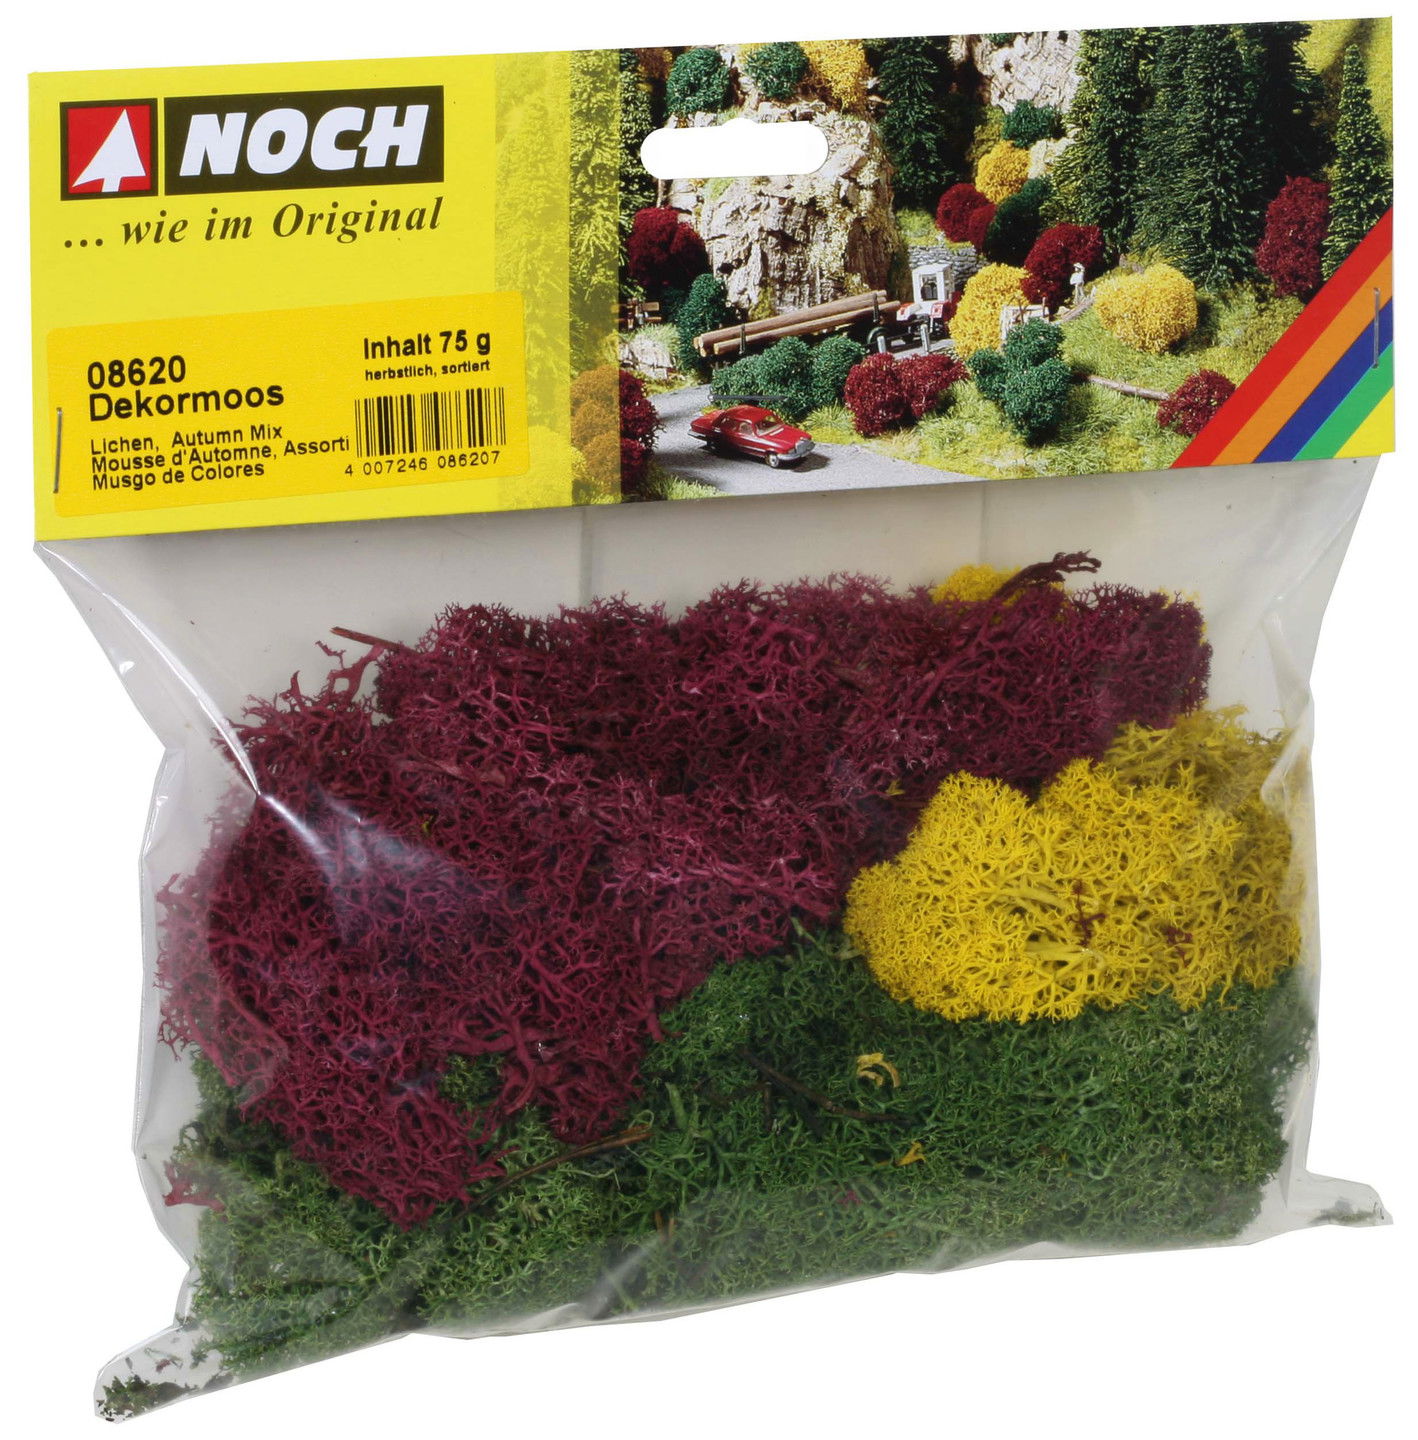
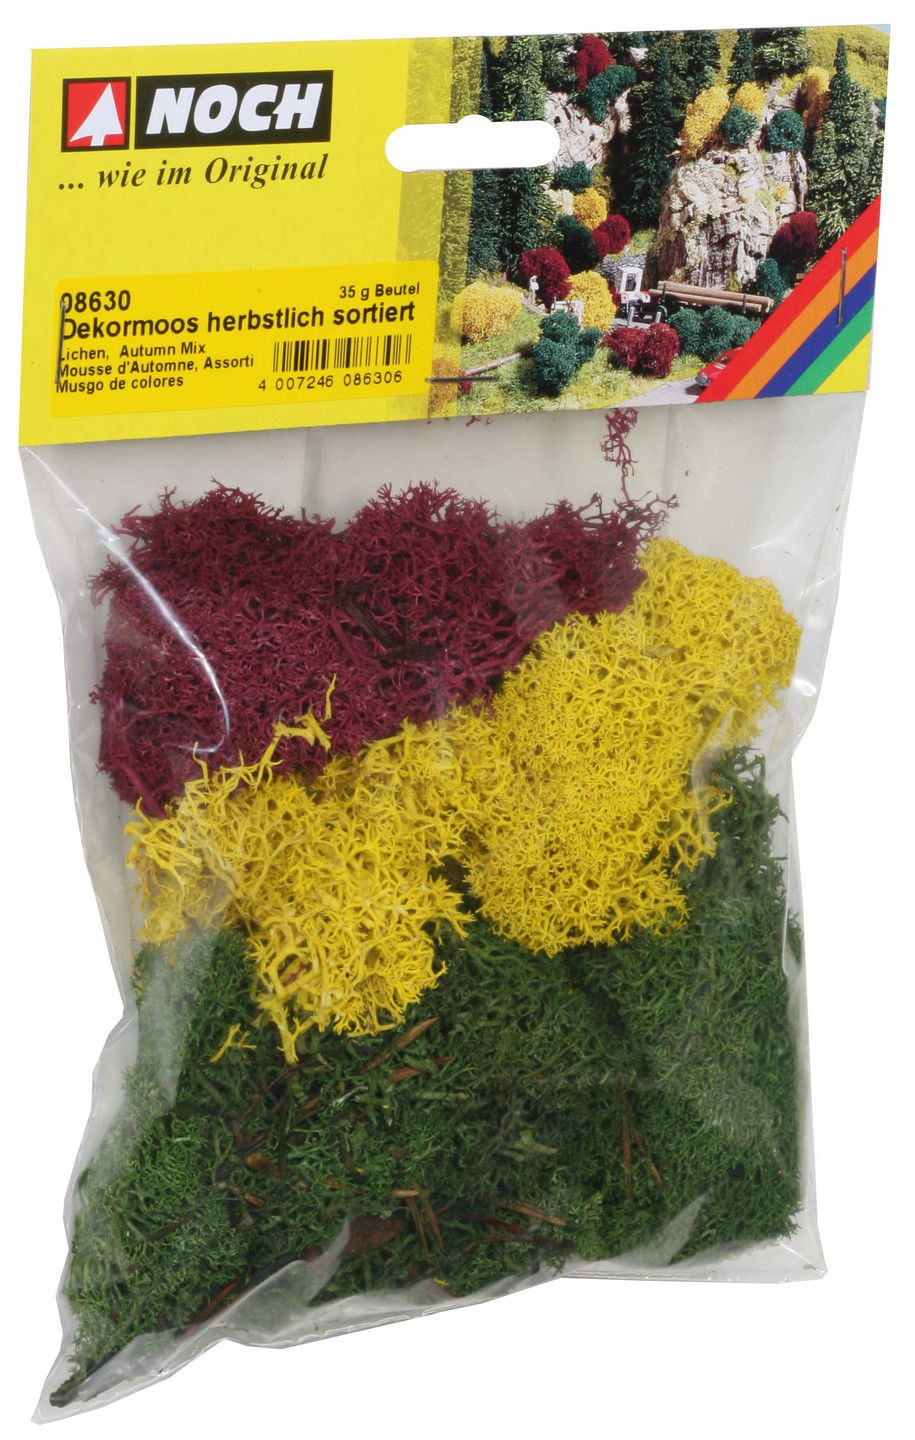
- Lichen
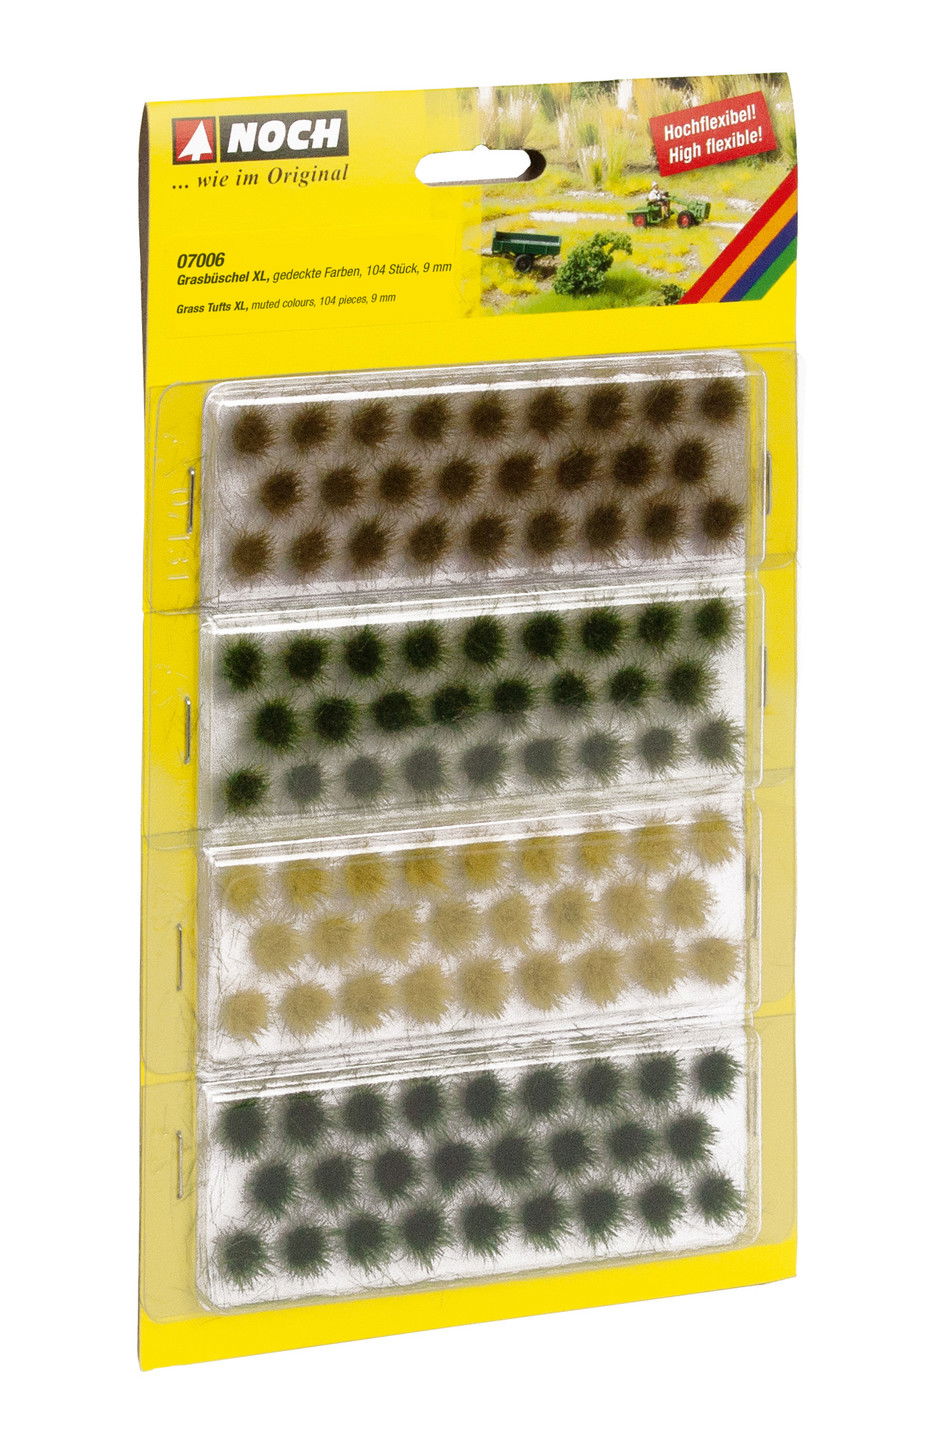
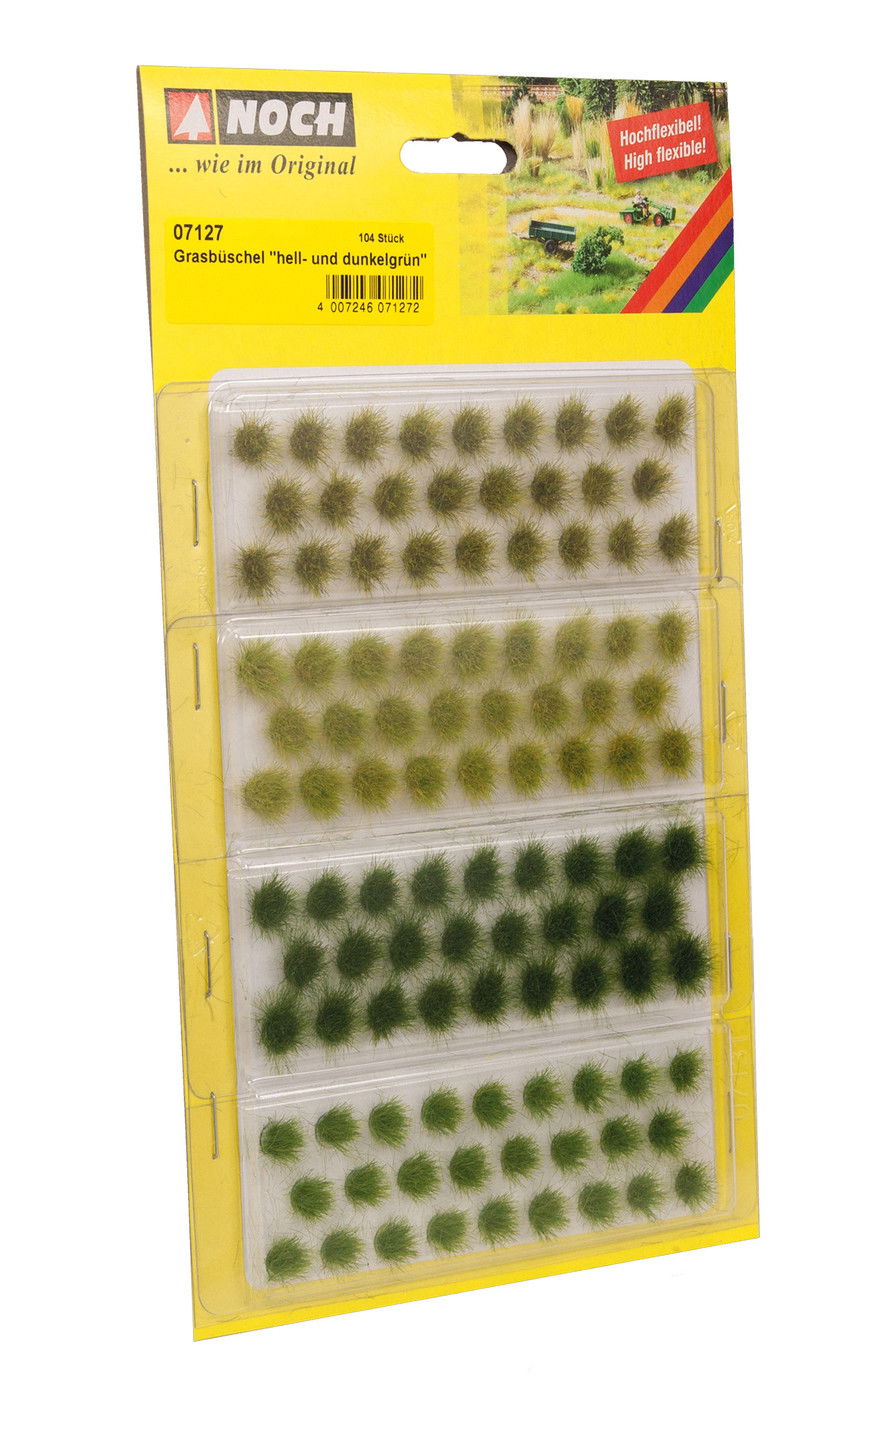
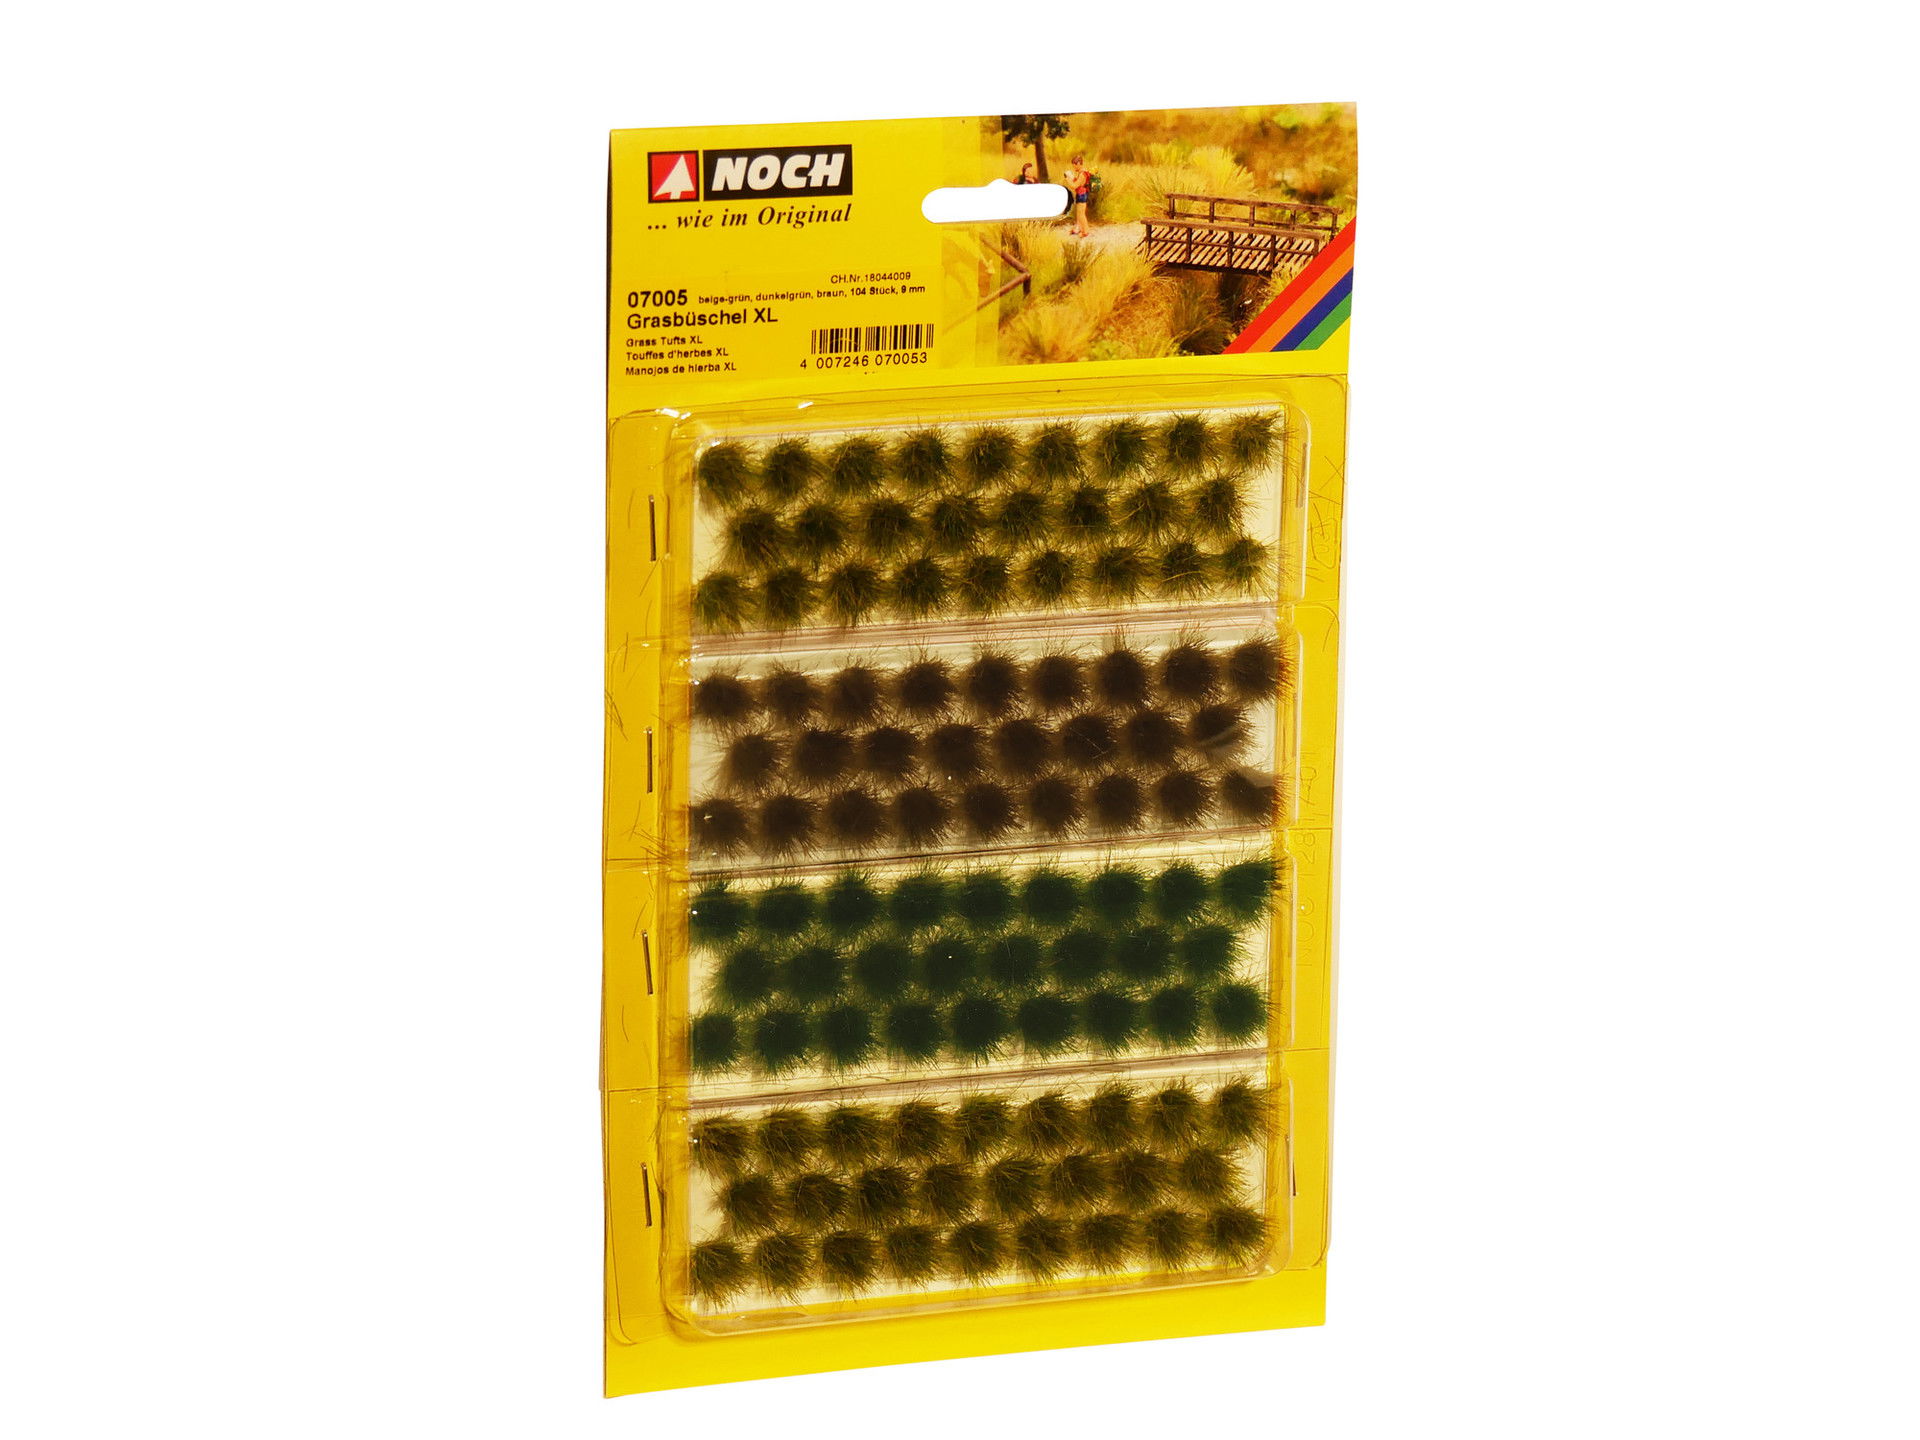
- Grass tufts
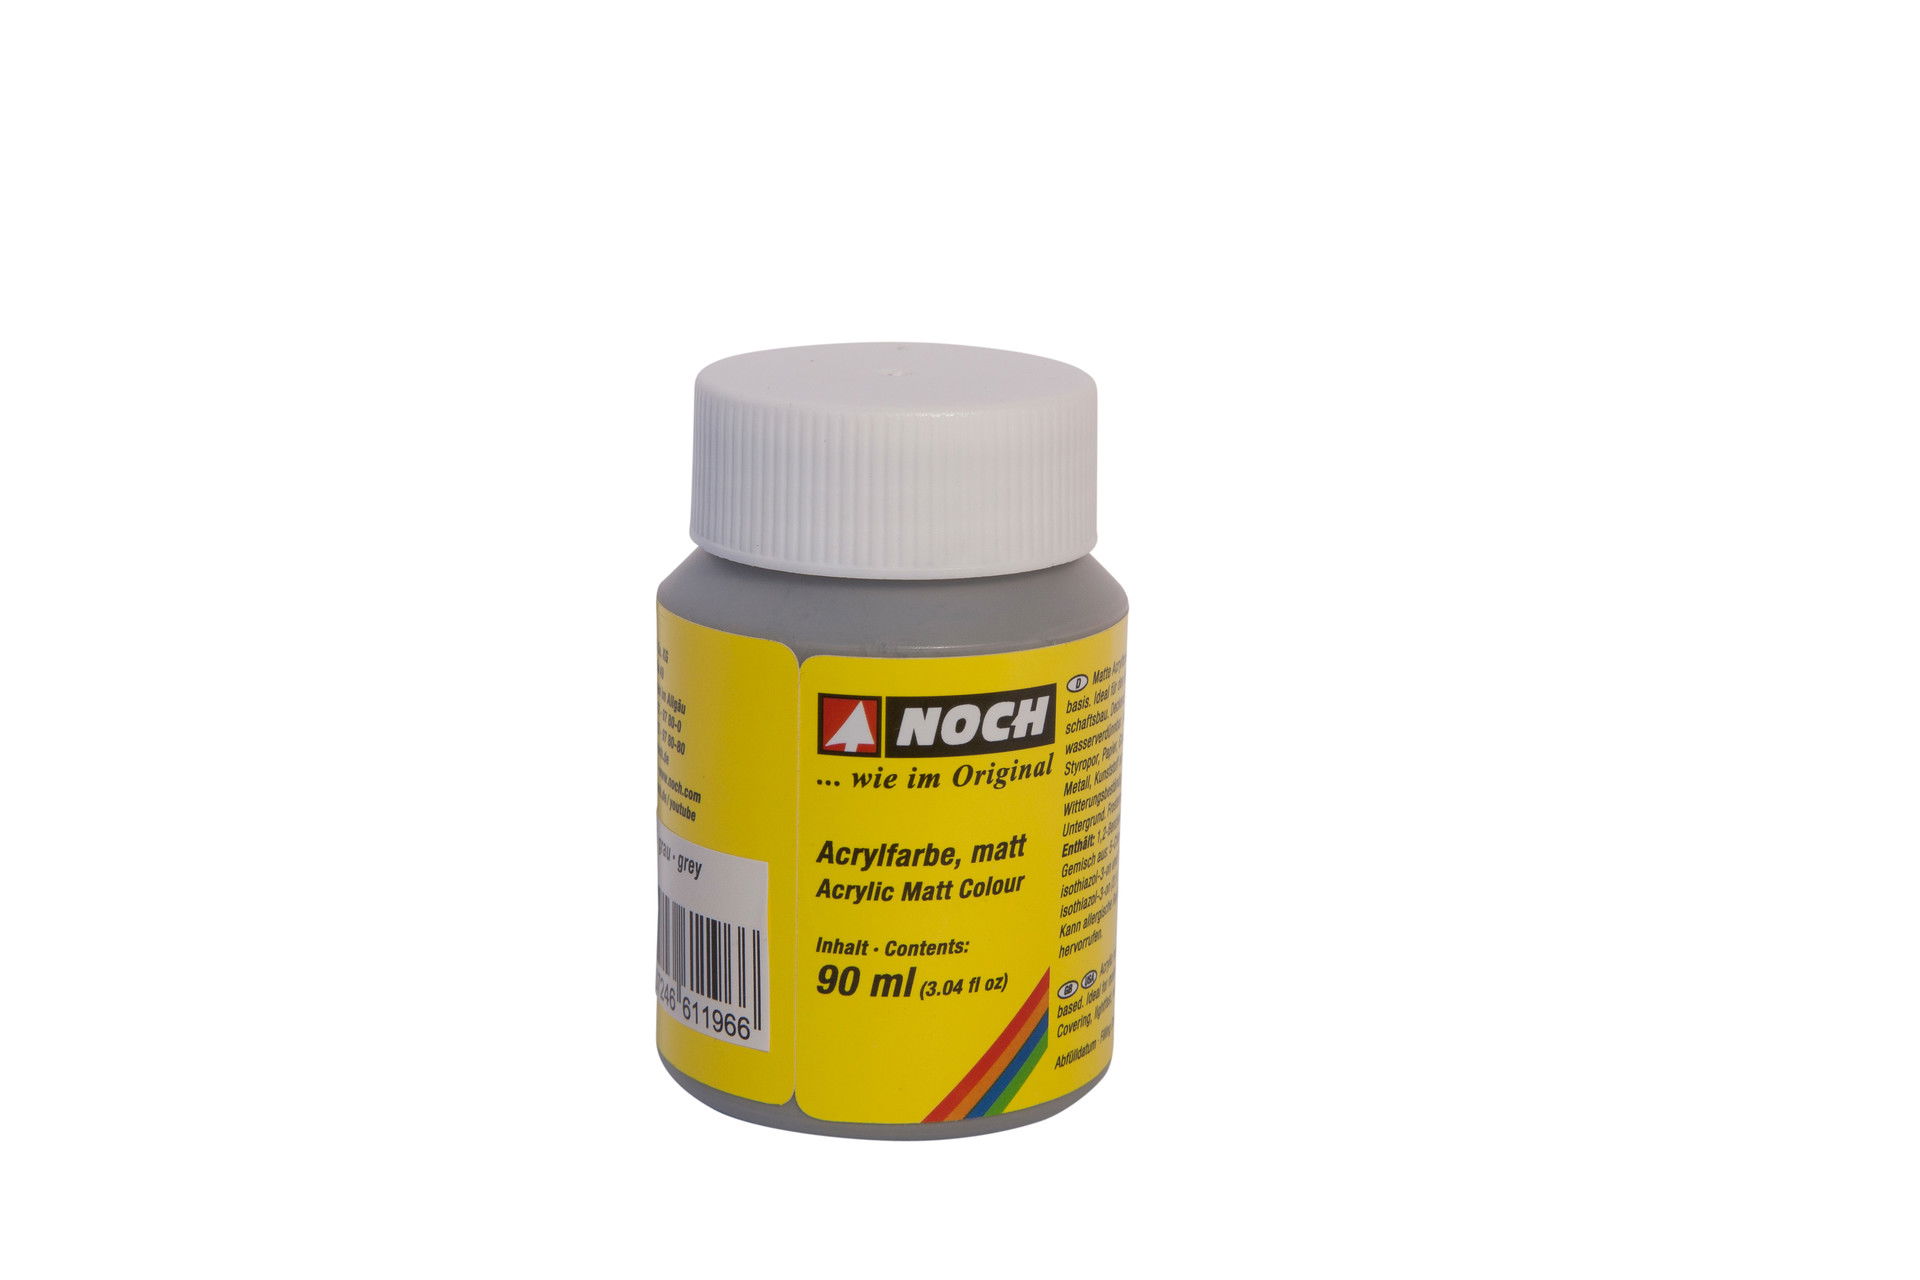
- Acrylic colour (black and white)
- Wood adhesive
- Brush
- Scissors
1. Preparation
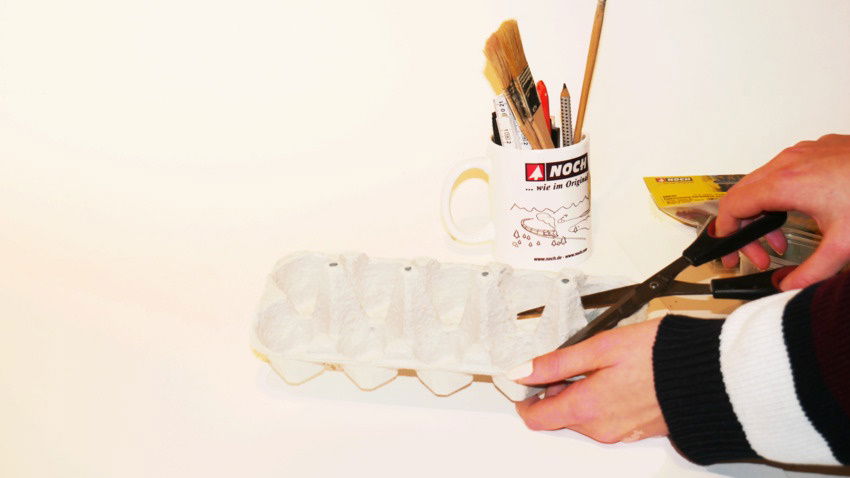
First, prepare the materials you need. You simply cut out the mushrooms from the egg cartons. We have decided to use three mushrooms with different sizes.
2. Paint the mushrooms
In the next step, the mushrooms are painted. To do this, we mixed the black and white acrylic colours to different shades of grey and applied the paint with a brush. While the mushrooms are drying, you can now start with the rest of the landscape design.
3. Vegetation design
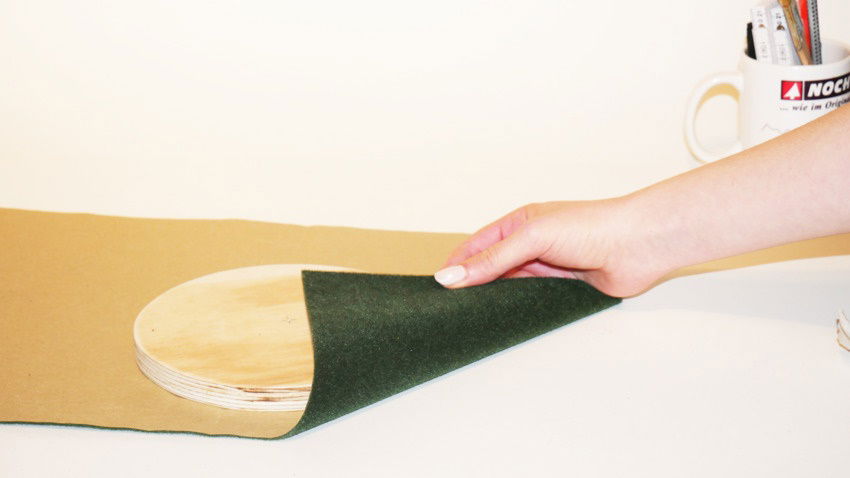
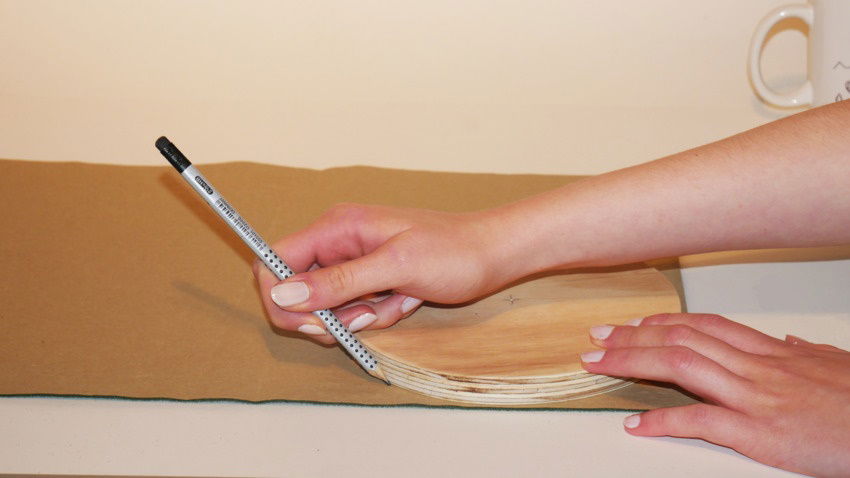
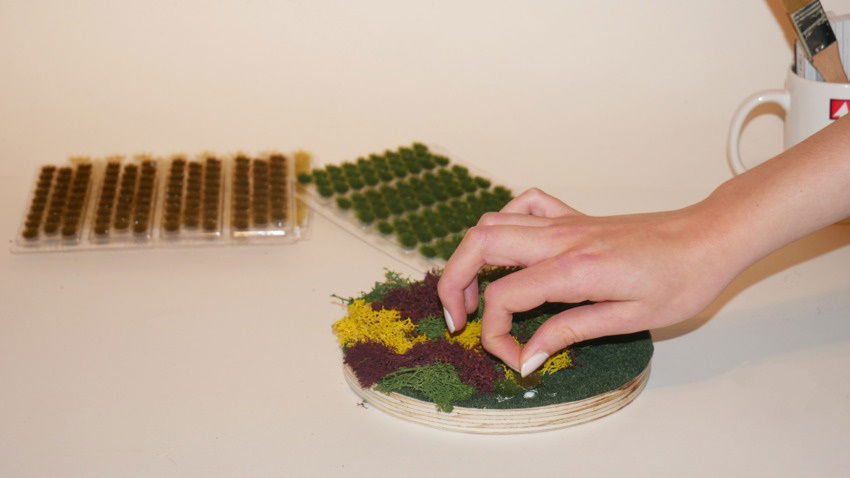
For the vegetation design, the grass mat is processed first. To do this, draw the outline of the wooden panel on the back of the grass mat, cut out the area and then glue it to the wooden panel. Then glue the lichen onto the landscape. Here we have left several gaps on one side and filled them with grass-tufts in different shades and lengths. This way the landscape becomes more varied and at the same time extremely realistic.
4. Finish the mushrooms and stick them into the landscape
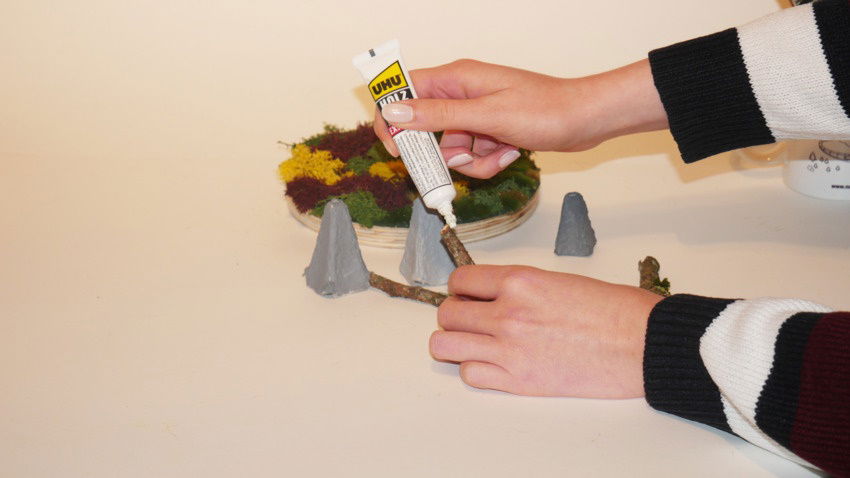
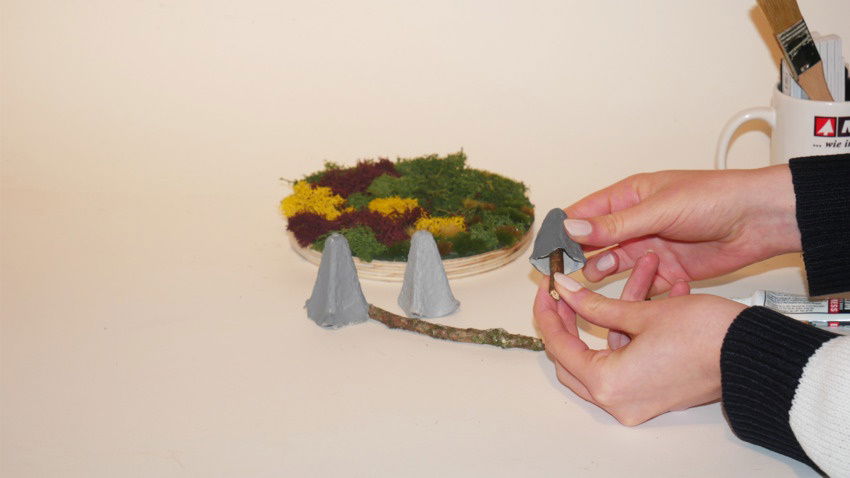
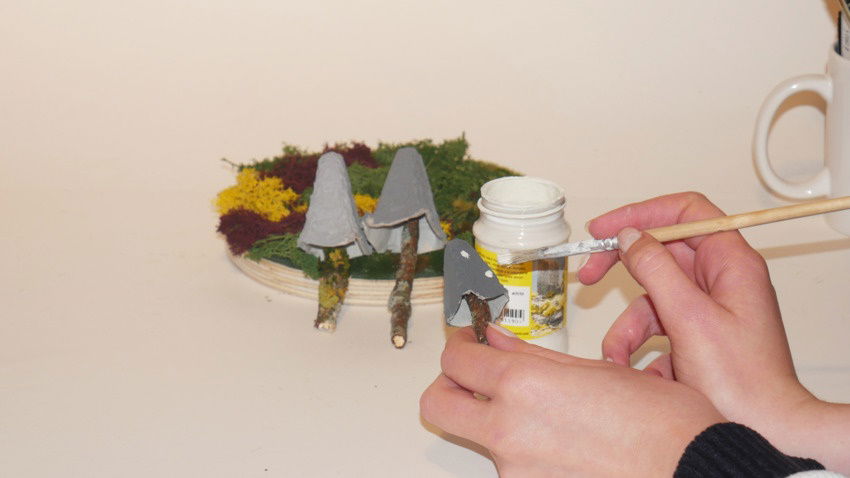
Next, the already dried mushrooms can be finished. Break the sticks into the desired lengths and then glue them to the mushrooms. Now the white dots can be painted on. After everything has dried, simply glue the mushrooms onto the desired place in the landscape.
Your crafted results

Featured products
Shopping List
