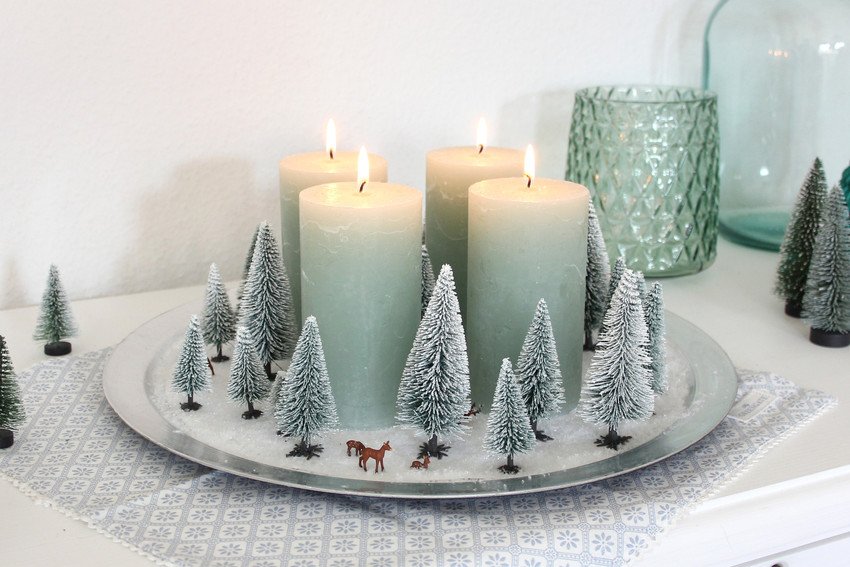
Advent Wreath with a Miniature Winter Forest
Every year the question arises: how do you design your Advent wreath? It should be something special, preferably quick and easy to make, and somehow also not the standard pine branch kind. Here, Liska from dekotopia.net presents her latest Advent wreath: modern, cheerful and truly snazzy! Advent in a winter wonderland with mini Deer and Decorative Snowy Fir Trees. Have fun crafting!
Step-by-step instruction
Instructions from Liska from dekotopia.net
You need that
- A pretty plate
- Some white card
- Double-sided sticky tape
- Scissors, pen
- 4 candles (e.g. like these)
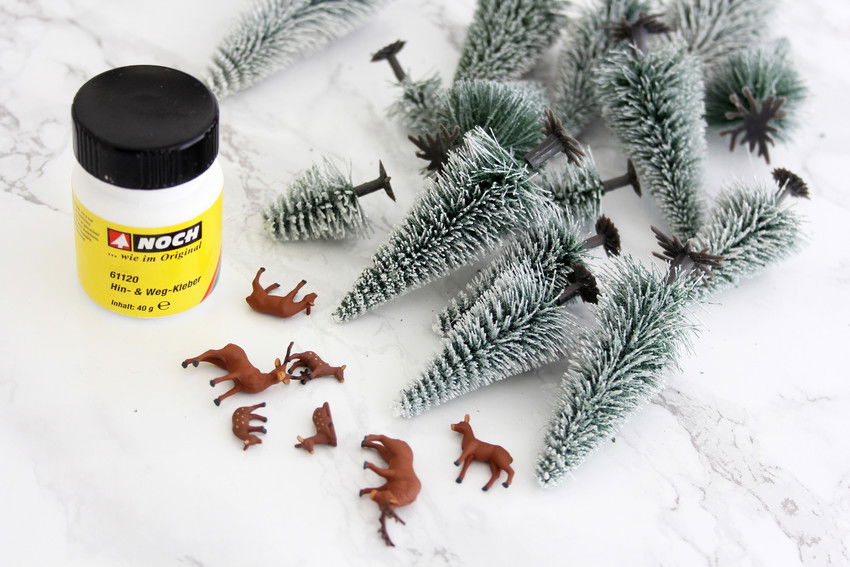
- Wintery craft material
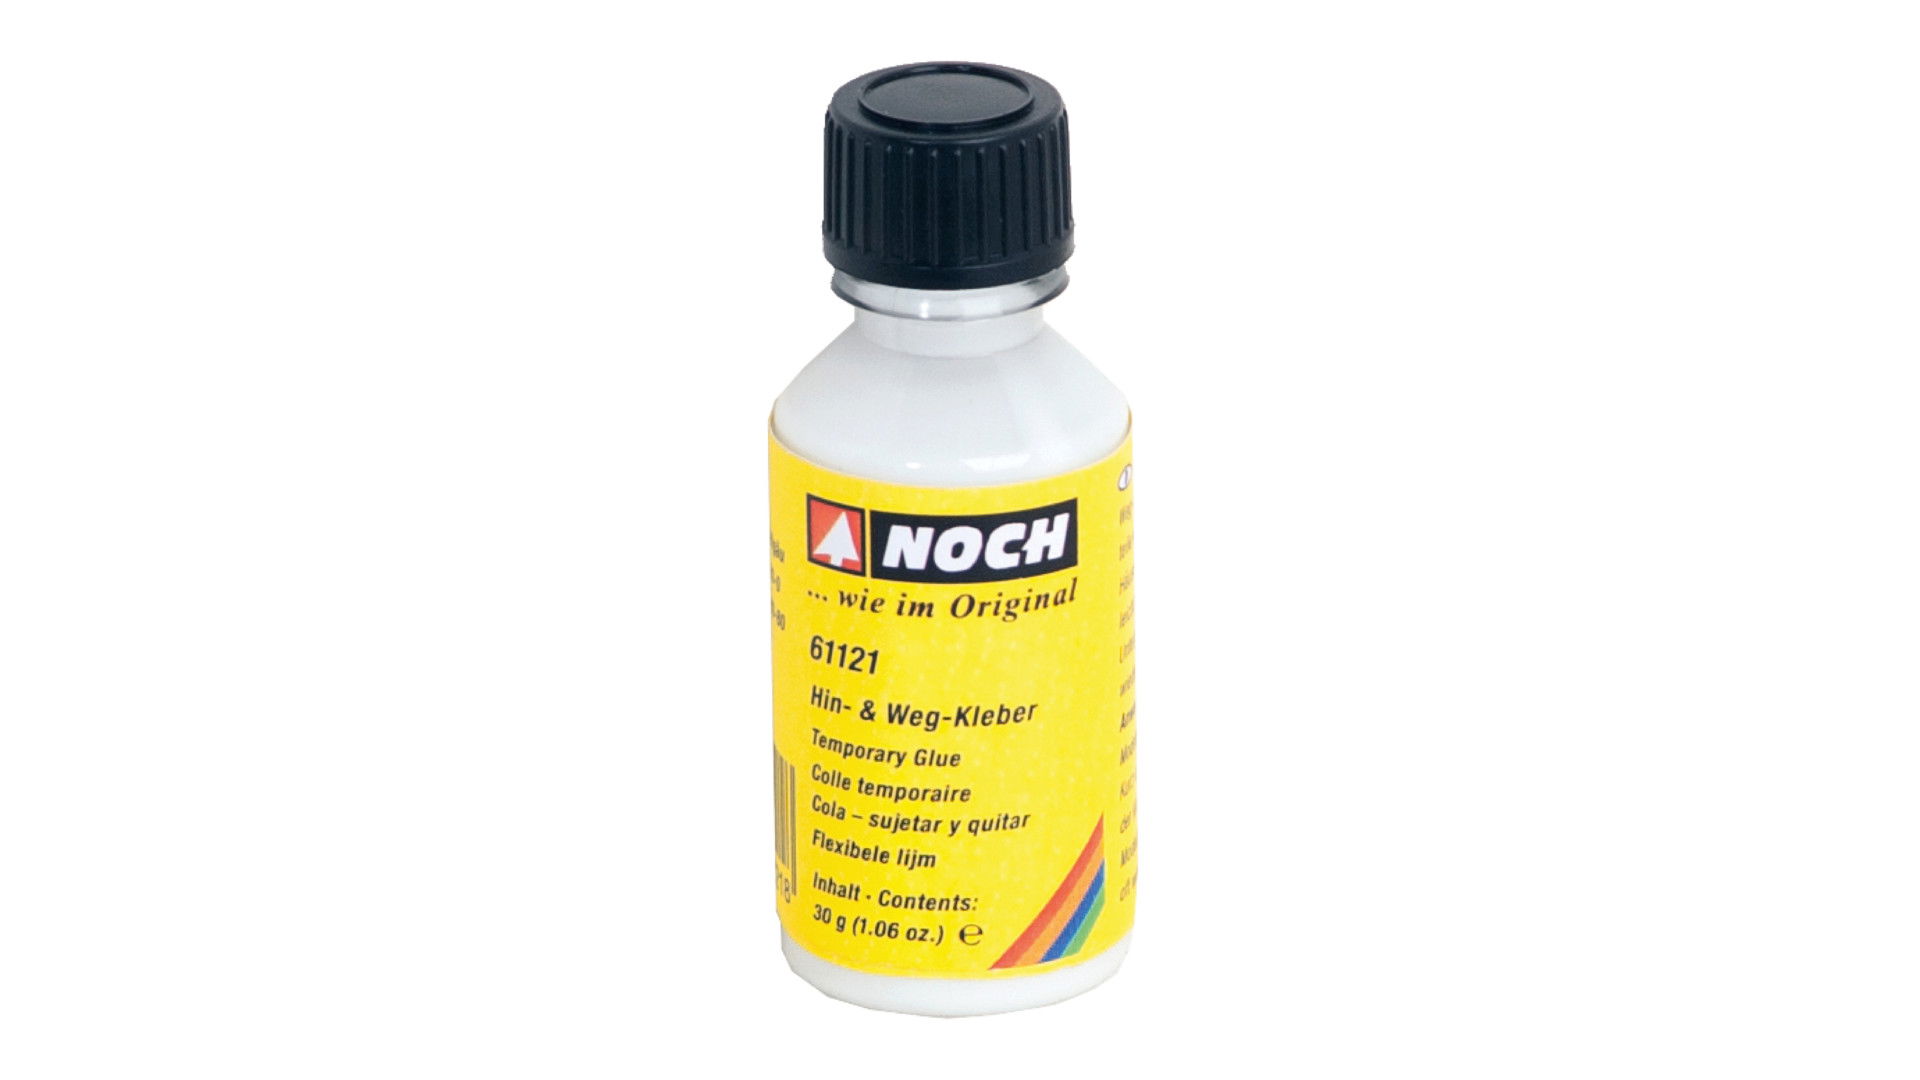
- Temporary Glue
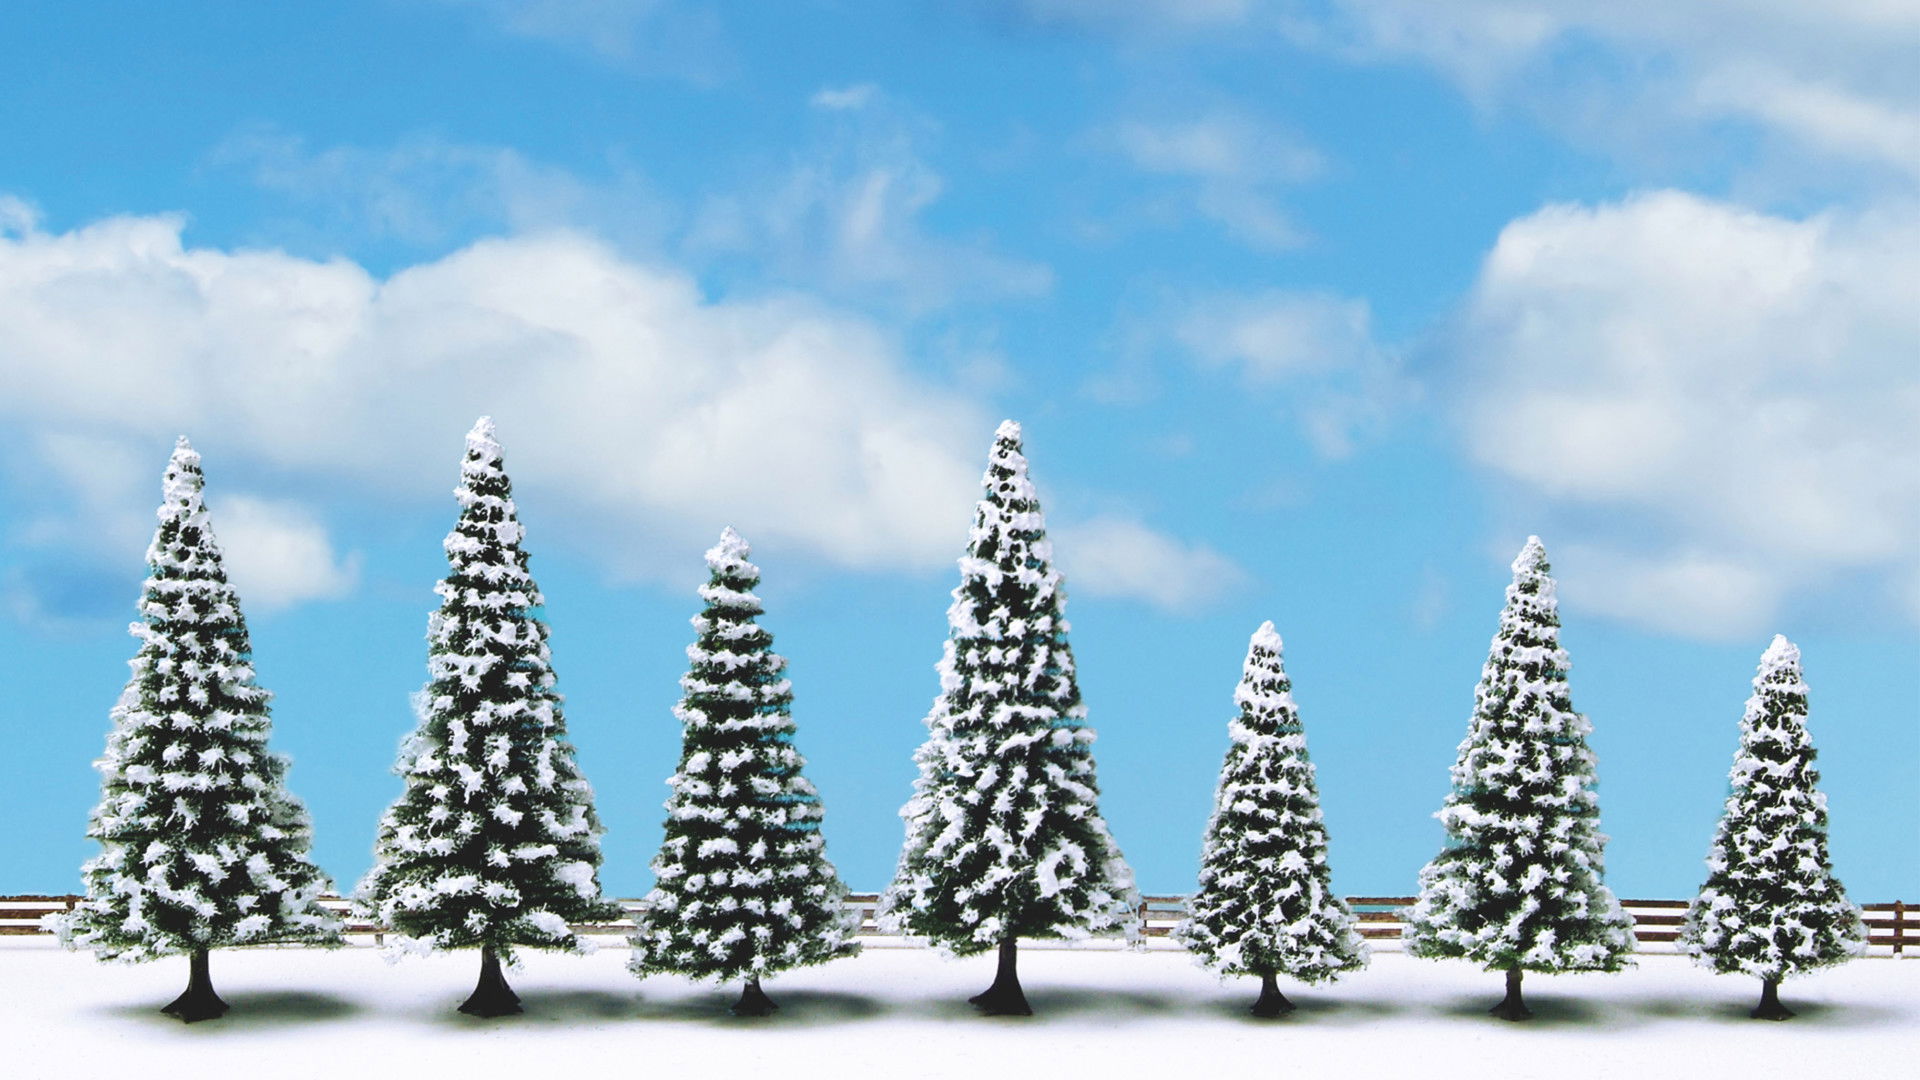
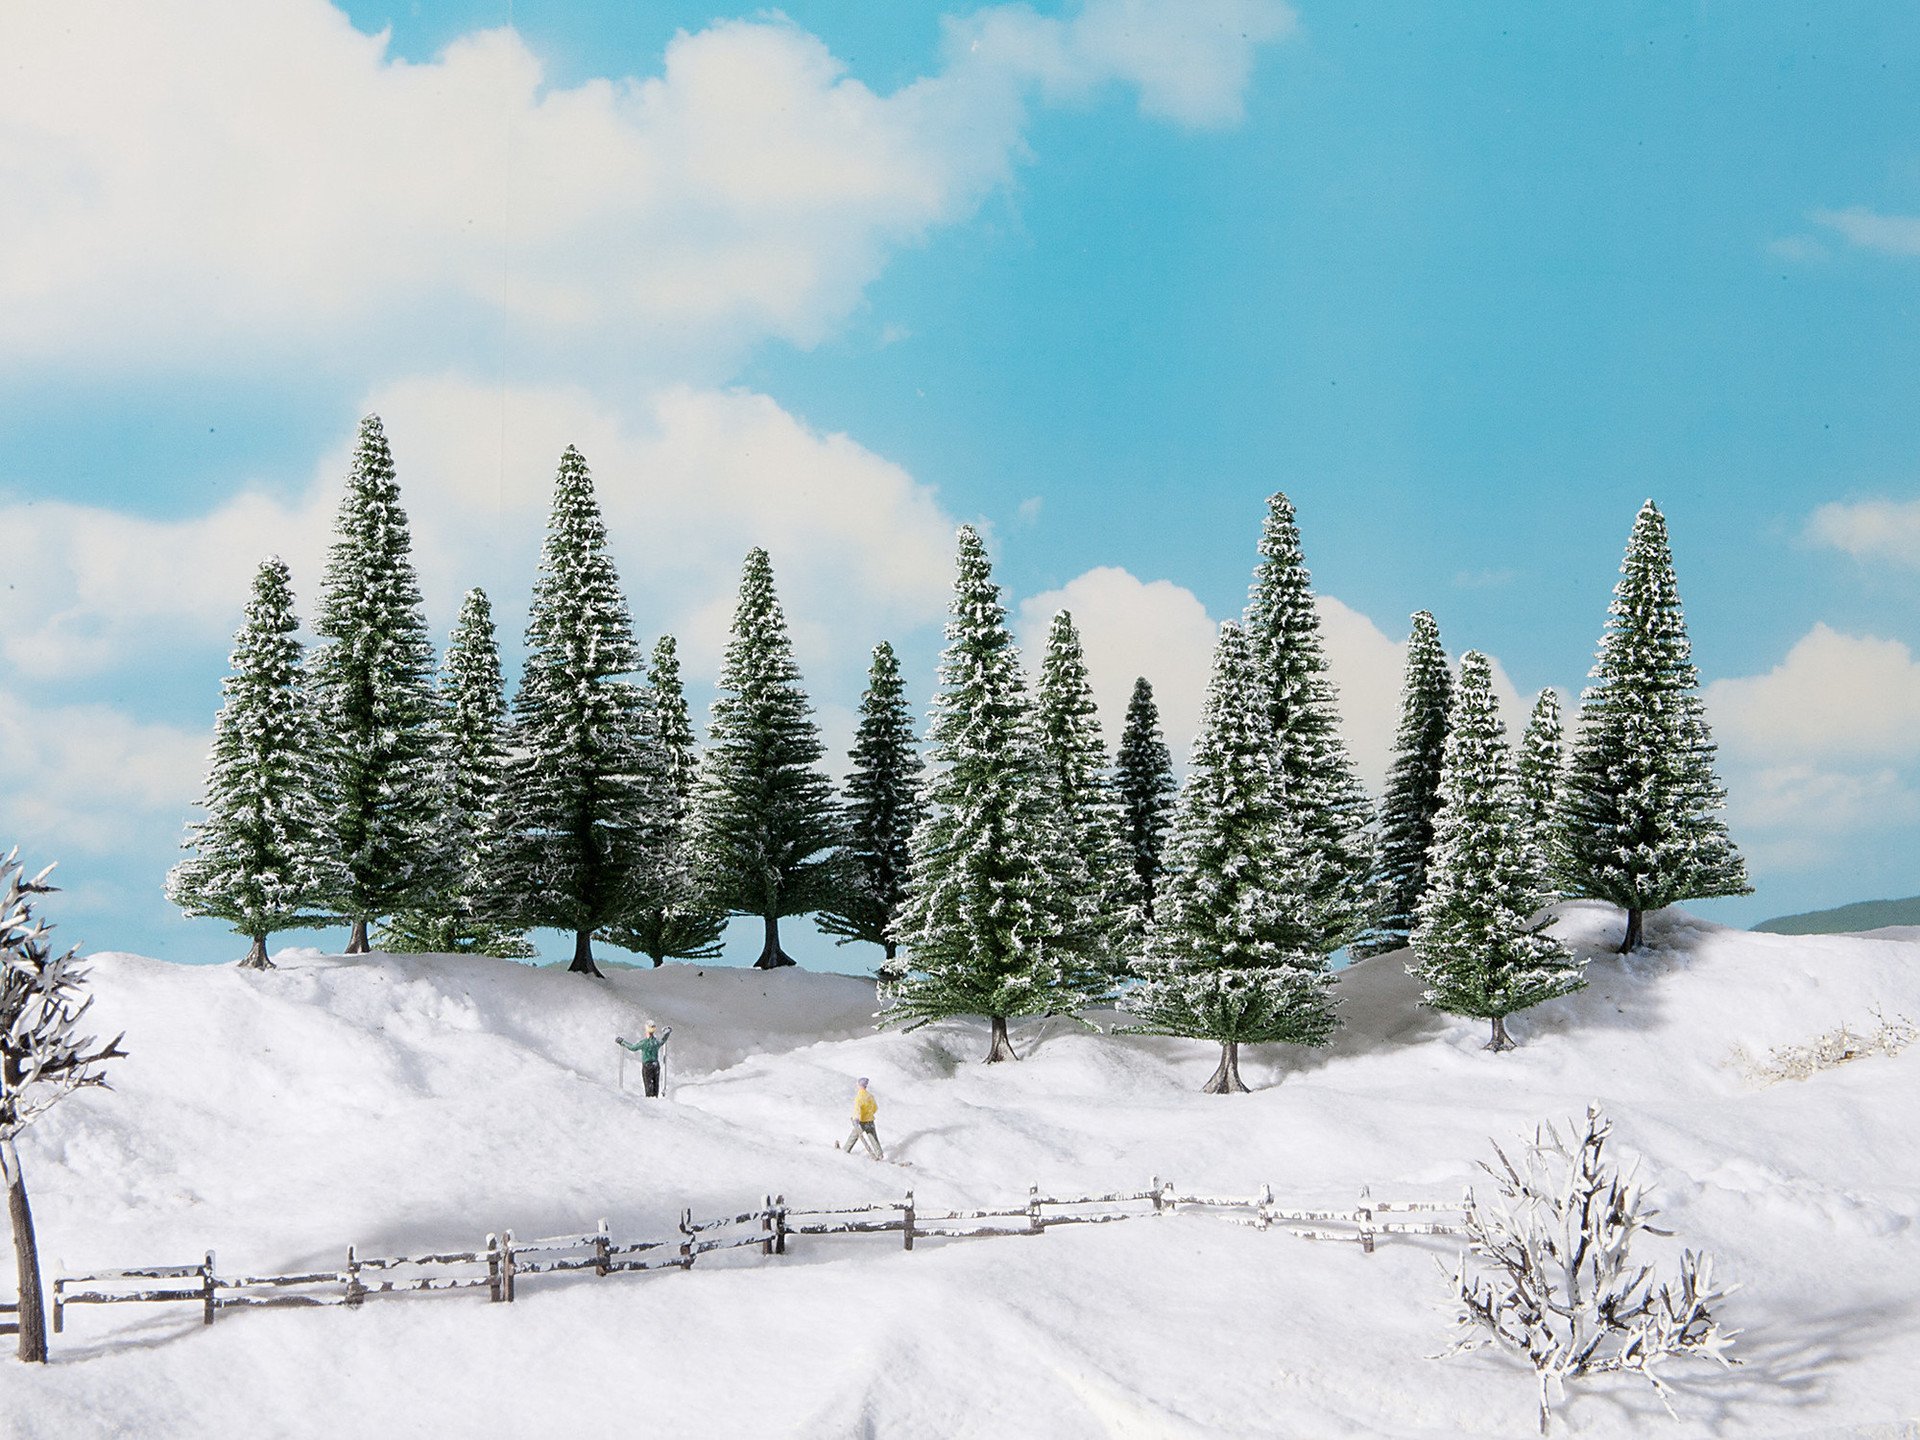
- Snowy Fir Trees
- Winter figures
Have you already got an Advent wreath for this year? I
do, though it’s not a wreath in the traditional sense but a miniature winter
forest from which four candles protrude. In the end, it’s all about lighting
the candles, no matter how they are set up. In any case, I’m getting my place
into the mood for Advent thanks to this wintery forest landscape. Originally,
it was supposed to be a winter landscape Advent calendar, but as it is, I
changed my plans in the midst of crafting. The candles just fit too well with
the Model Fir Trees and my wreath looked too stuffy to me when it was lying on
the plate. Instead, a beautiful winter forest has been created with Deer, Roe
Deer and even a Cross-Country Skier, who is making his way through the fresh
snow.
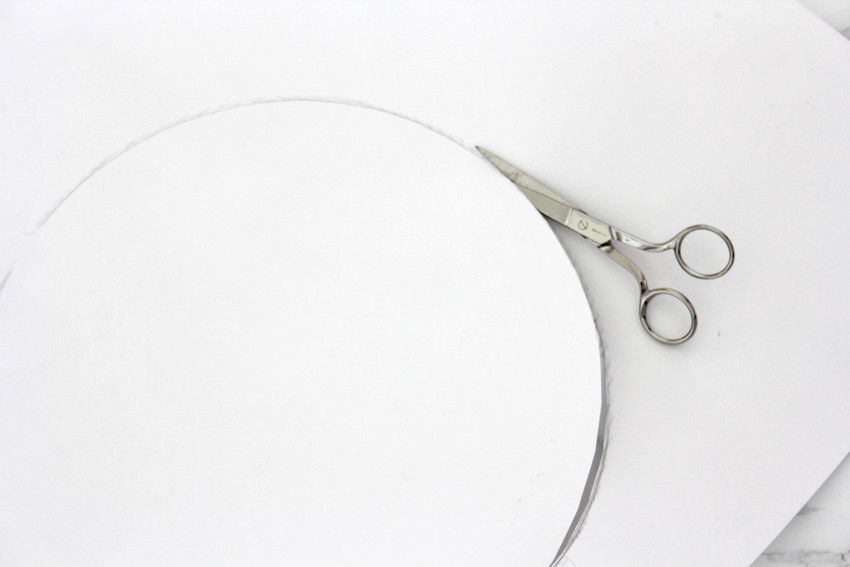
The first thing you do is take a
pretty plate and trace its outline with a pen on white cardboard. Then cut out
the whole thing with scissors and you have the perfect craft base in next to no
time!
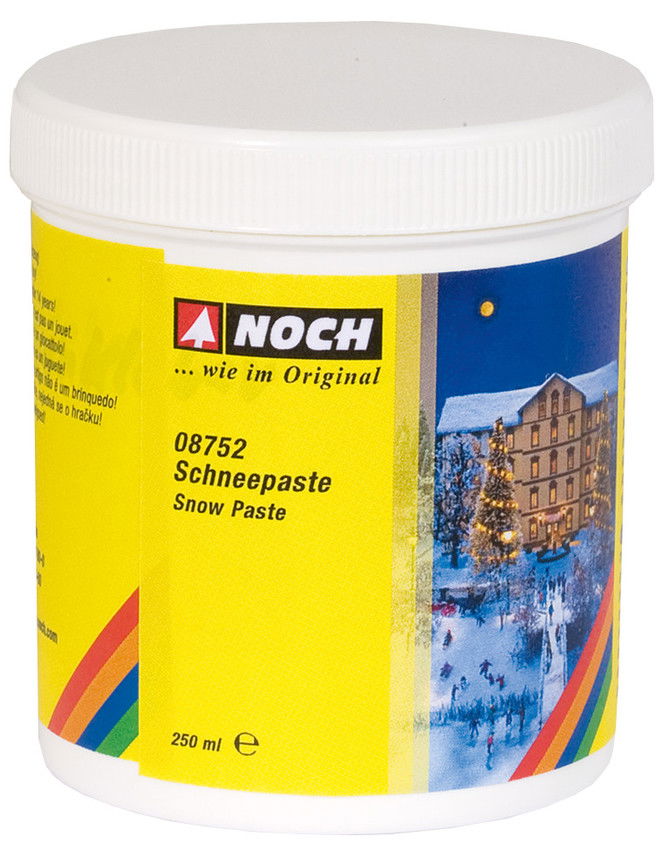
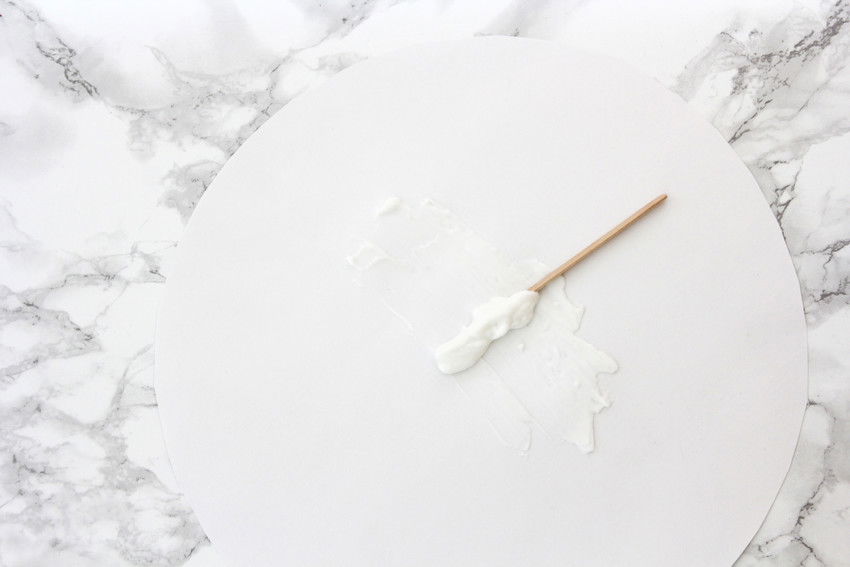
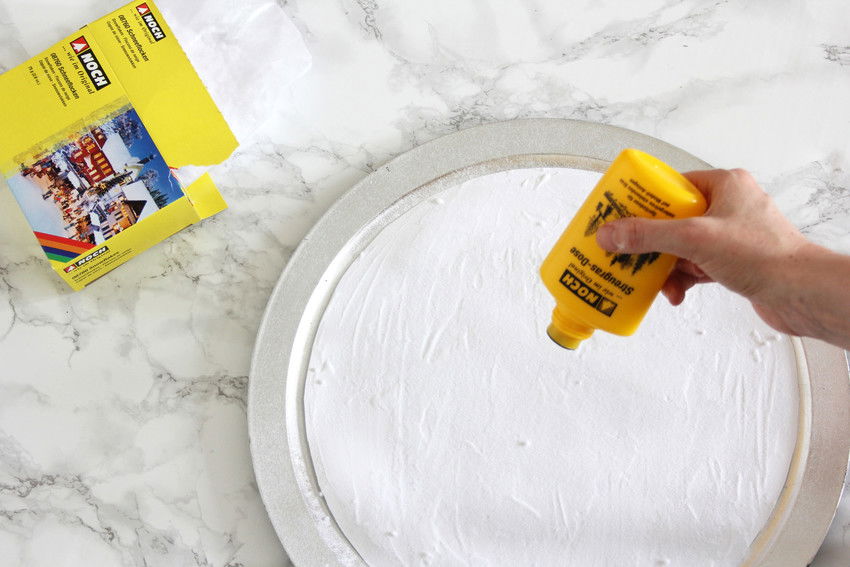
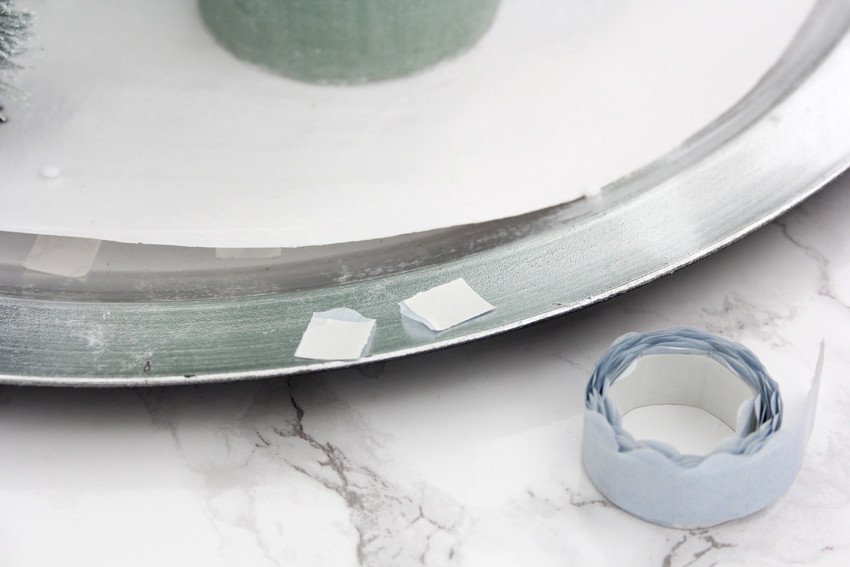
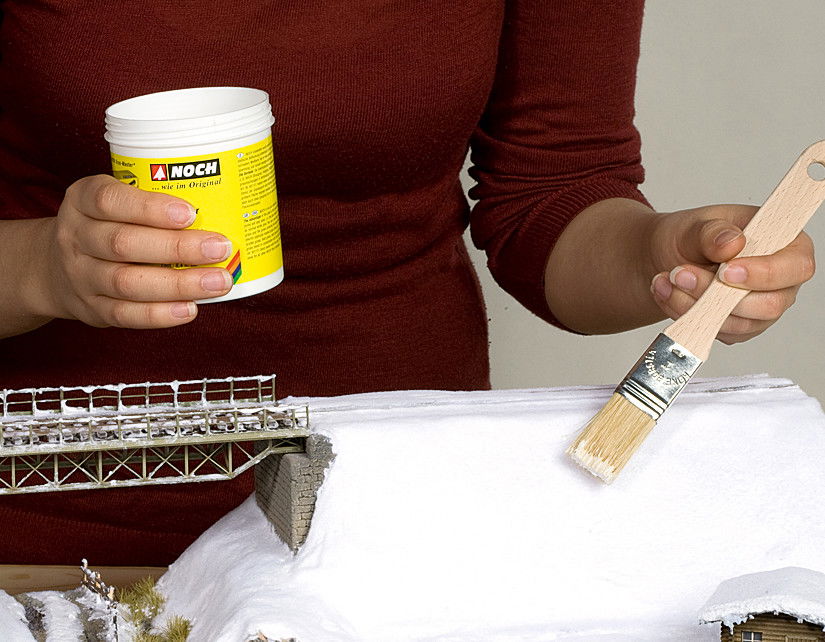
Now spread the Snow Paste on the white cardboard disc with a scraper (a wooden stick or a paintbrush also work). You can apply the paste a little thicker and then even press in tracks from one of the "Skiers" or "Roe Deer". The paste retains its shape after drying. Once it’s dry, you can also apply some Snow Glue here and there and sprinkle on the white "Snowflakes" from the Starter Set if you like. The little white fluffy flakes create a soft surface that looks like freshly fallen snow. You now attach your snowy cardboard disc to your plate with double-sided sticky tape so that it can no longer slip. It’s best if you use photo glue dots, which don’t adhere quite as firmly as adhesive tape.
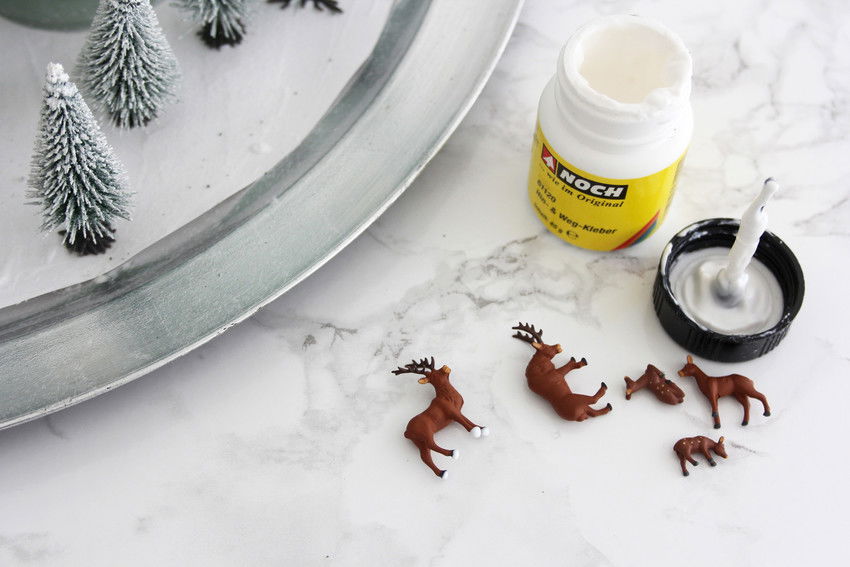
You now place four candles on the cardboard disc to your liking. You can attach these with some hot glue if you want. Then we get to the fun part: the wintery enchanted forest is created! The small snow-covered Fir Trees are affixed with Temporary Glue. To begin with, dab some of the glue under the base of the Fir Trees and let the glue dry until it’s rubbery. Now you can easily put the little Fir Trees in position and press them down. Do the same with the mini animals and mini figures. The nice thing about Temporary Glue is that you can remove the miniature figures and mini spruce trees later and reuse them the following year.
Your crafted results

Regards,
Liska from dekotopia.net

Featured products
Shopping List
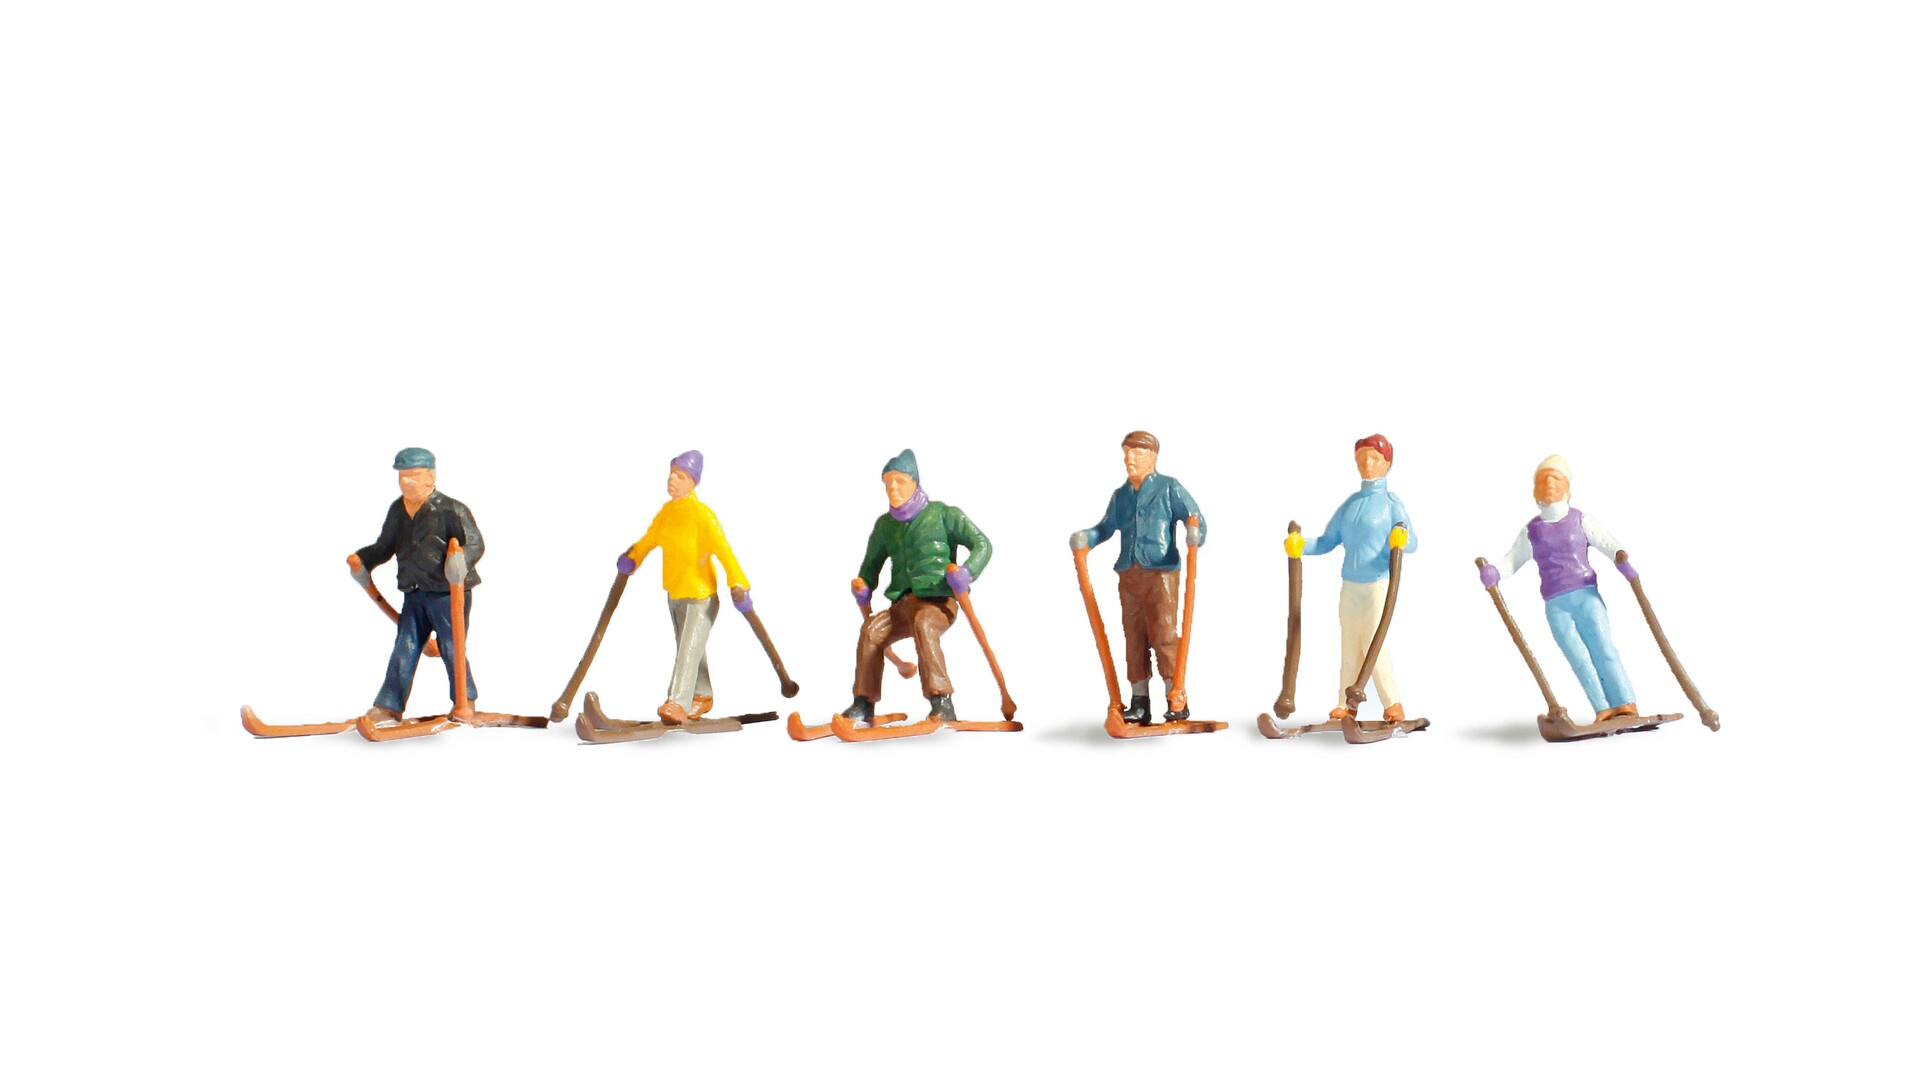
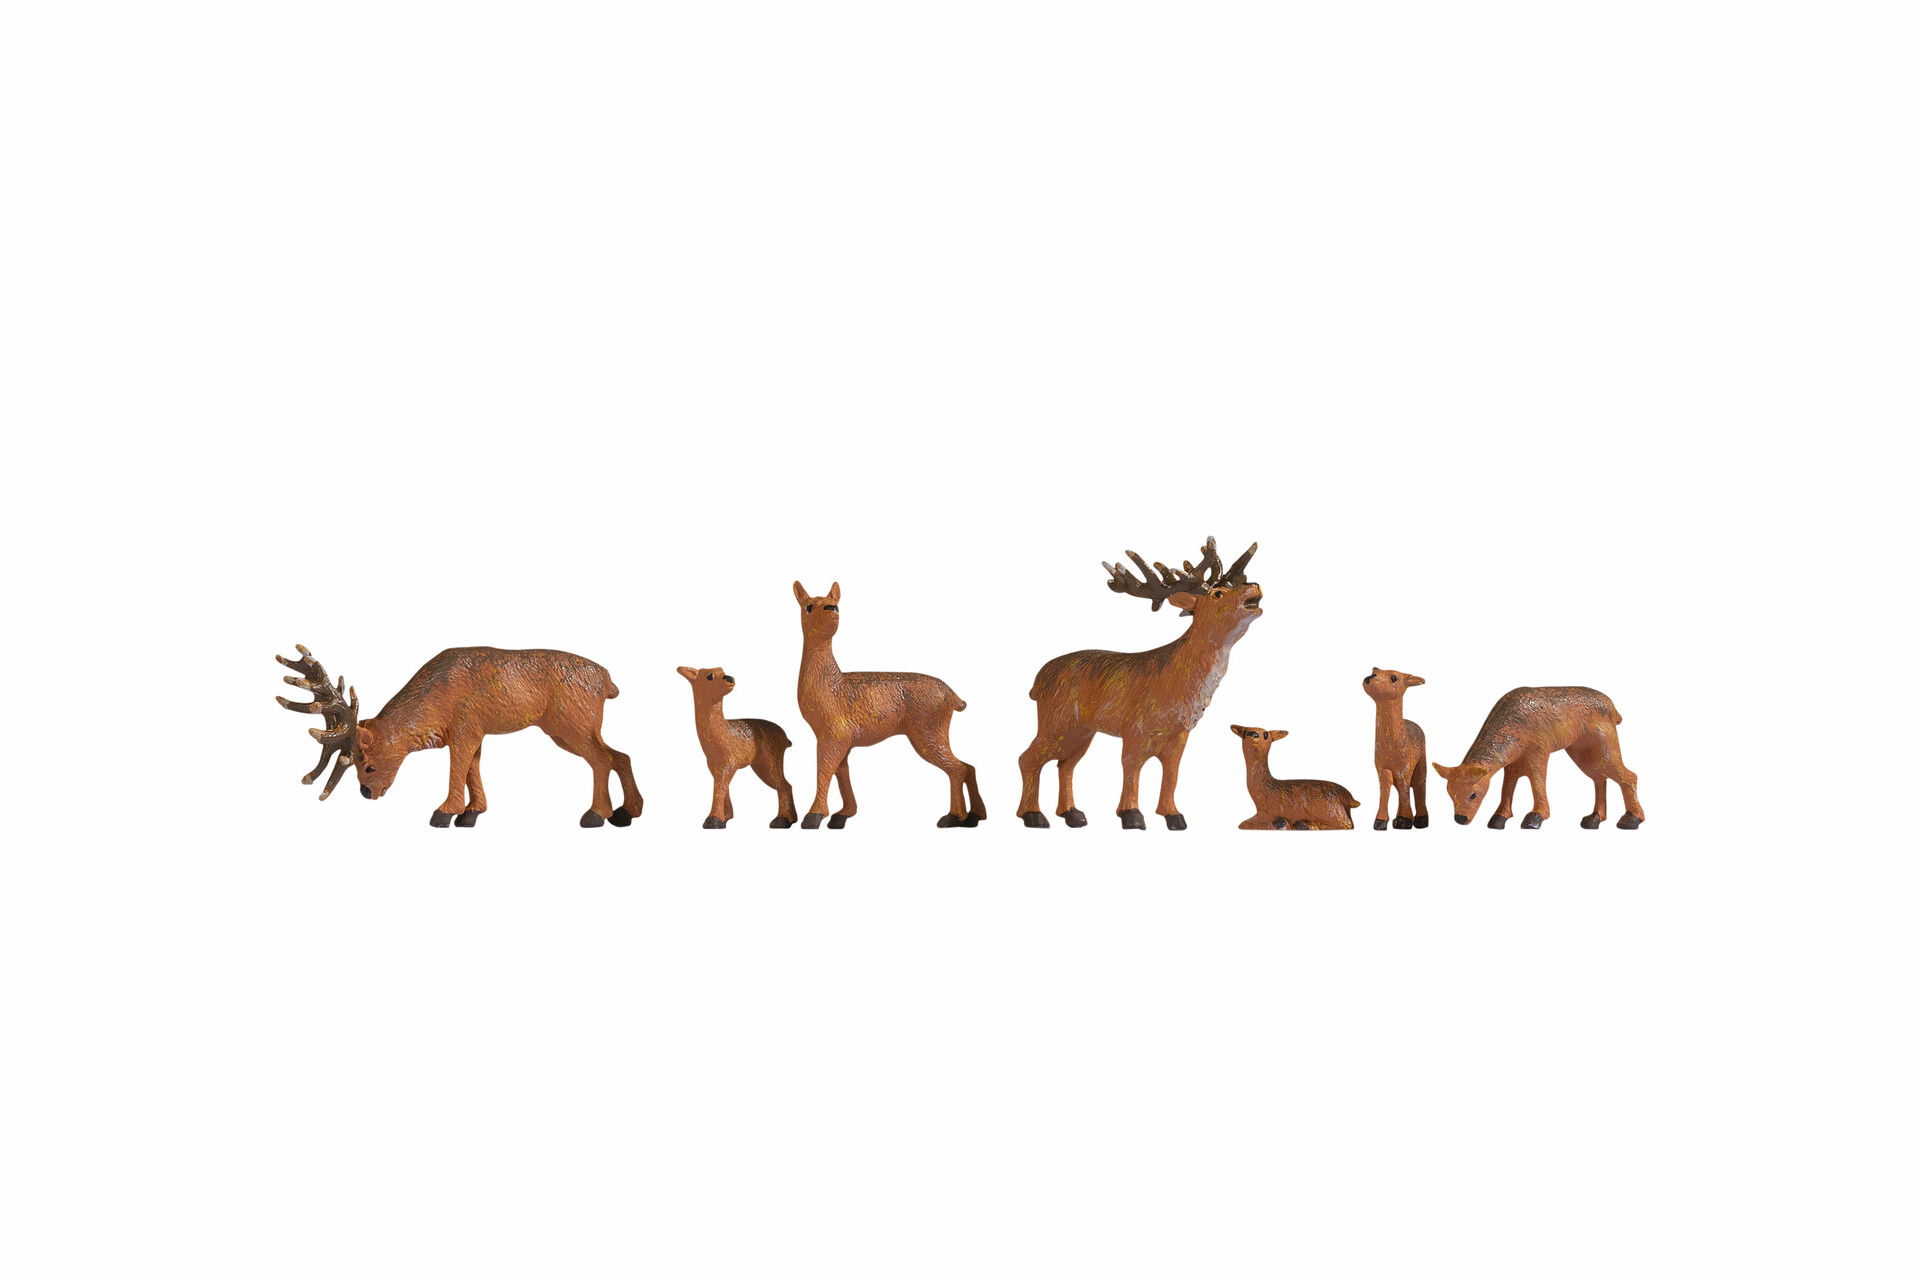
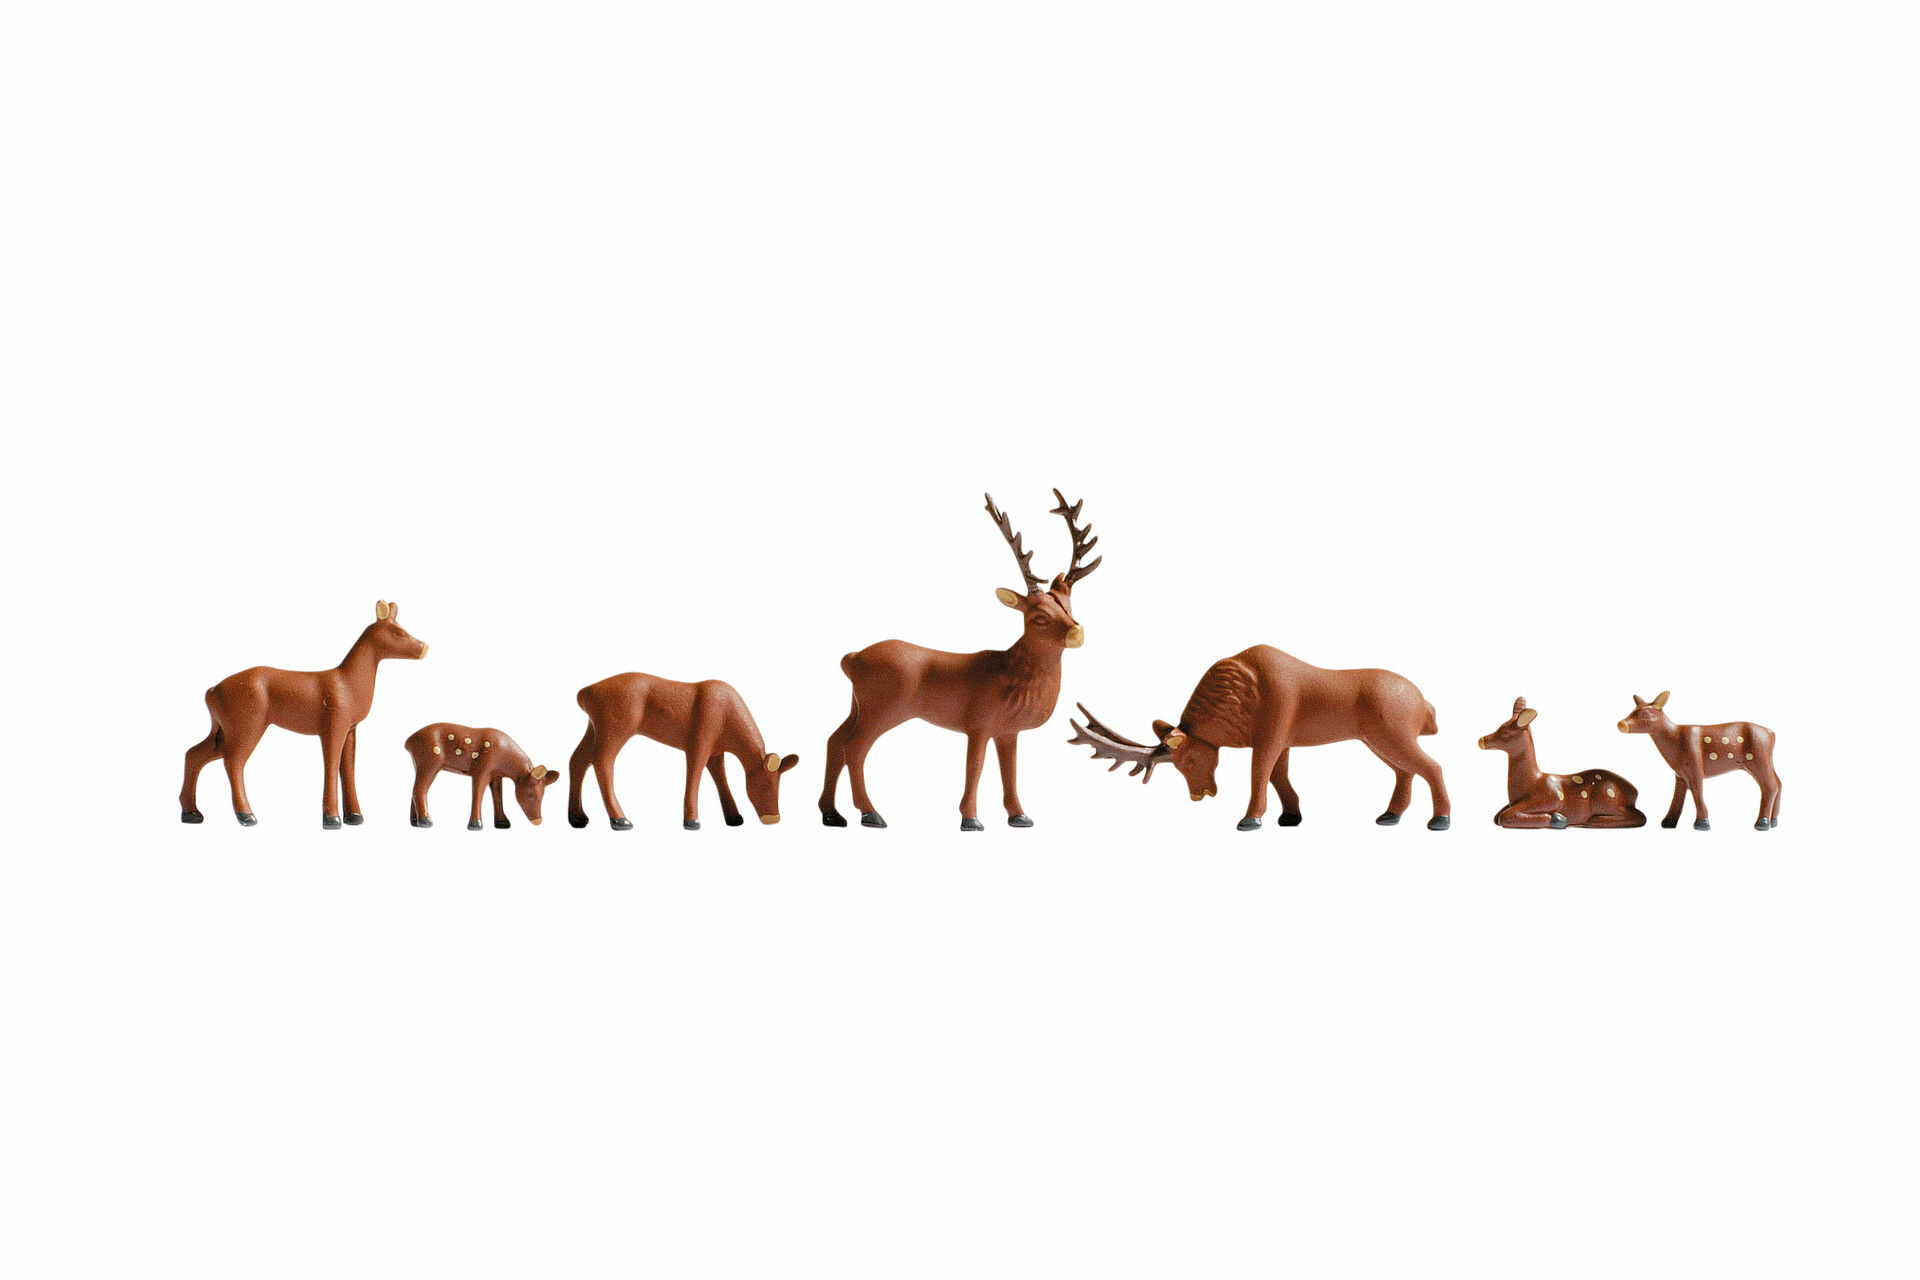
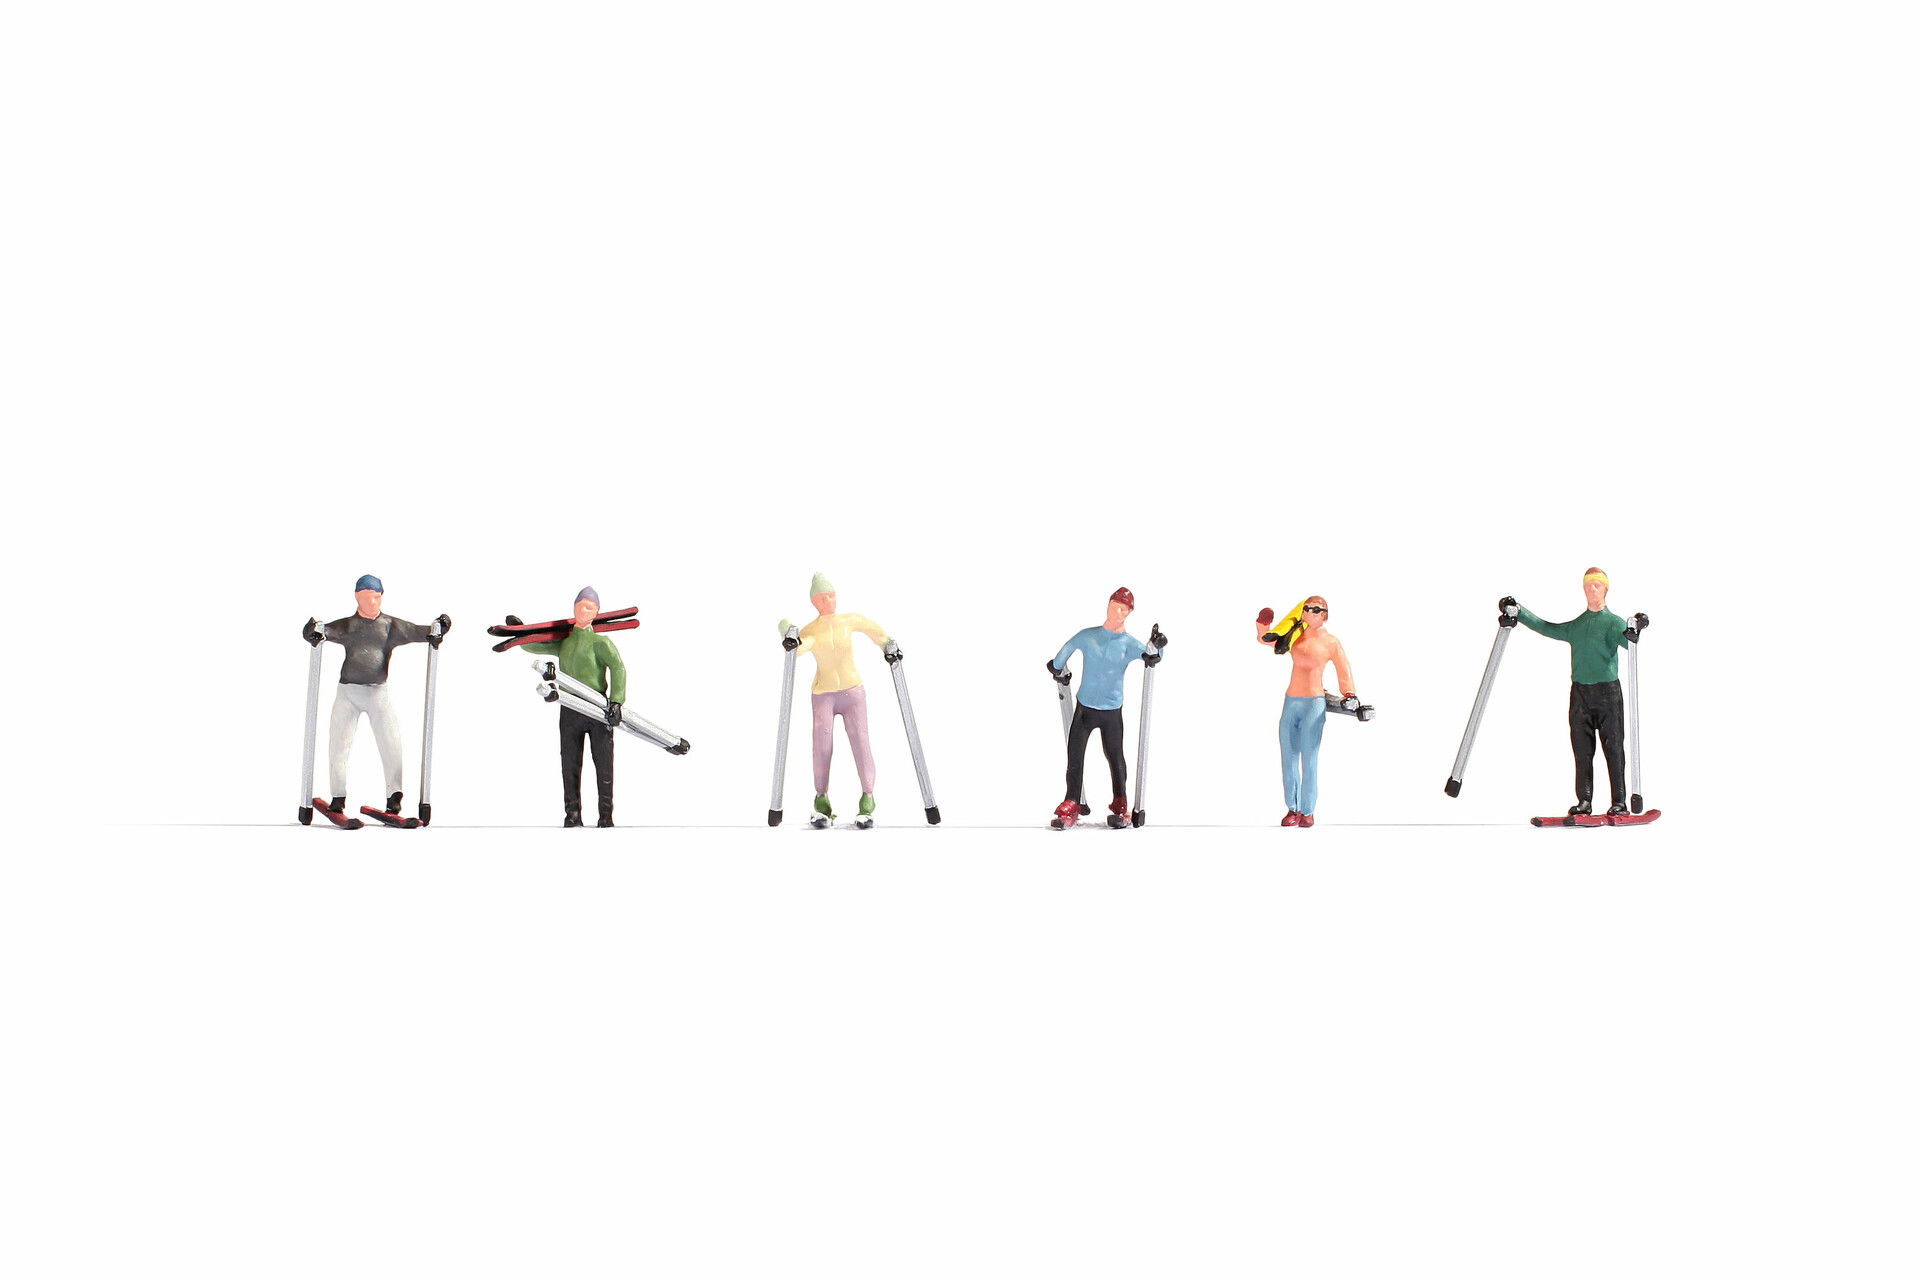
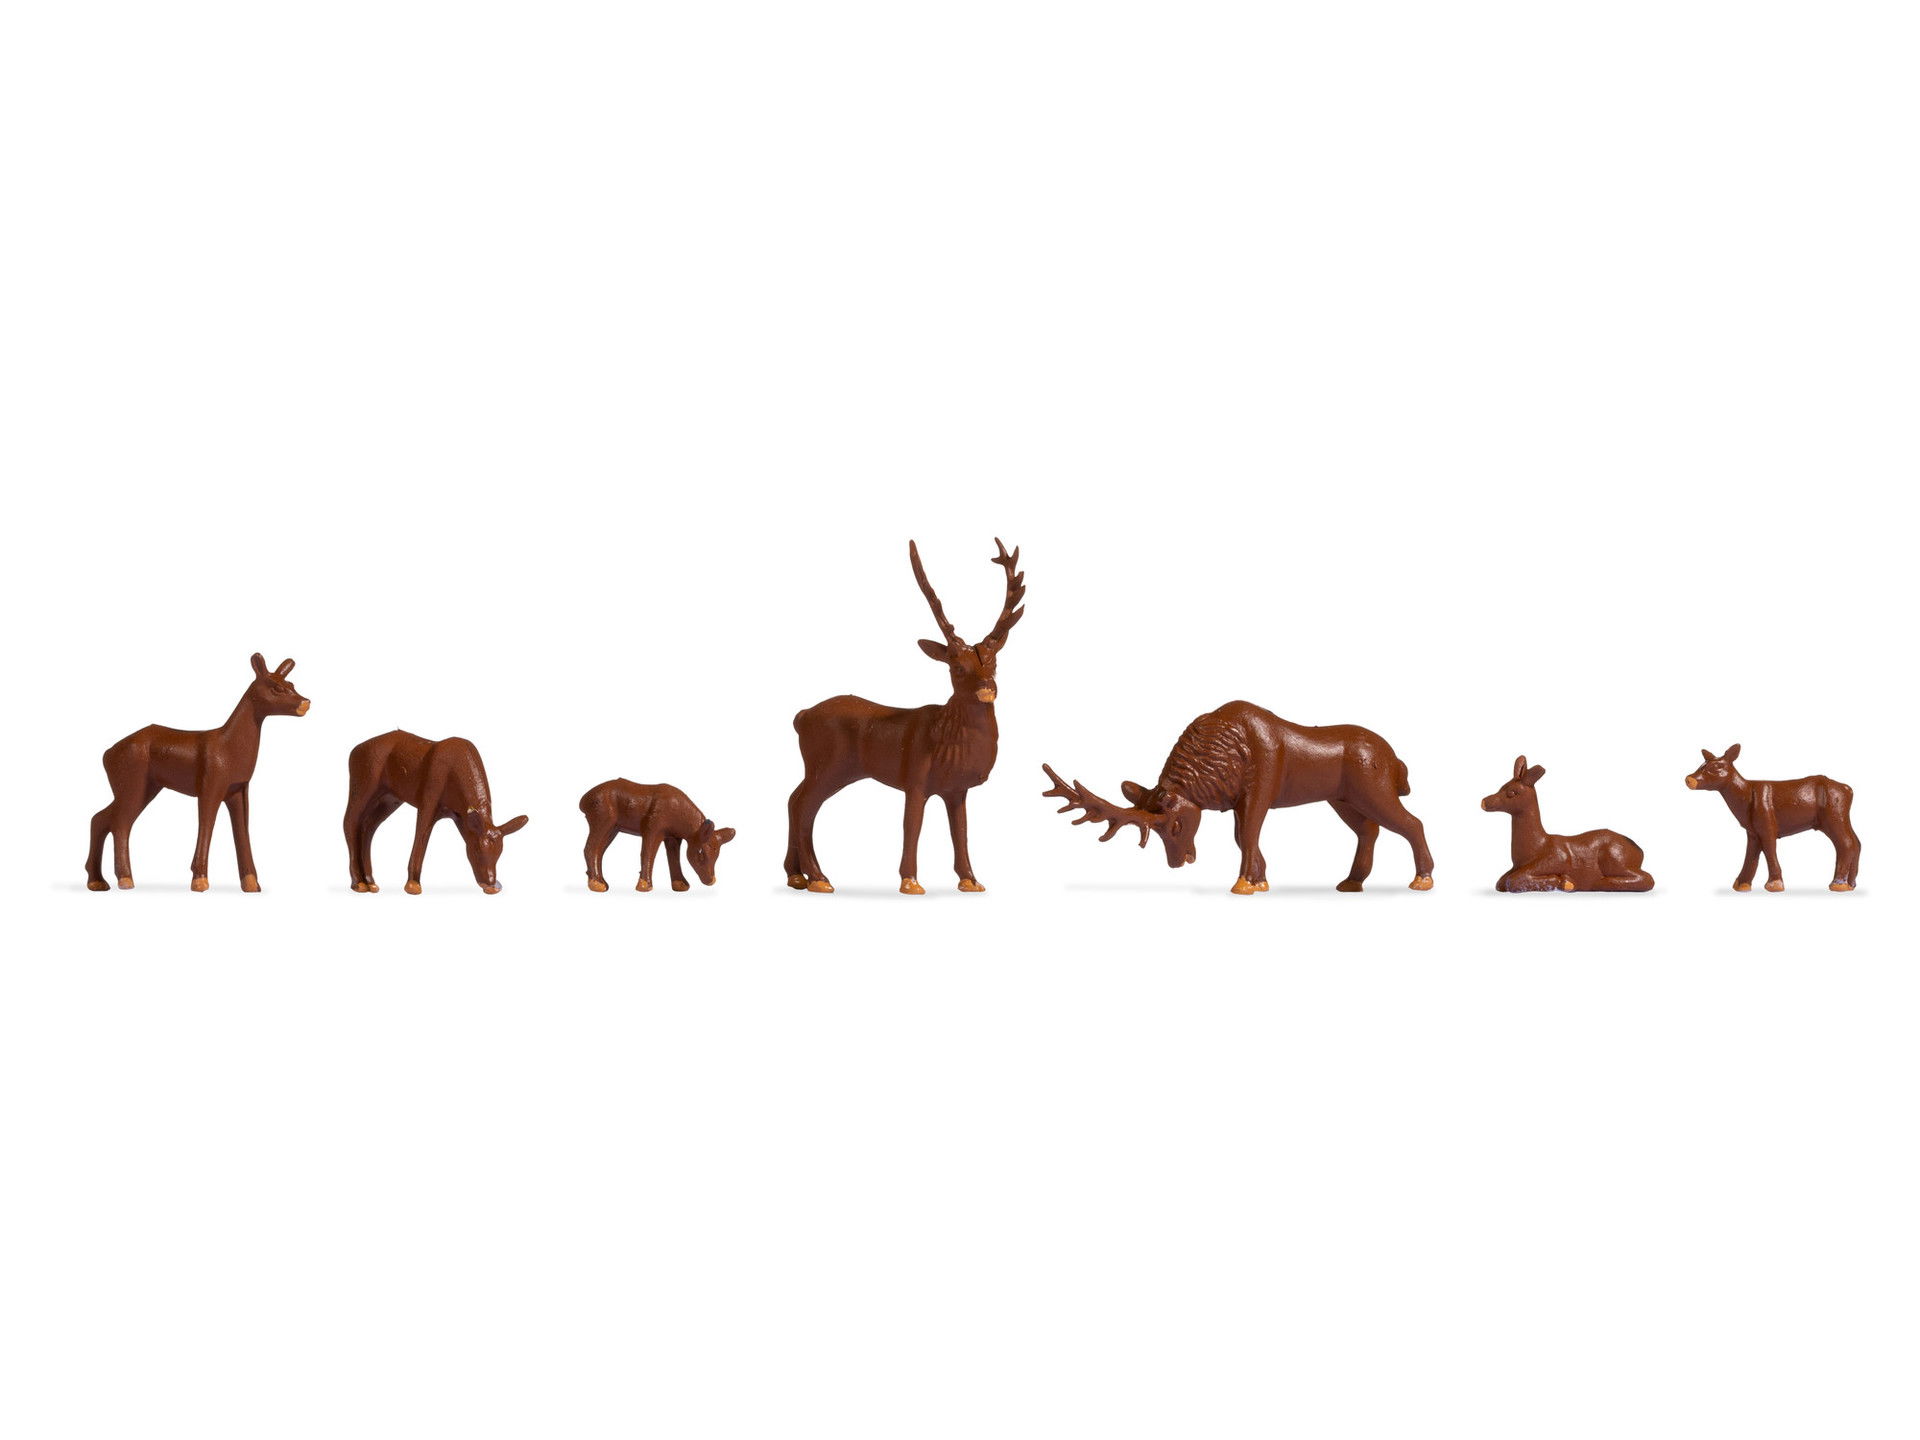
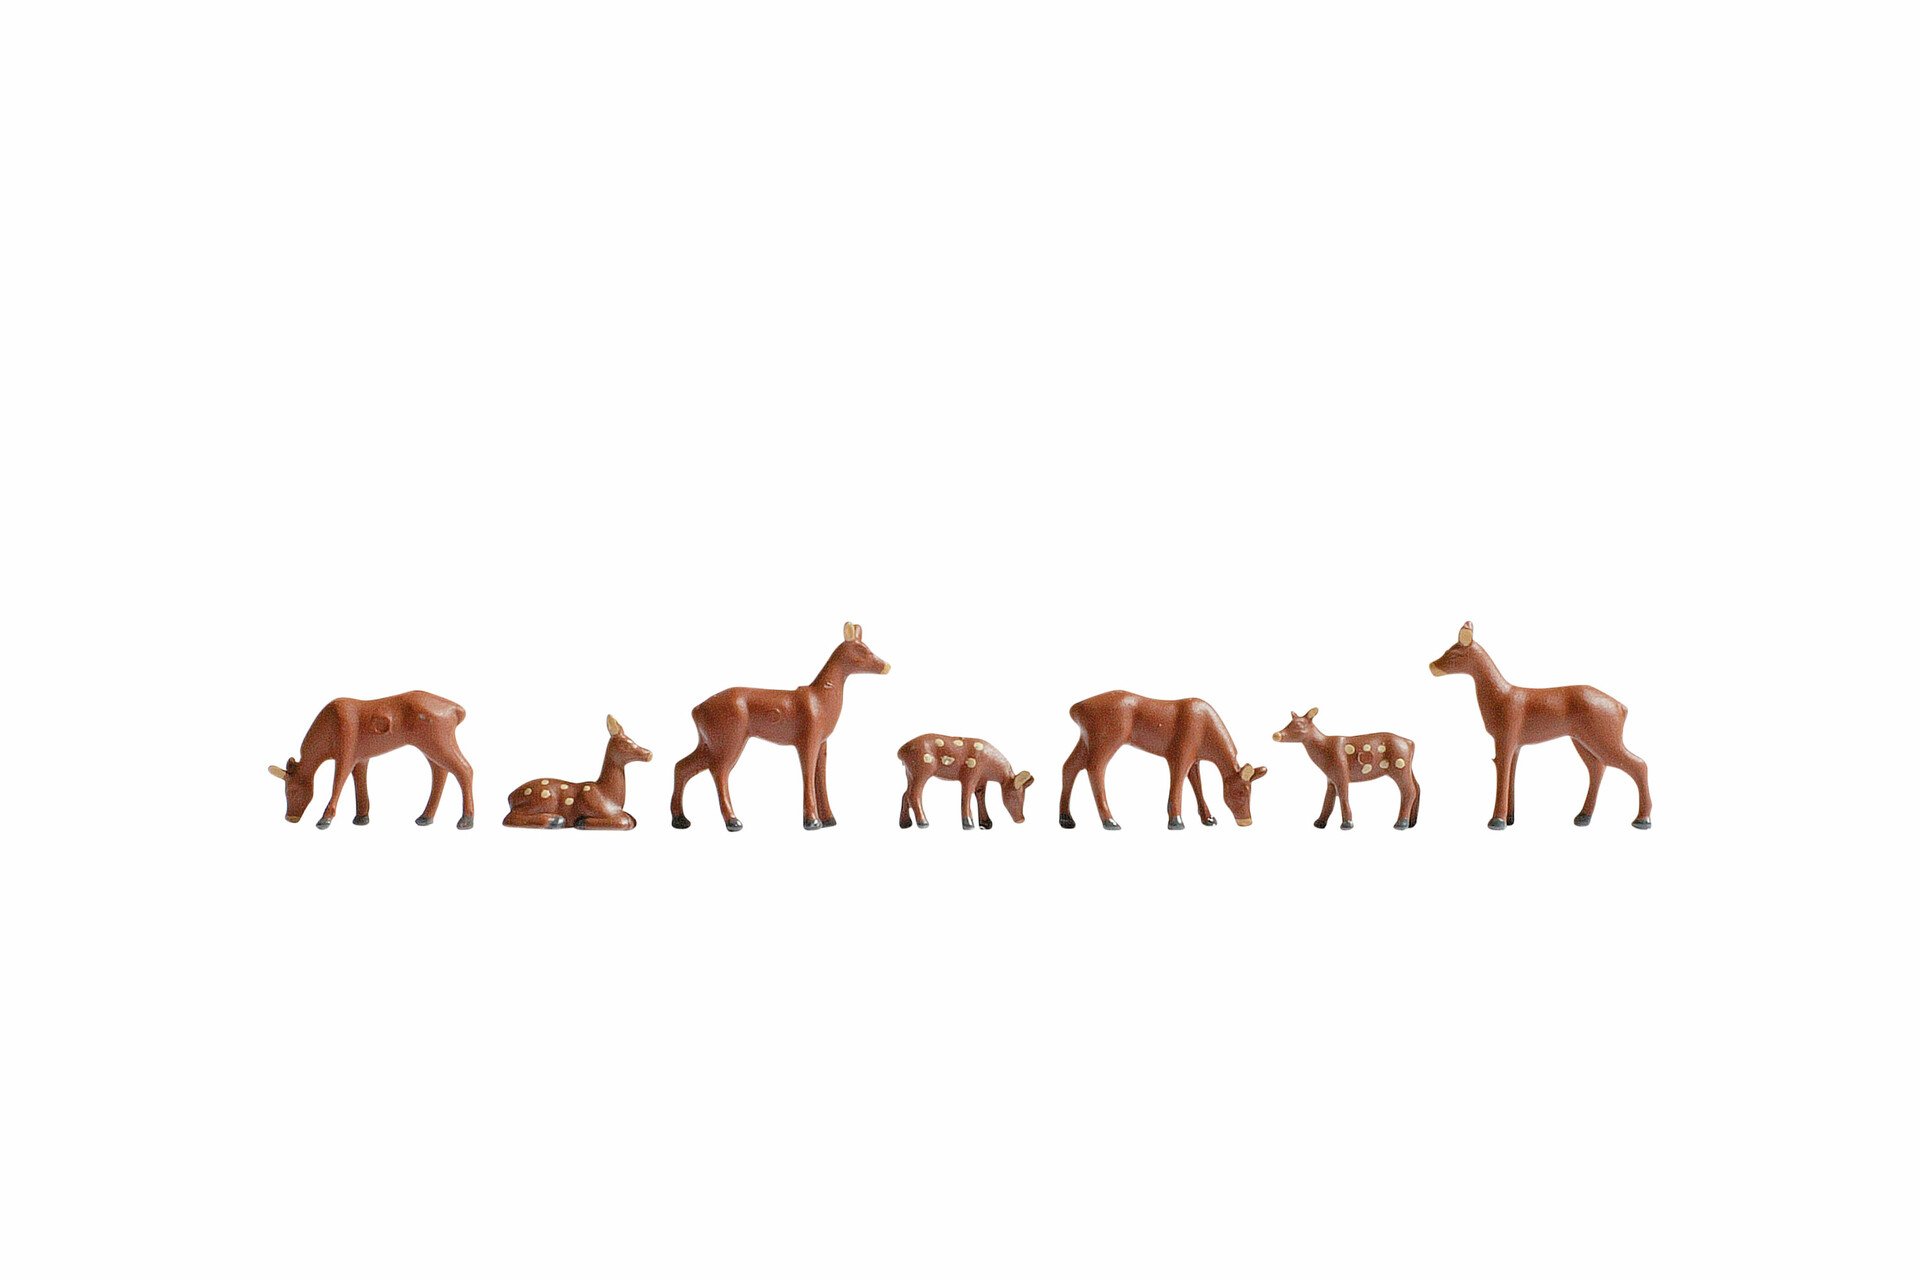


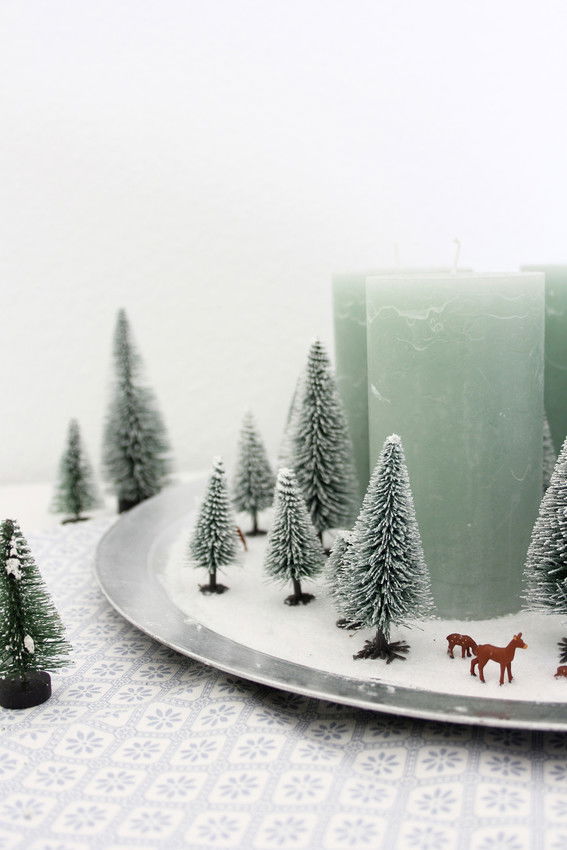


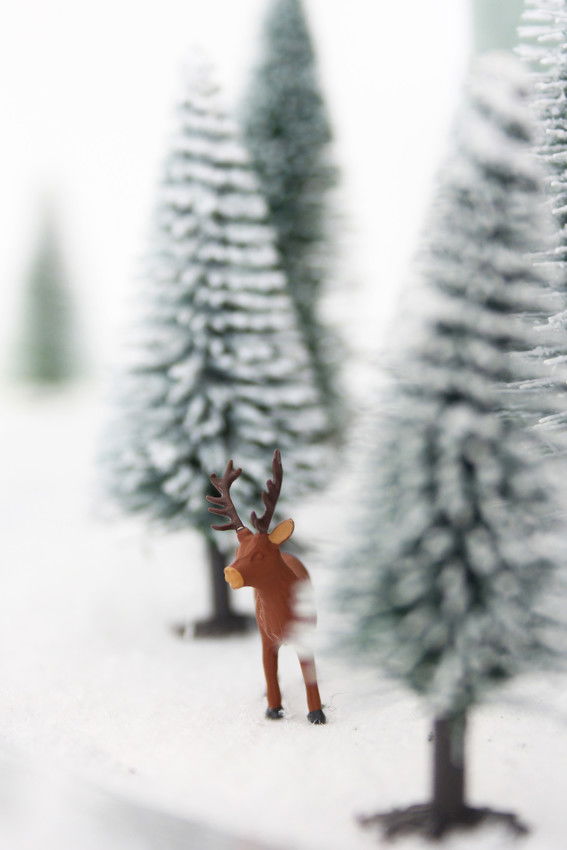



find the little winter wonderland fascinating: if you bend down in front of the Advent wreath at eye level, you can look through the Fir Trees and almost feel as if you are on a winter stroll through this mini world yourself. Here, a deer is looking between the trees and over there, a whole family is gathered, and a cross-country skier is diligently doing his rounds!
I hope you have fun designing your Advent wreath and wish you a lovely Advent season!