Children's eyes light up in the early Christmas-season!
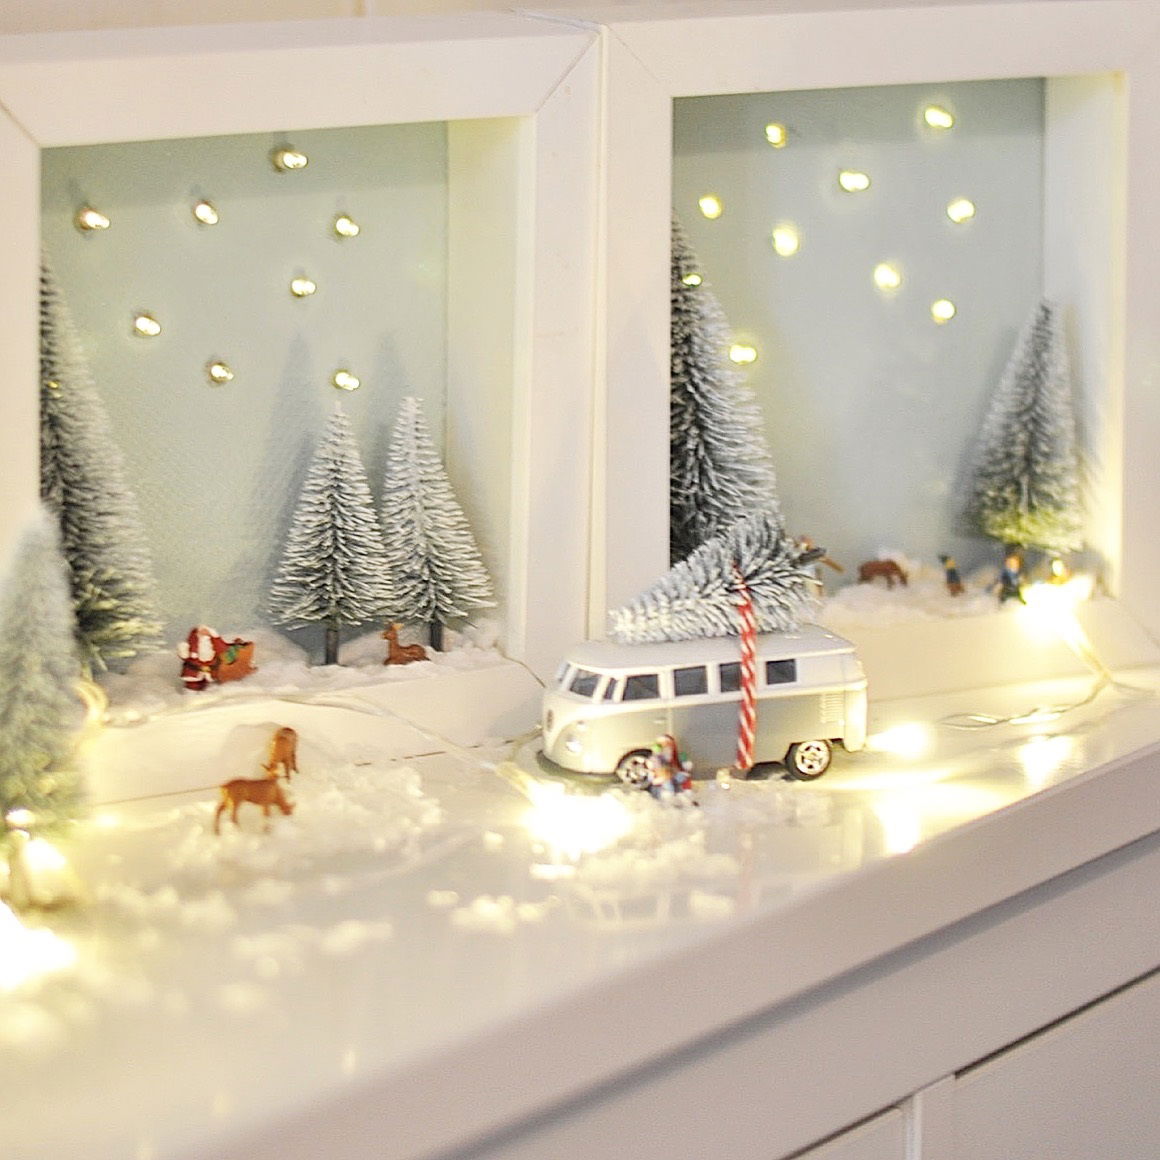
Have you already finished your Christmas decorations? No? Then get started right away! Every year you want to make your children's eyes sparkle at Christmas time. Evi from Mrs Greenhouse has thought about this! The result is a great idea for a DIY-winter-wonderland in a picture frame. Illuminated with tiny lights, it really snows there and gets you in the mood for the magic of pre-Christmas!
Step-by-step instruction
Instructions from Evi from Mrs. Greenhouse
Medium
25 min.
You need that
3D picture frame with enough depth for the landscapeCordless drill
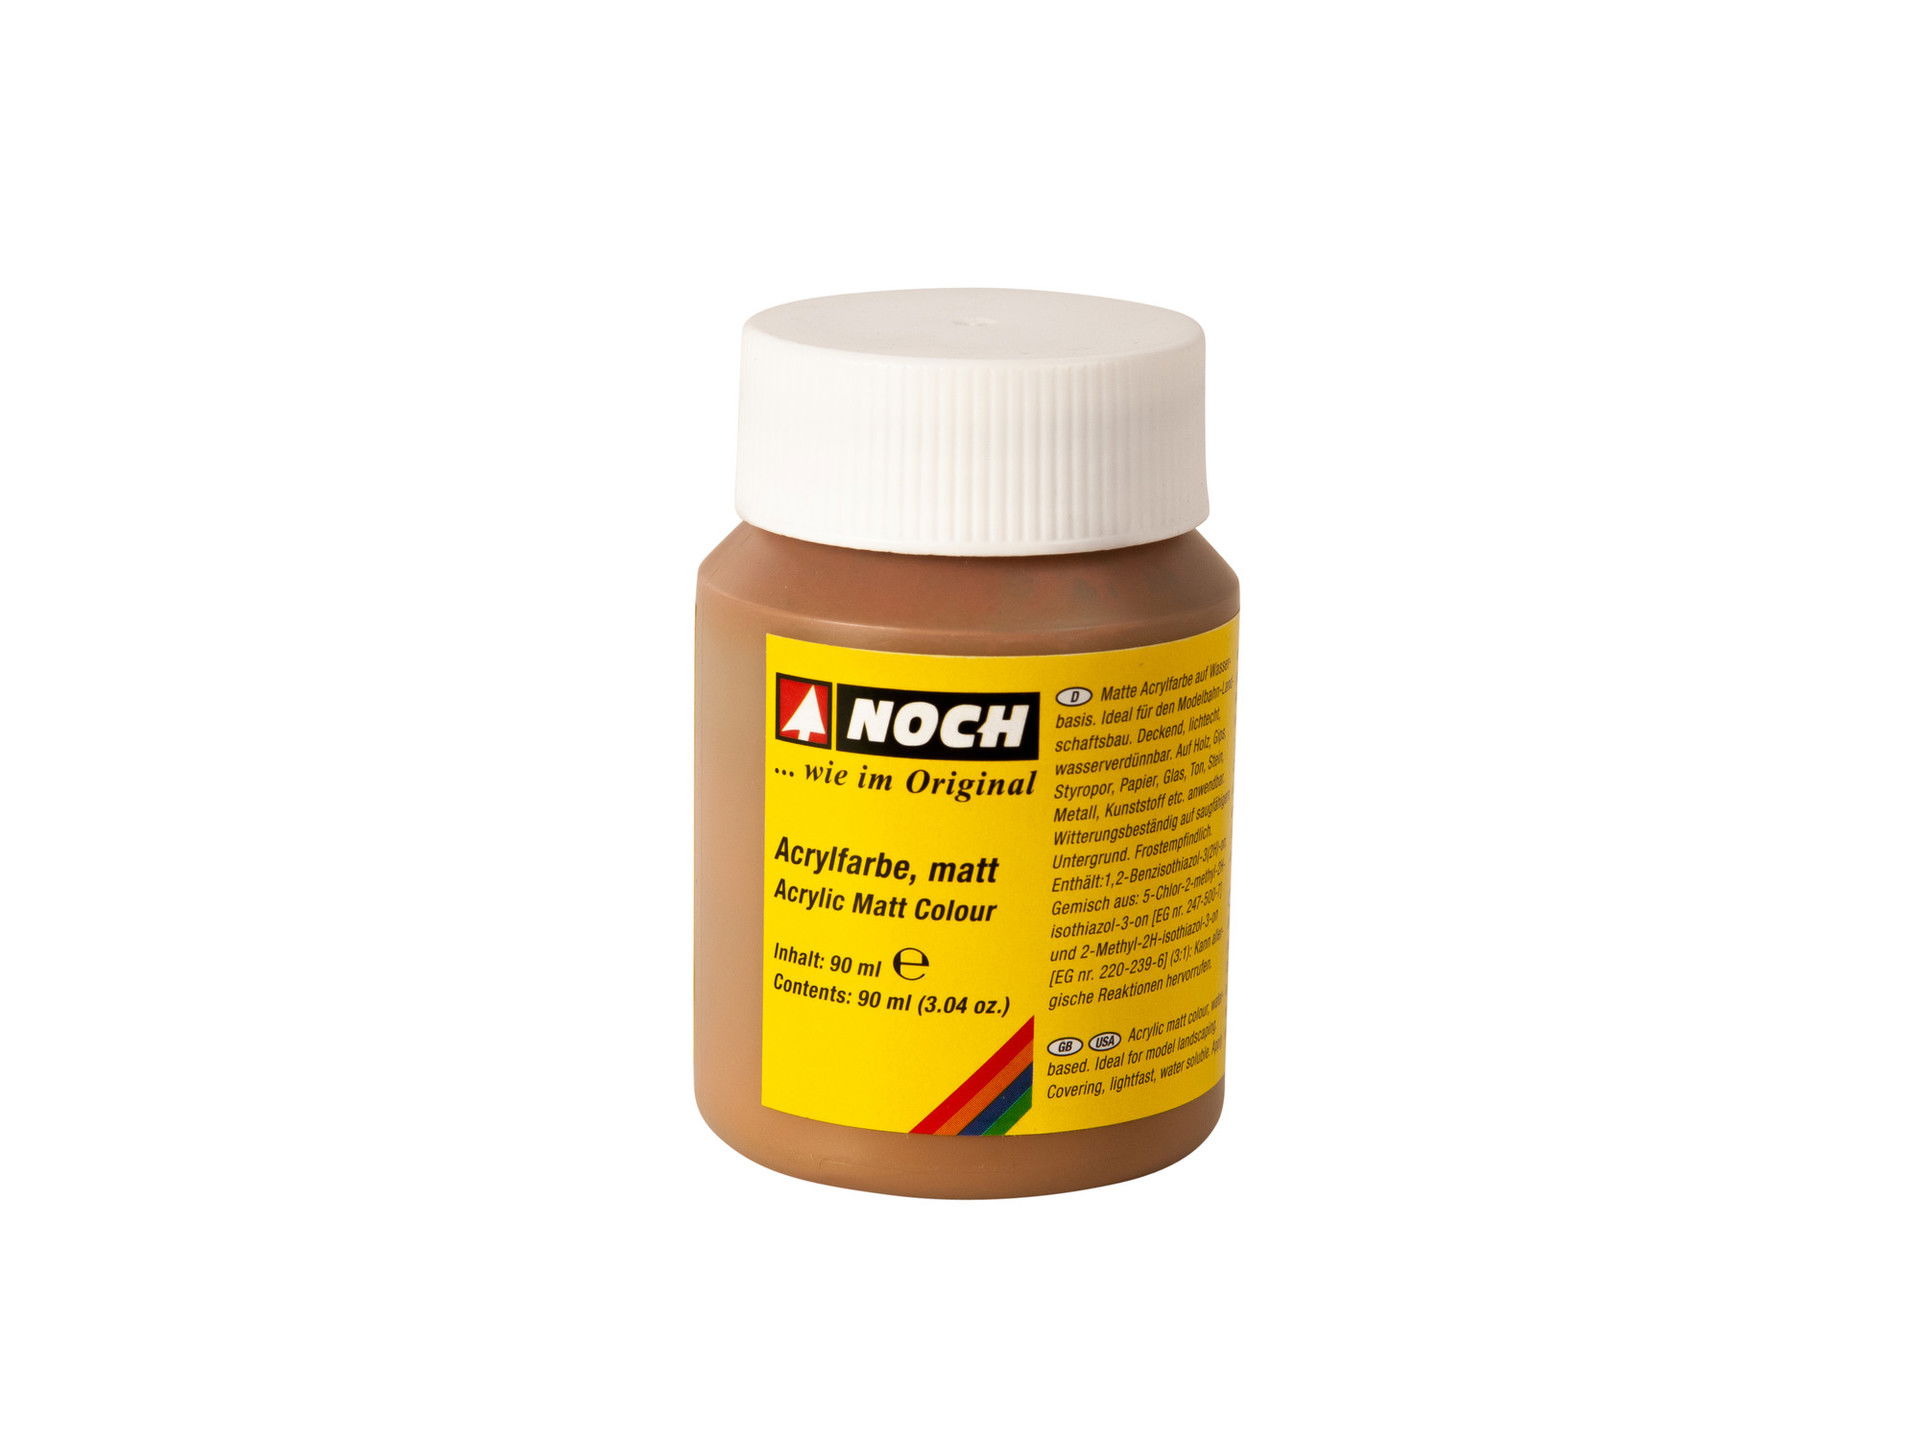
Acrylic colours
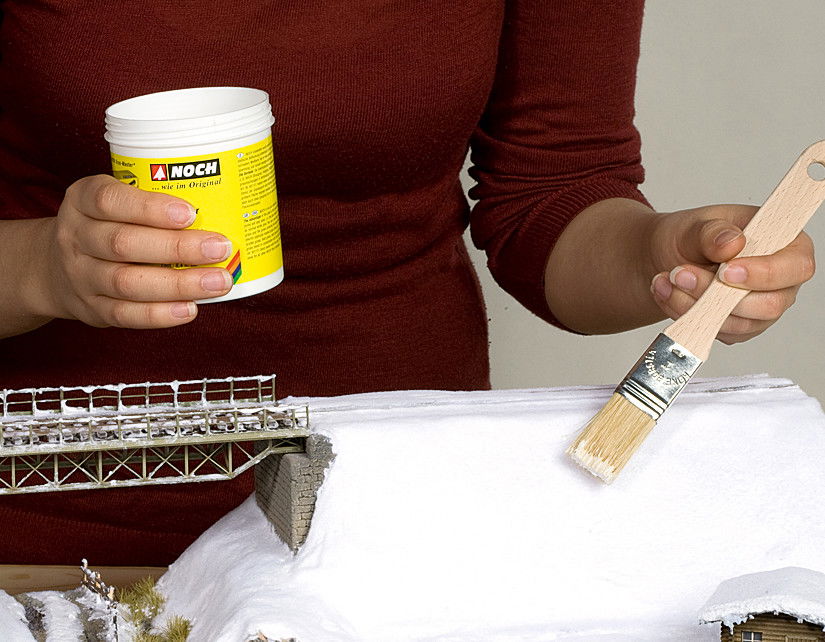
Snow Paste
Snowflakes
Decorative fir trees
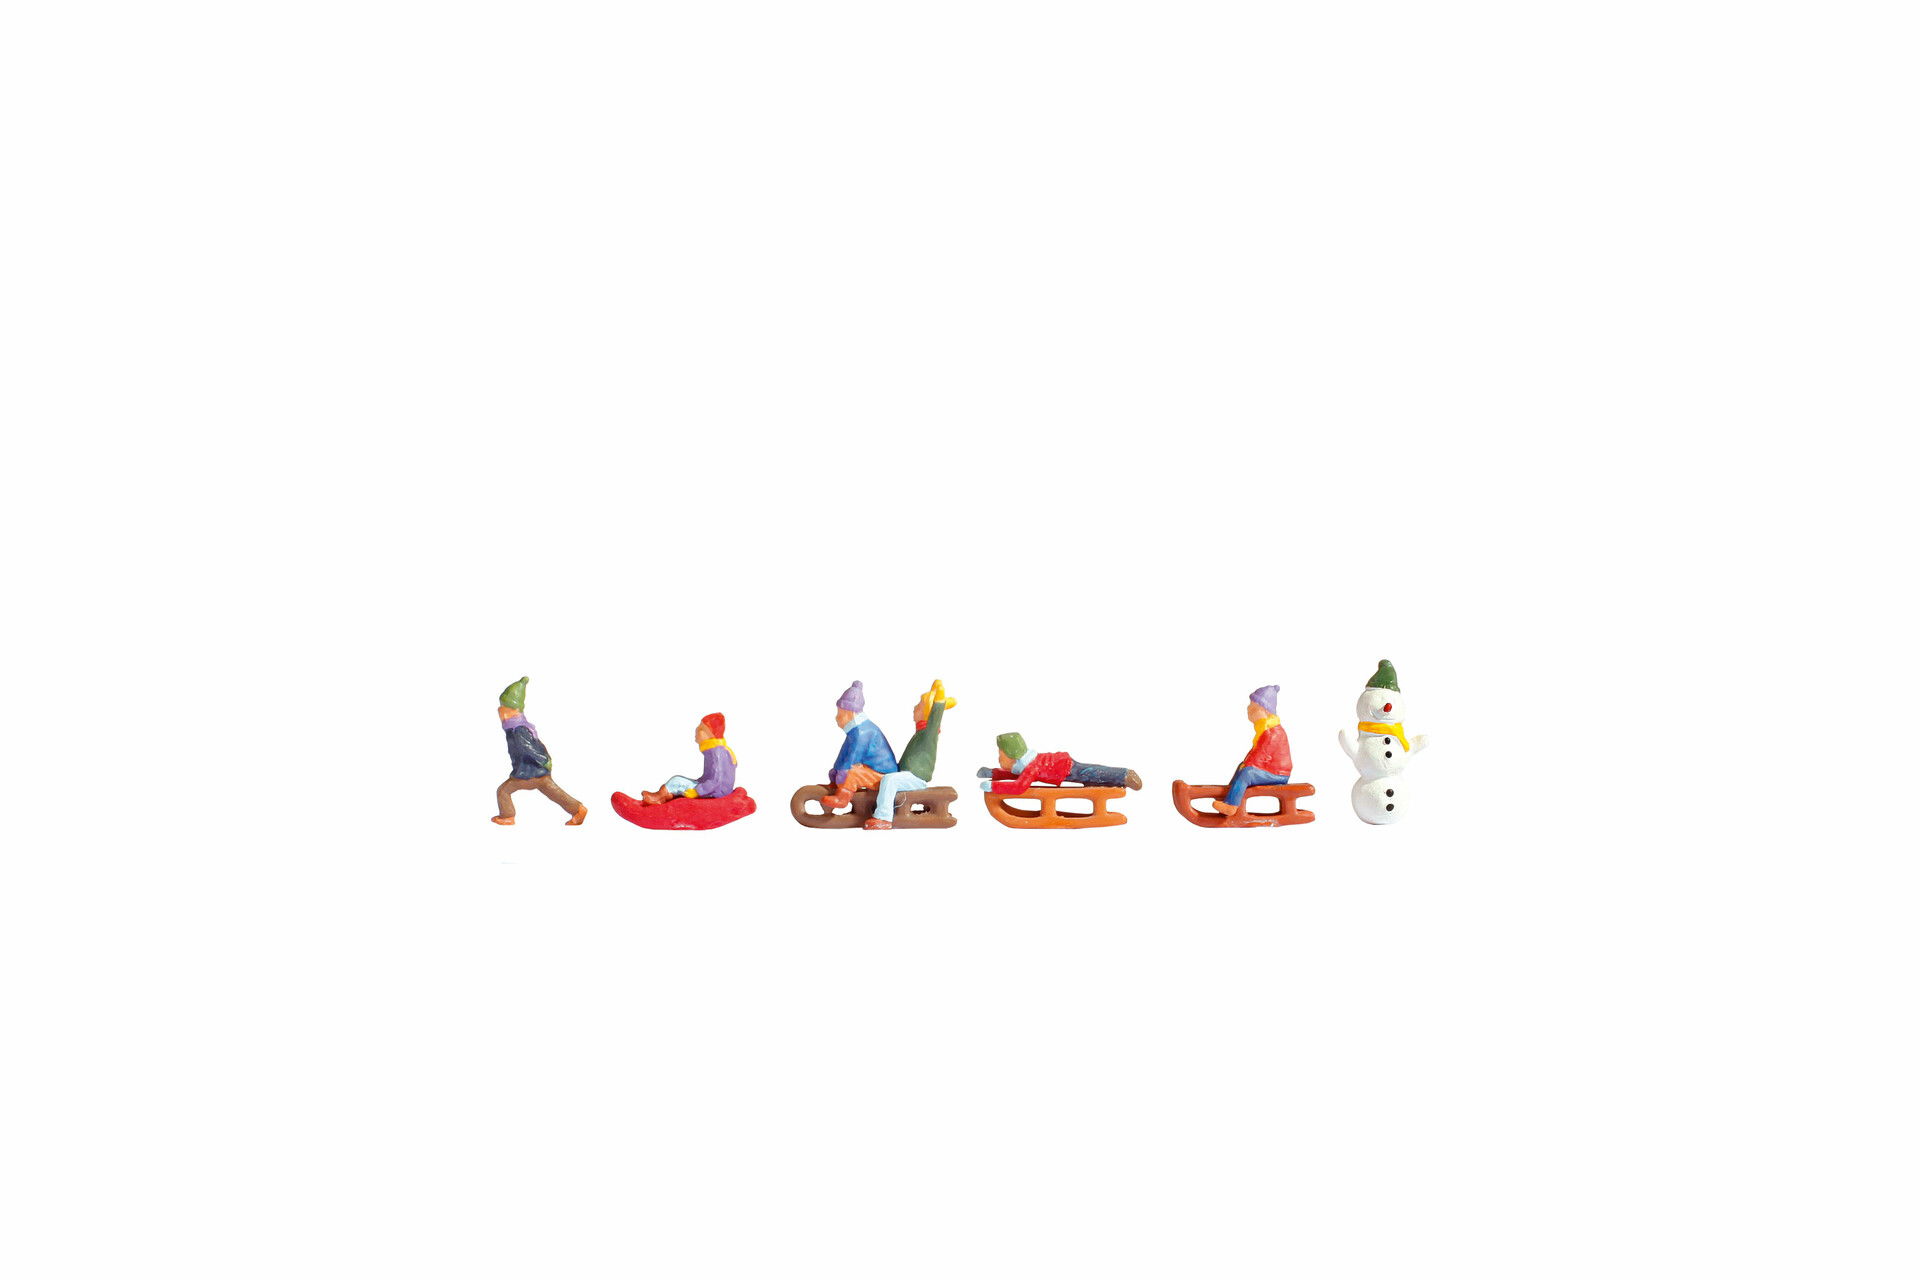
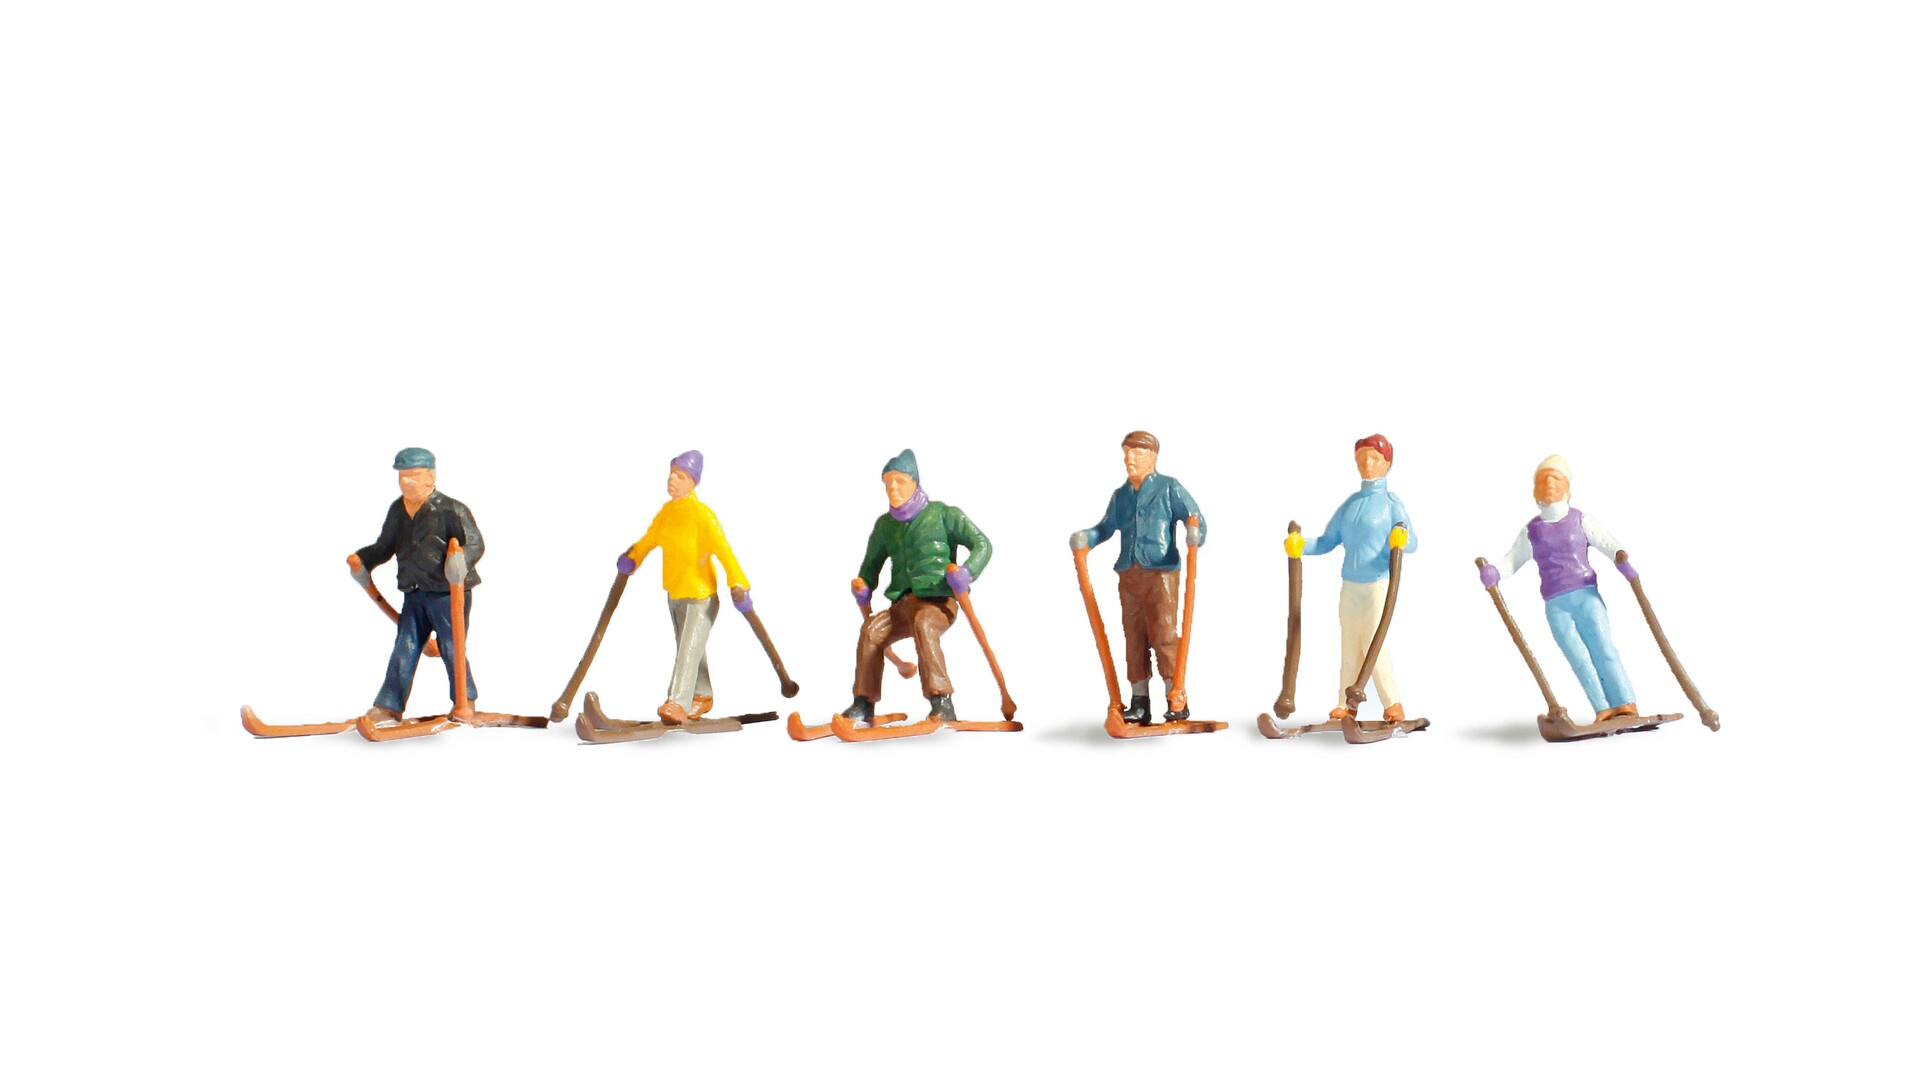
Mini figures
Glue gun
Temporary glue
Mini VW bus
Mini fairy lights with battery
Acrylic colours
Snow Paste
Snowflakes
Decorative fir trees
Mini figures
Glue gun
Temporary glue
Mini VW bus
Mini fairy lights with battery
1) Prepare the picture frame
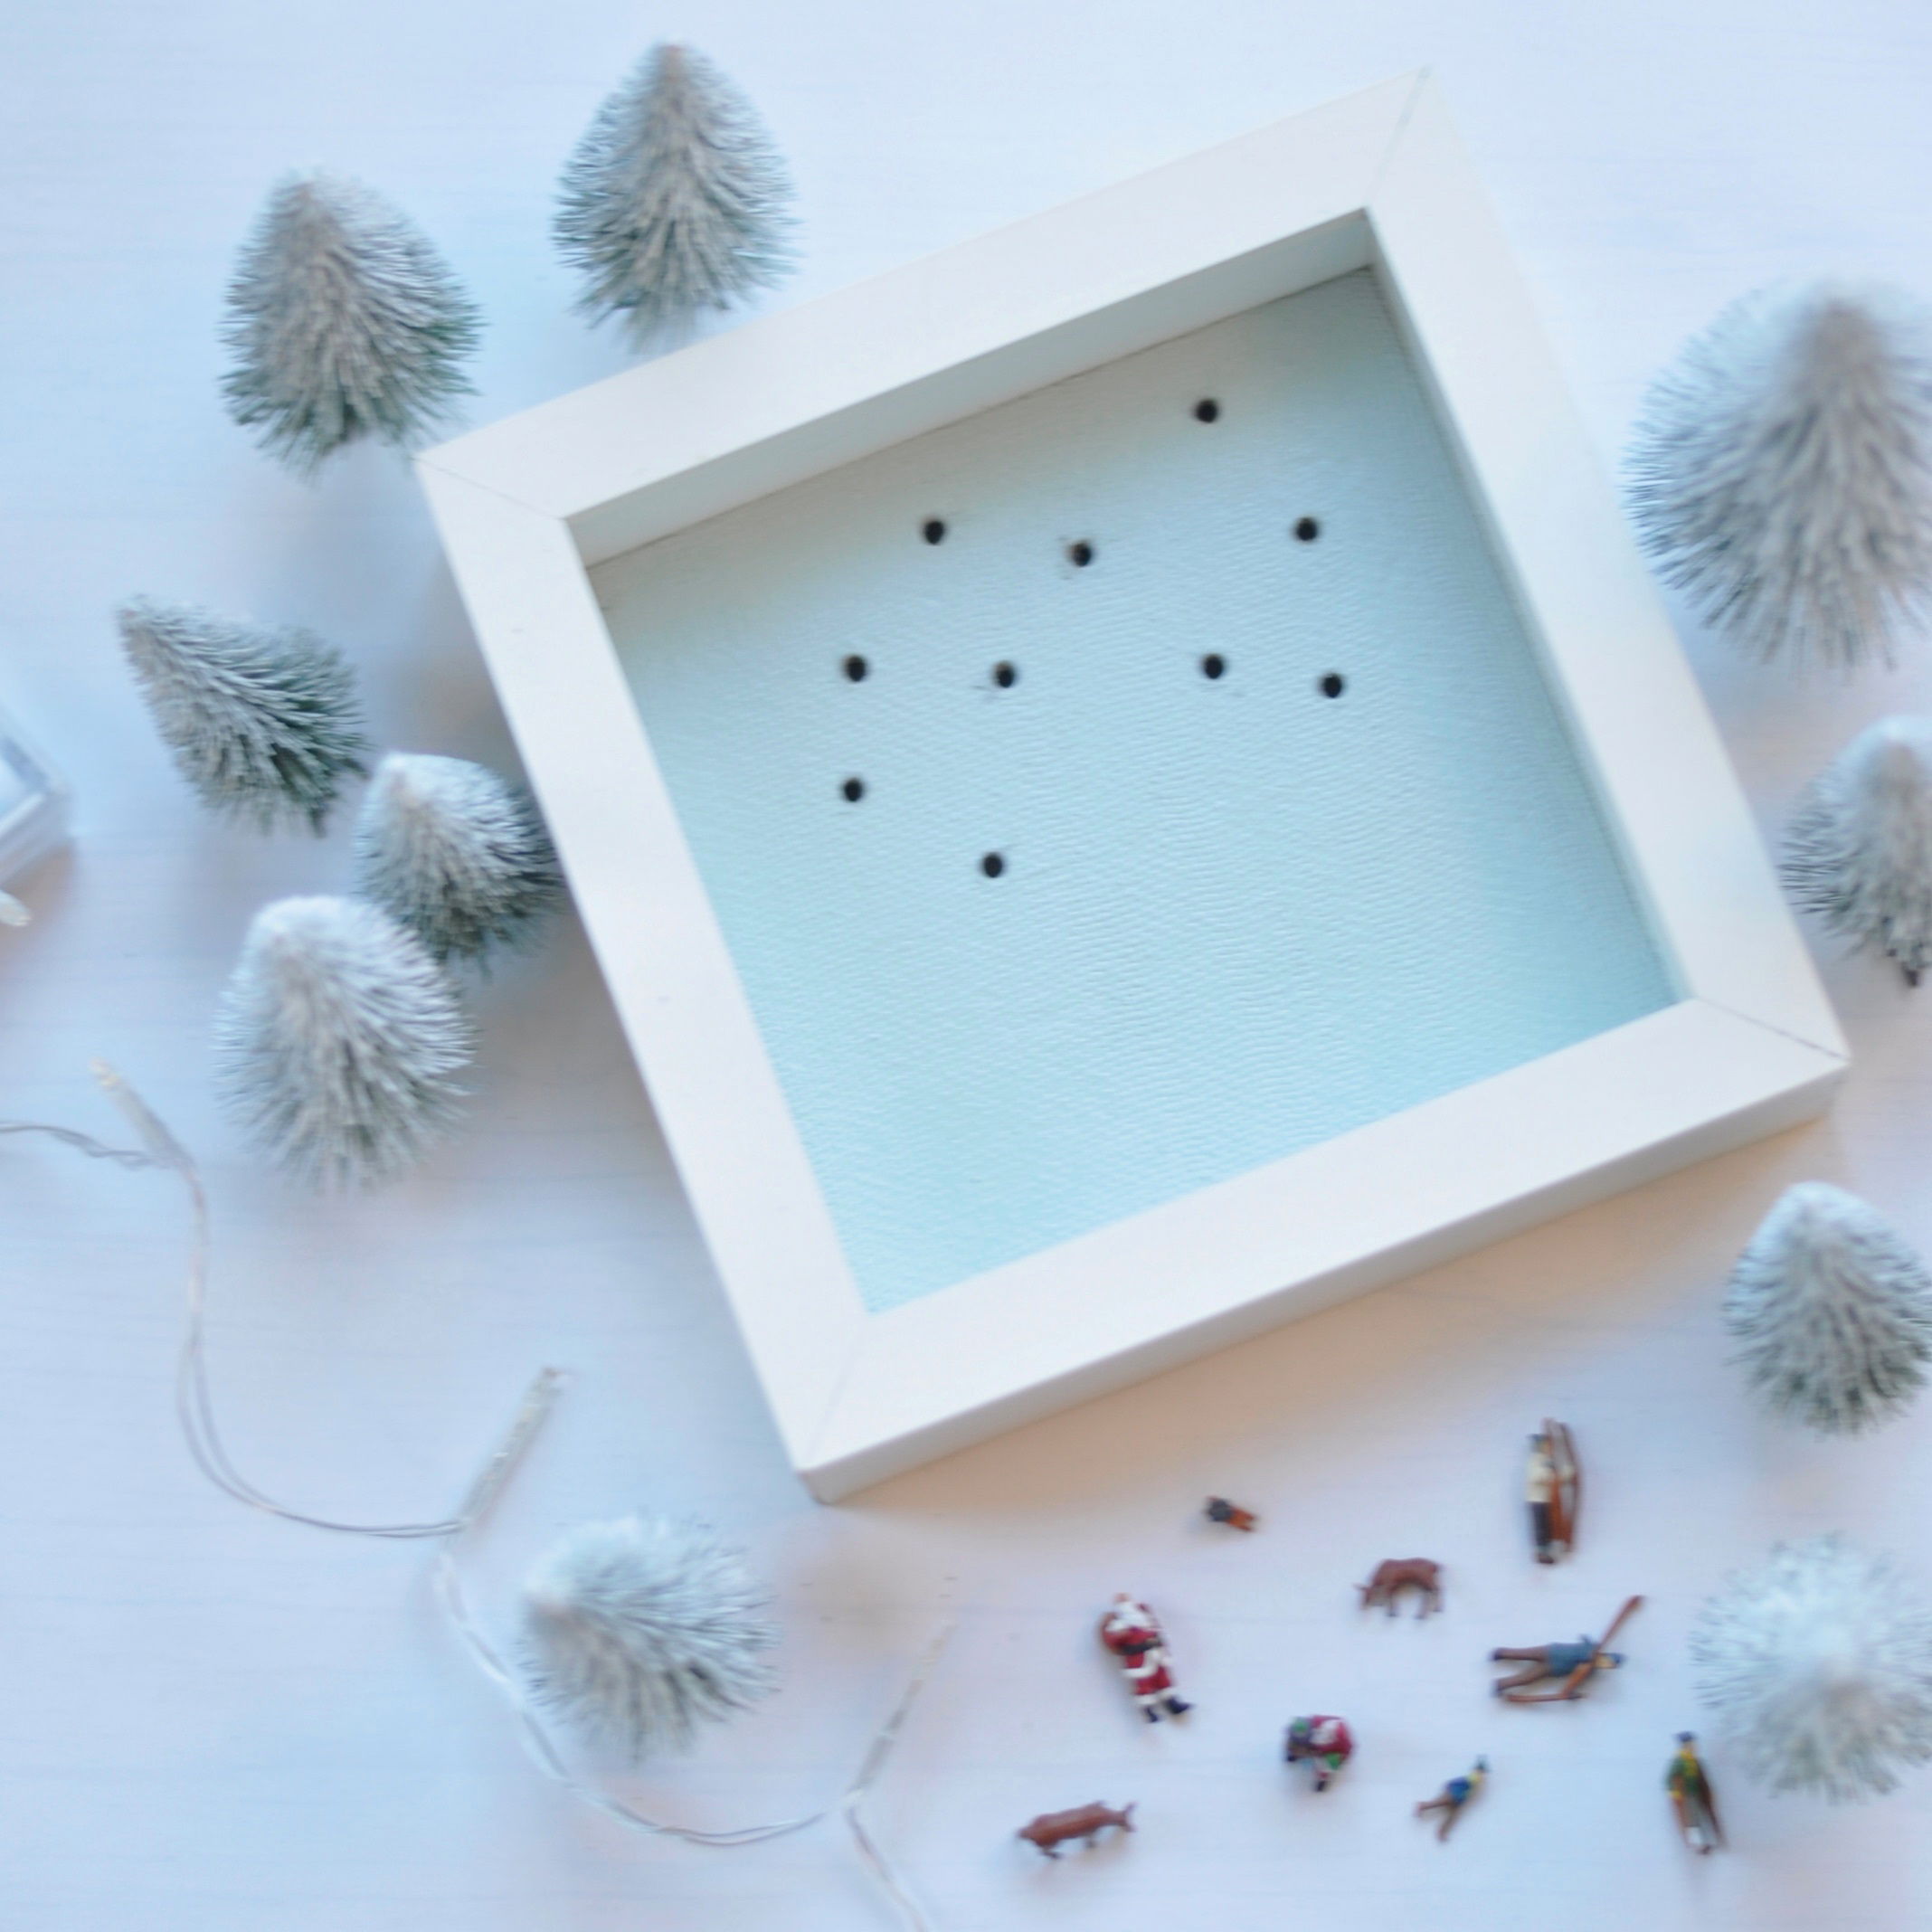
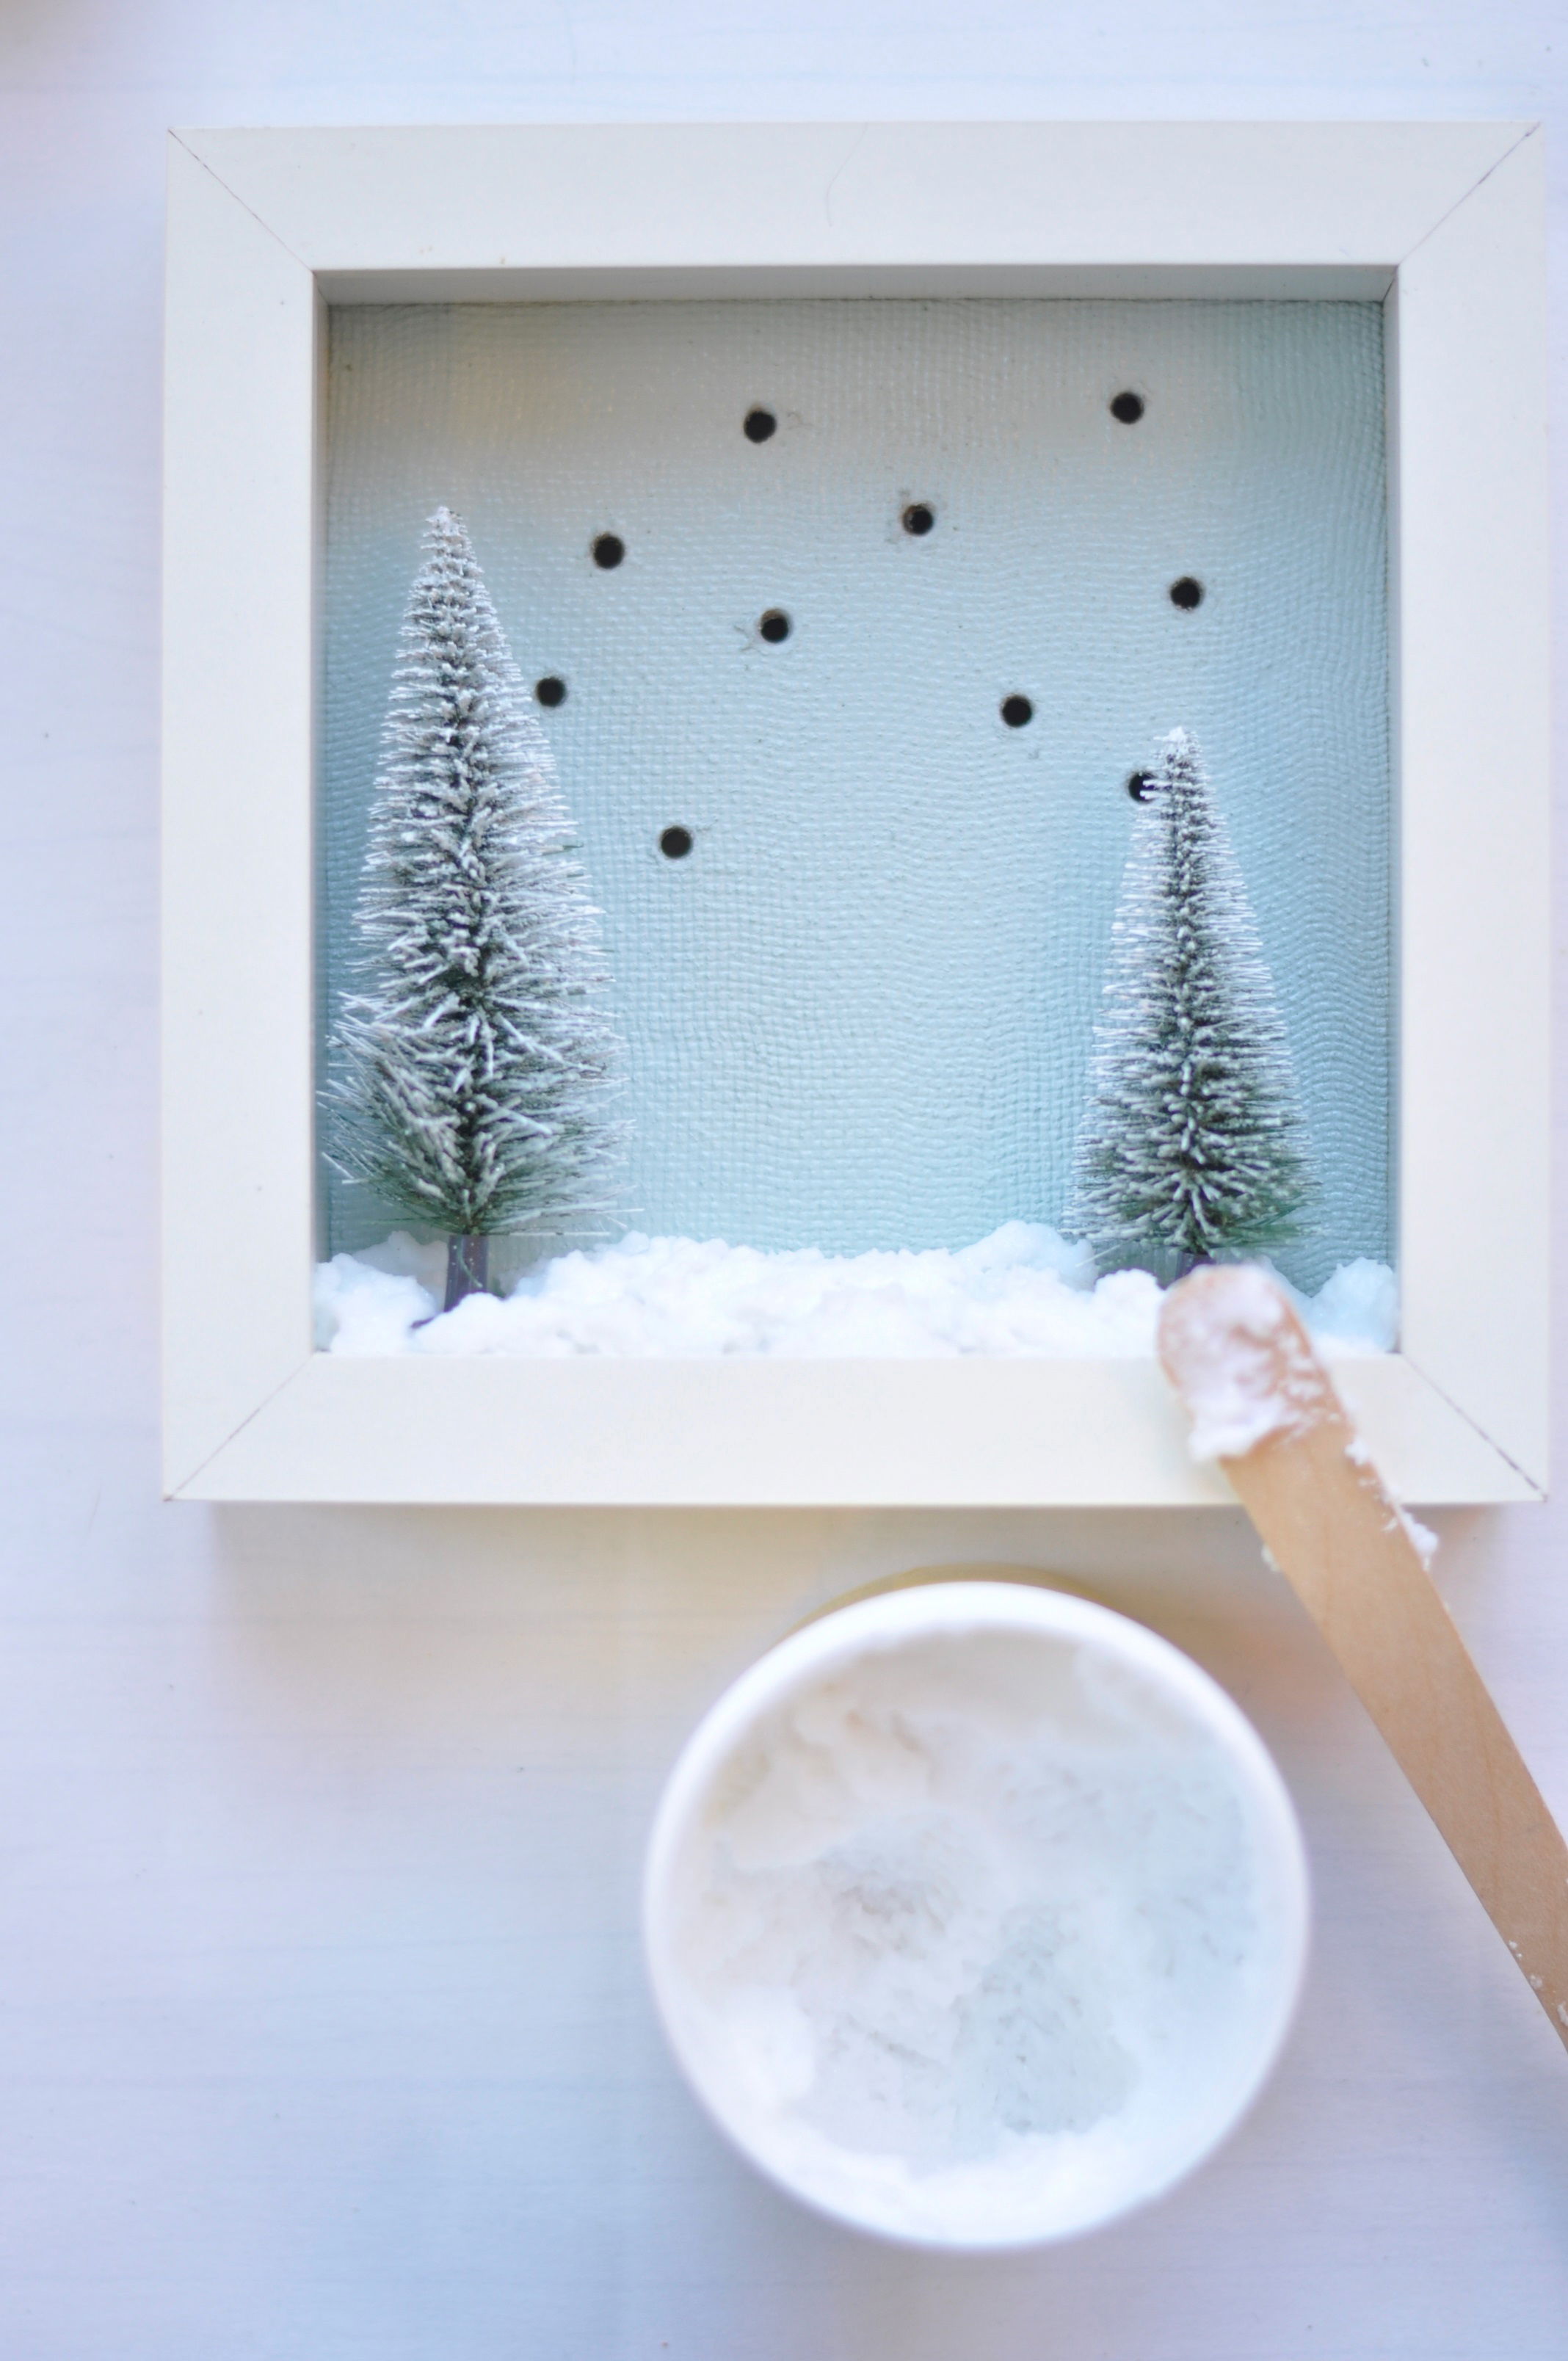
First remove the glass plate from your 3D picture frame. Make sure that the picture frame has enough depth for the winter landscape. Then drill the holes in the back wall with the cordless drill. Make sure that you have the right size and number of lights for your fairy lights. Then paint the back wall with the acrylic colour of your choice. While the back wall is drying, start designing the picture frame. Now you can use the snow paste. Simply apply it to the lower part of the picture frame and let it dry a little. Carefully press the little trees and the figures of your choice into the still moist paste, then they will hold without any glue. If you still need a little stabilisation, you can fix the trees with a glue gun and the figurines with temporary glue.
2) Now your creativity has free run!
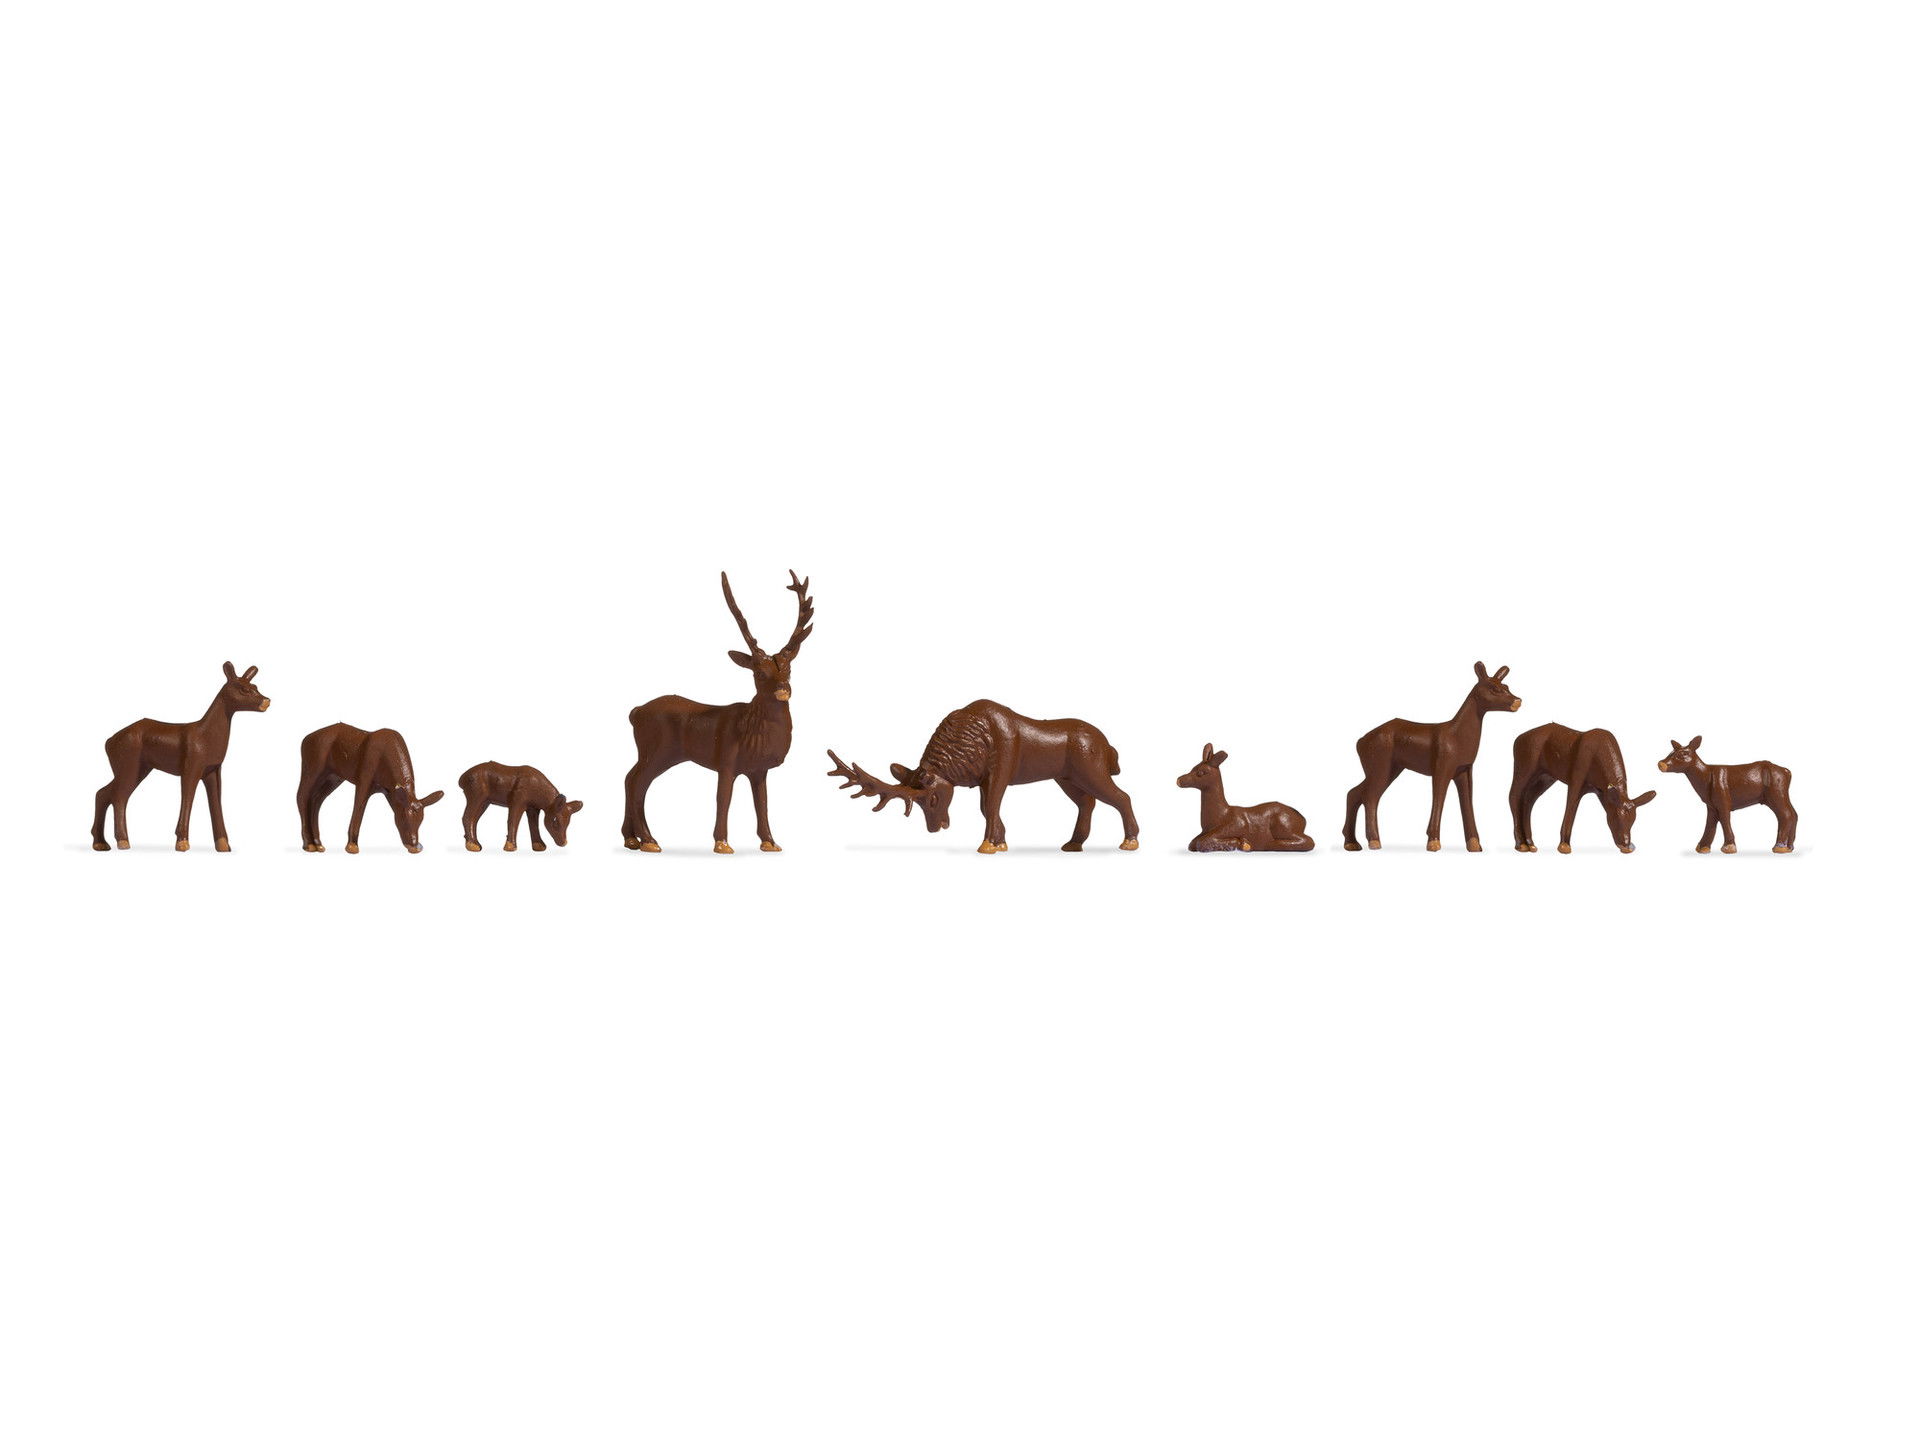
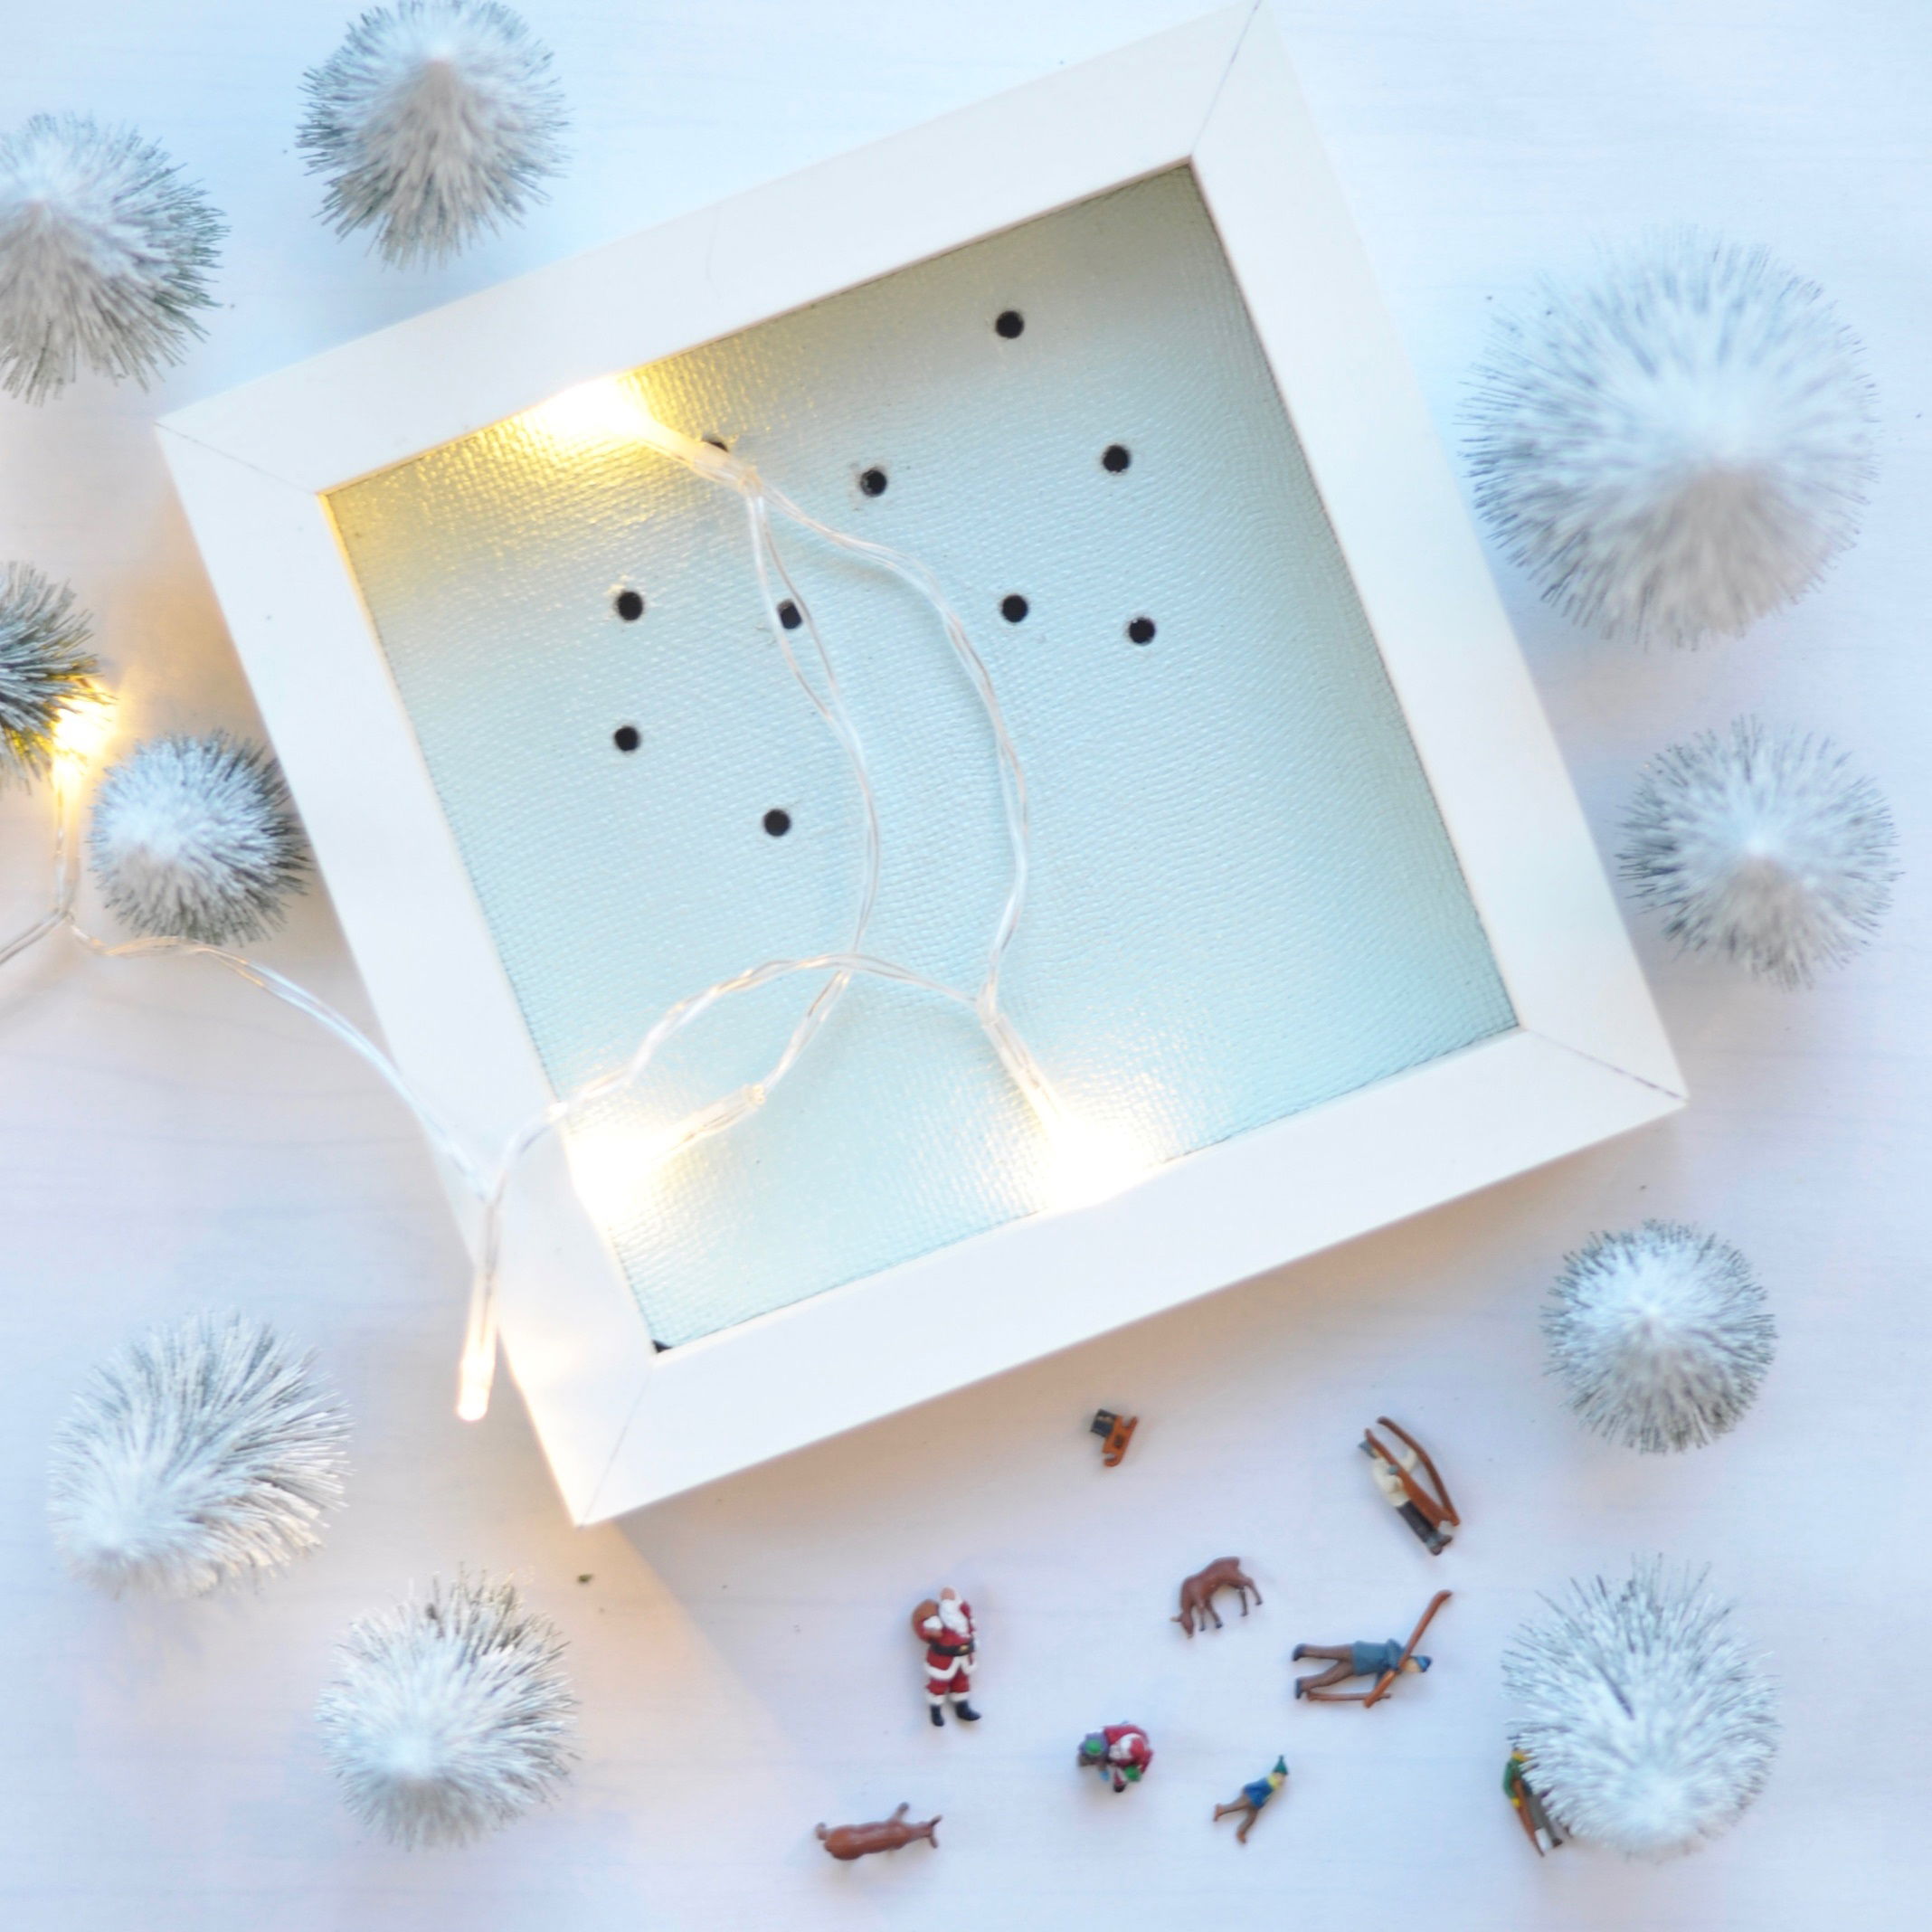
It is best to let the decorated winter landscape in the picture frame with the figures and the little trees dry for a day. Insert half of the lights through the small holes in the picture frame. If you like, you can fix the cables on the back with adhesive tape. However, the picture frames are not suitable for hanging on the wall, as the cables of the fairy lights need a little space. It is best to place the picture frames on a shelf. There are no limits to your creativity here. Whether you decorate a VW bus with a Christmas tree on the roof in the winter landscape or enlarge the snow landscape with snow paste and snowflakes where the deer look for food in the snow... You design it the way you like it! As soon as it gets dark, switch on the lights and let the forest glitter.
Your crafted results
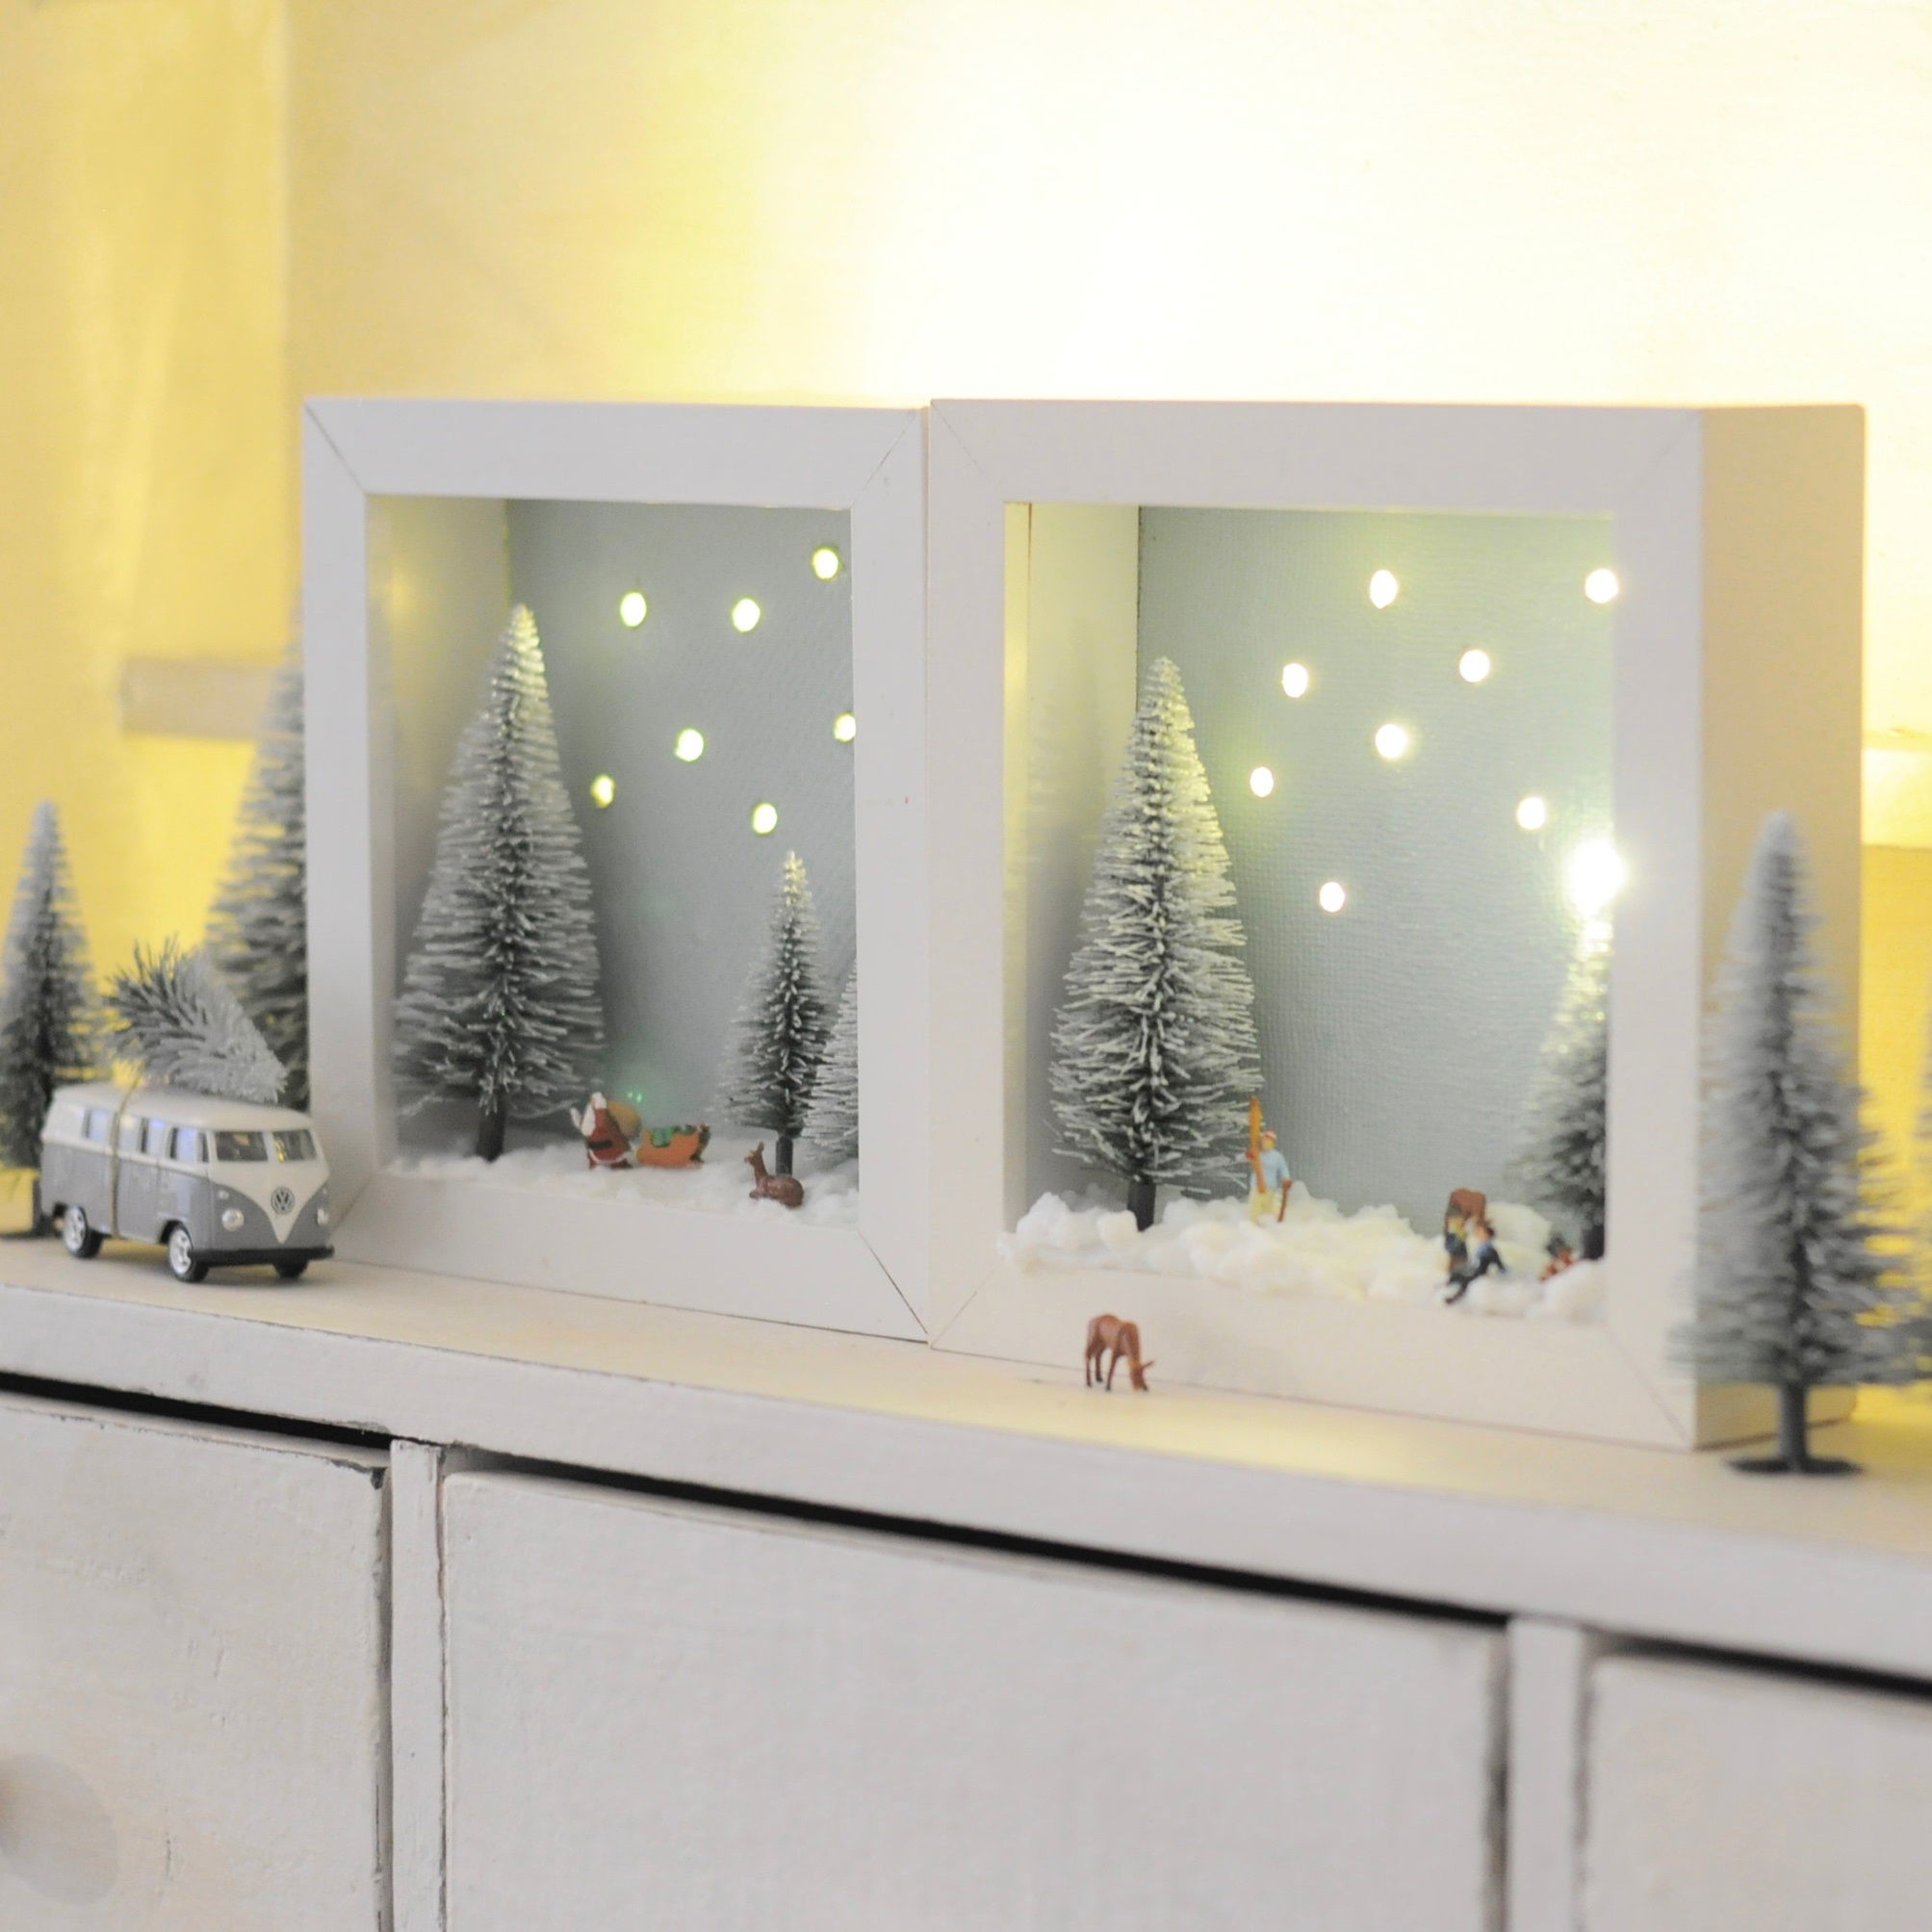
Now the pre-Christmas season can come. The glitter and sparkle on the winter landscape will make your children's eyes sparkle. The magic sparkles throughout the whole house.
I wish you a lot of fun with this craft and I would be happy if you would visit my blog Mrs Greenhouse!
Greetings,
Evi
Featured products
Shopping List
