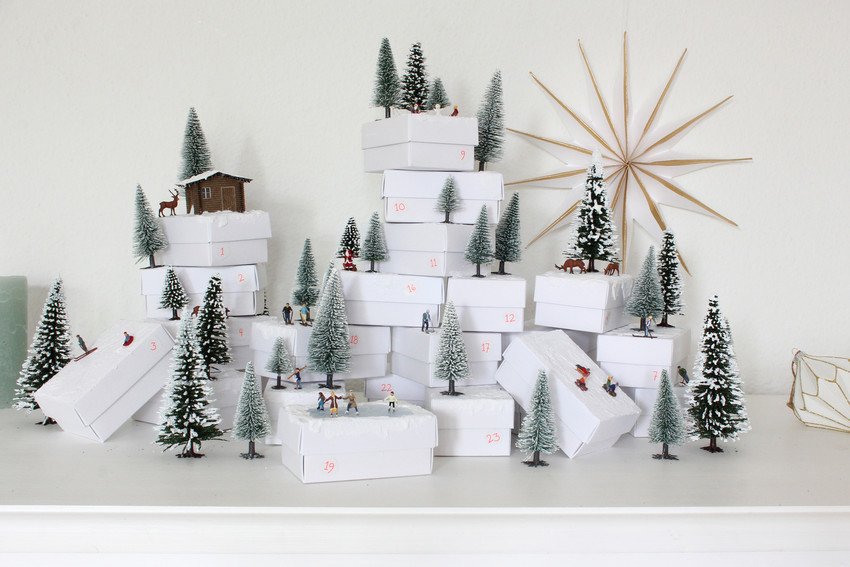
Make Your Own Advent Calendar
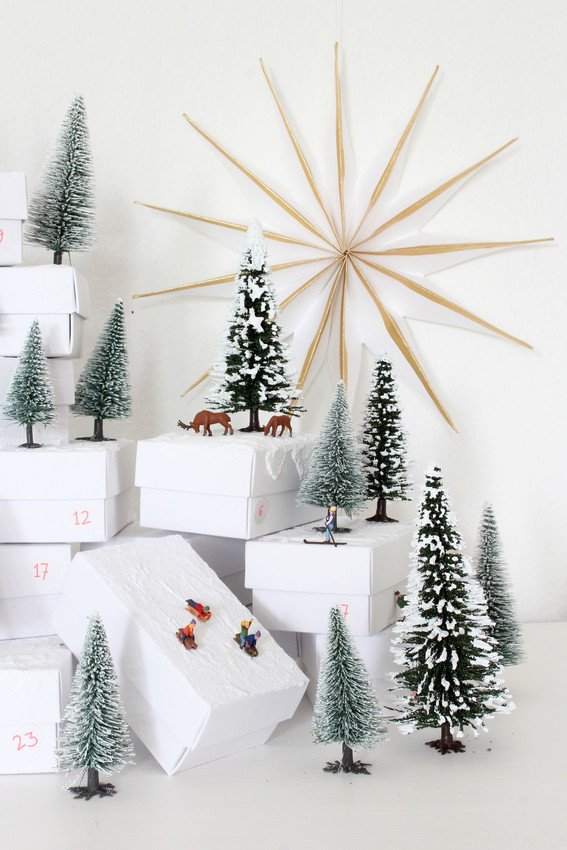
Designed with 24 boxes as a mini winter landscape!
Make your own Advent calendar! A personalised Advent calendar for children and adults is simply part of the Advent season! The 24 little gifts shorten the waiting time until Christmas and sometimes personalised, homemade Advent calendars even replace Christmas presents for many people. Liska from dekotopia.net shows you how to craft a great Advent calendar out of small boxes and create a miniature winter landscape. Have fun opening the doors or rather boxes. :)
Step-by-step instruction
Instructions from Liska from dekotopia.net
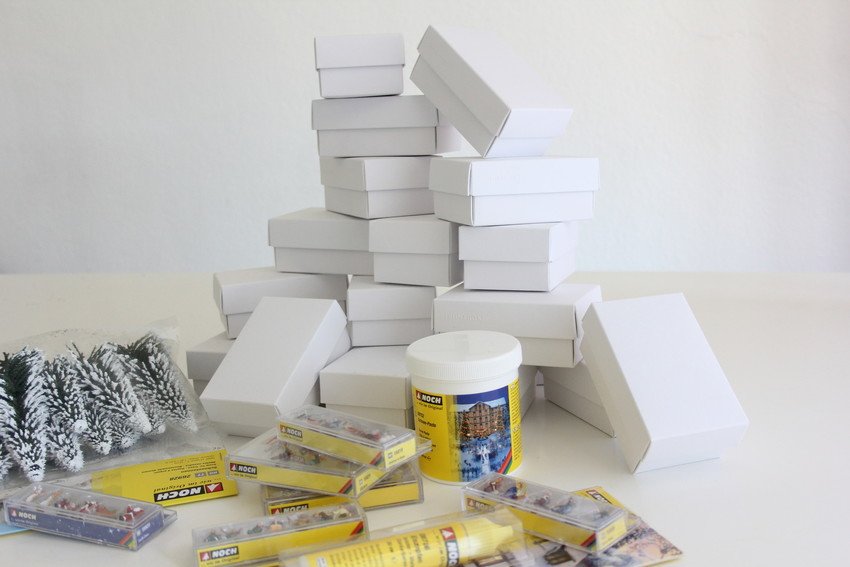
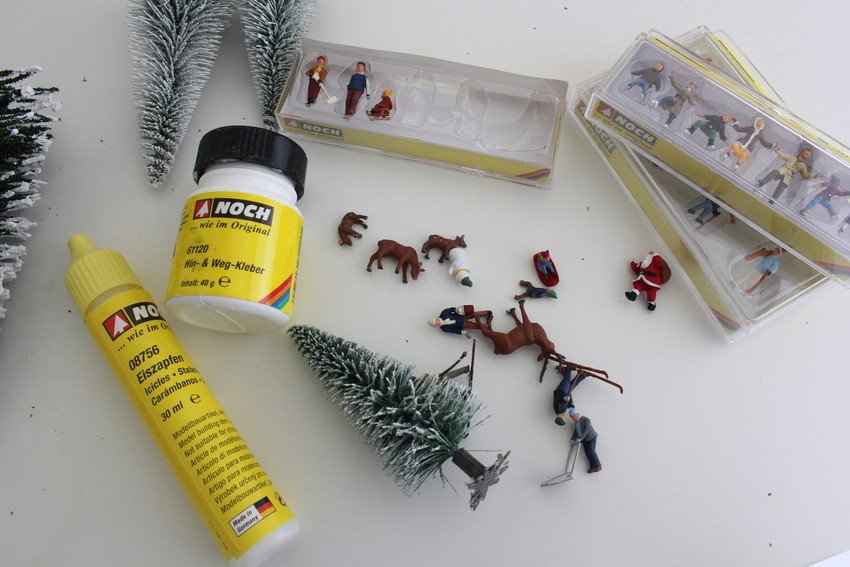
You need that
- 24 white boxes
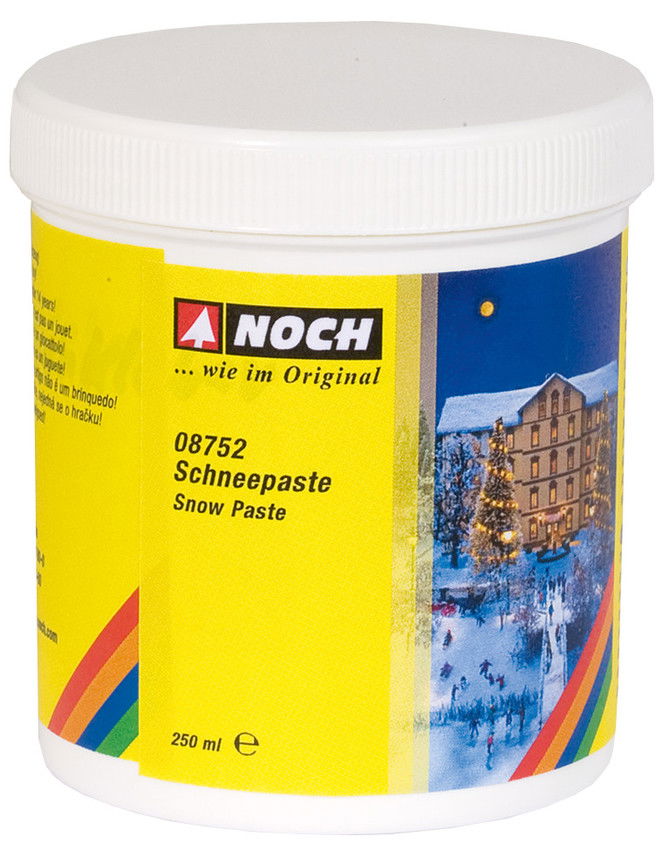
- Snow Paste
- Icicles from a tube
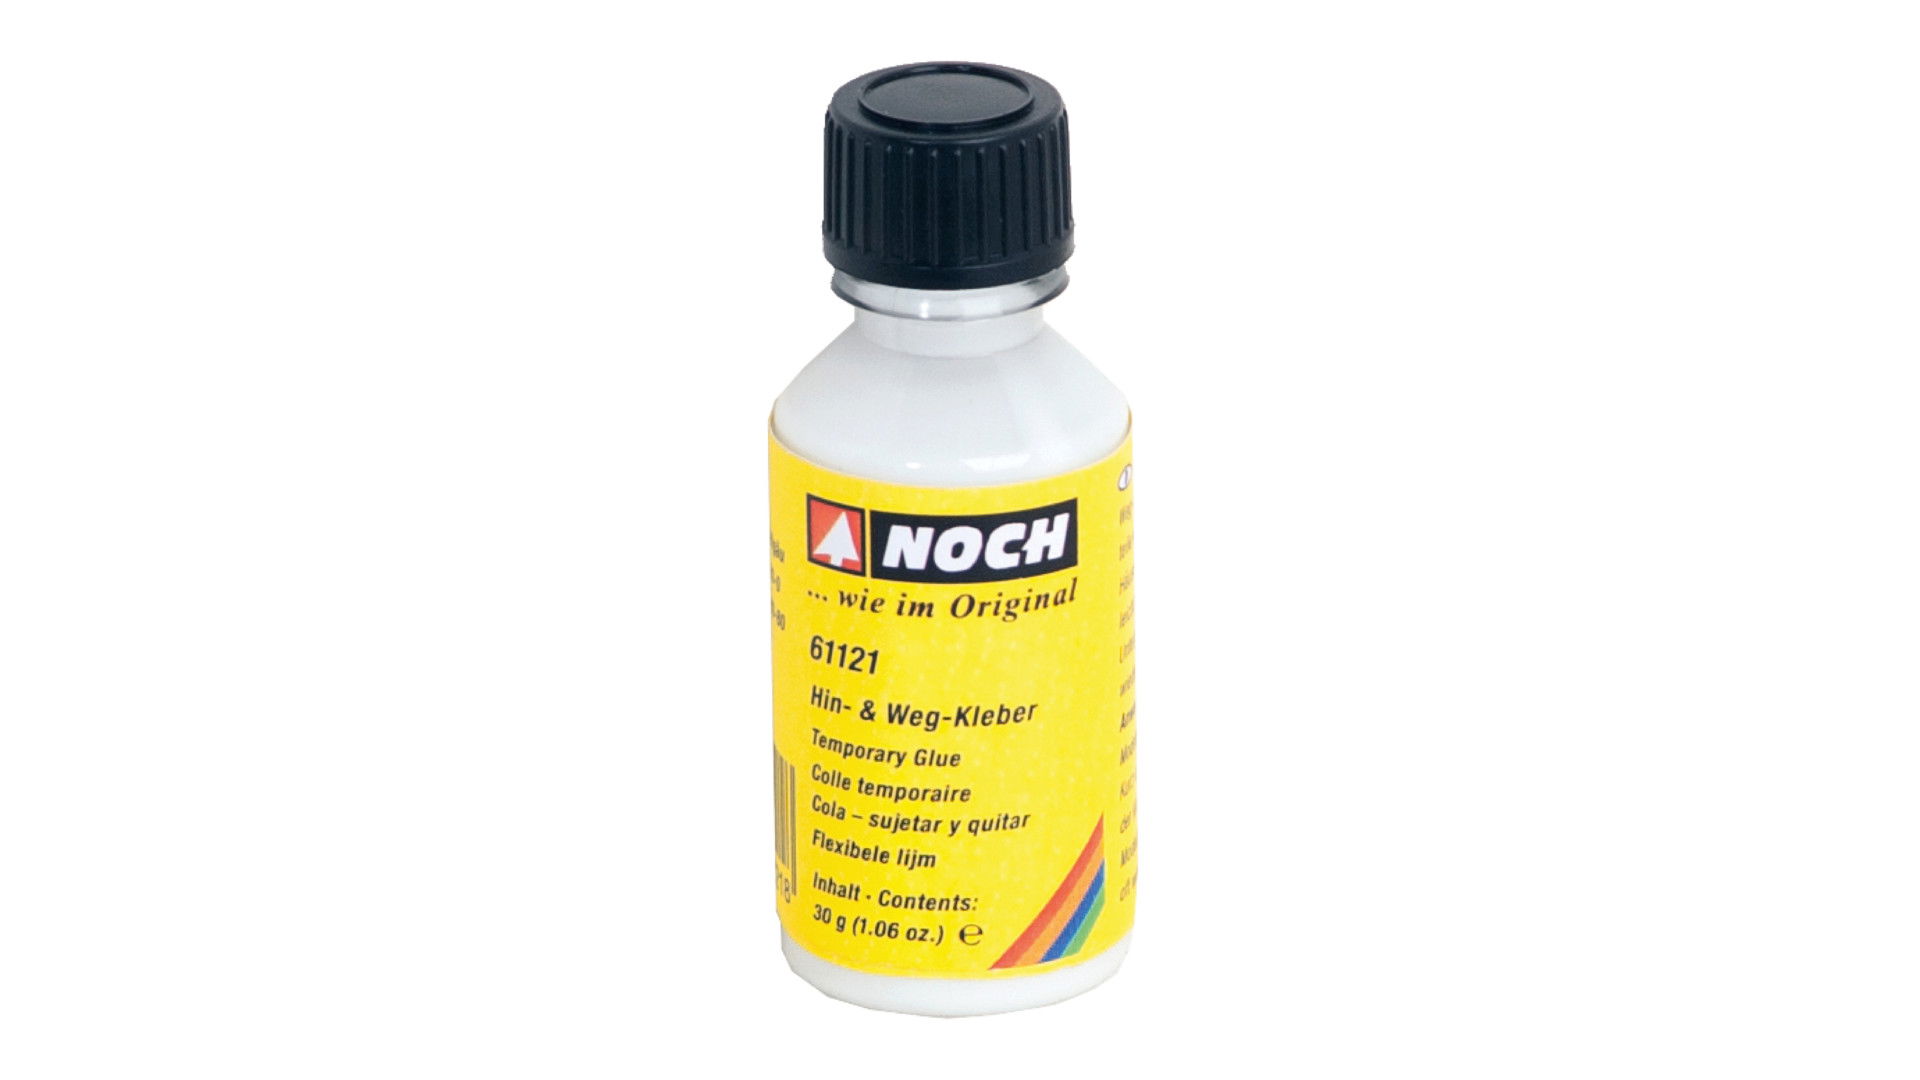
- Temporary Glue
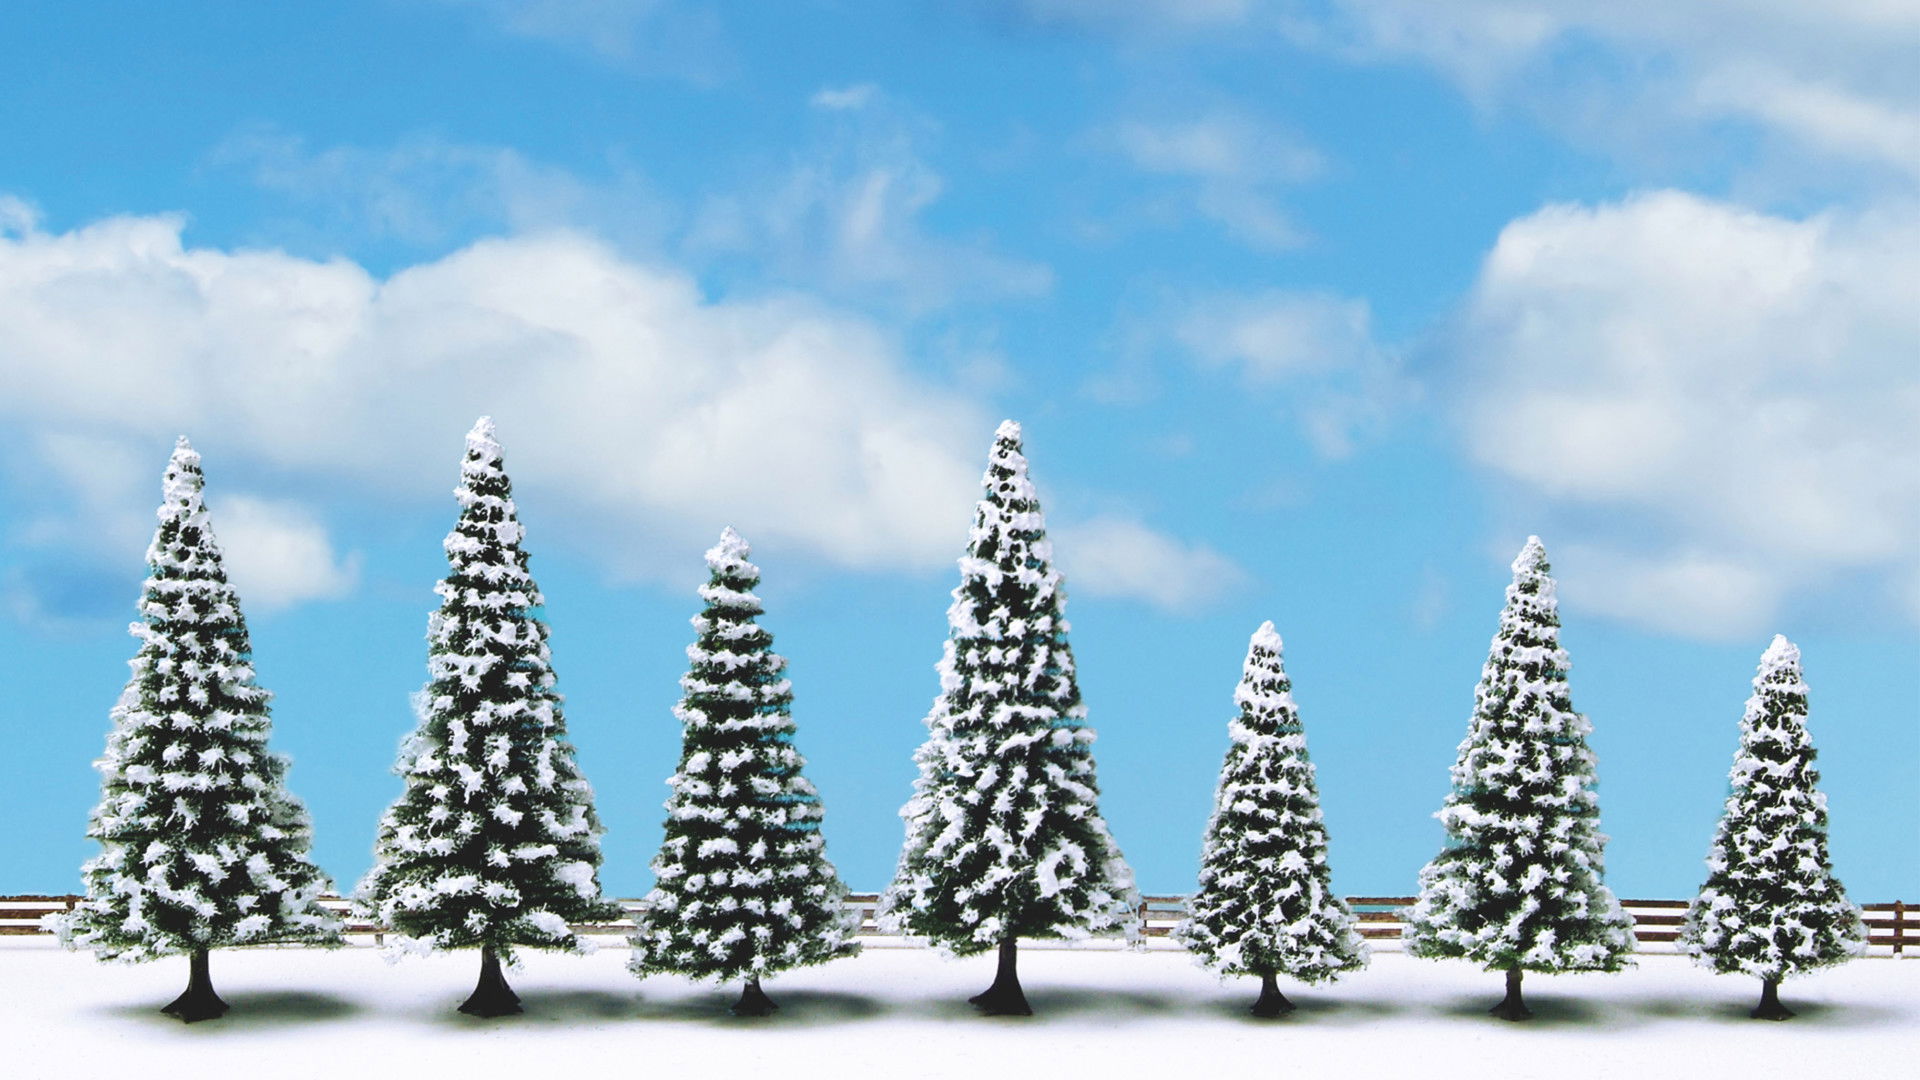
- Snowy Fir Trees
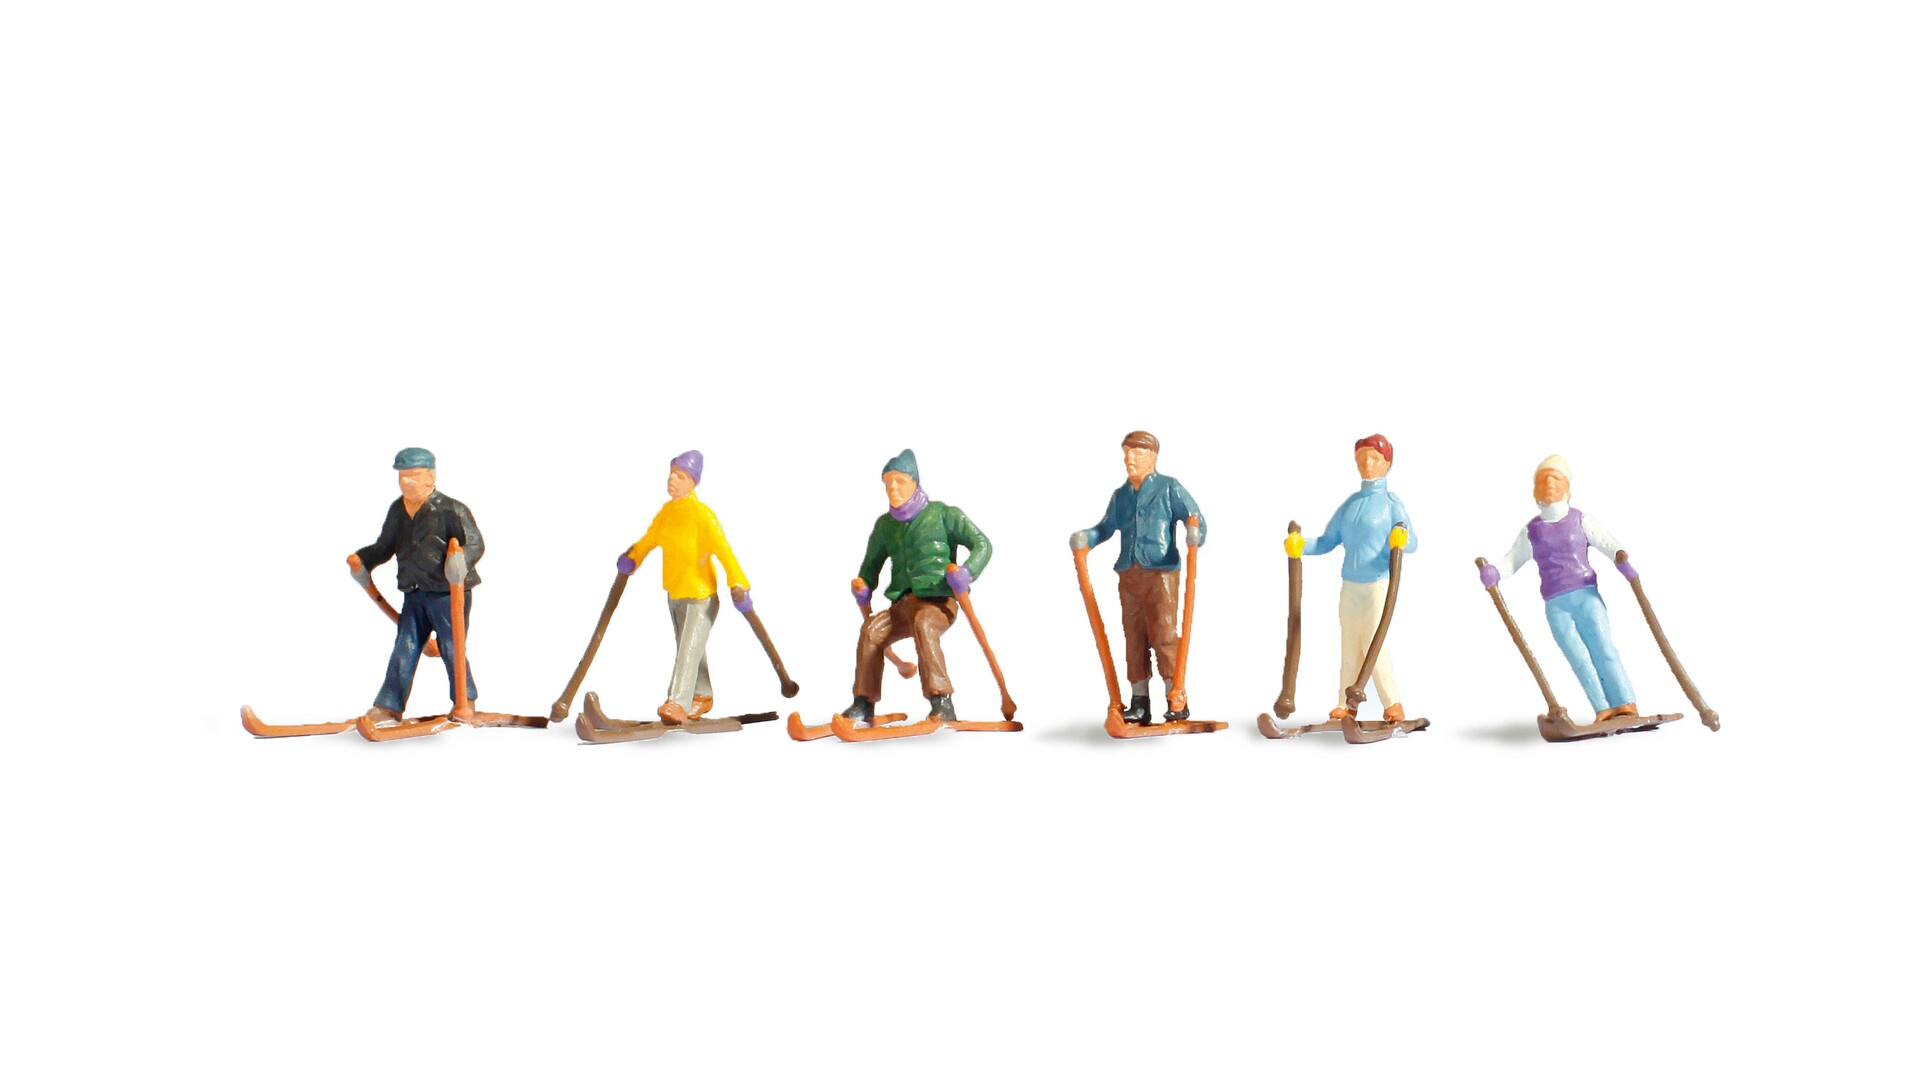
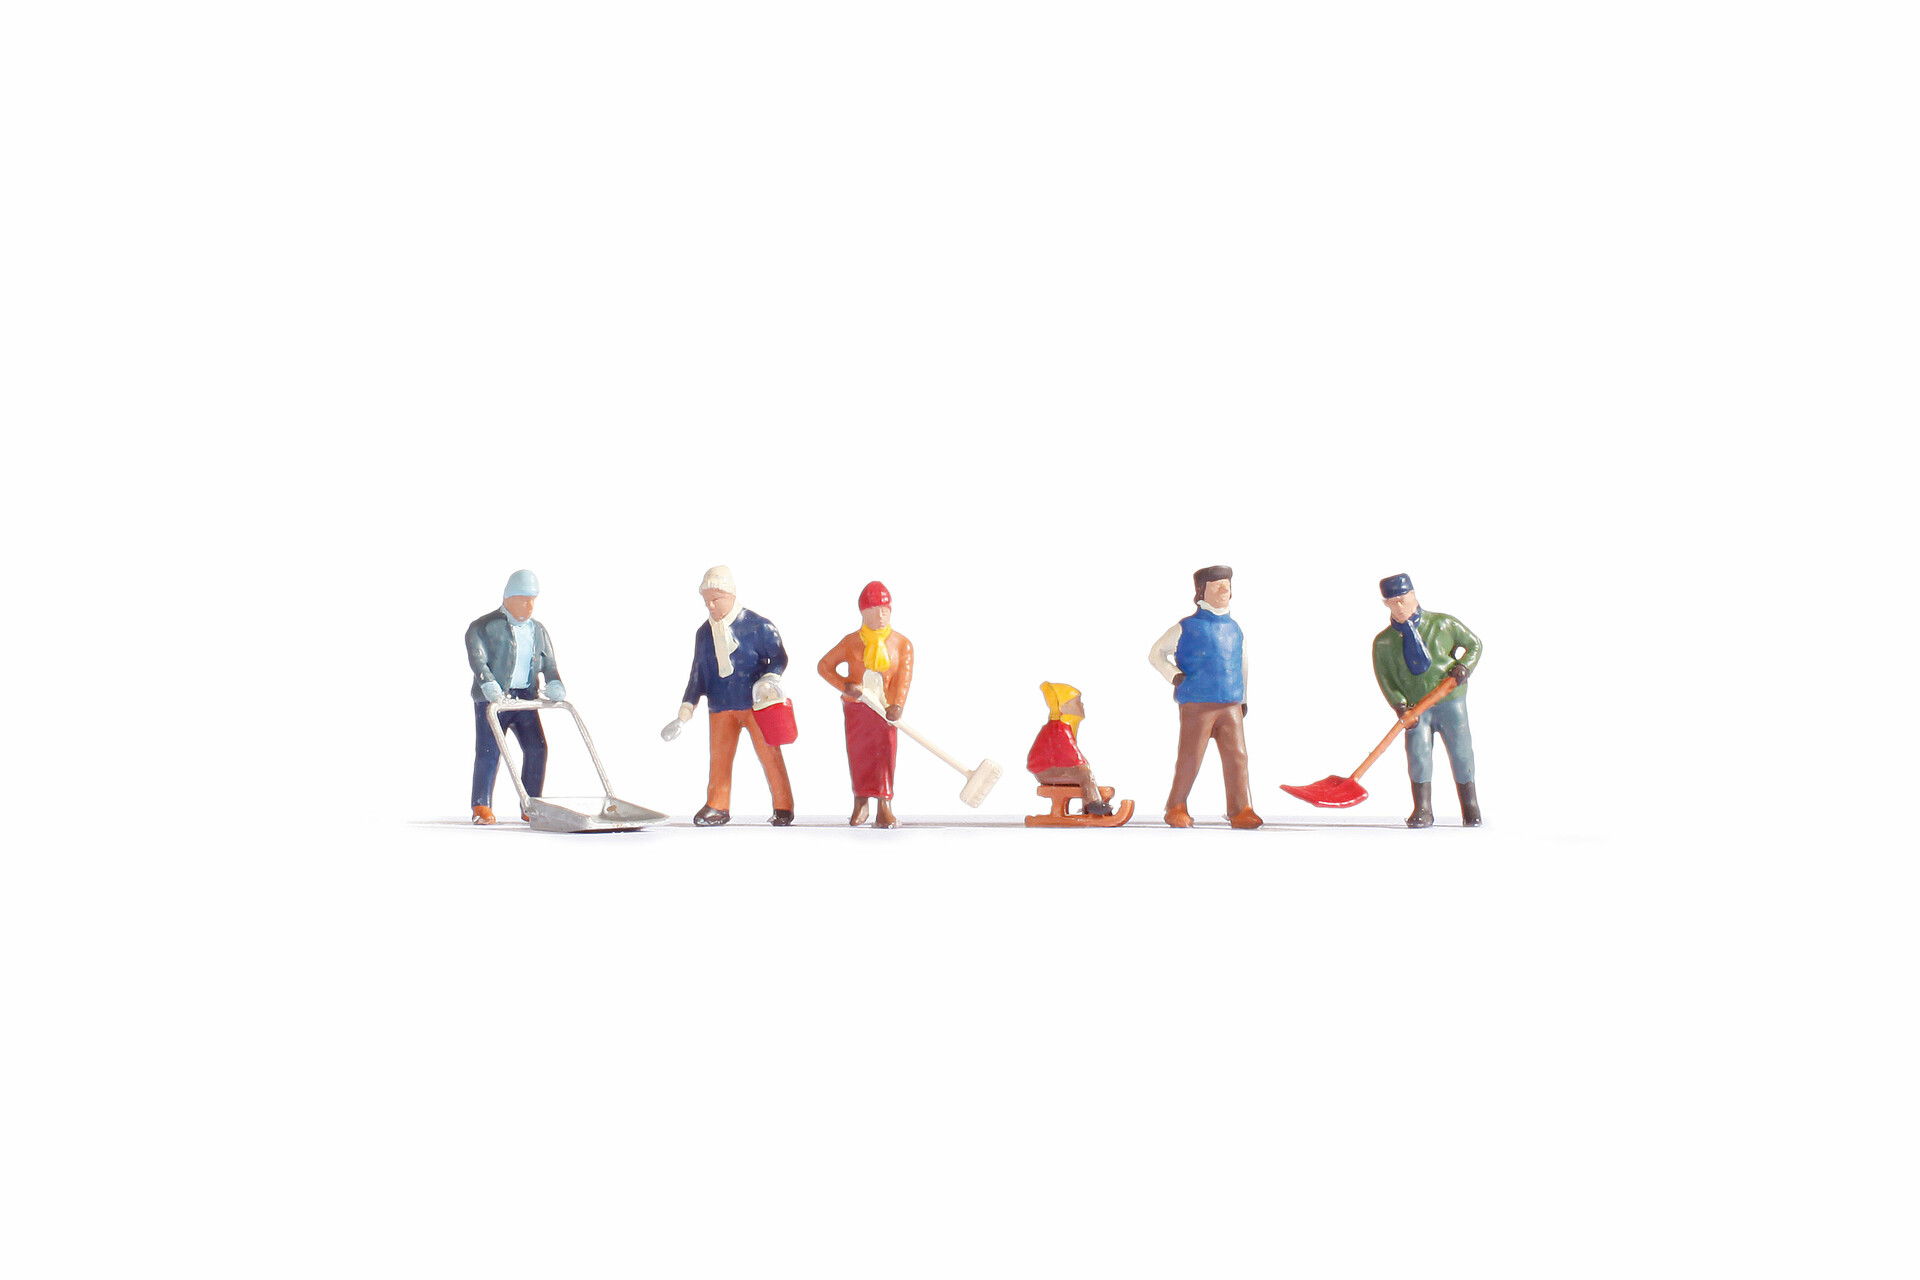
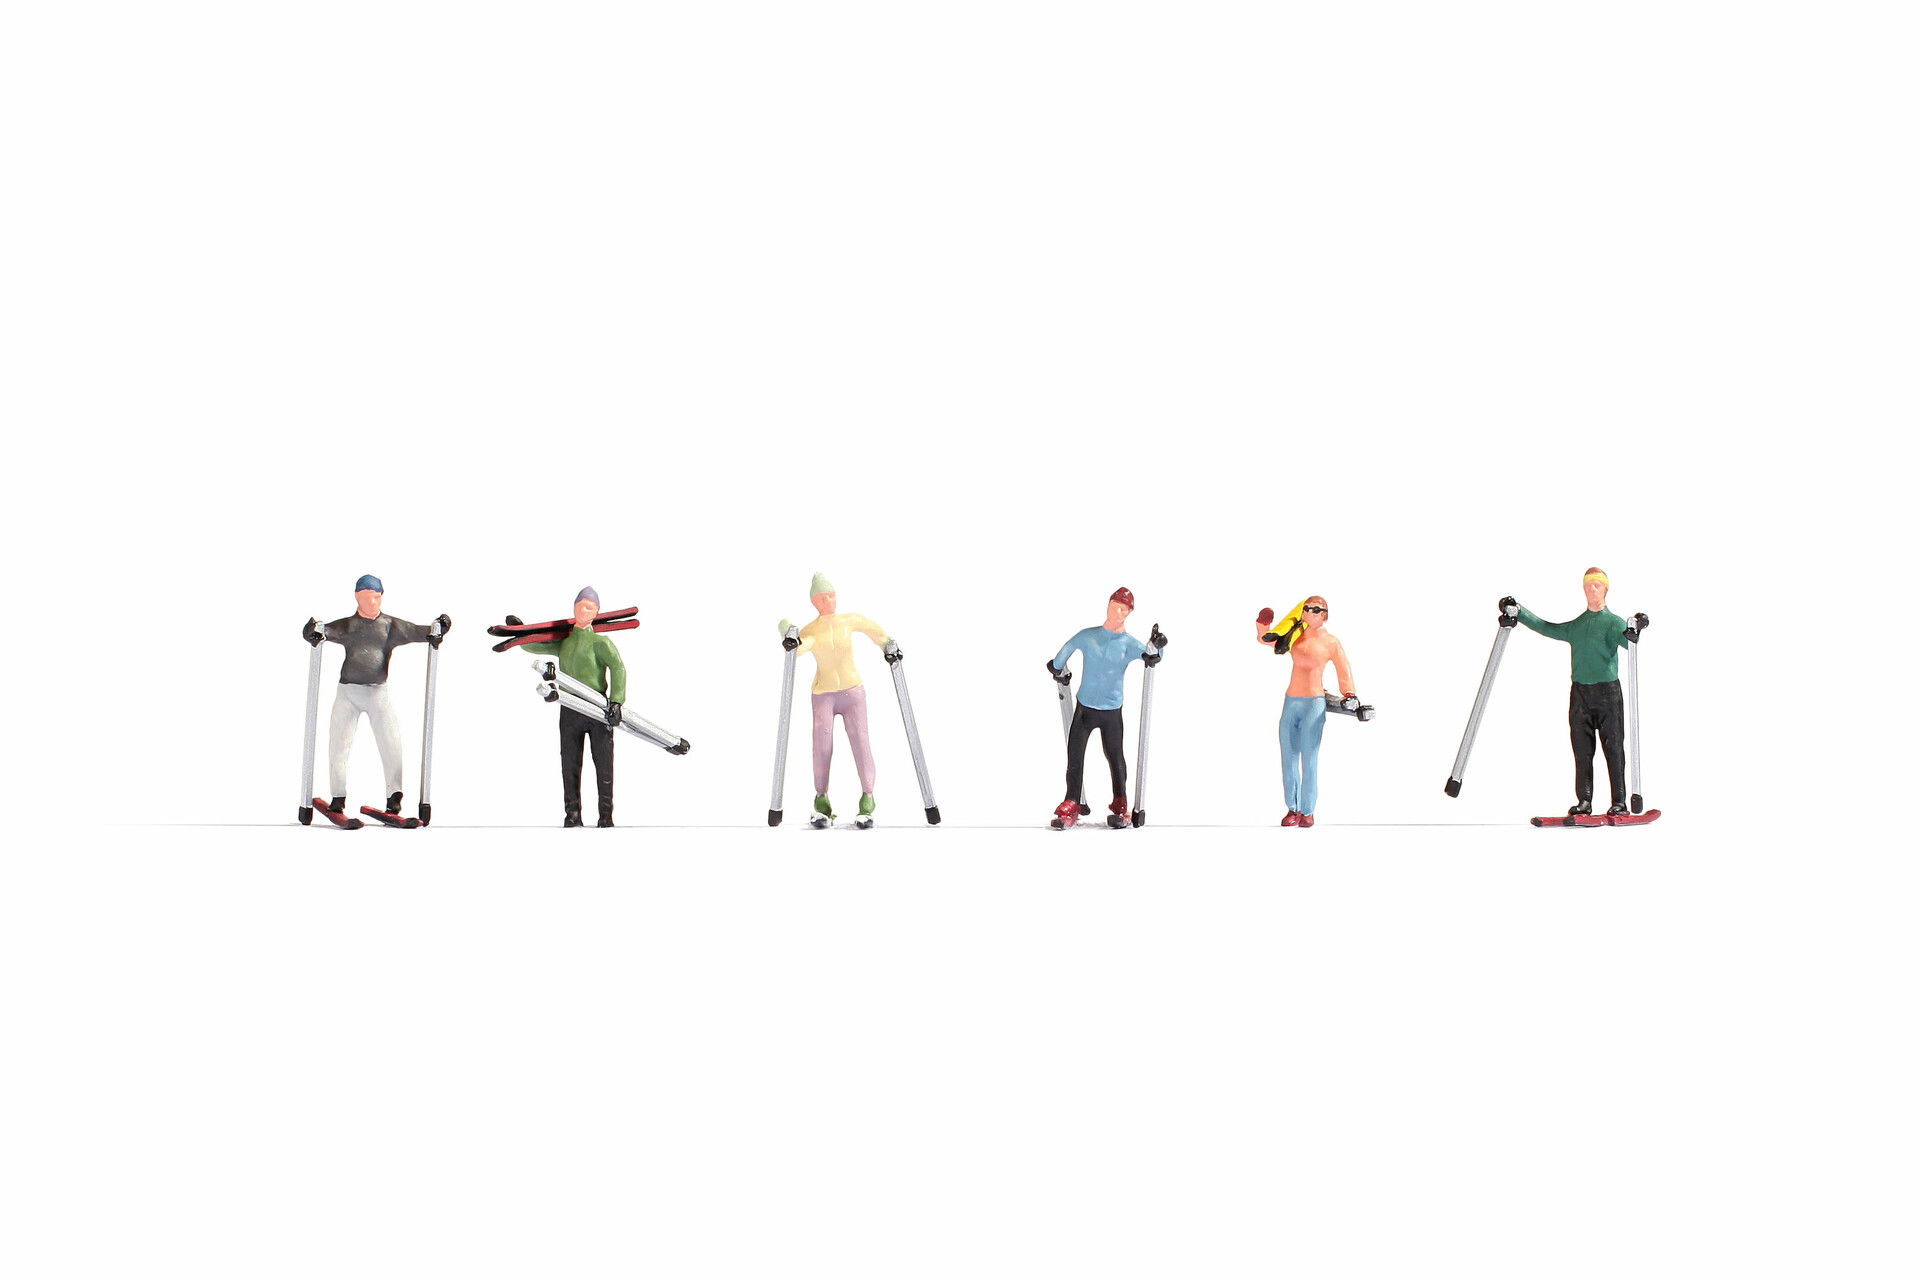
- Winter figures
- ...and 24 little things to put in the boxes :)
The first thing you do is fold the 24 boxes and 24
lids and fill the little boxes with small gifts, chocolate, biscuits and other little
things that you want to "hide" behind the Advent doors. Then it’s best to write
little numbers from 1 to 24 on top right away so that you know which box should
be opened on which day of Advent
To make sure the Advent calendar looks like a
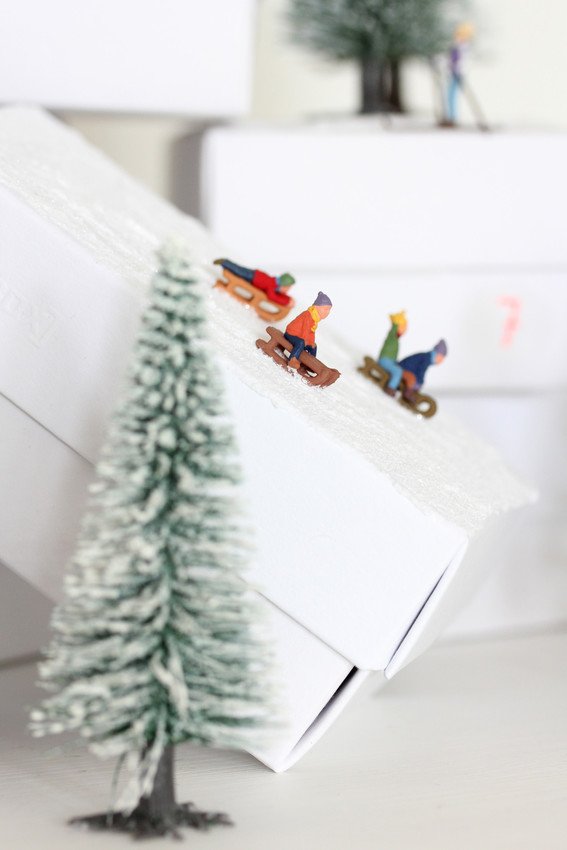
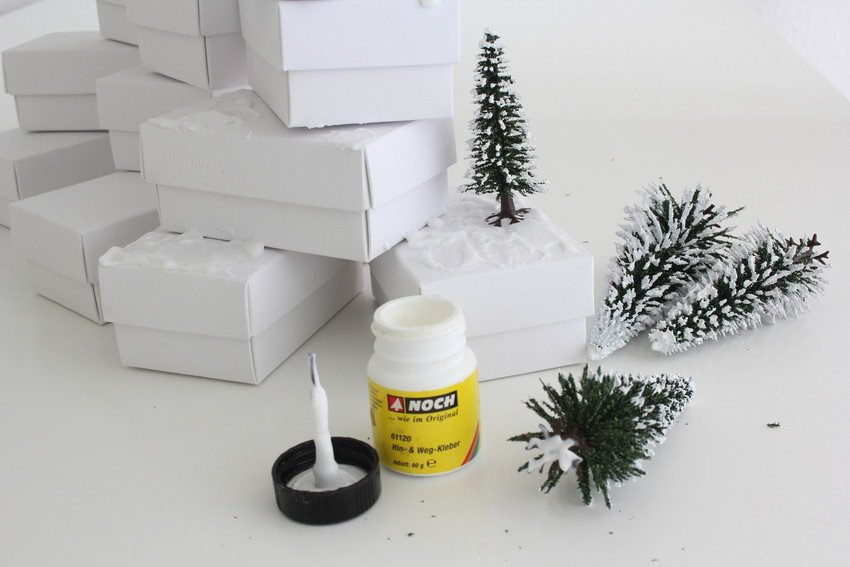
miniature winter landscape later, stack the boxes together to form a hill. In
doing so, it’s helpful to fix the boxes one below the other with small strips
of double-sided sticky tape. However, you shouldn’t use too much or opening the
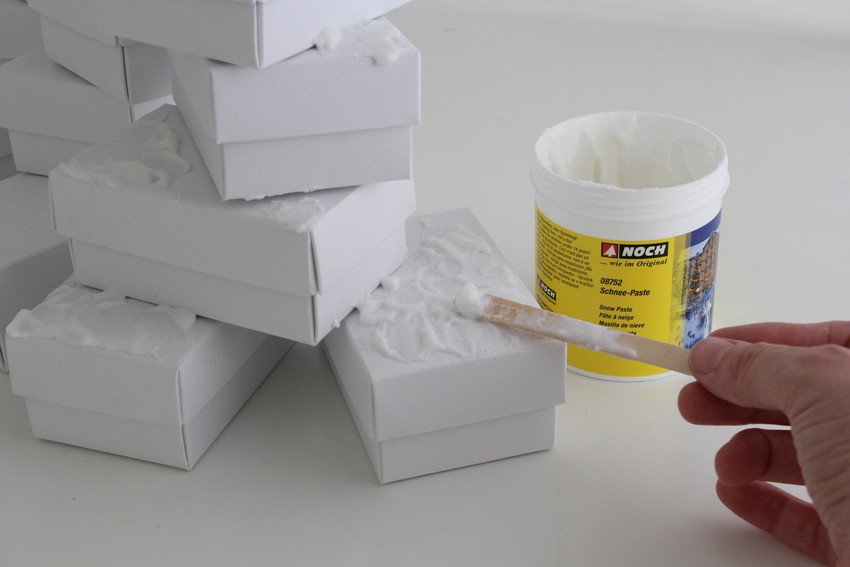
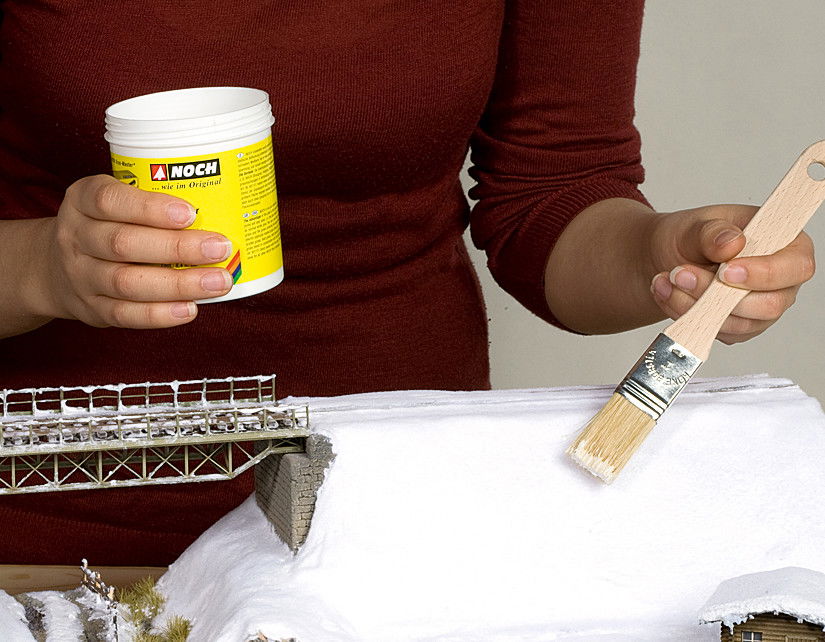
boxes every day later on will be too hard. Spread the Snow Paste on the lids of
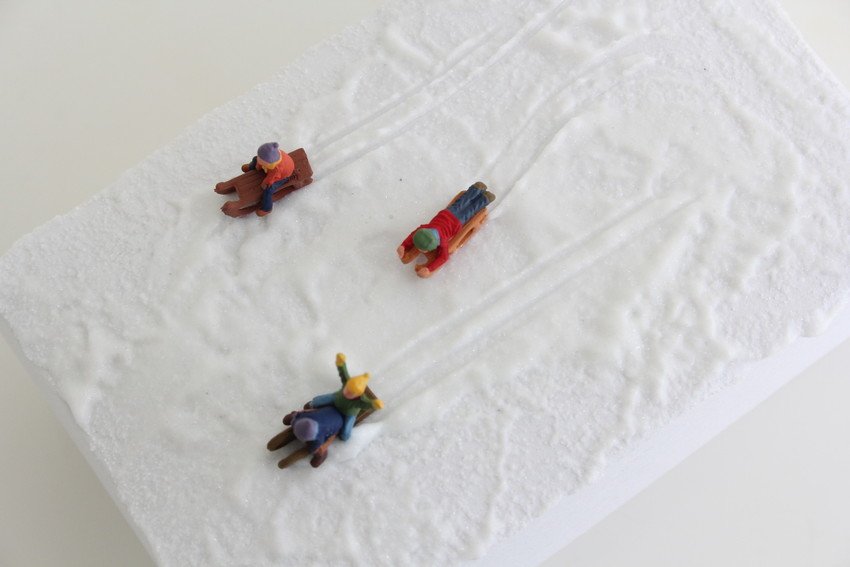
the boxes. For example, you can use the mini figures to make tracks from the
children’s sledges in this snow from a tub. Allow the Snow Paste to dry and the
figures will be glued on later with Temporary Glue.
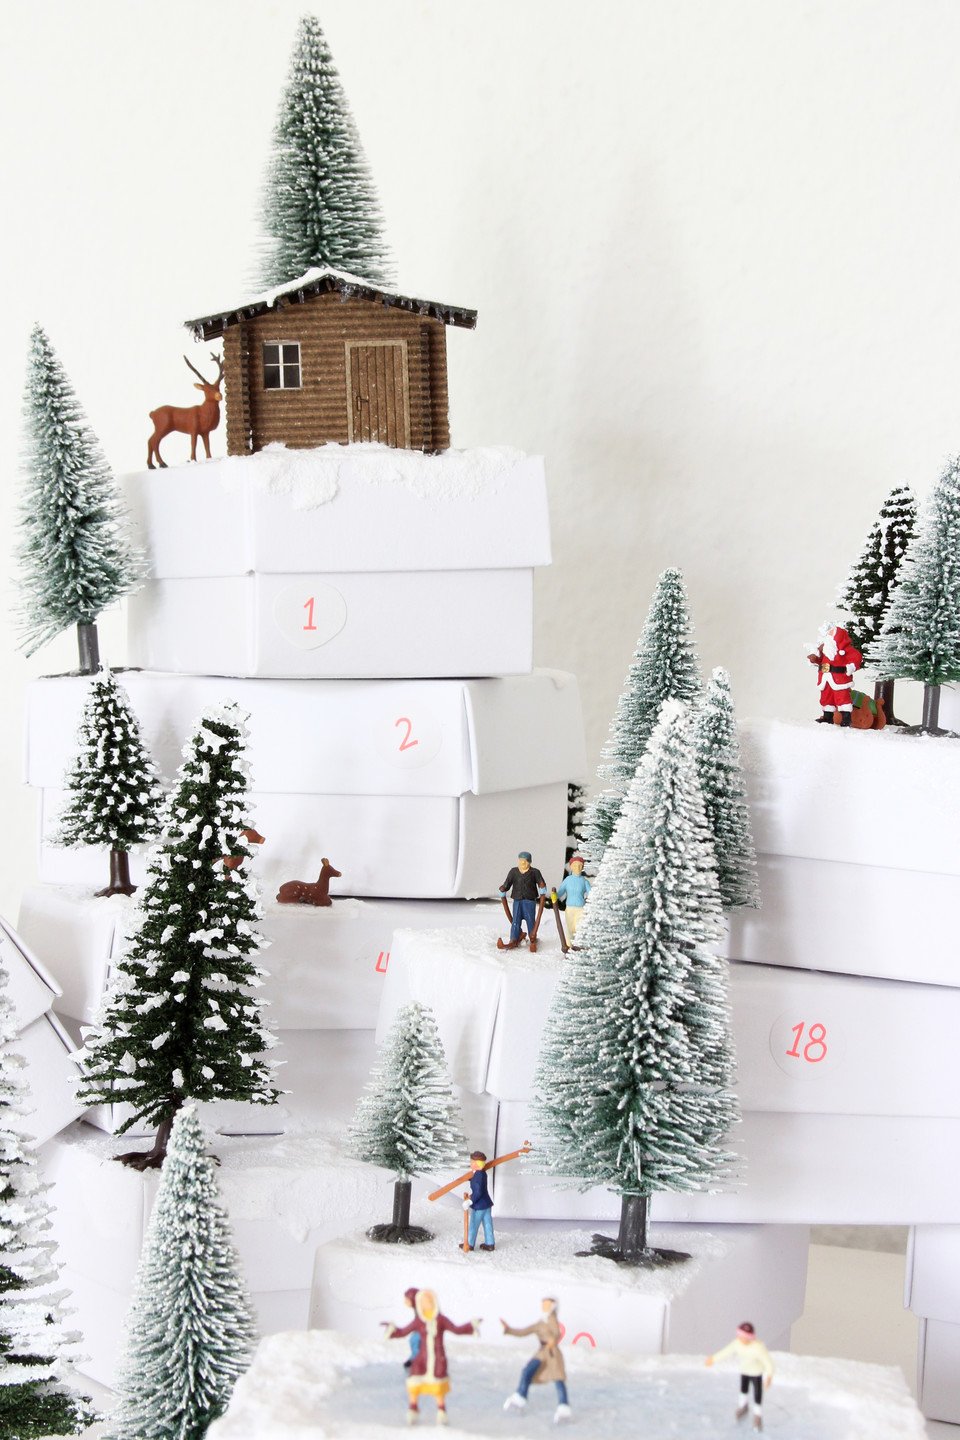
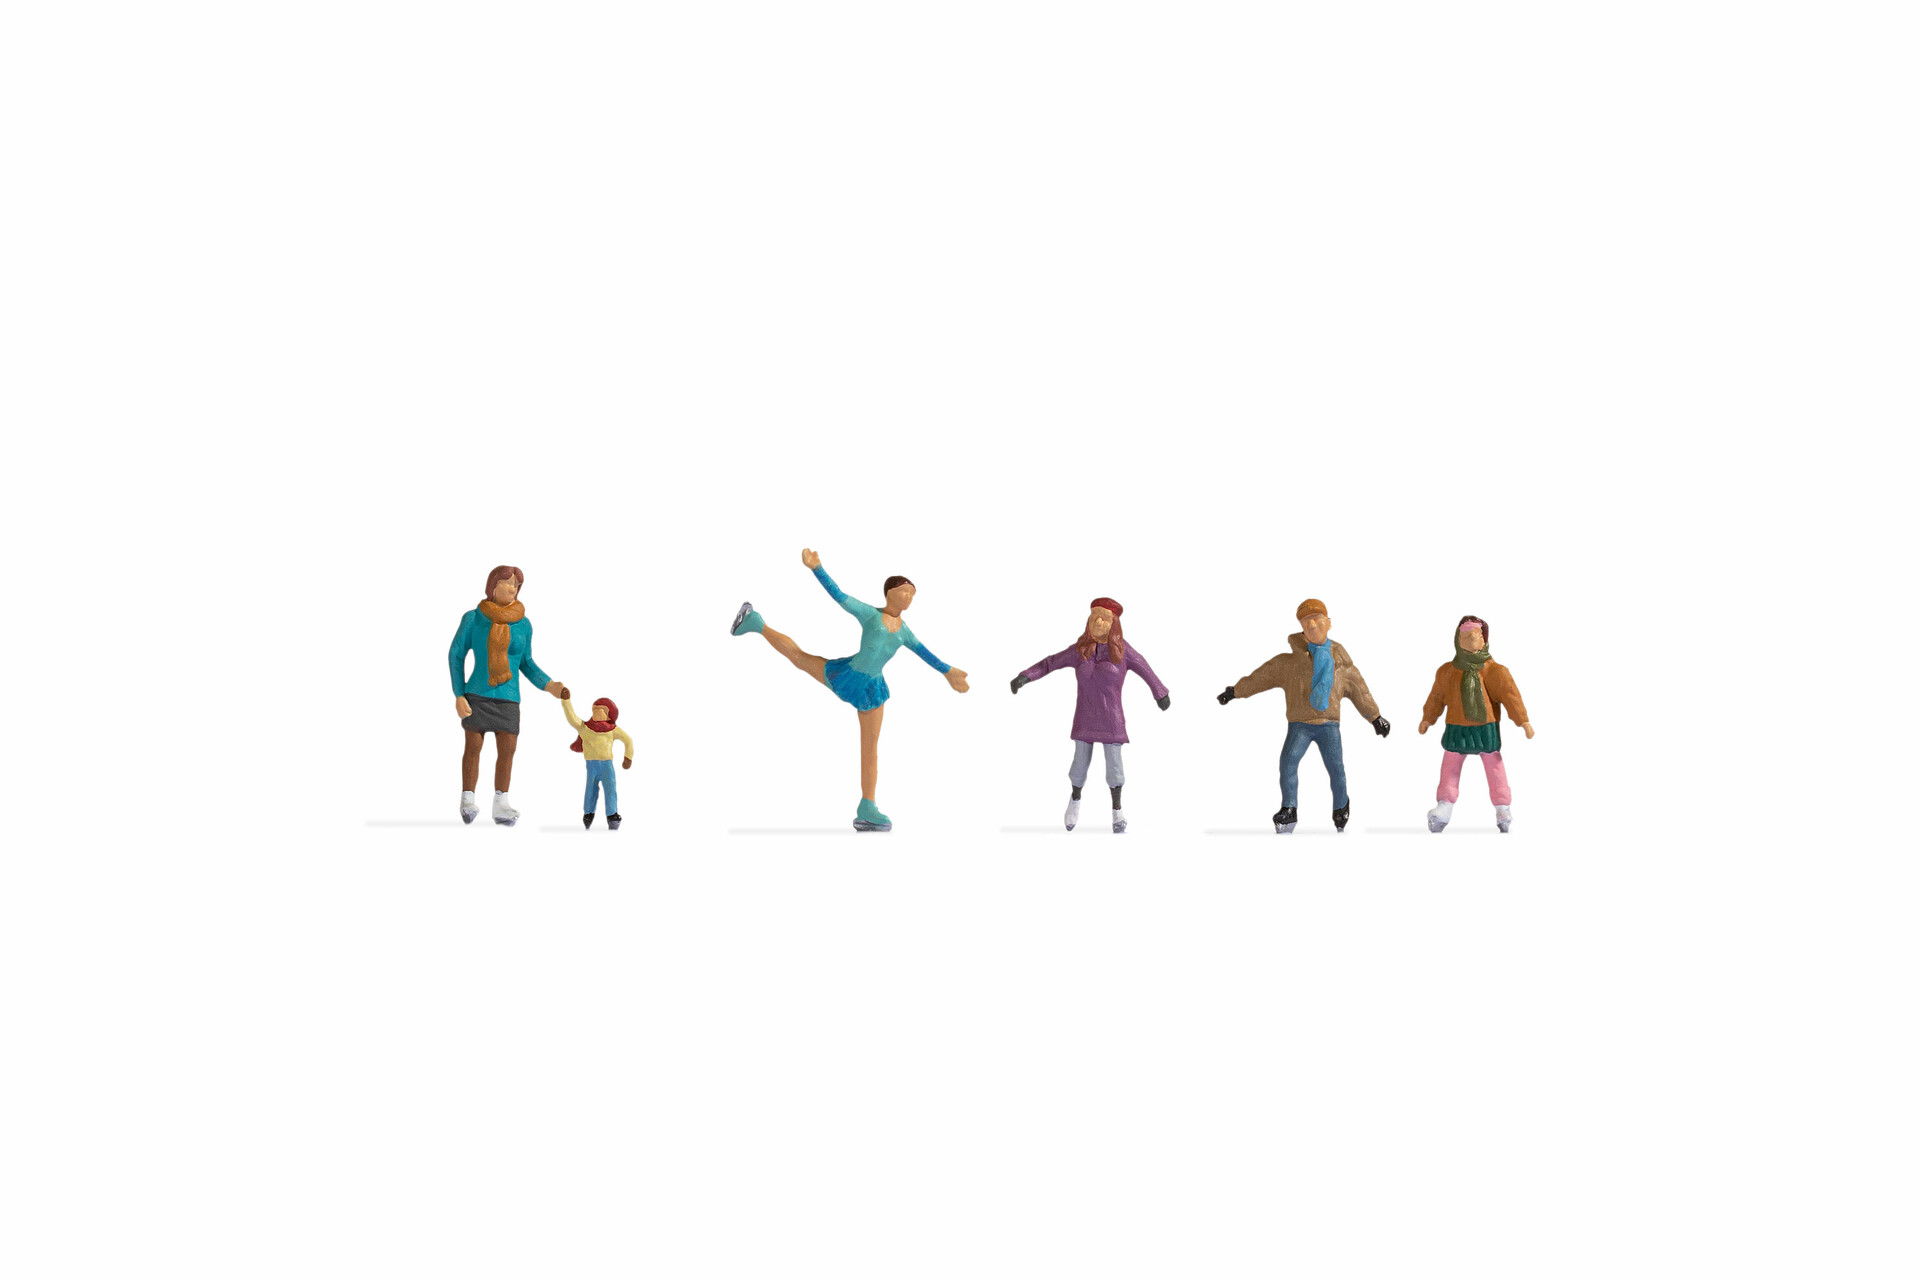
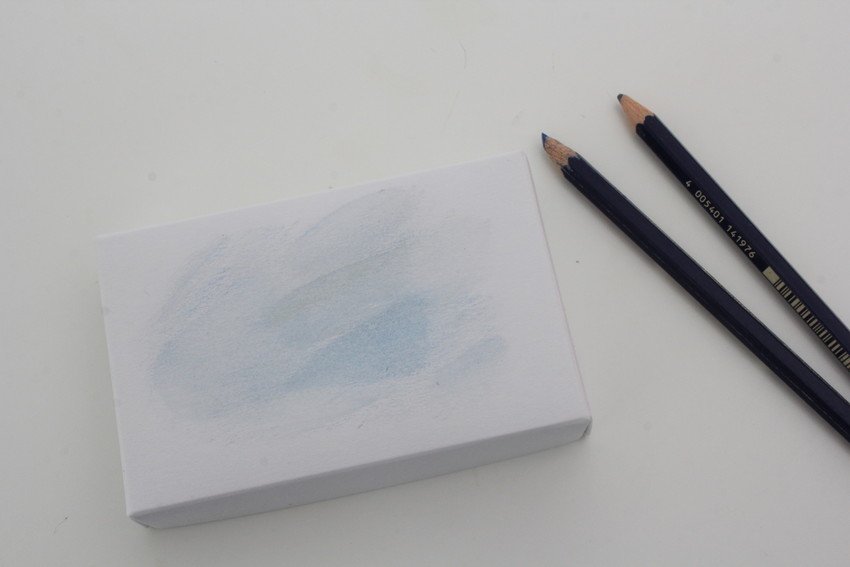
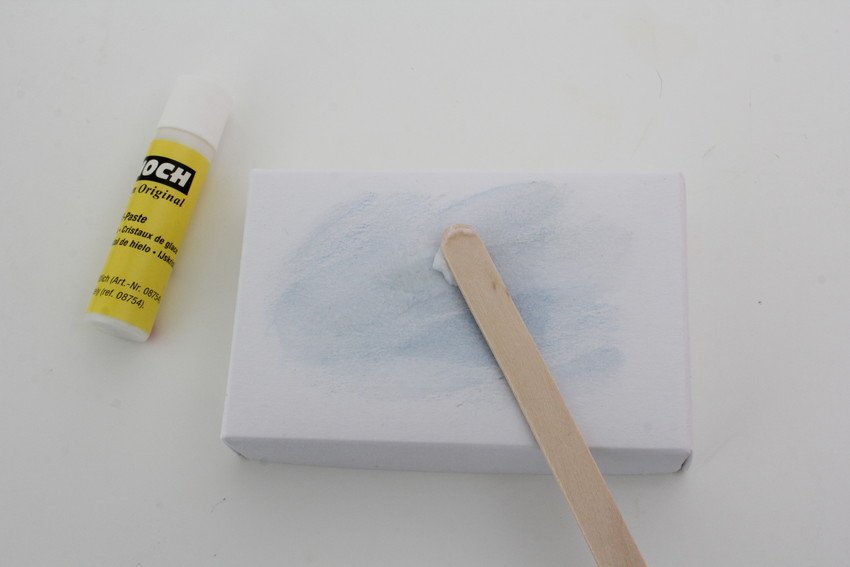
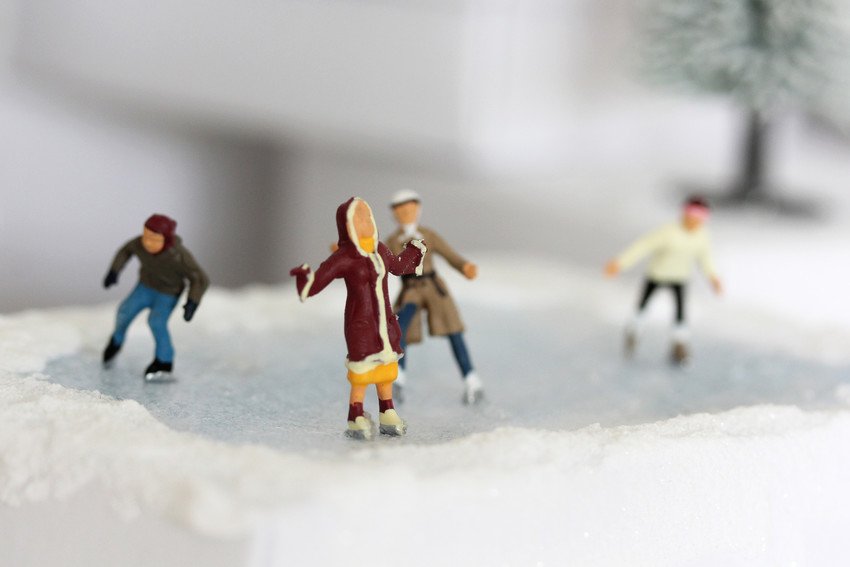
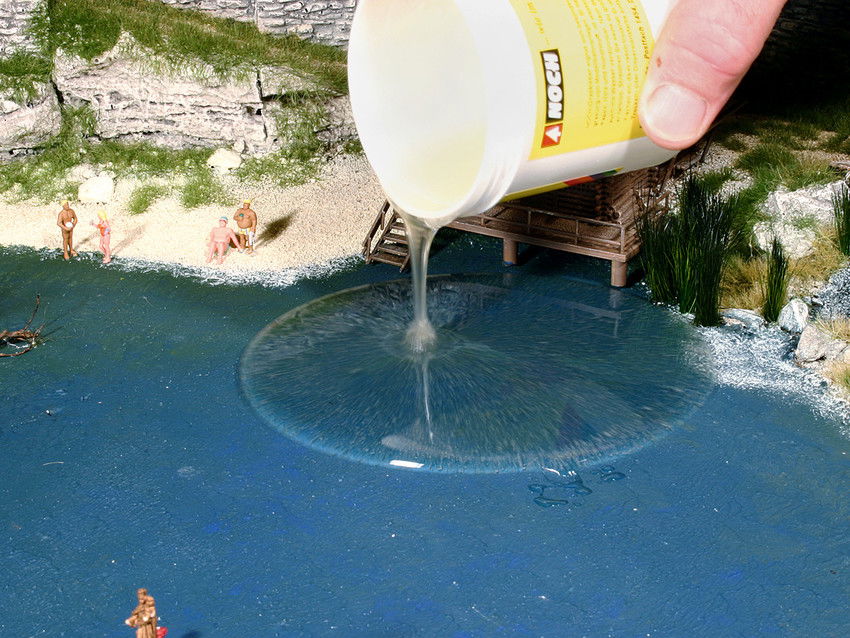
The "Ice Skaters" are a little highlight in the mini winter world. The lake can be easily designed by drawing the surface of the lake on a box with a light blue and a grey colouring pencil and then spreading beautiful, glittering Ice Crystals over it. The small "frozen" lake is then bordered with Snow Paste, and the Ice Skaters are glued onto it with Temporary Glue as soon as the surface has dried.
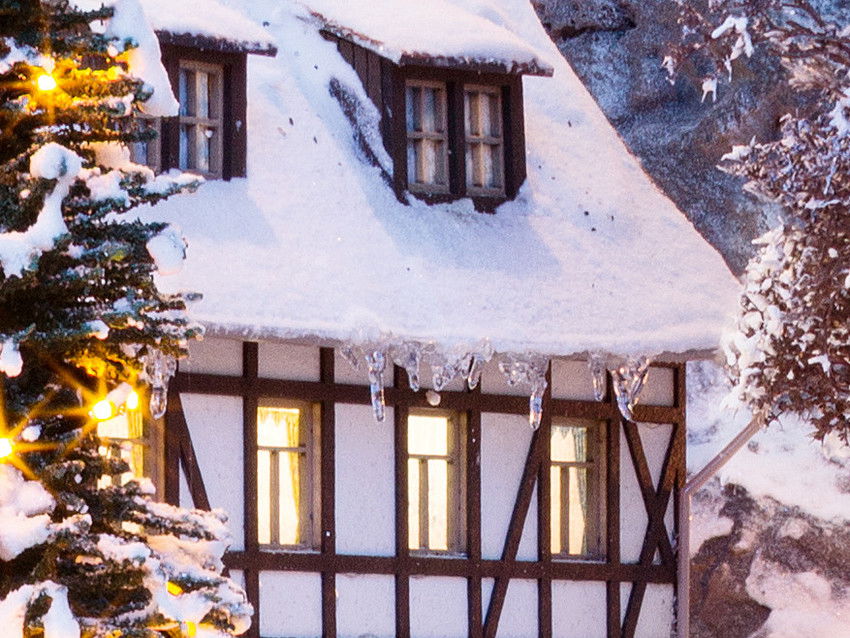
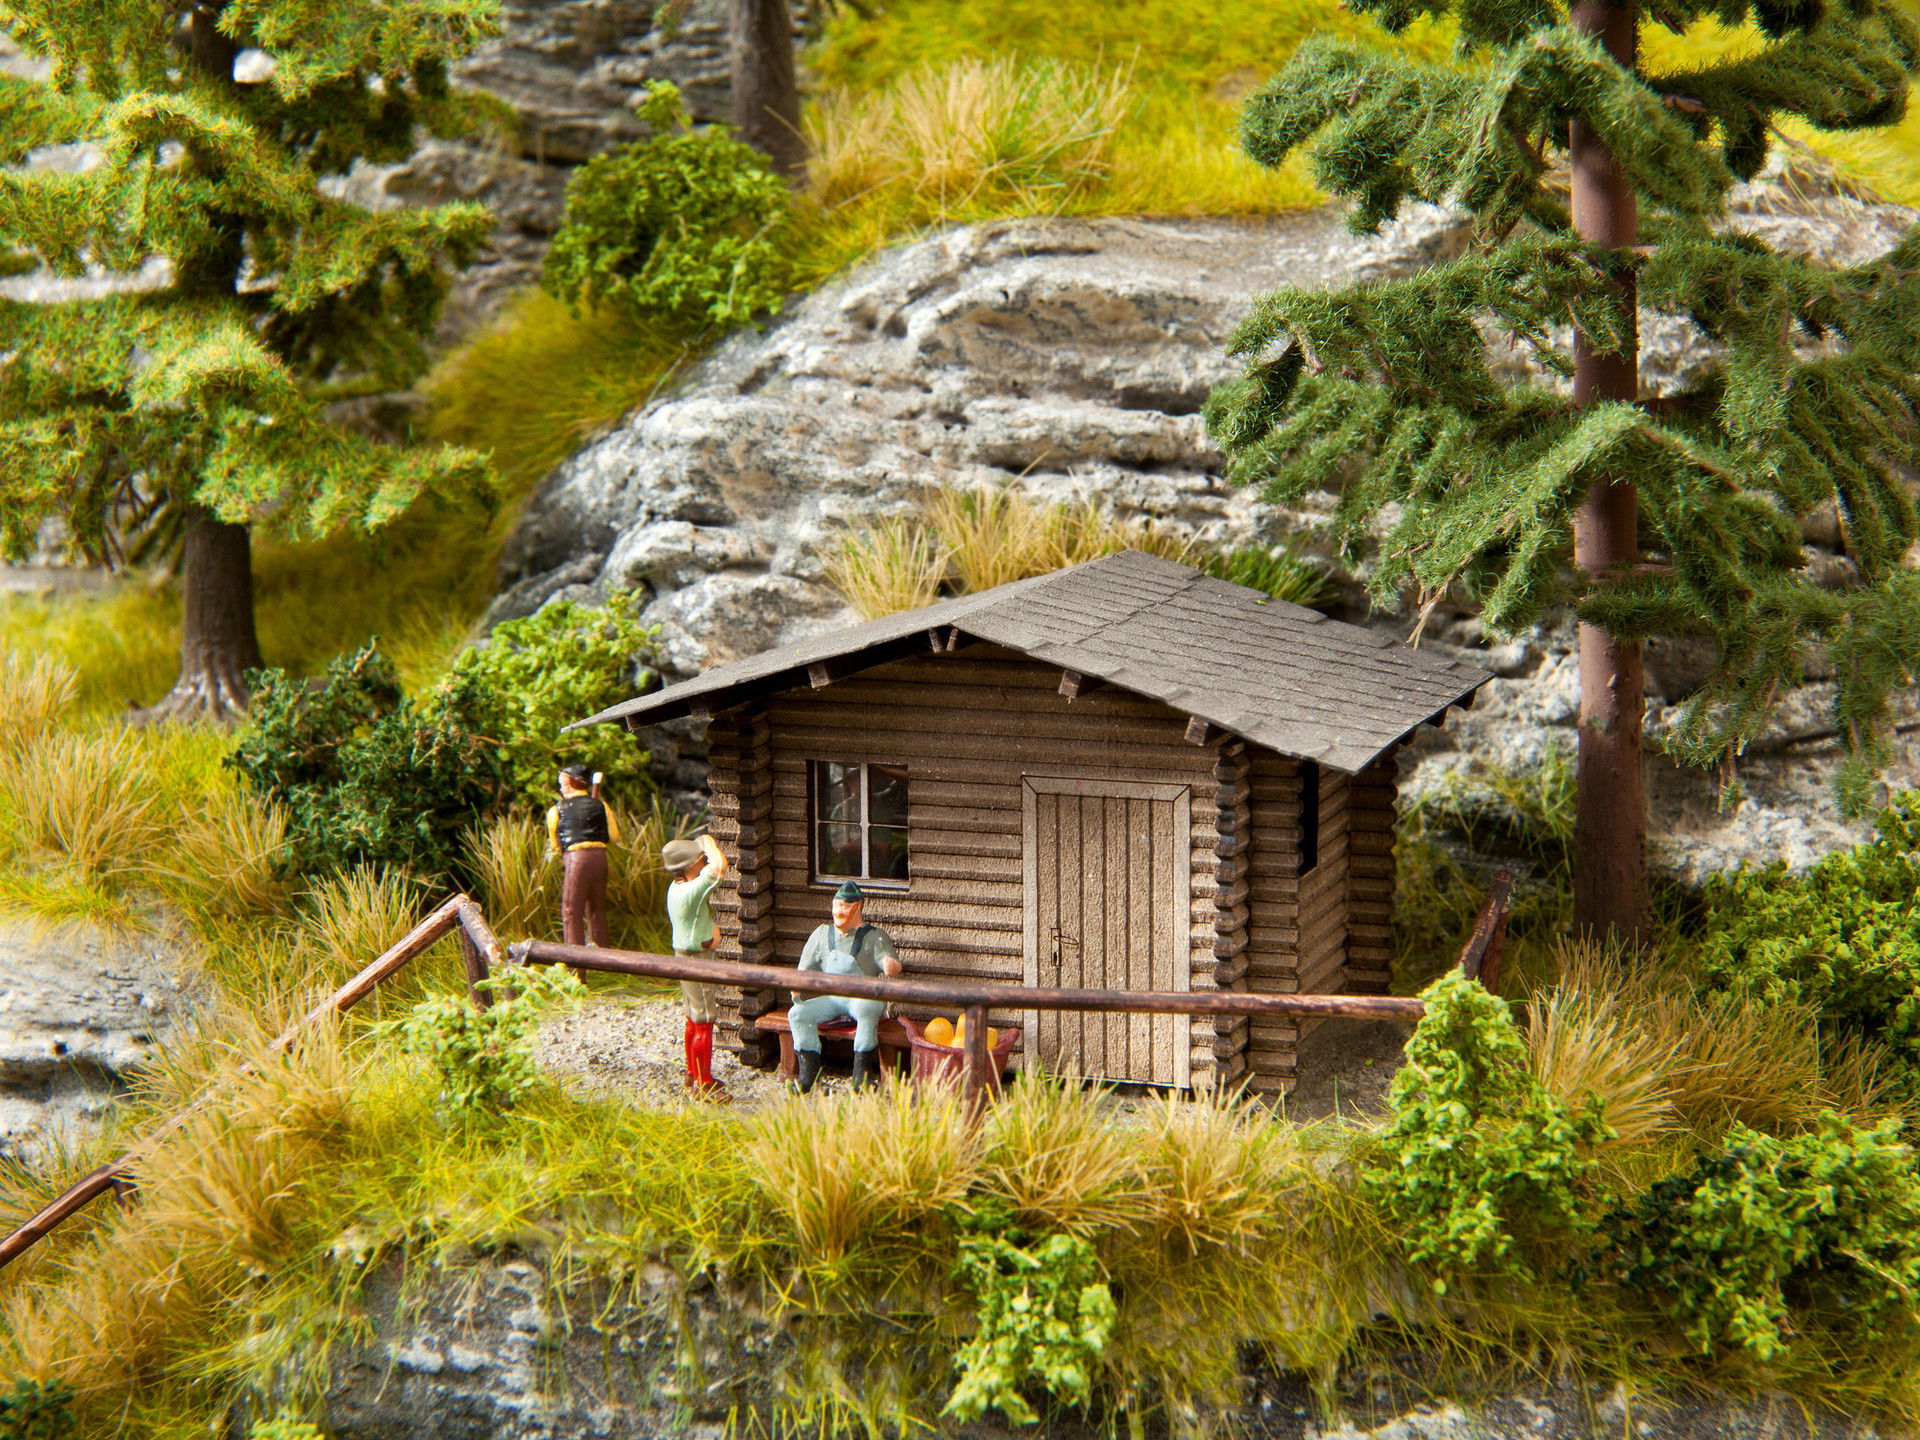
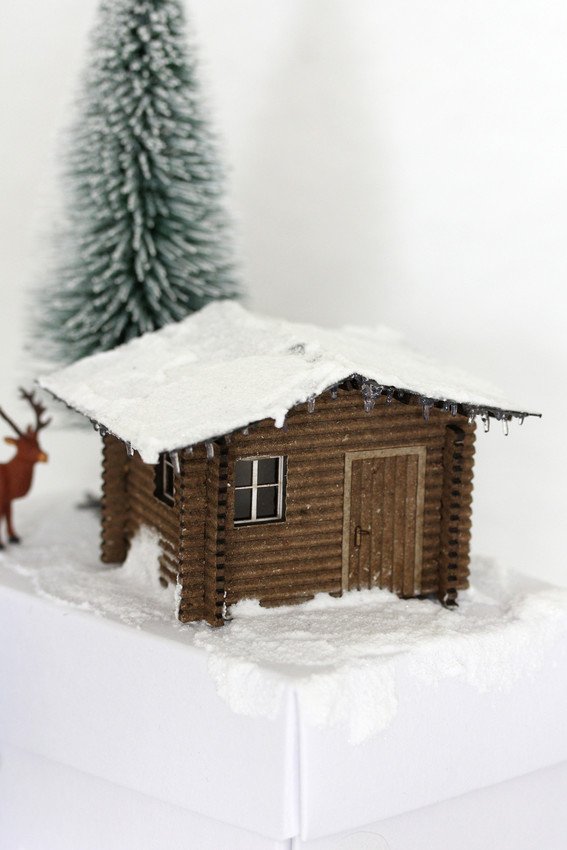
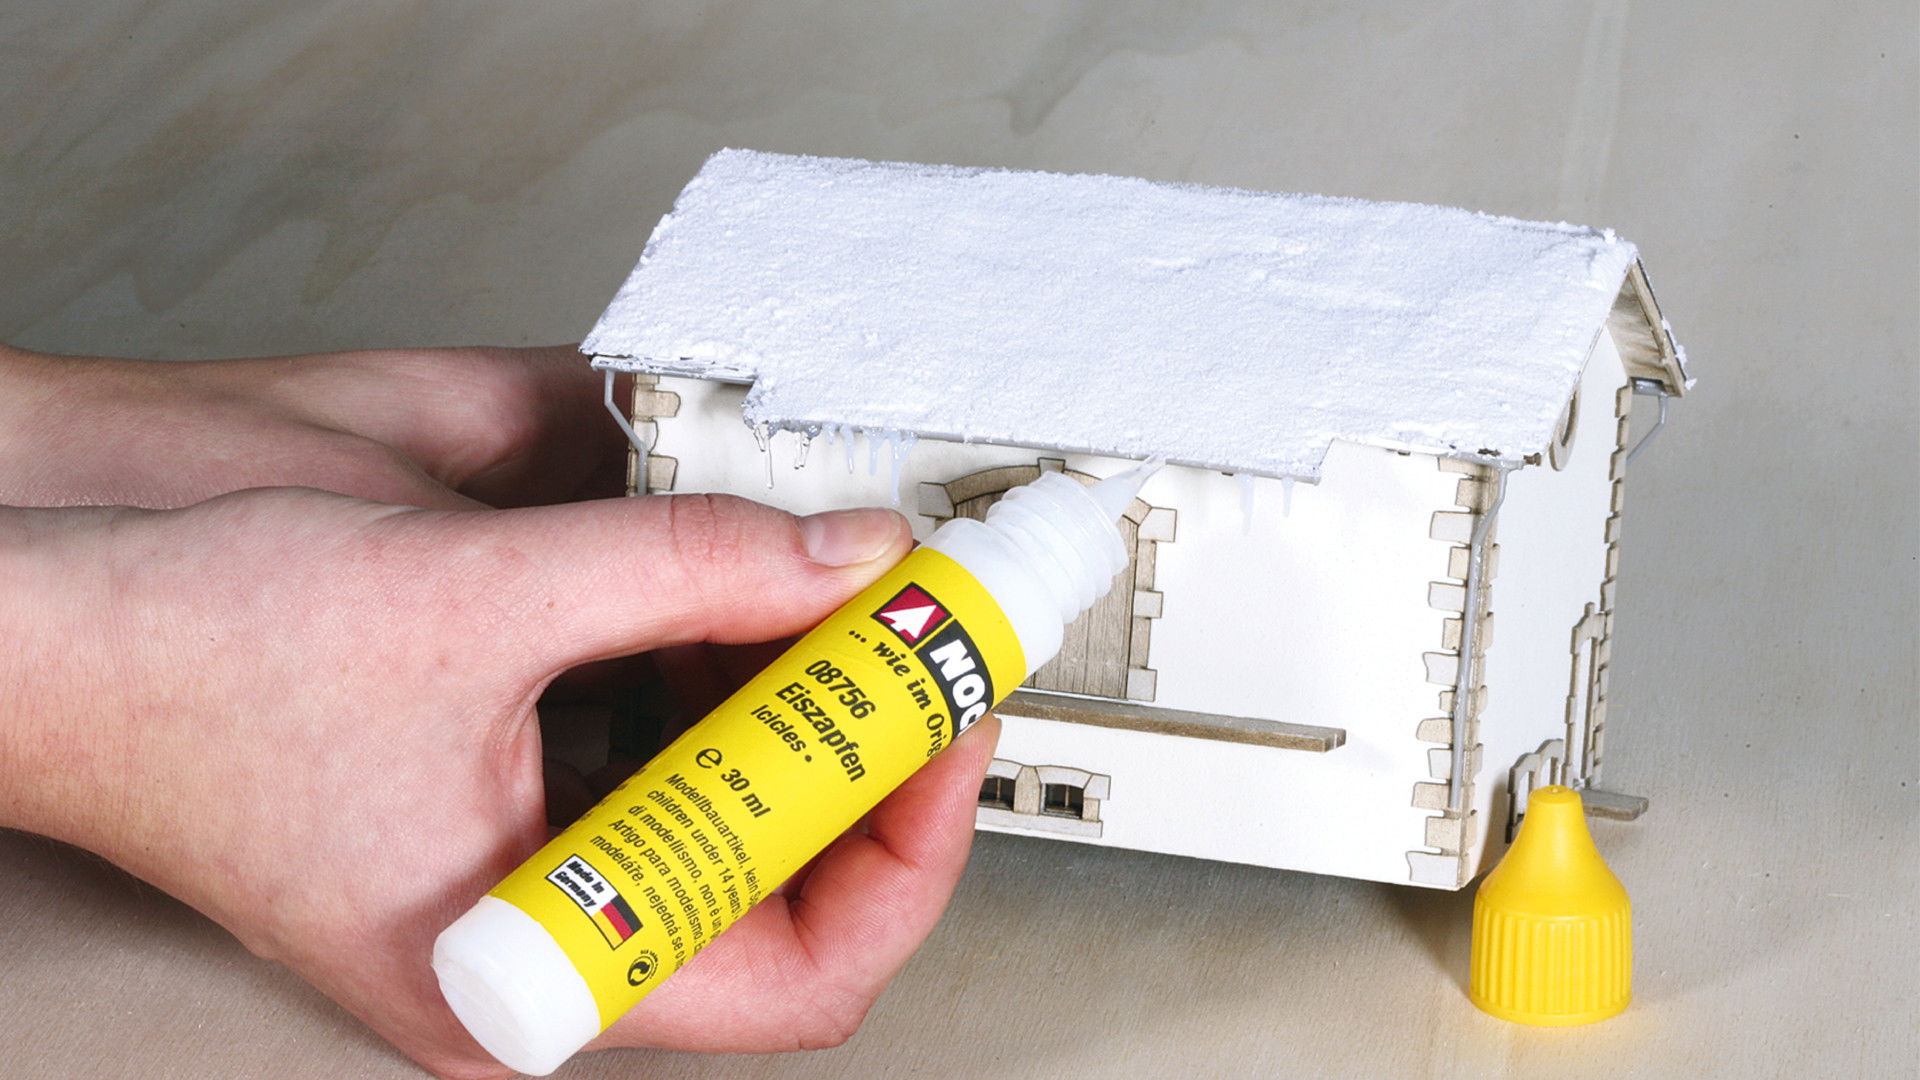
The little Forest Lodge is a kit that you’ll need to assemble first. It’s best to use the special Laser-Cut Adhesive for this. Once everything has been built, you can decorate the gable with the help of "Icicles". If there’s still some Snow Paste left, simply distribute it on the roof! To finish off, glue the assembled and decorated cabin onto one of the boxes. I selected the uppermost box.
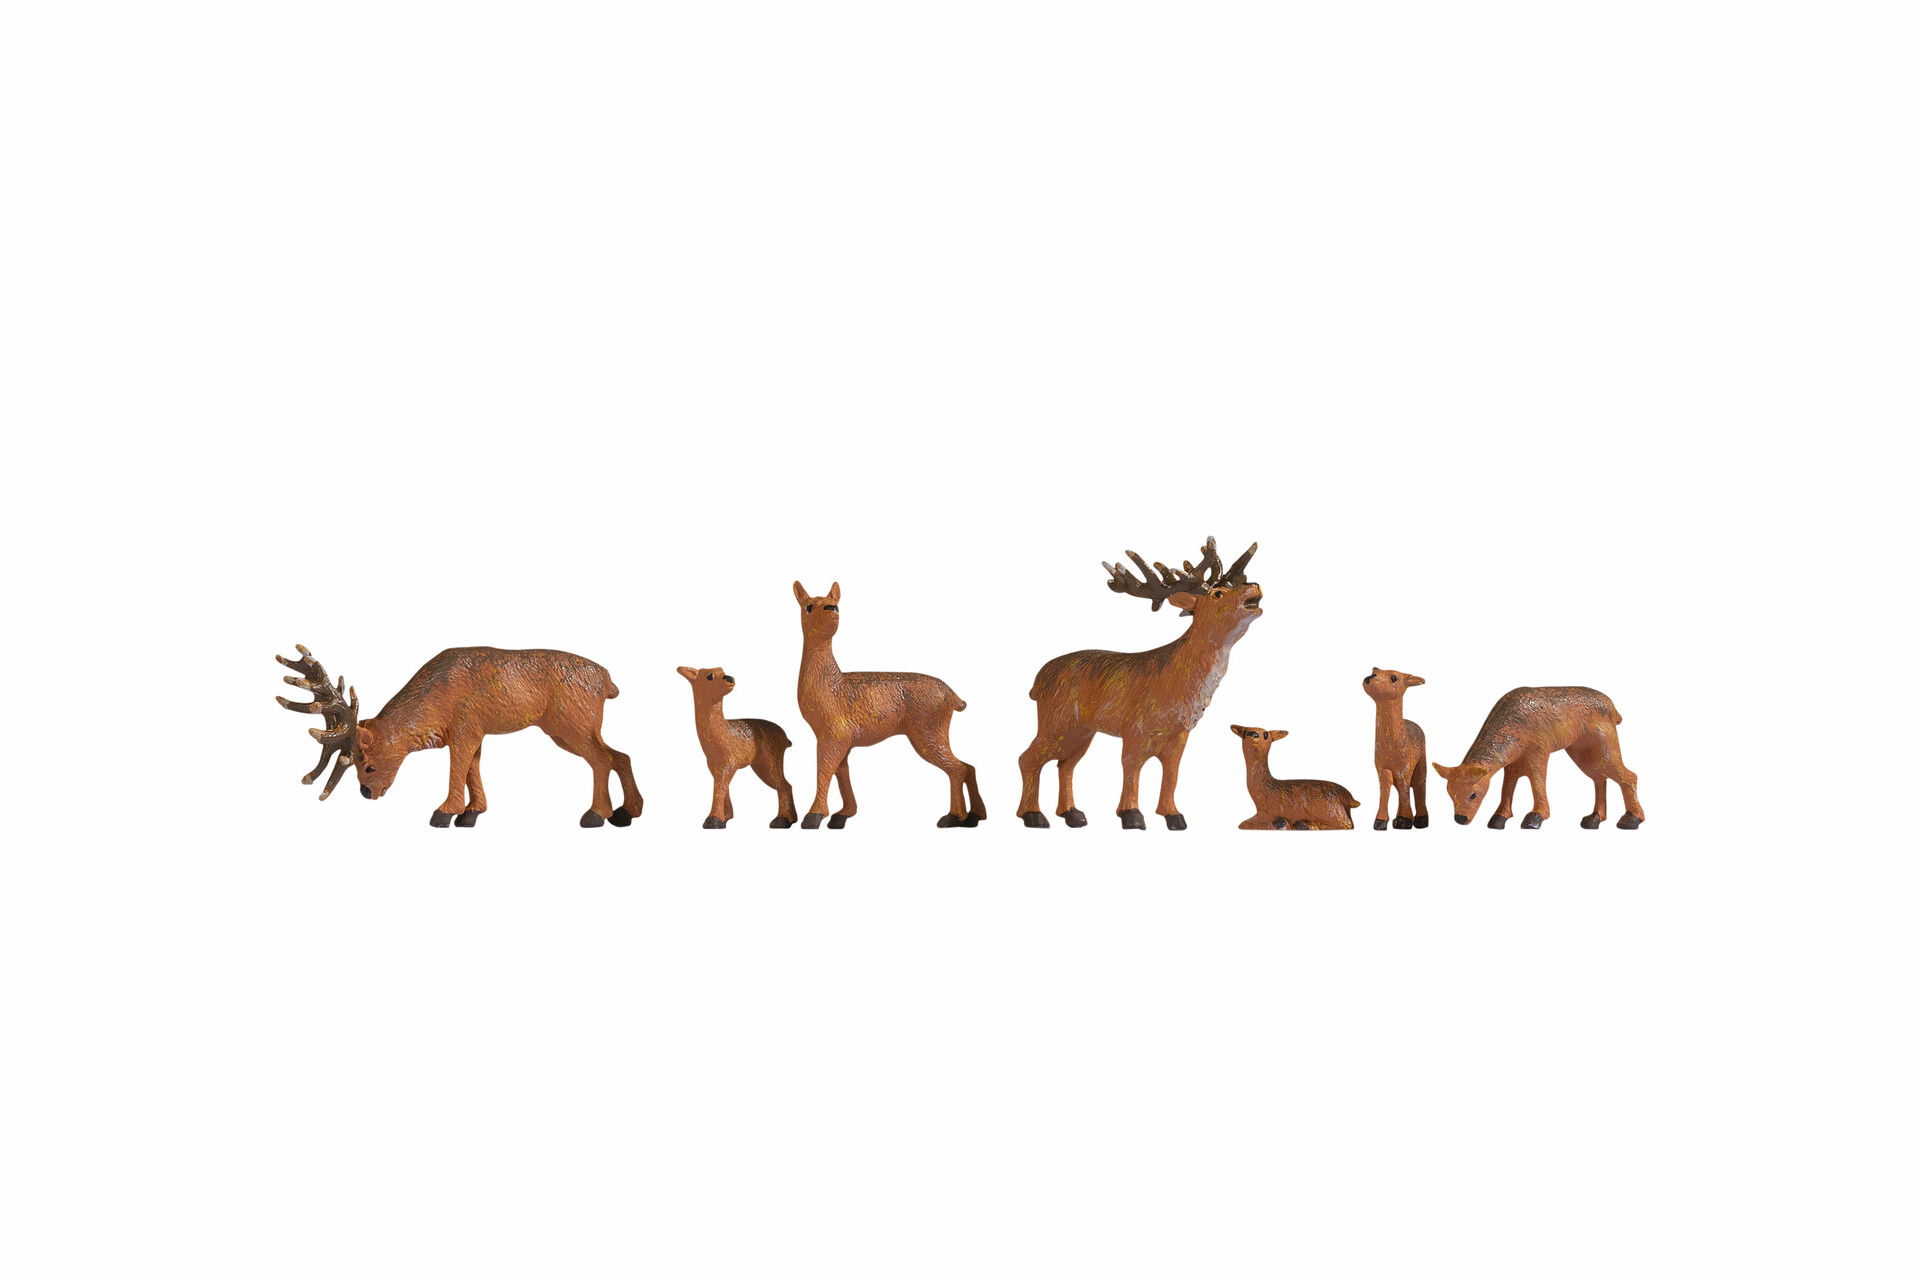
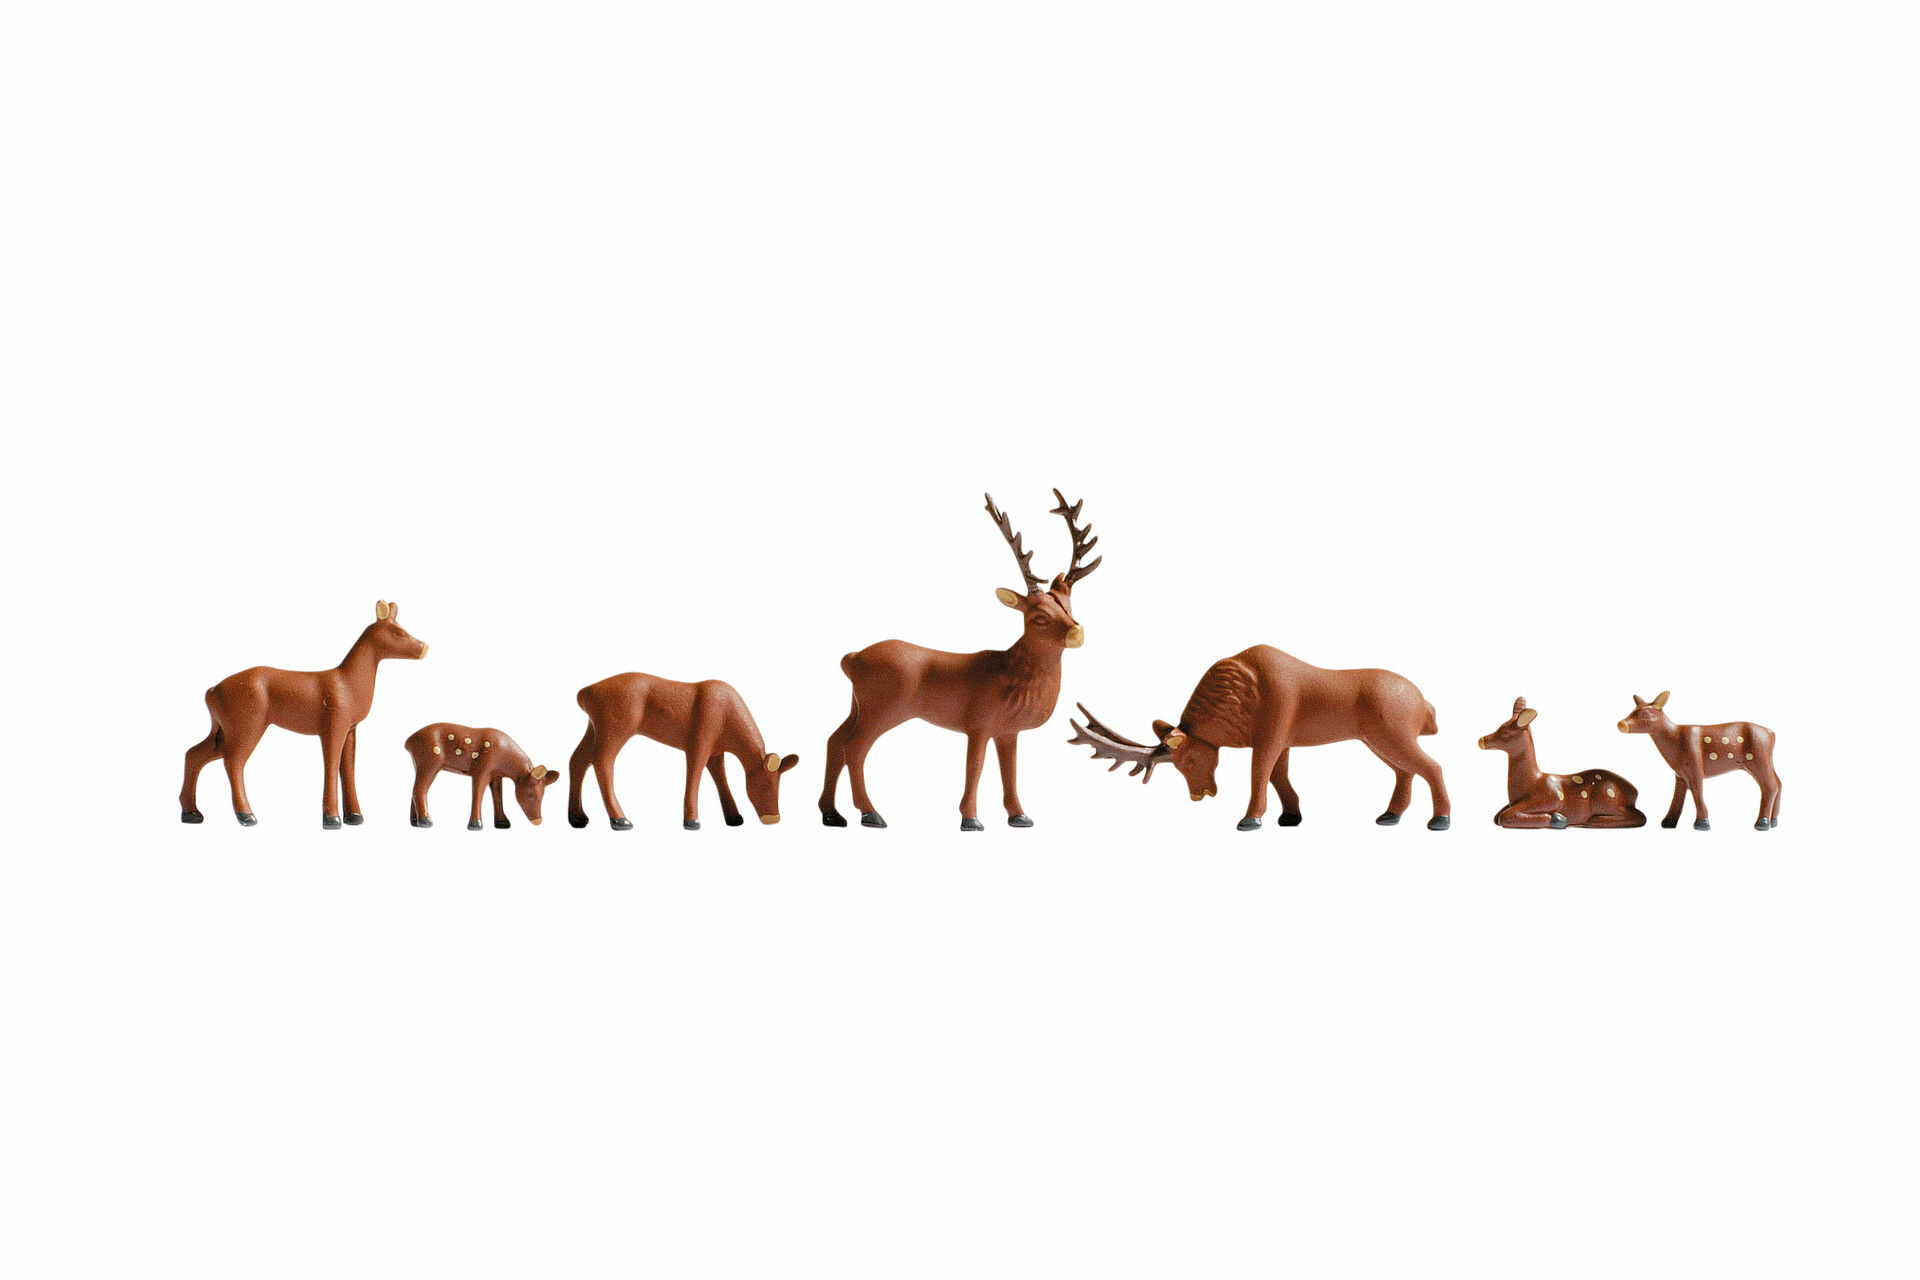
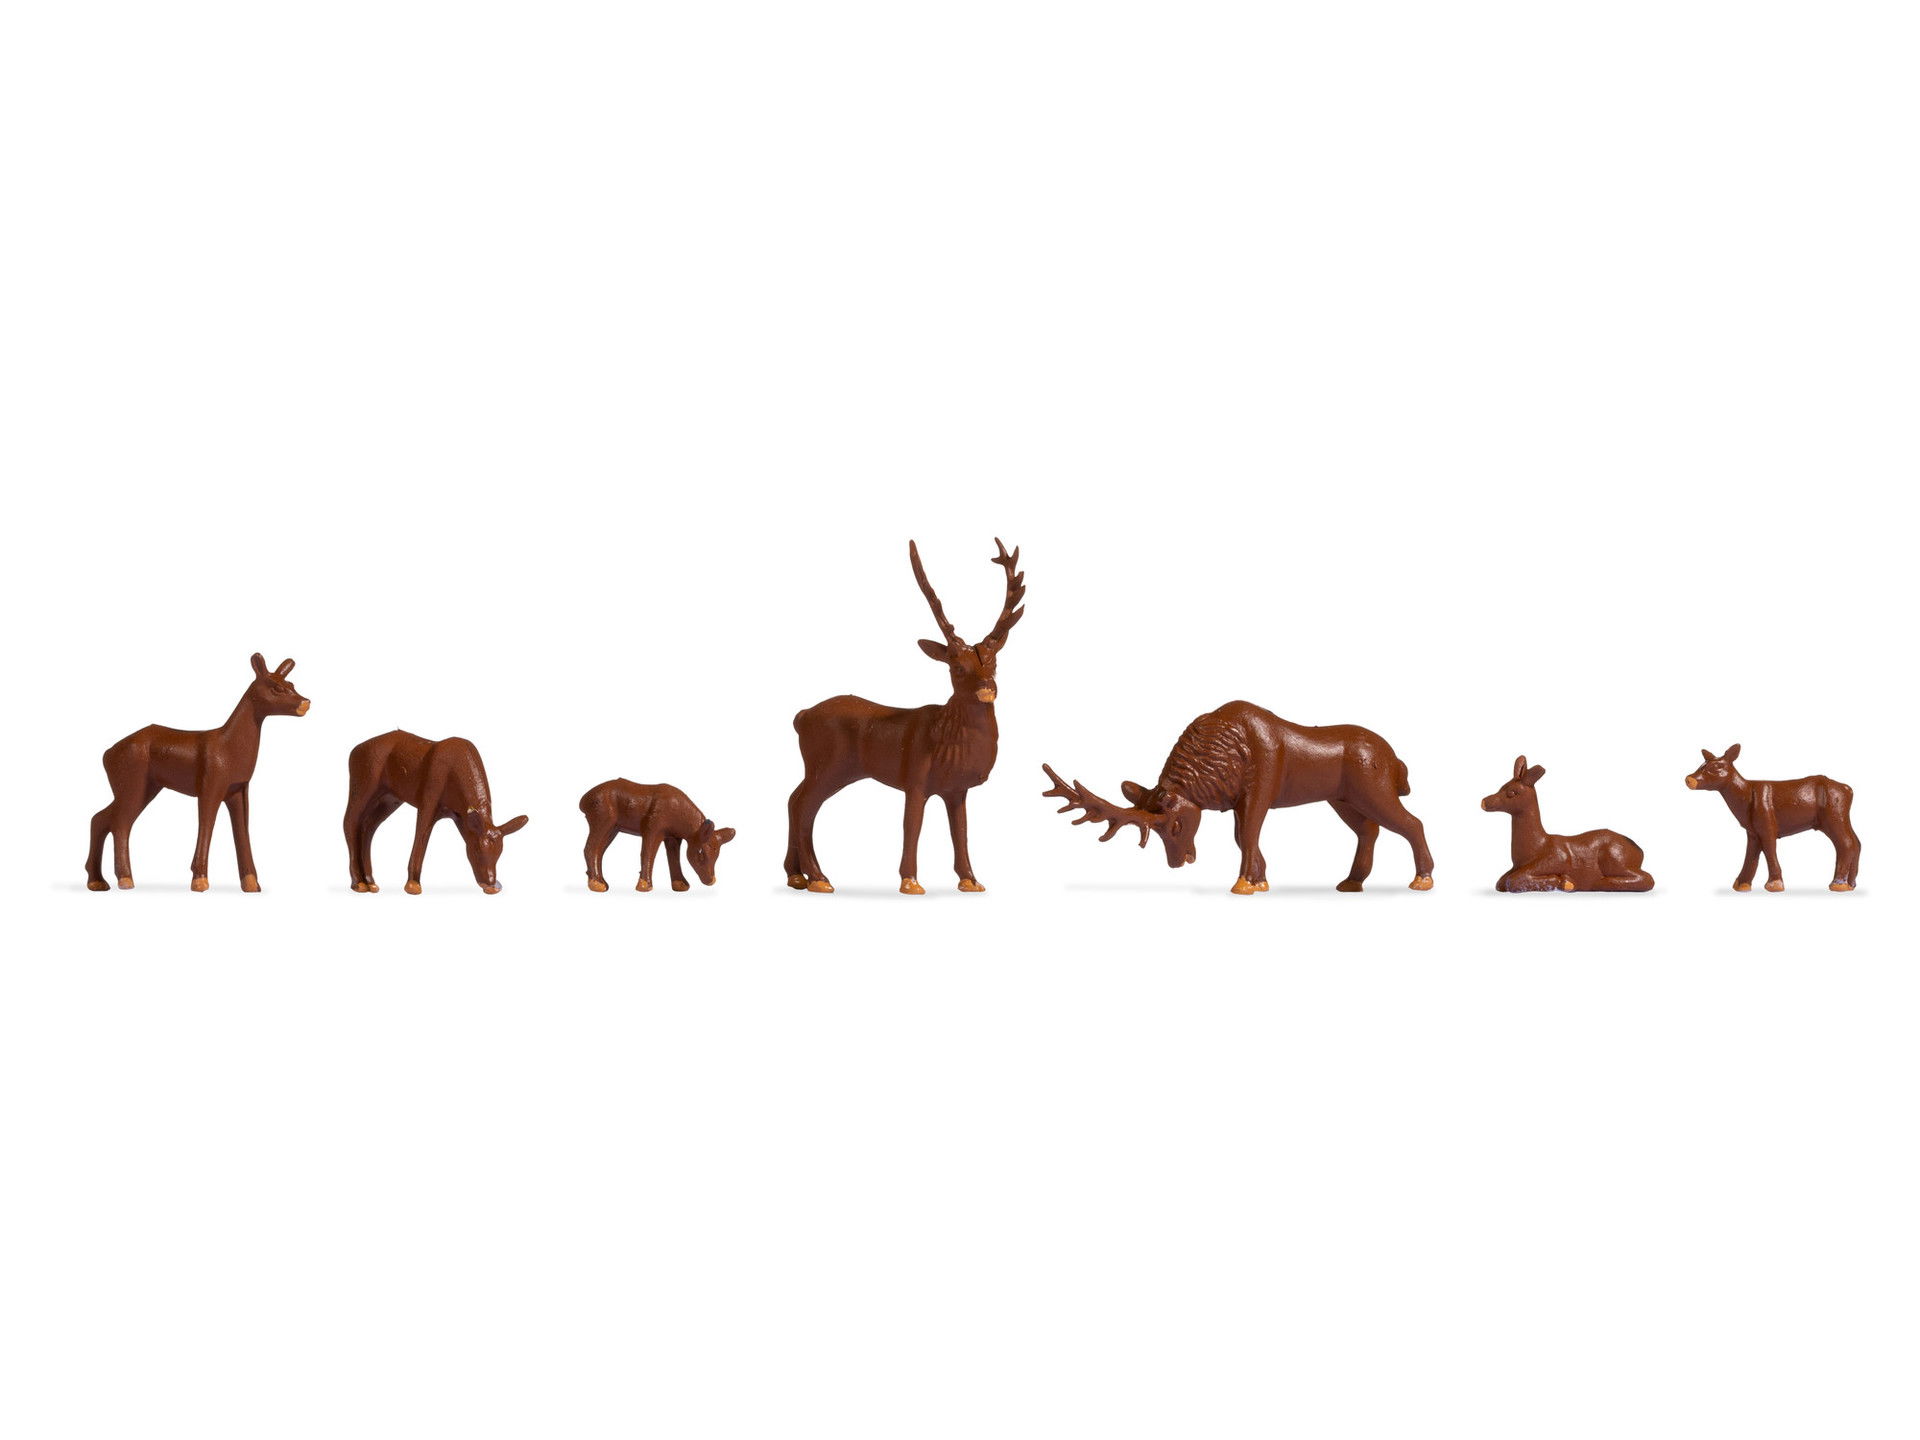
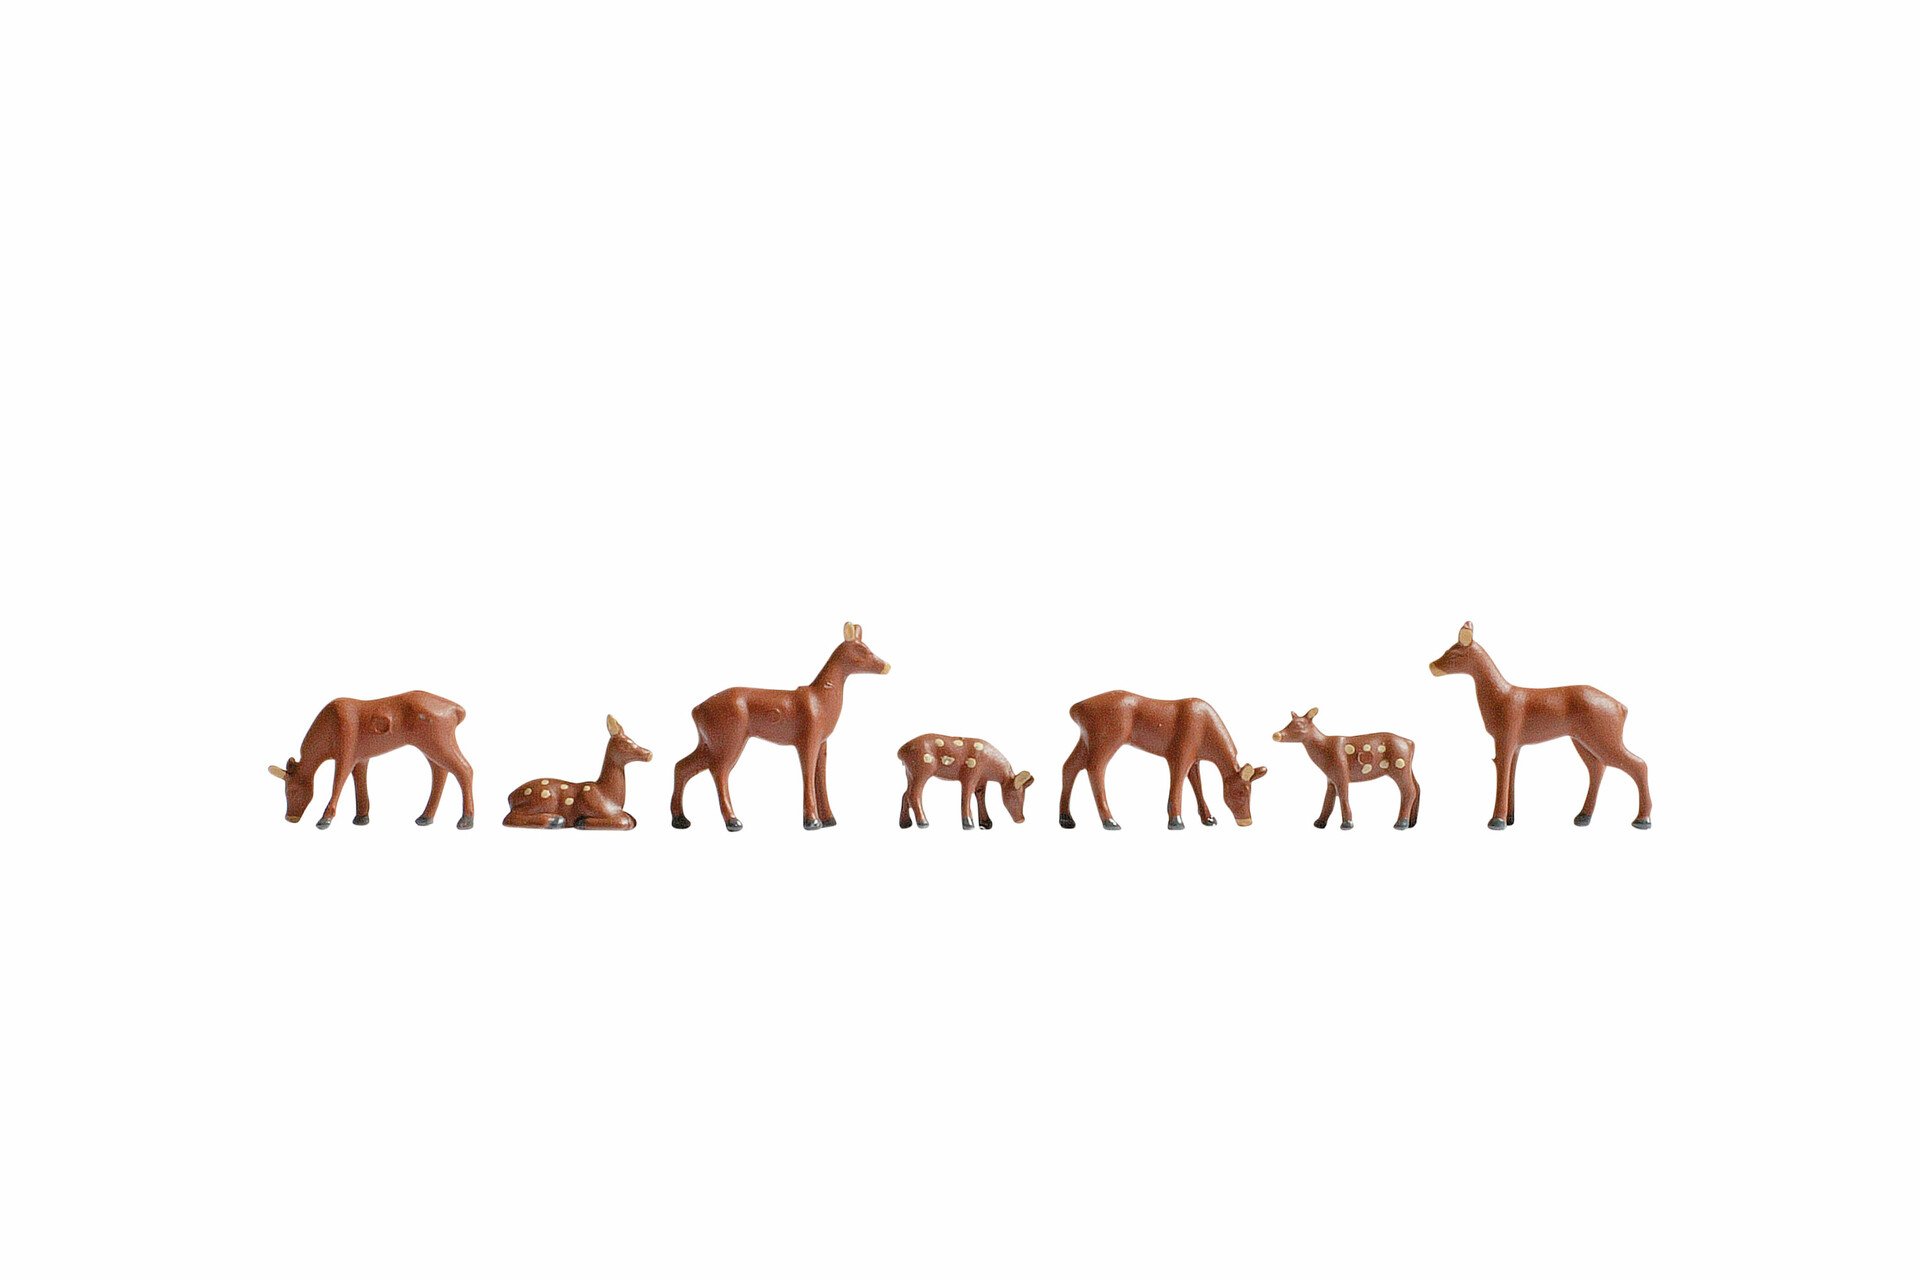
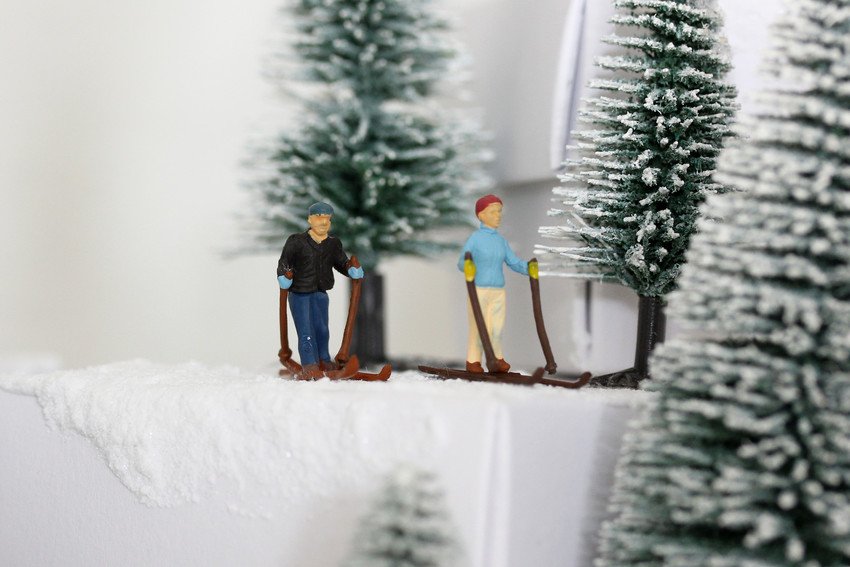
Now add the finishing touches to your Advent calendar by sticking small "Deer", "Roe Deer", figures of "Skiers" and miniature "Fir Trees" onto the boxes. Again, use Temporary Glue for this. Read the instructions for the glue on this website beforehand, then you can remove the decorations from the boxes after Christmas and use them again next year. Simply let yourself be inspired by the pictures!
Your crafted results
Regards,
Liska

Featured products
Shopping List

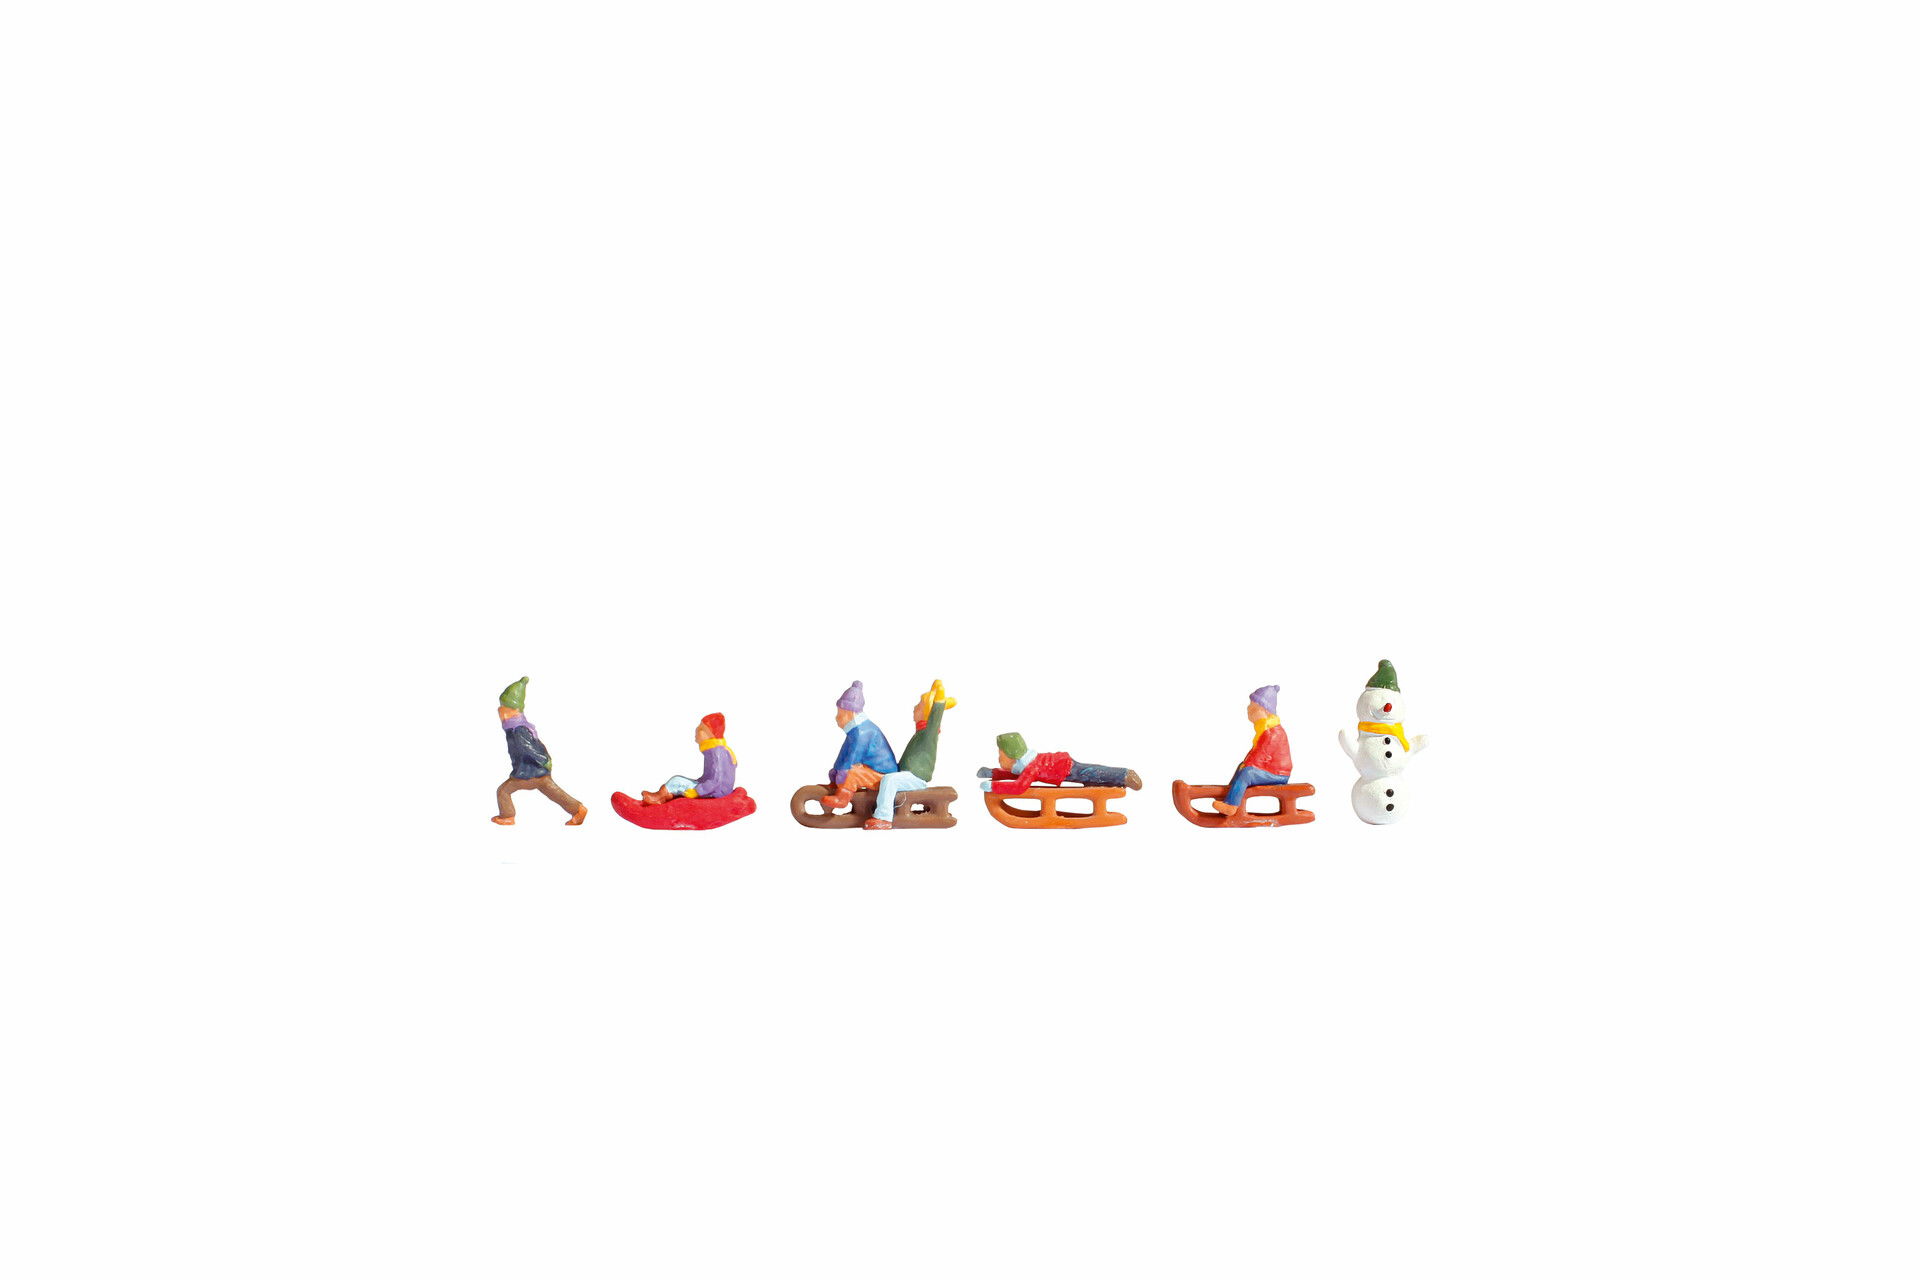
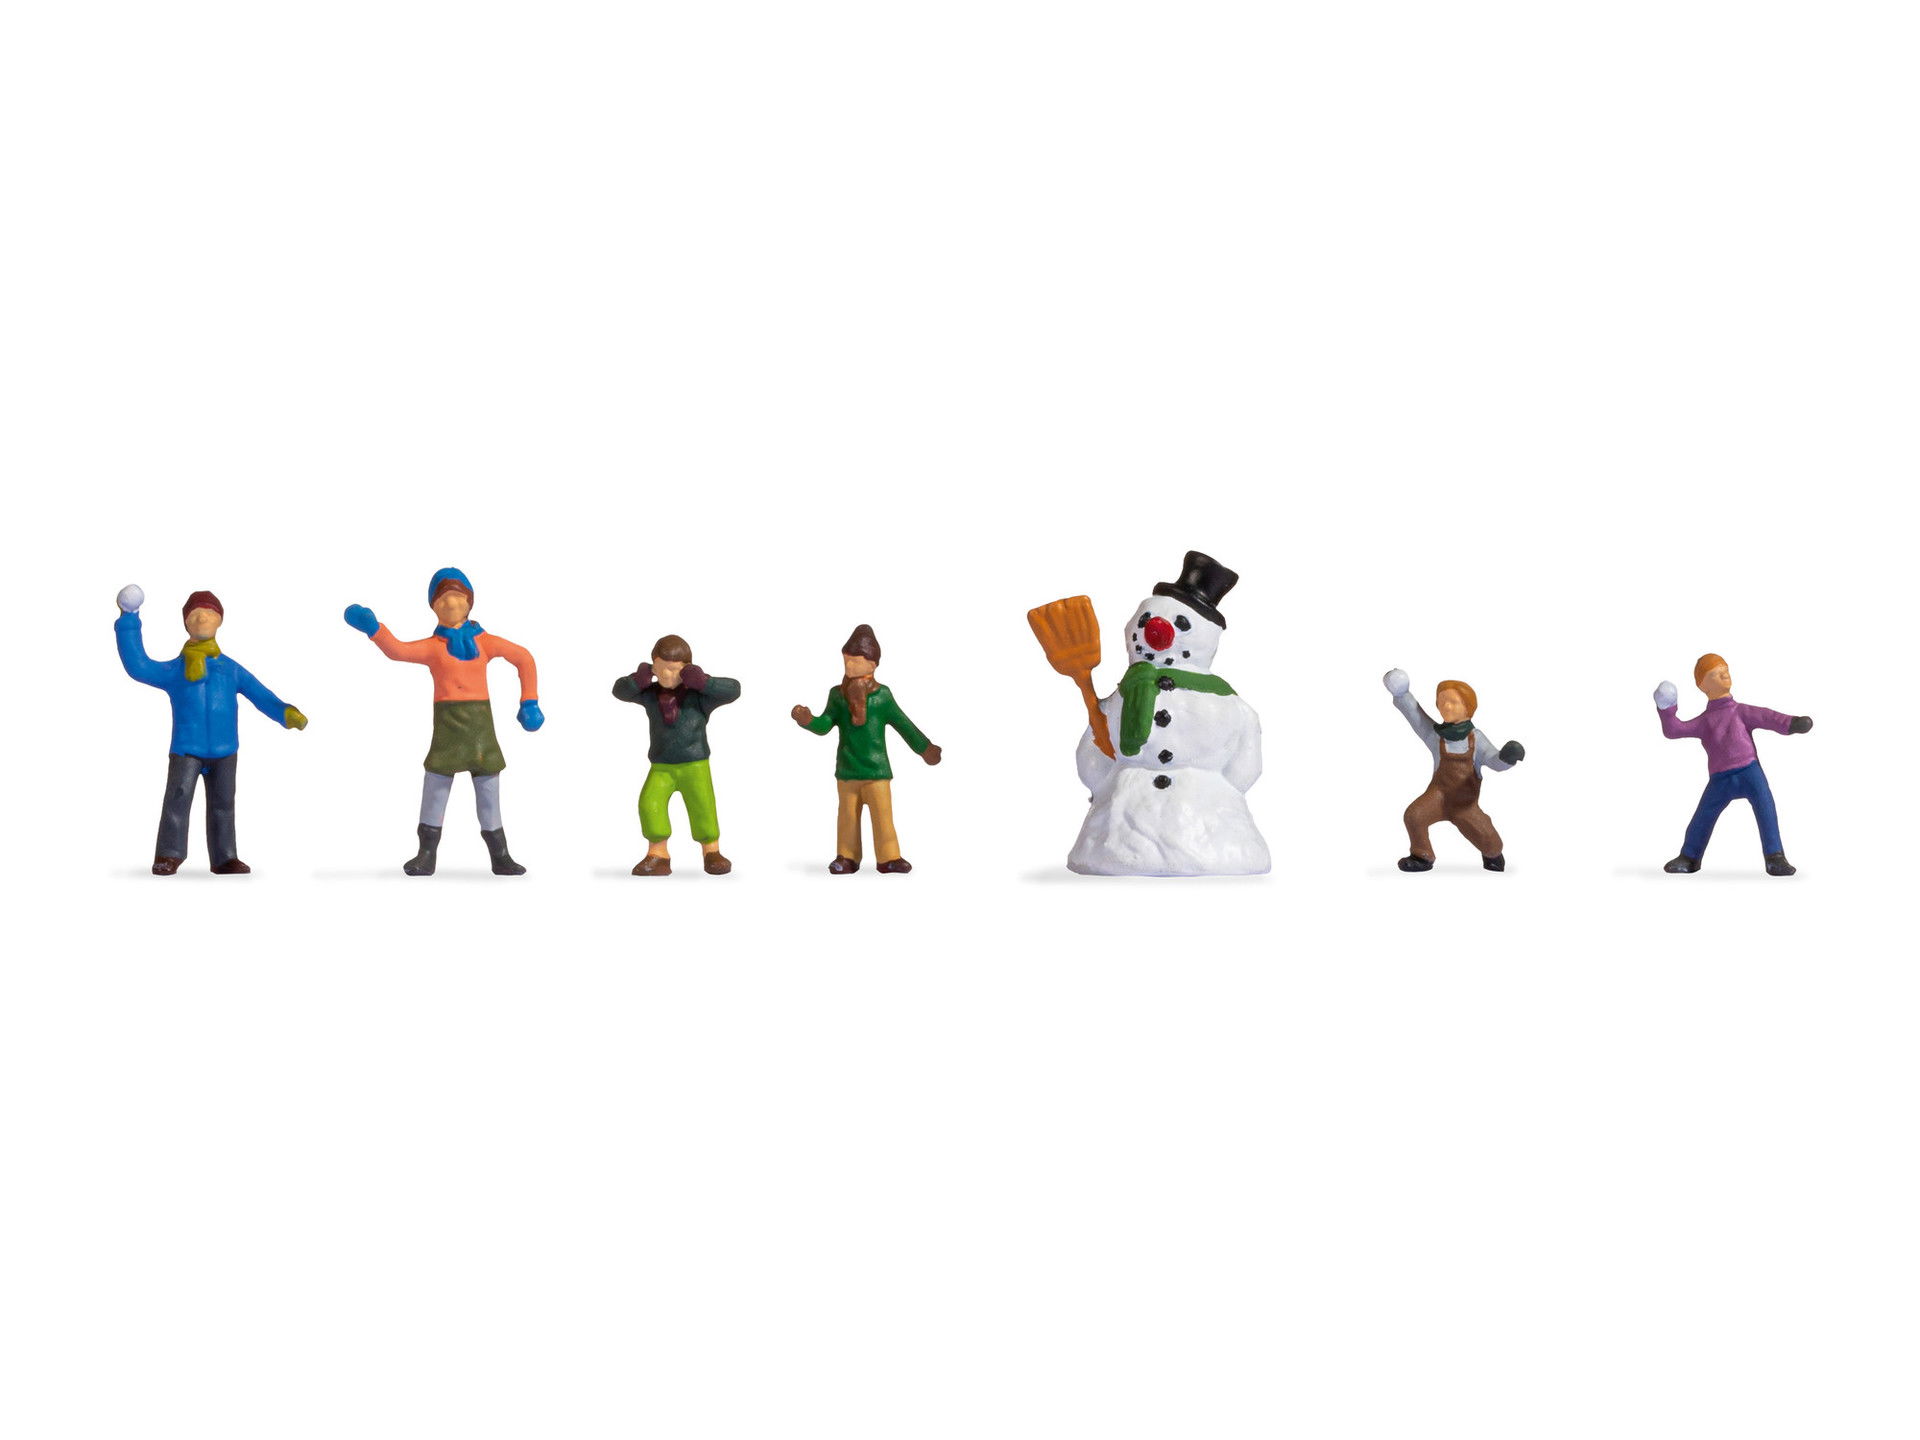






This Advent calendar is really something special. I’m looking forward to giving it away and seeing the recipient’s eyes beam when they open the individual doors – erm, I mean boxes. :)
I hope you have fun designing your Advent calendar and wish you a peaceful Advent season!