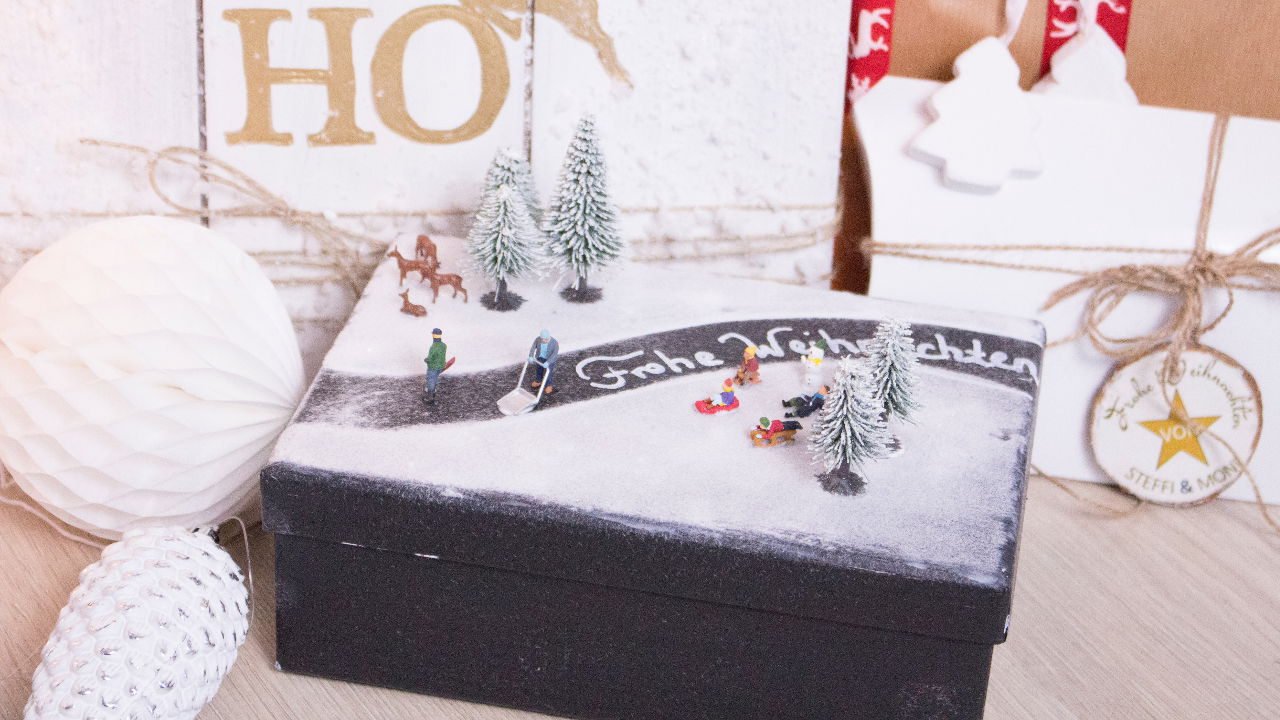
Merry Christmas!
A gift box DIY. Giving presents brings pleasure! But not only the recipient will be pleasured with the great gift box, you can enjoy the crafting fun first. Find out how to do it and what you need in the step-by-step instructions. A quick tip: With a little Christmas biscuit and a cup of mulled wine, crafting is even more fun in the cold weather! And if you get problems with your fine motor skills from the mulled wine, simply switch to children's punch.
Step-by-step instruction
Instructions from Steffi & Moni
Medium
45 min.
You need that
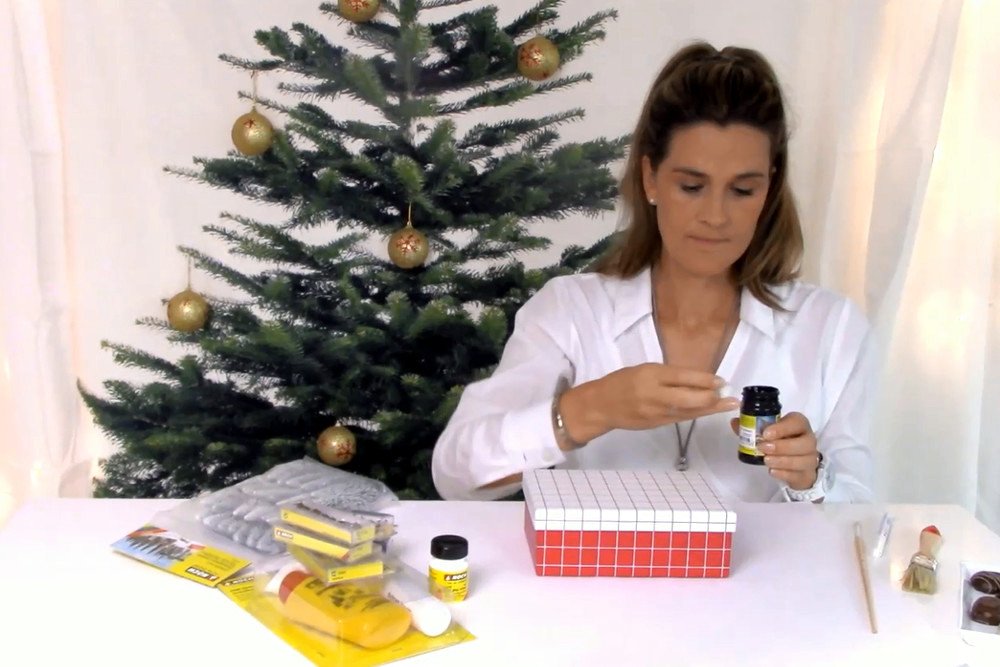
Box or shoe cartonBrush
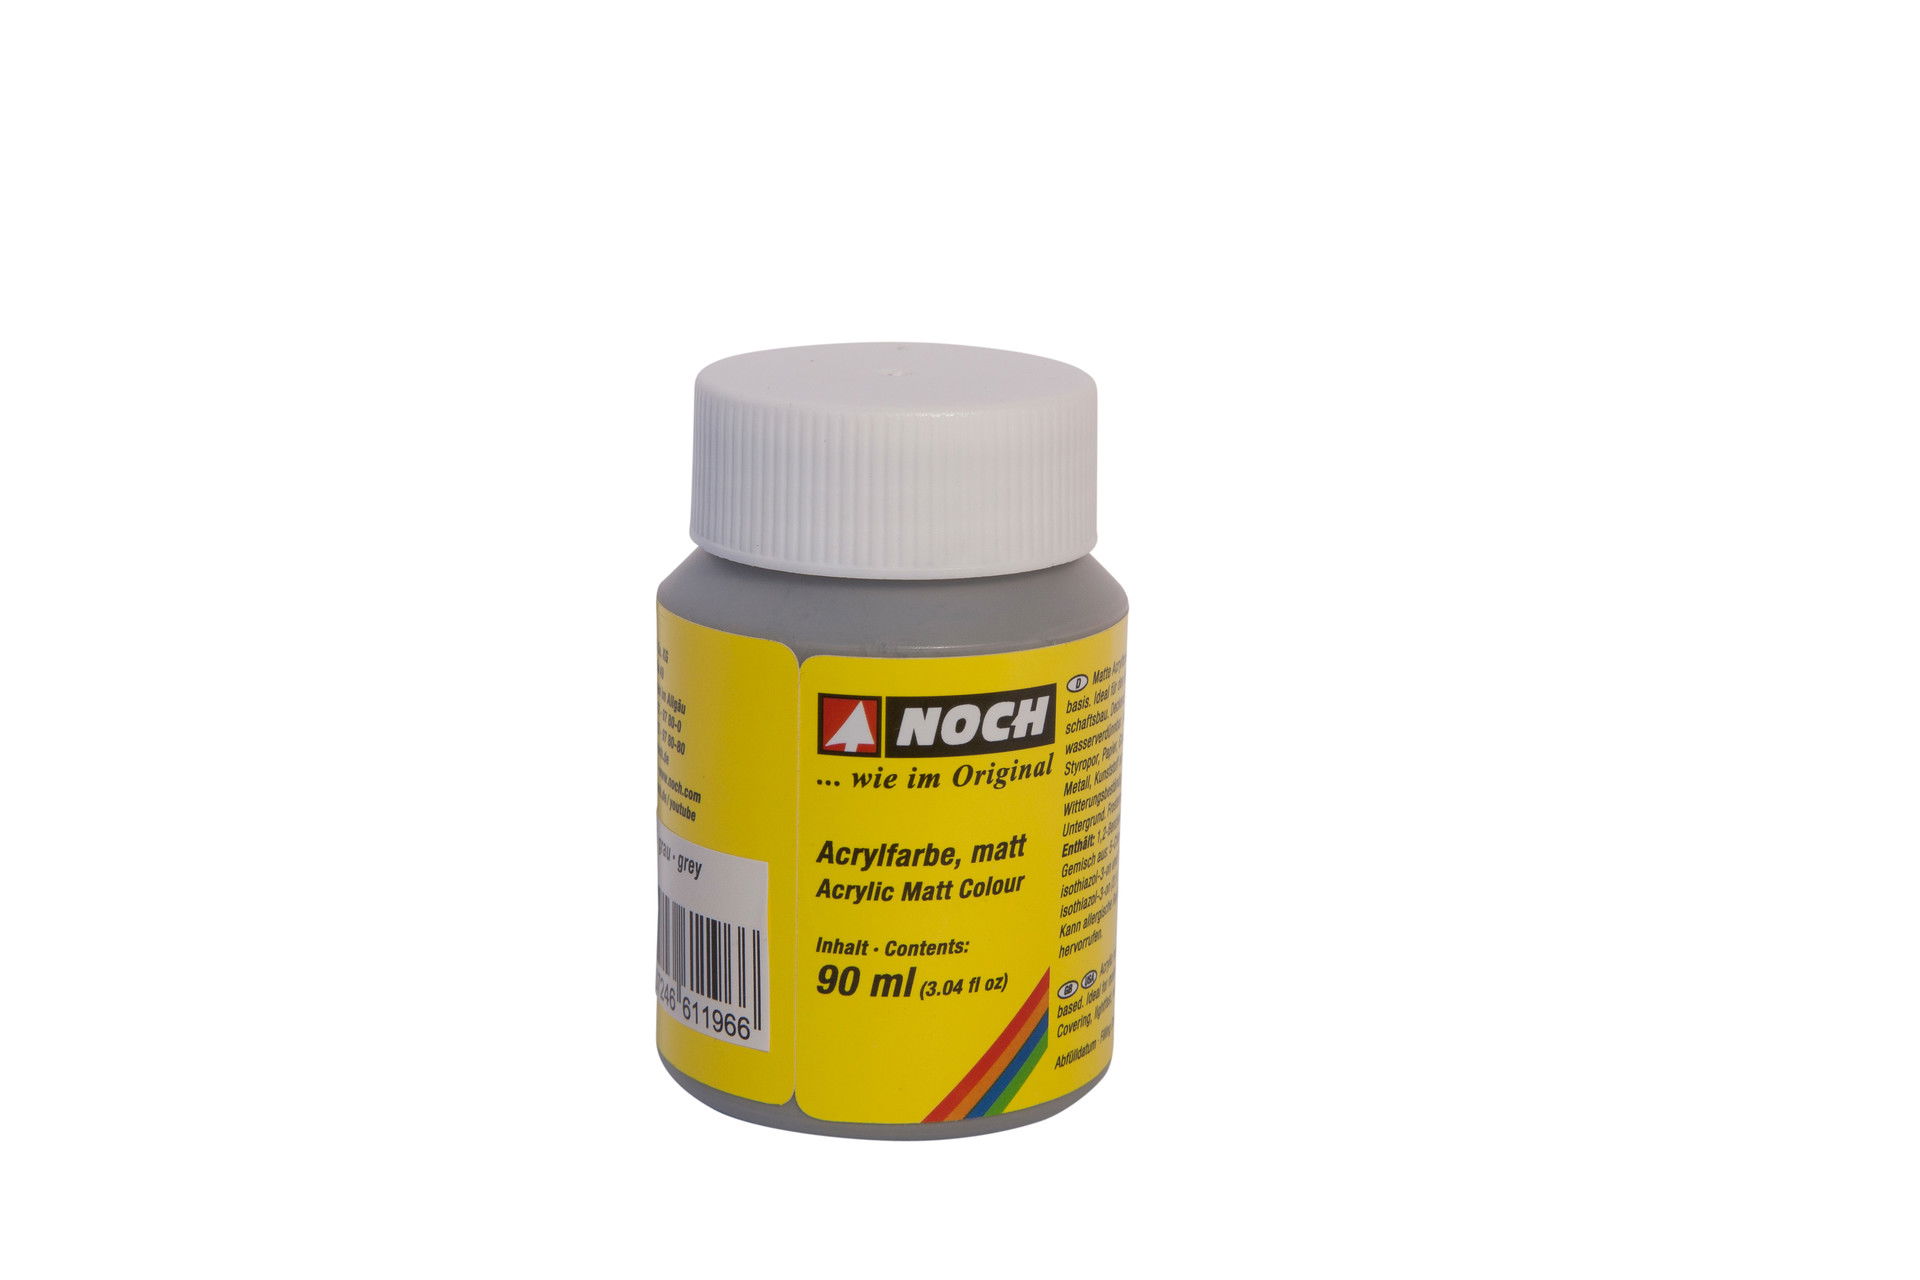
Acrylic colour, black
Edding®, white
Start Set Snowflakes
Temporary Glue
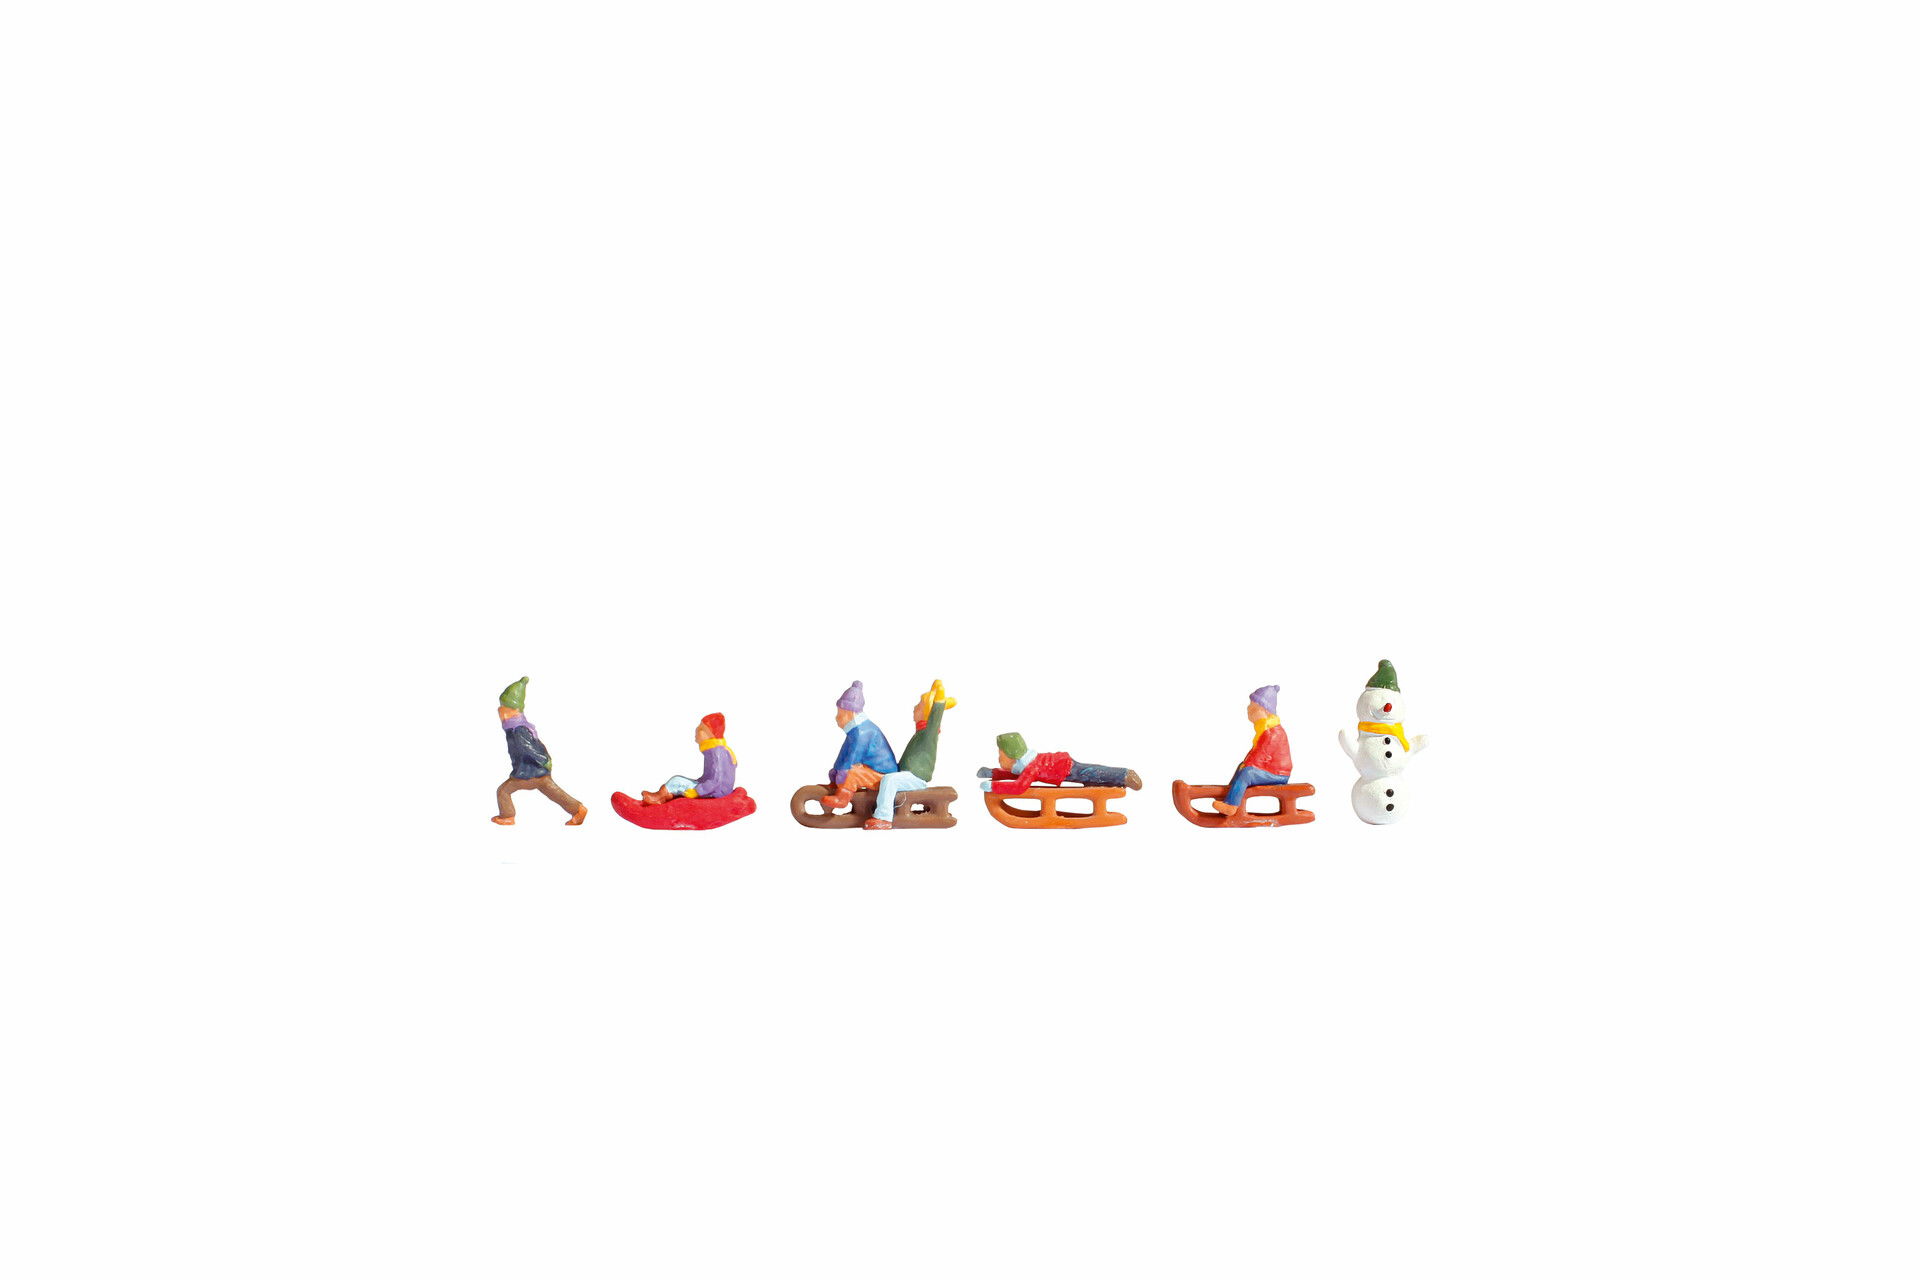
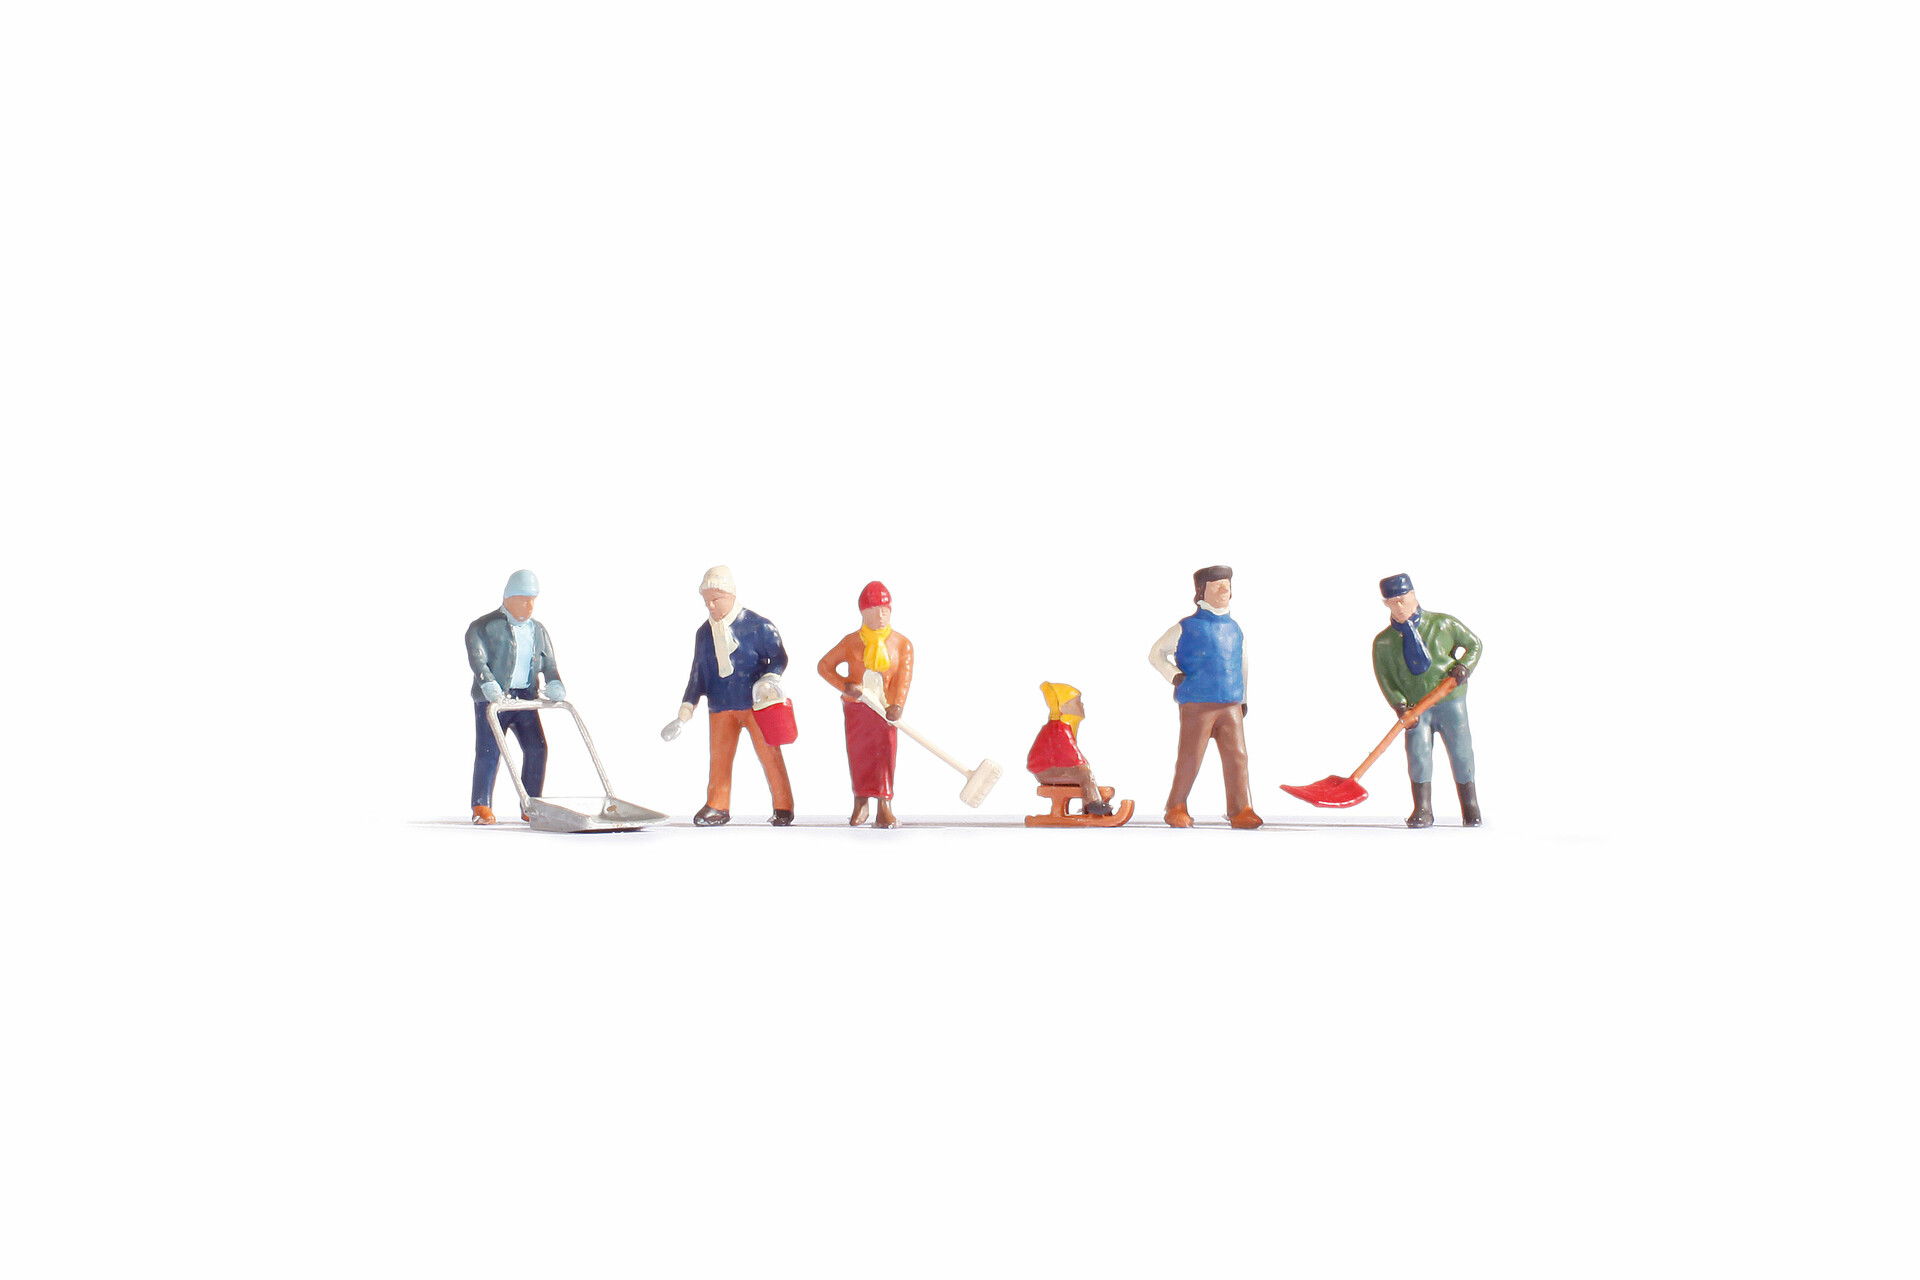
Winter figures
Snow Fir Trees
A gift for the box :)
Acrylic colour, black
Edding®, white
Start Set Snowflakes
Temporary Glue
Winter figures
Snow Fir Trees
A gift for the box :)
1) Get to the box
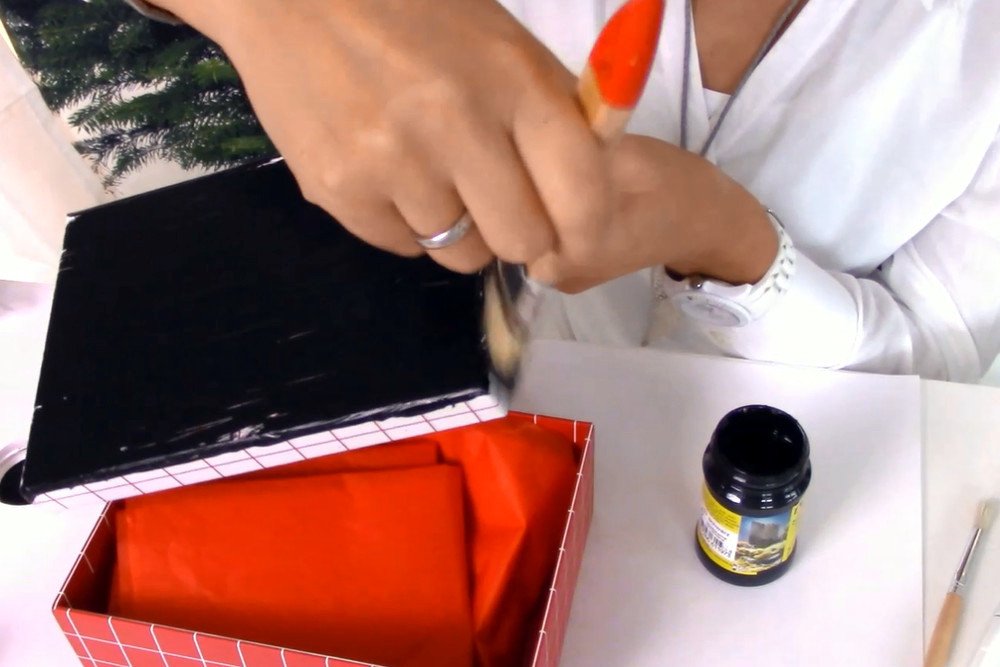
Choose a box that´s big enough for your gift. Boxes with lids or simply a shoe carton are perfect. In the first step, you paint the box completely with black acrylic colour, so later you won't see what kind of box it was anyway. So just between us: After the cold season has just begun, we were shopping for shoes recently anyway, so just take the box from the last purchase. Oops - you left the shoe box in the shop?! Even better! Because now you have a reason for the next shoe shopping trip :)
2) Street painting
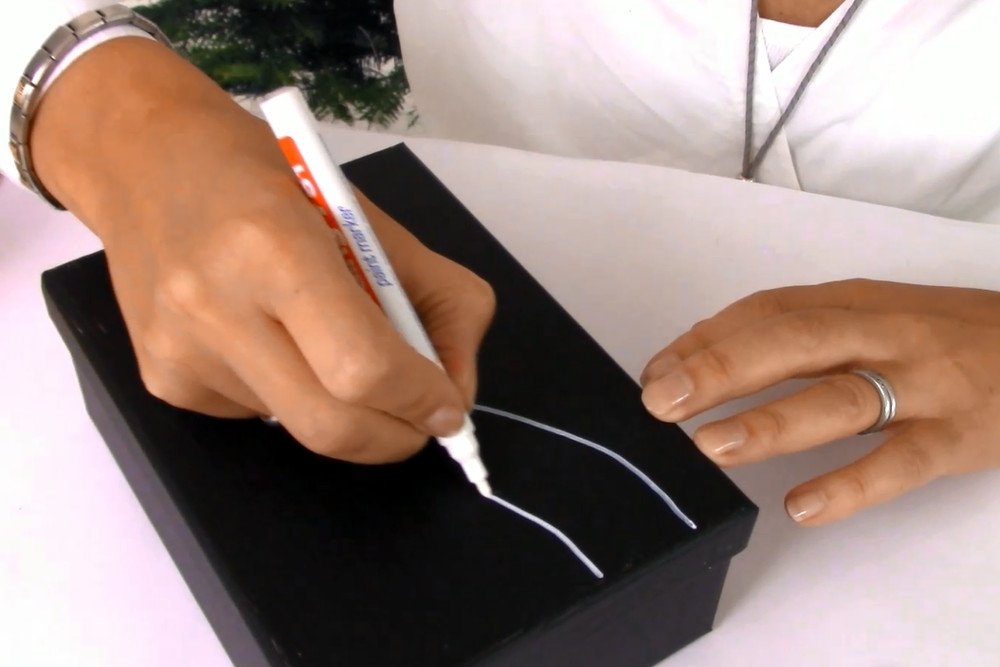
The black acrylic colour has to be completely dried. Depending on the material, this can take an hour (it's best to bridge the drying time with biscuits and mulled wine). After everything is dry, grab the lid and draw the contours of your street with a white Edding®.
3) Let it snow!
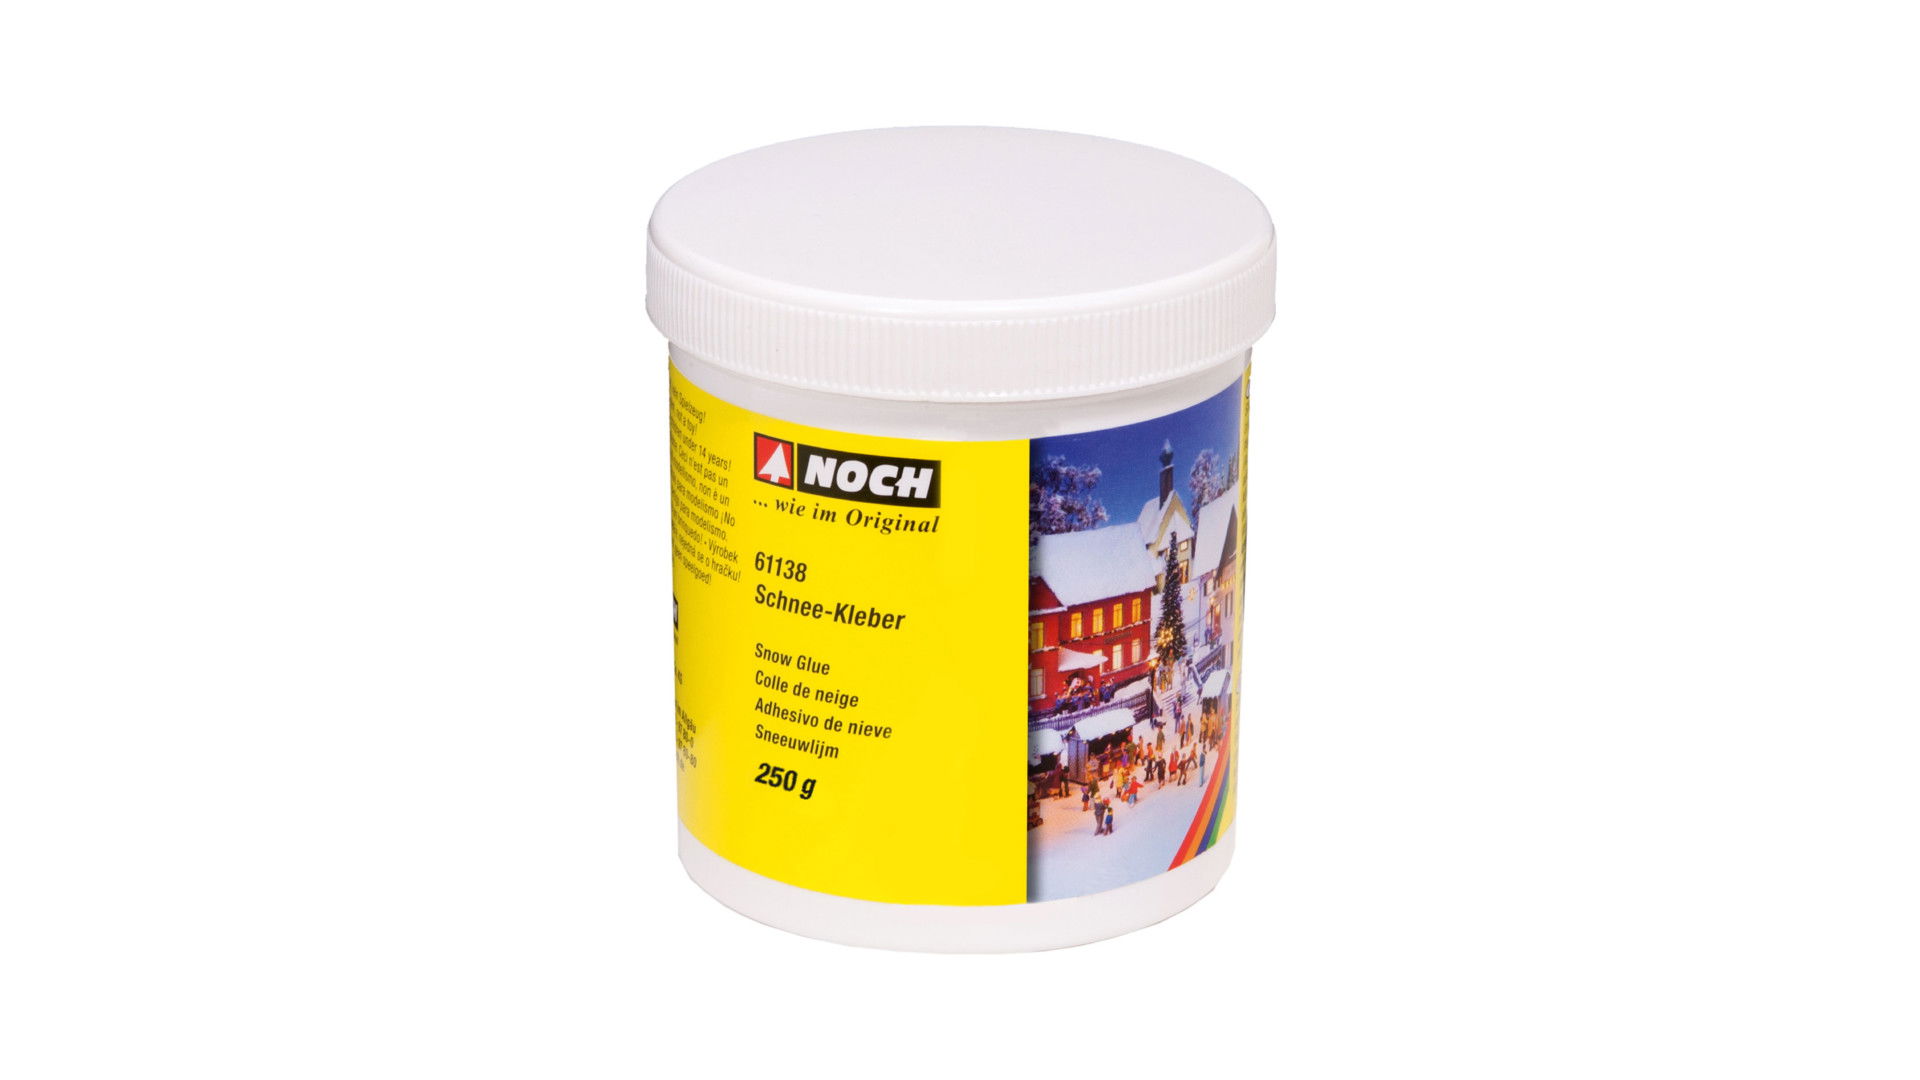
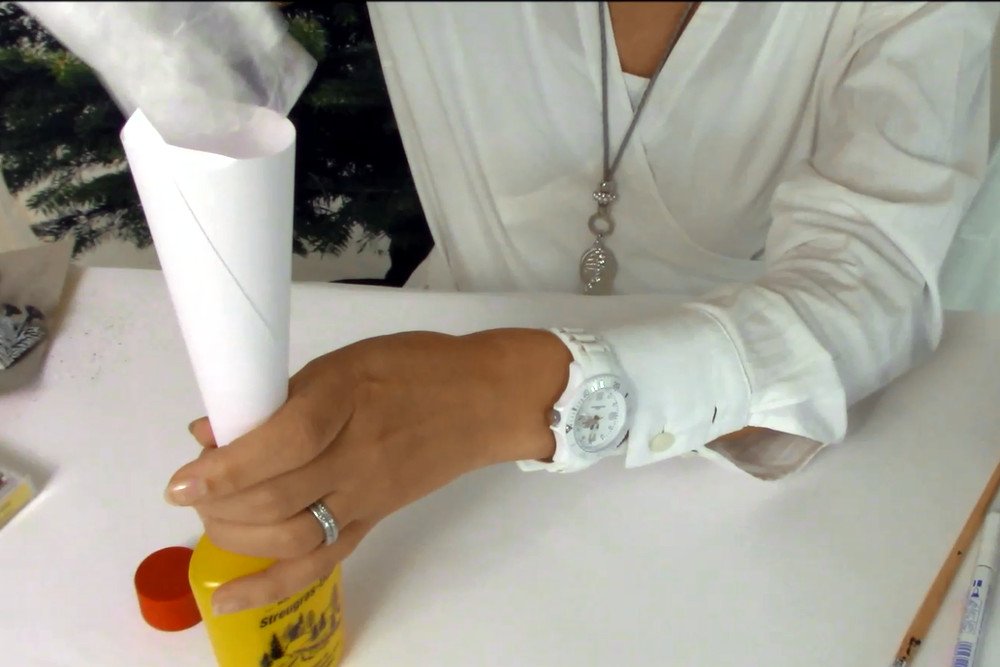
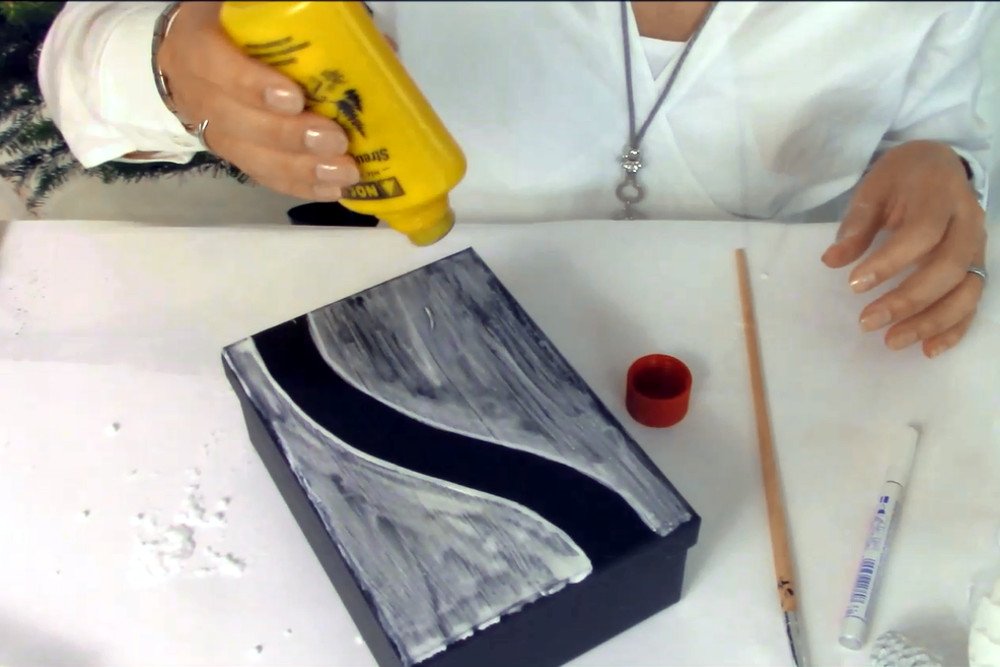
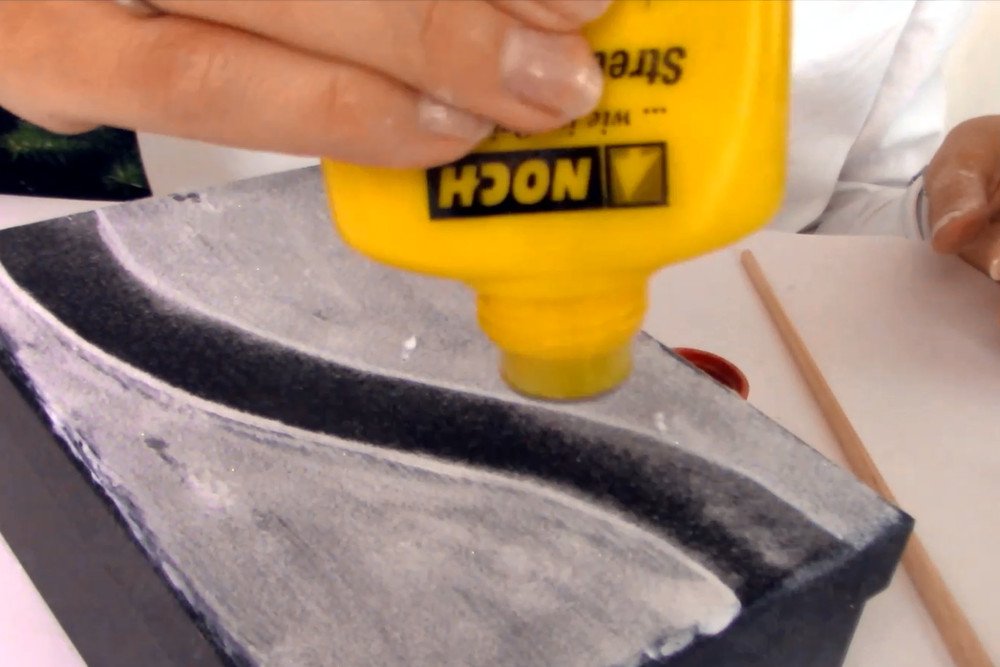
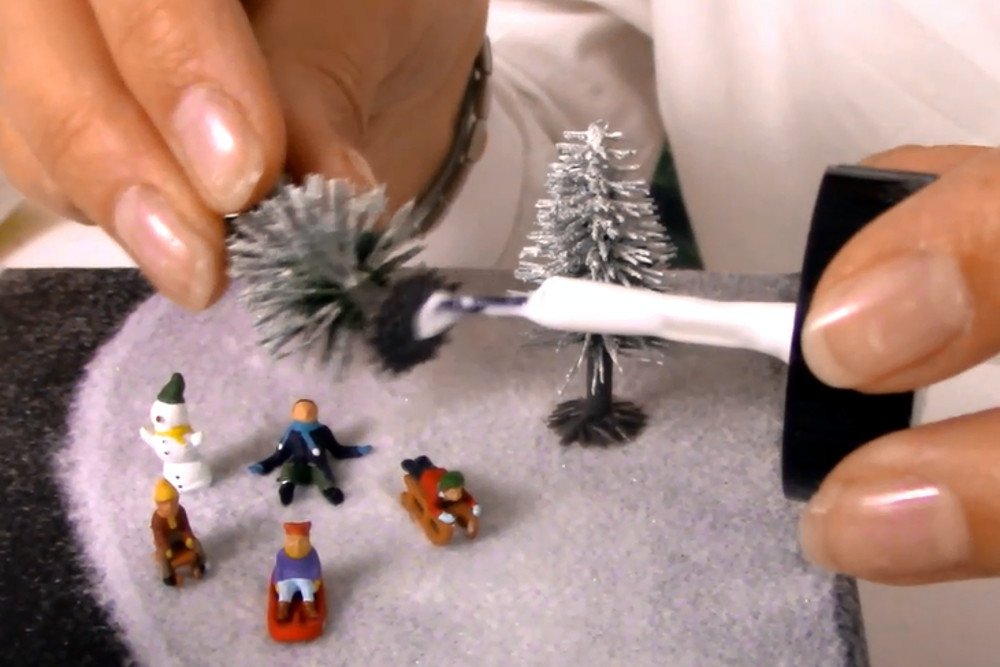
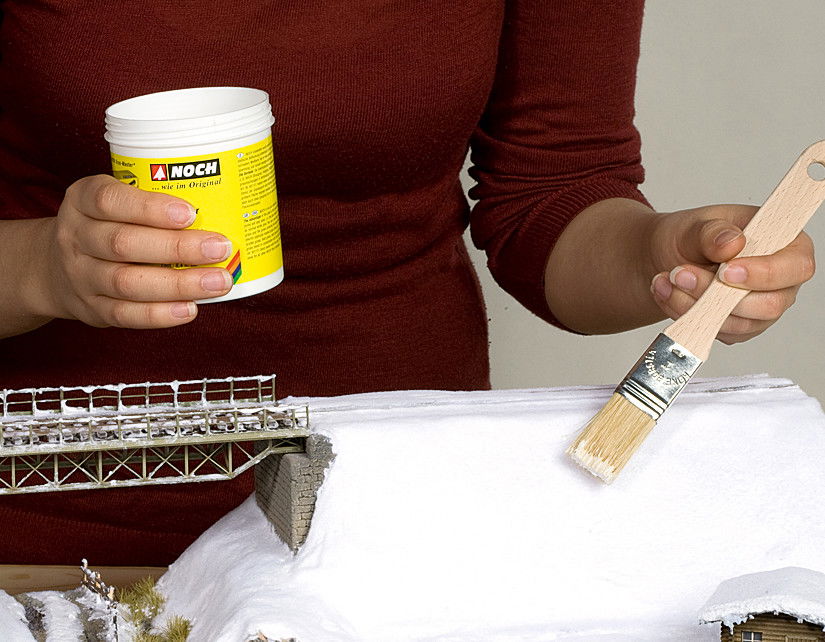
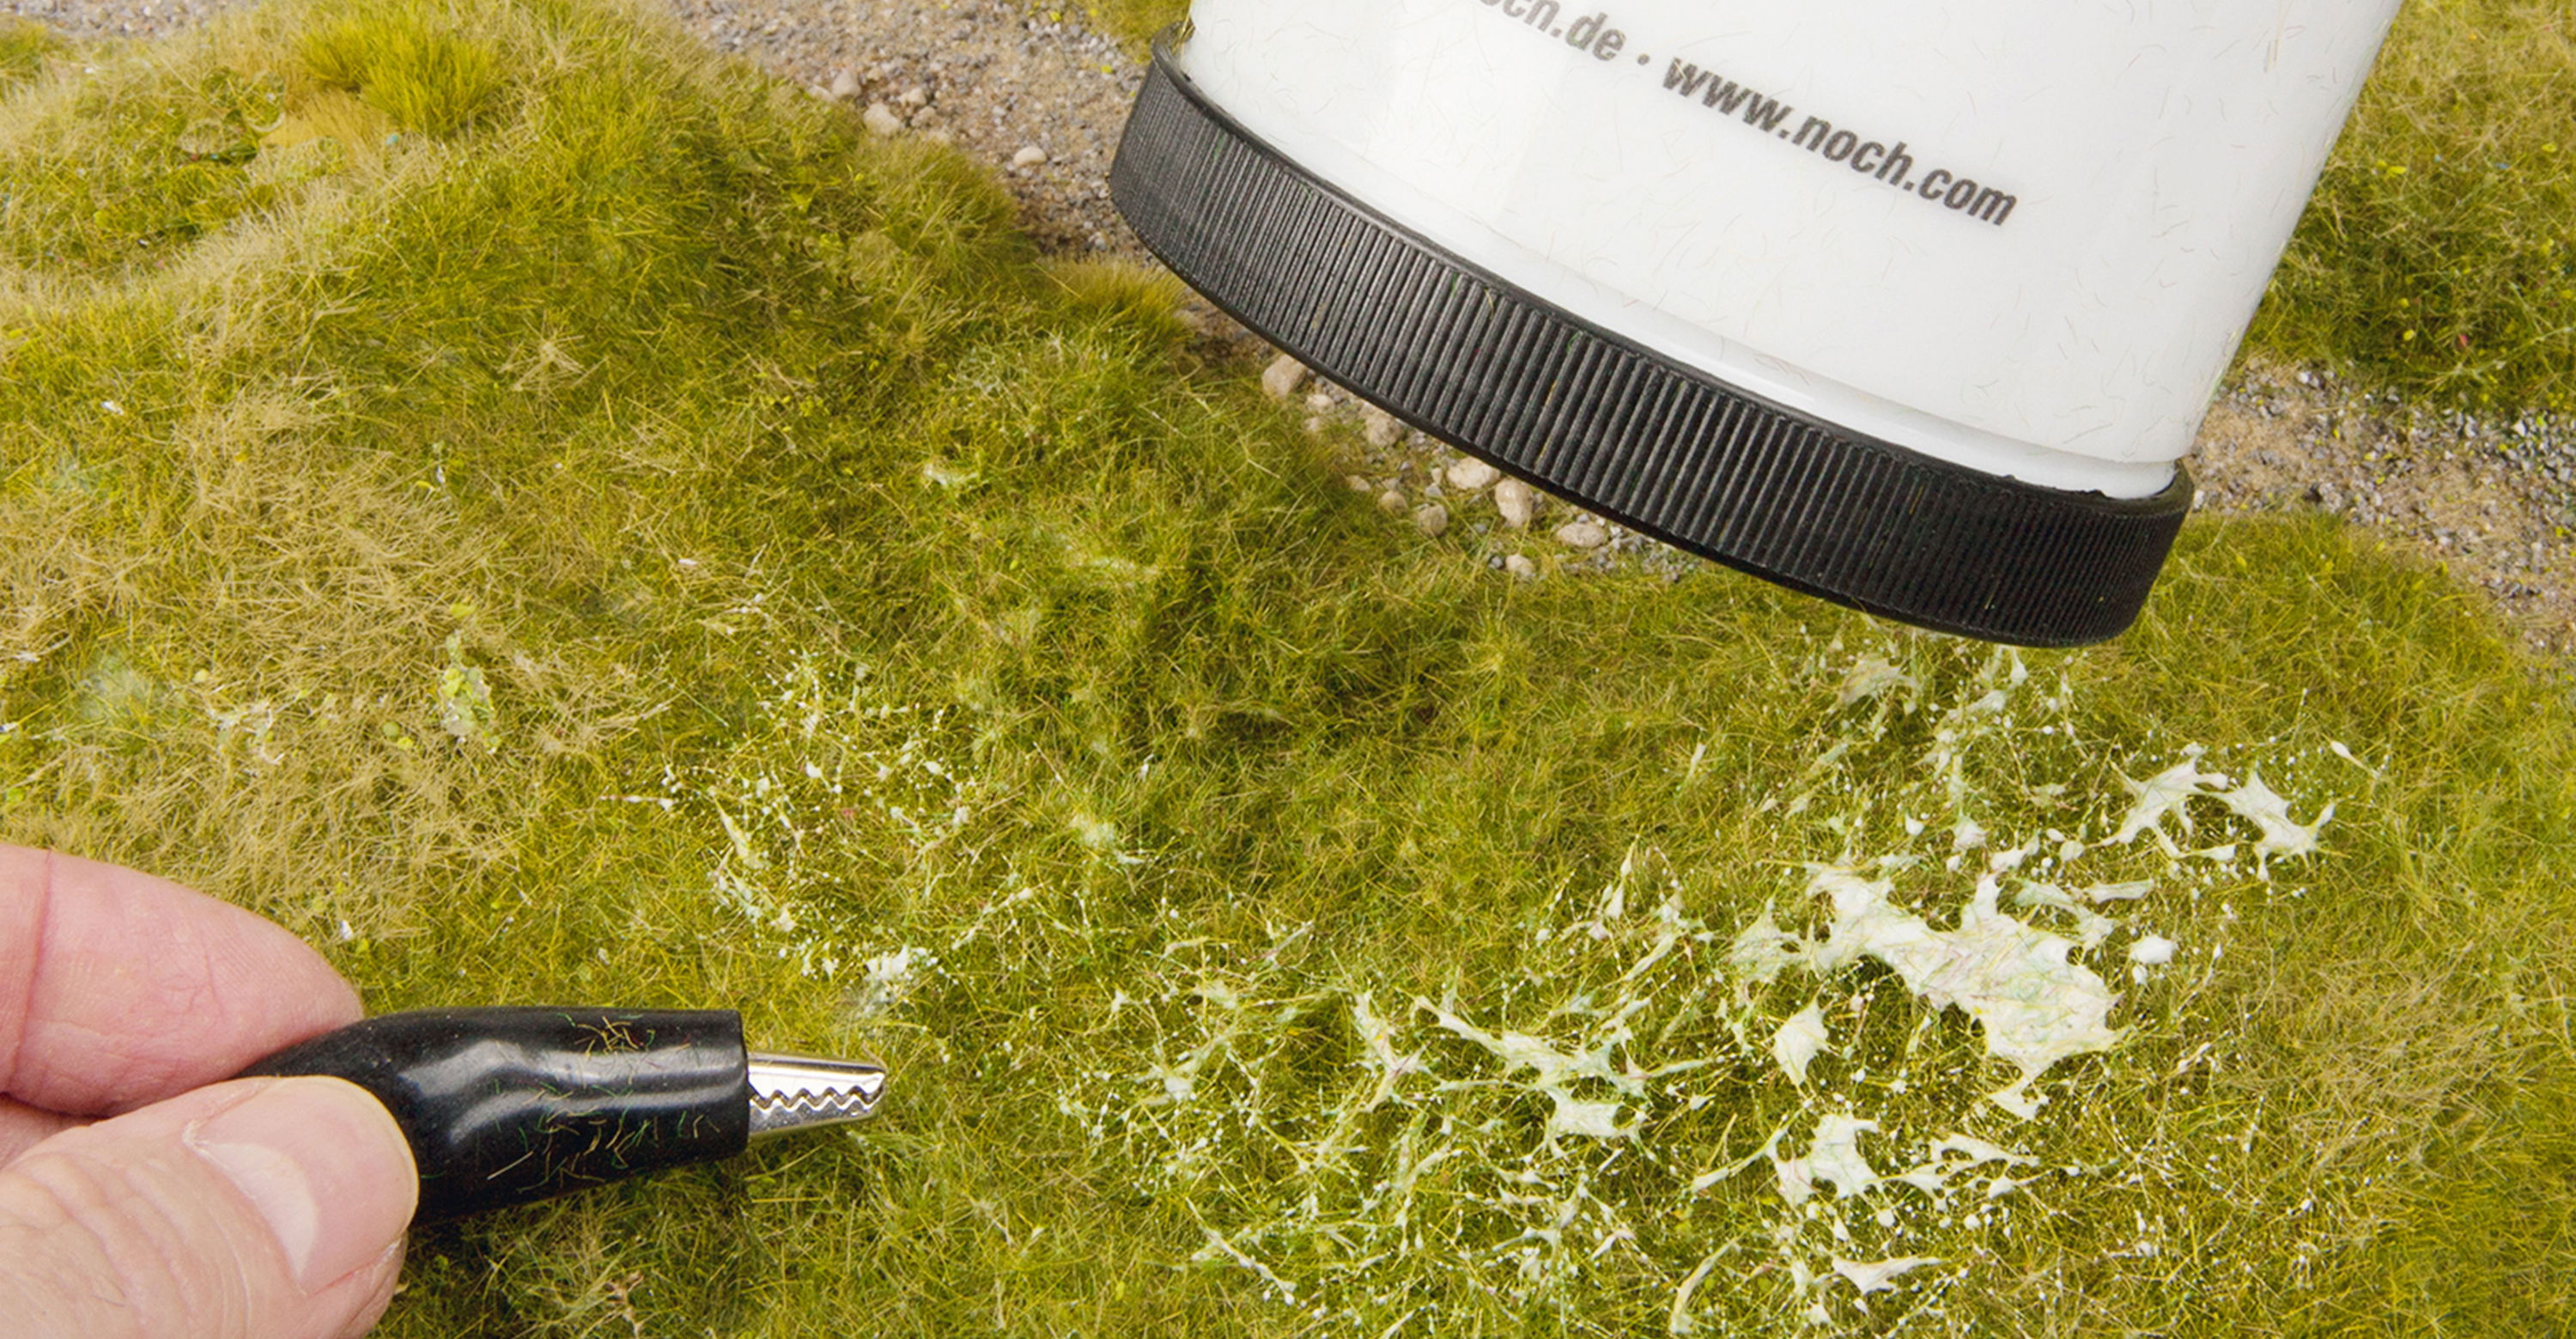
And now we let it snow! First, make a funnel out of a sheet of paper by rolling it up. Than unpack the Start Set Snowflakes and take out the Puffer Bottle. Unscrew the red lid, take the small grey sieve from the bottle and put your funnel into it. Cut off the tip of the bag with the snowflakes and carefully fill the flakes into the puffer bottle. Replace the sieve, screw the lid on and shake everything firmly for half a minute. By shaking, the small snowflakes rub against the plastic inner wall of the bottle and thus become electrostatically charged. Now paint the surface to the right and left of the road on the box with the white snow glue, which is also included in the starter set. Then screw the lid back from the puffer bottle and blow the snowflakes evenly into the glue by pressing the bottle. This creates a fluffy blanket of snow. Finally, knock out the lid of the box over an empty cardboard box and collect the snowflakes again for your next DIY.
Tip: The contents of the starter set are enough for approx. 2 boxes, depending on how big your shoe boxes are. If you want to make even more gift boxes, you can also order the puffer bottle, snow glue and snowflakes separately.
4) Decorate with figures and snow firs
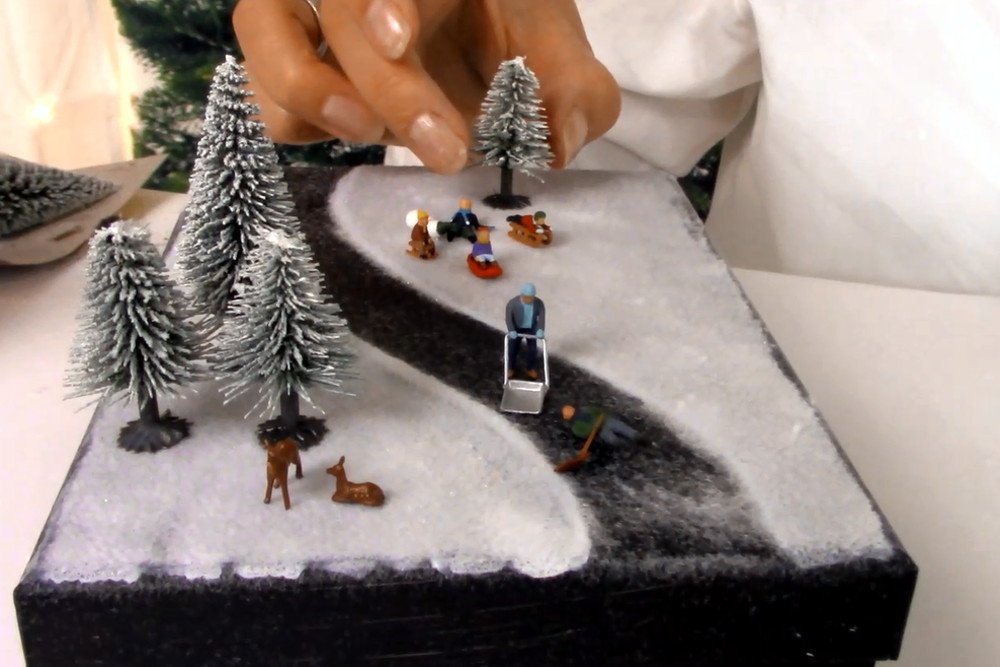
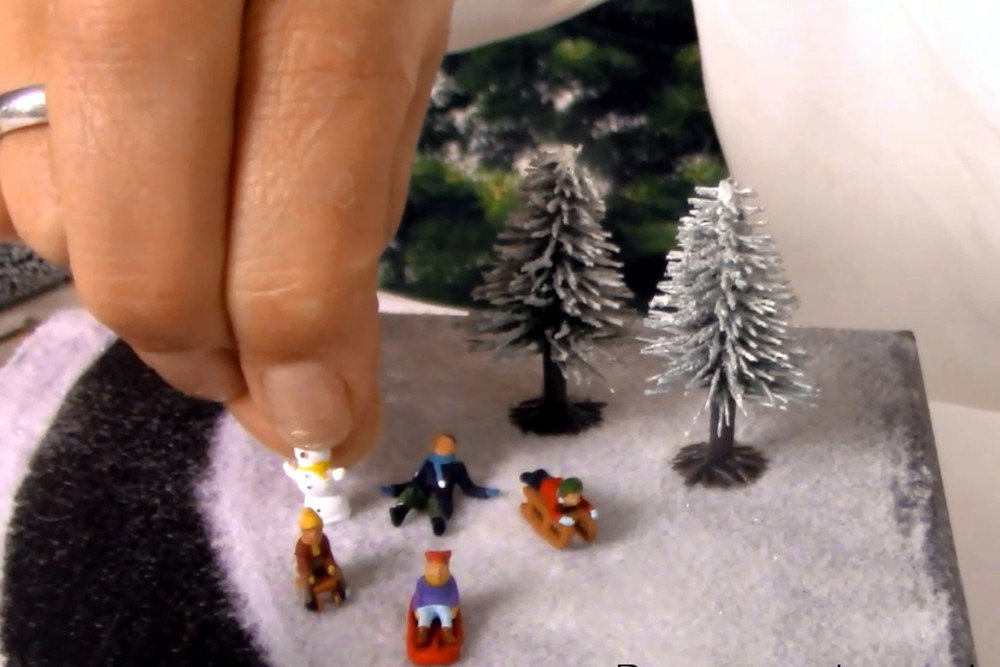
Now it's time to design and decorate: You need a few winter figures and snow firs. Stick them under their feet in the winter landscape with a dab of temporary glue. The great thing about the temporary glue is that you can remove the figures at any time and place them elsewhere. If you want to fix them firmly in place, simply use a hot glue gun and stick the figures and fir trees permanently into the little snow landscape.
5) Merry Christmas!
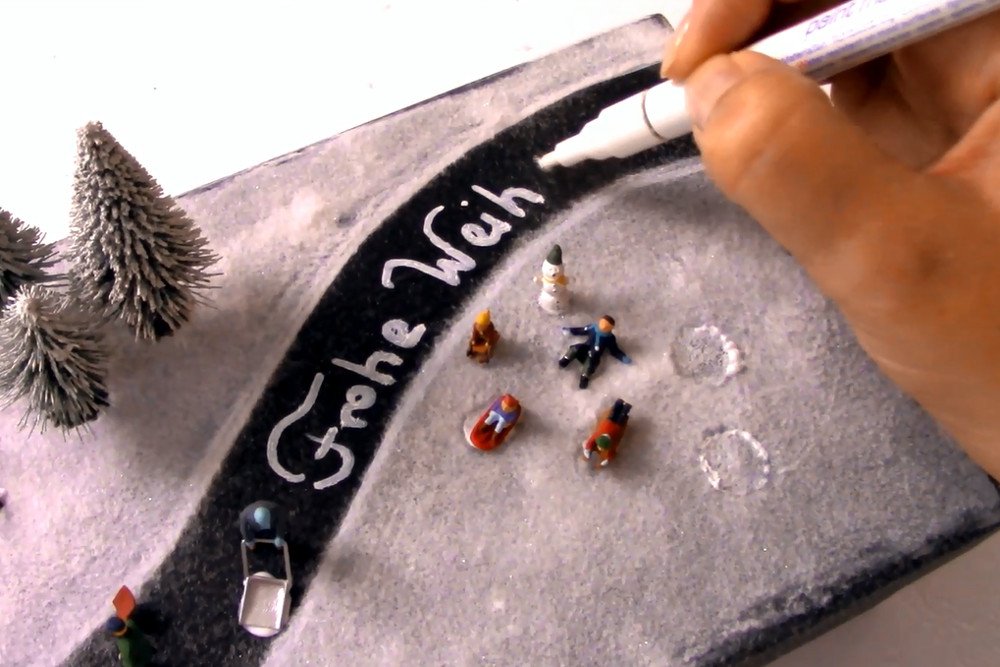
If you have glued the snow fir trees and figures with the temporary glue, you can now remove them again to make writing easier. If you use hot glue, first write your dedication or "Merry Christmas!" on the street and then stick everything in place.
Your crafted results

Now all you have to do is put a matching Christmas present in the gift box. How about a homemade snow ball, for example?
We really hope that you enjoyed crafting and you like the result! We wish you a great Advent season and a Merry Christmas!
Greetings,
Steffi & Moni
Featured products
Shopping List
