In Love, Engaged, Married!
Craft stylish wedding invitations. Everything should be perfect on this very special day in a couple’s life – the wedding! Great styling starts with the invitations. And so that you can craft a particularly pretty invitation, Moni and Sara from Feines Handwerk have come up with a great DIY project using NOCH kreativ Mini Figures. Have fun crafting!
Step-by-step instruction
Instructions from Moni & Sara from Feines Handwerk
Easy
20 min.
You need that
Small boxRibbon spool
White construction paper or card
Small model tree
Figures Set “Love Story”
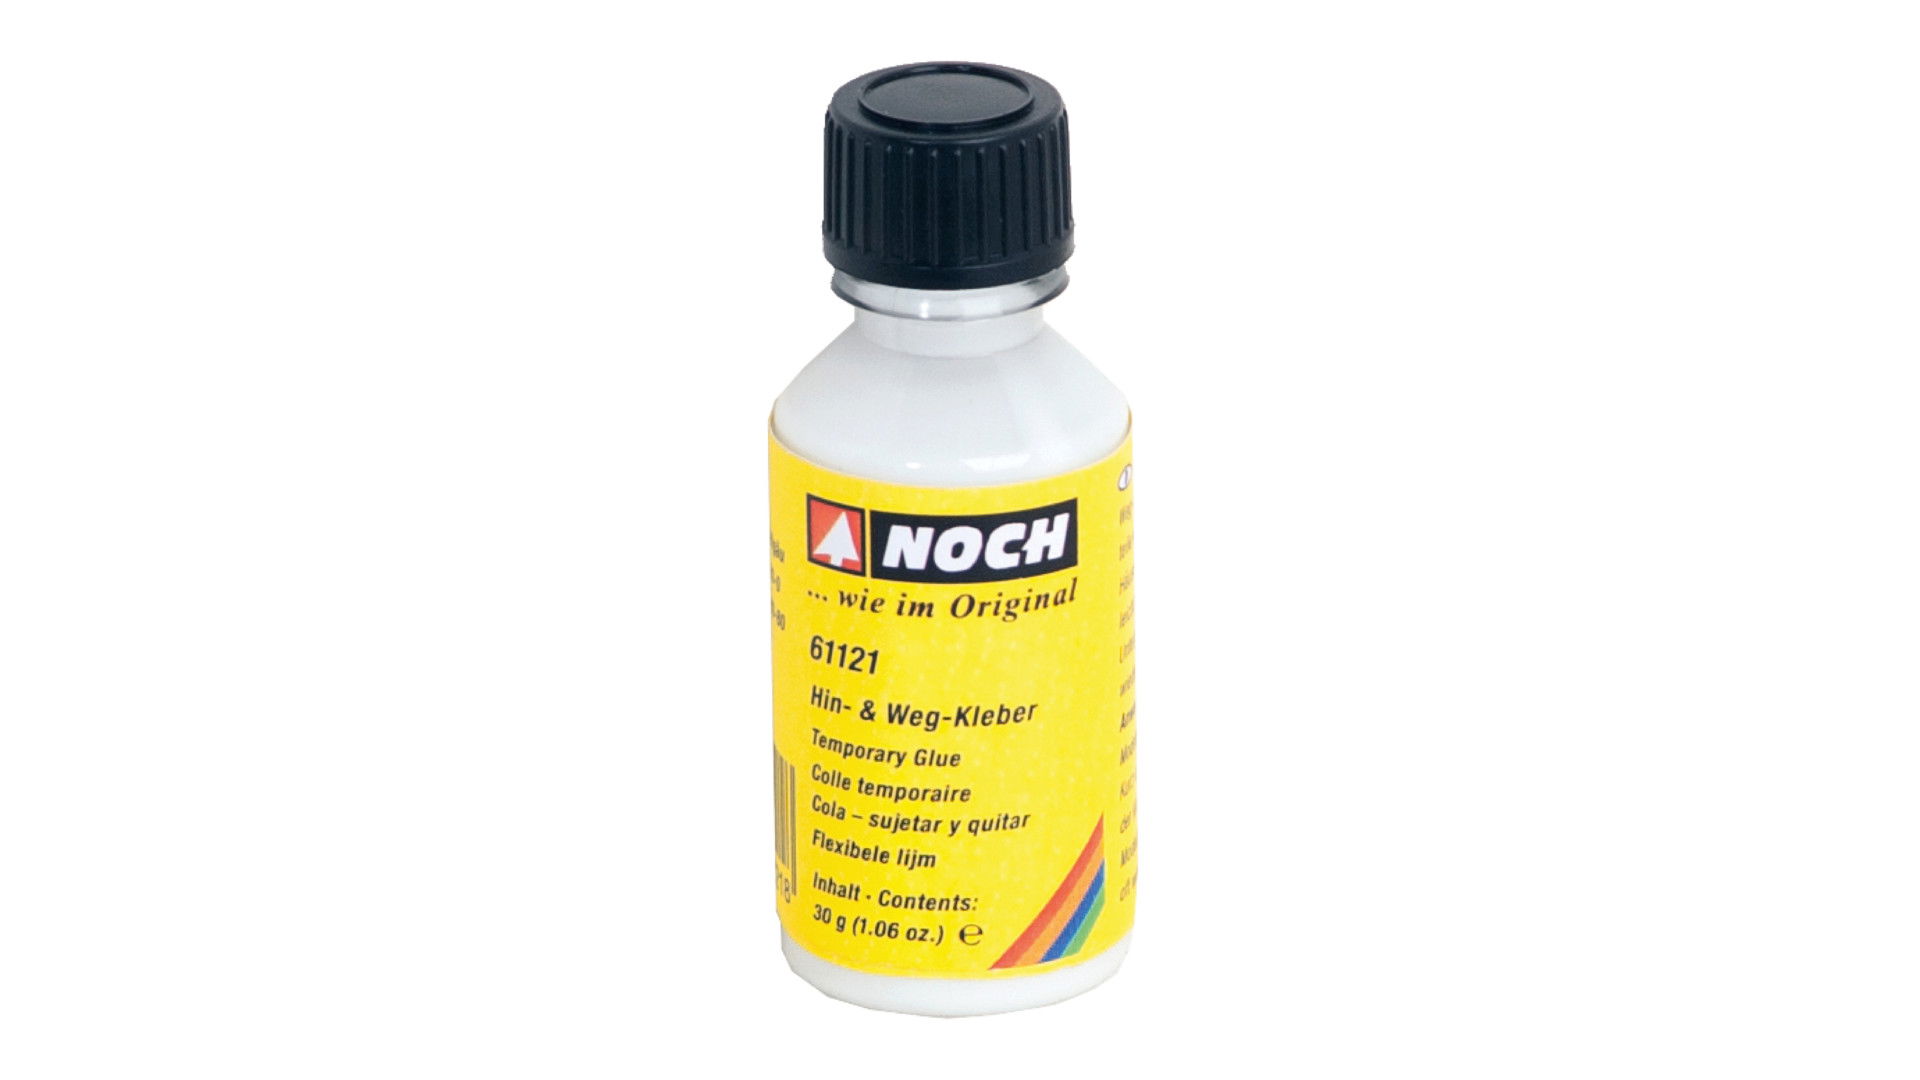
Temporary Glue
White construction paper or card
Small model tree
Figures Set “Love Story”
Temporary Glue
01
1. First impressions count...
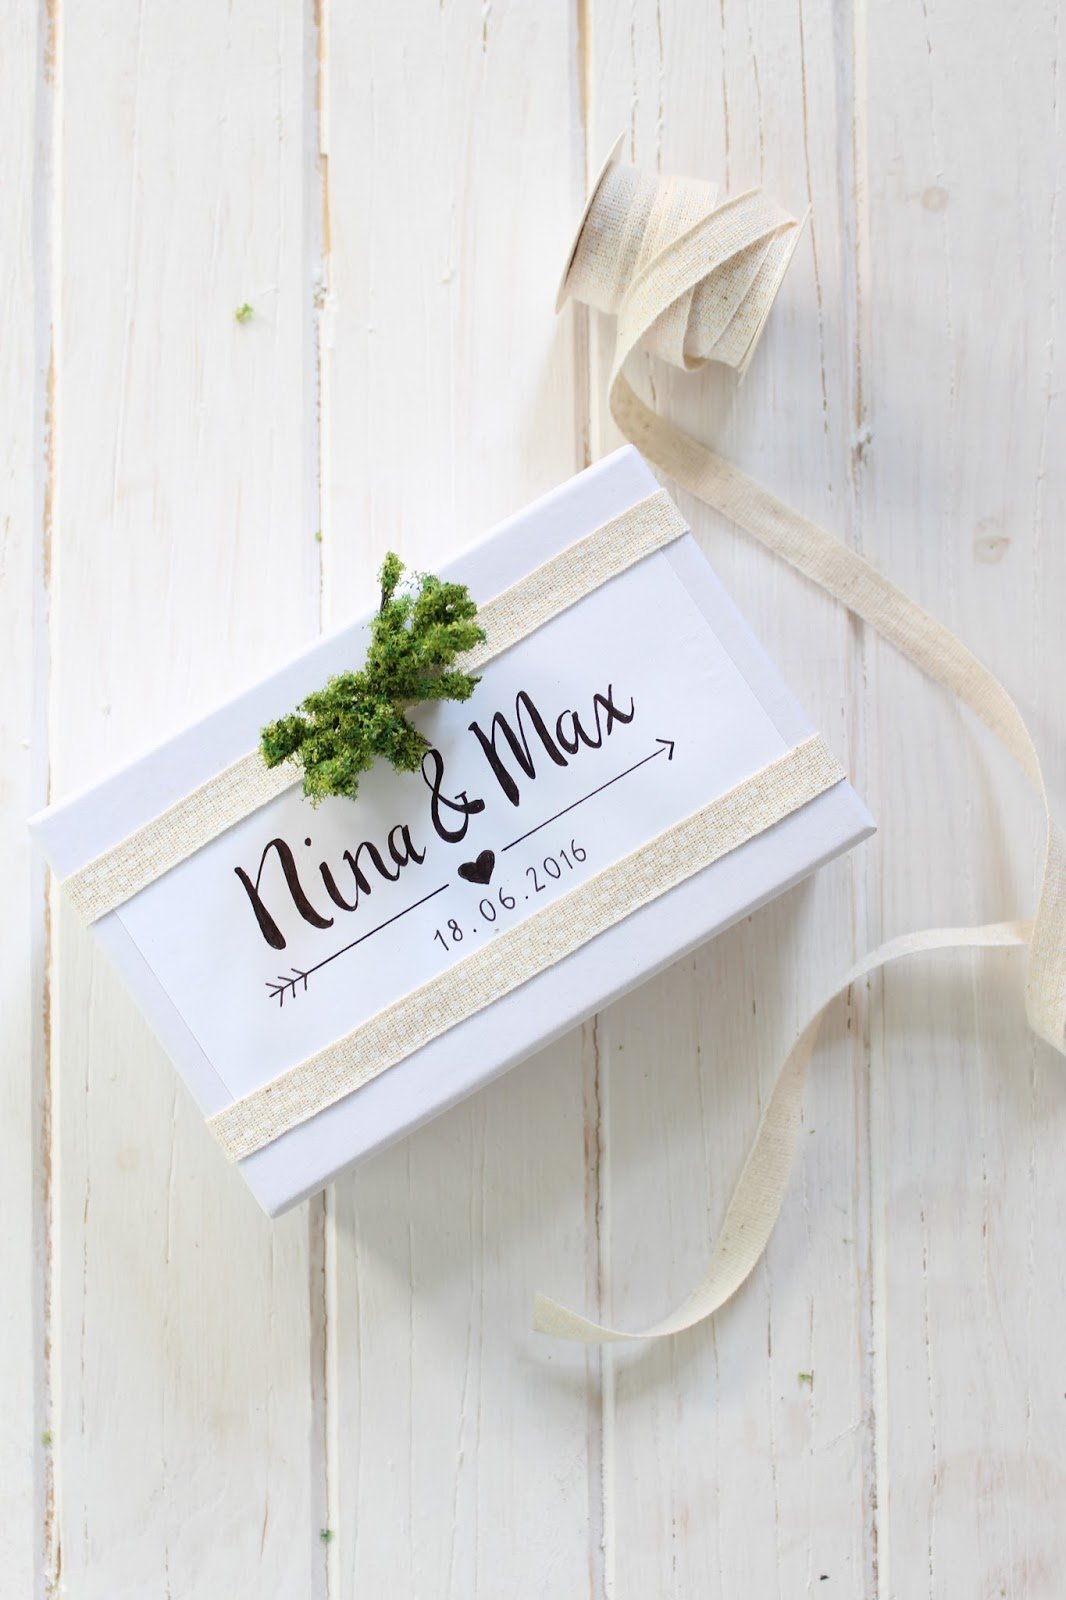
So that the invitation is a smash as soon as it’s handed over and makes your future guests over the moon and looking forward to your wedding celebration, it’s naturally very important for the box to be convincing from the outside. After all, the ‘first impression’ is not only crucial when getting to know the future bride and groom.
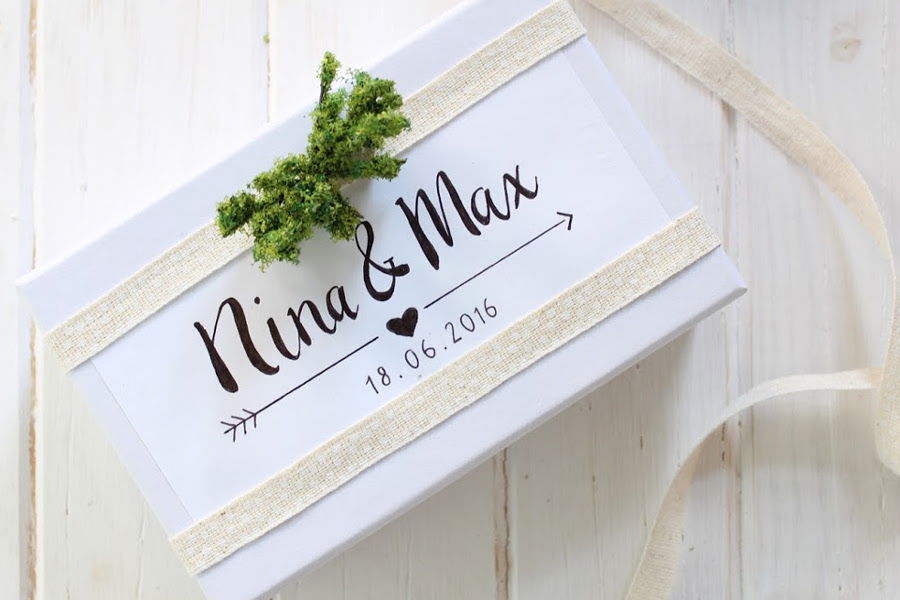
So, decorate the box first. It’s best to cut a rectangle out of sturdy, high-quality, white paper or card, which you label neatly with the name of the couple and the date of the celebration. The nice thing is that if you don’t manage to get the lettering right at the first attempt, you can simply cut out a new label and try again. Only when you’re satisfied with the result do you glue the card onto the lid. We then glued a lovely strip of ribbon along the edge at the top and bottom. In addition, we wanted to make the box a little more springlike and cut off a few branches from a spring tree, which we placed at the top in the middle as decoration.
02
2. ...and what’s inside is important!
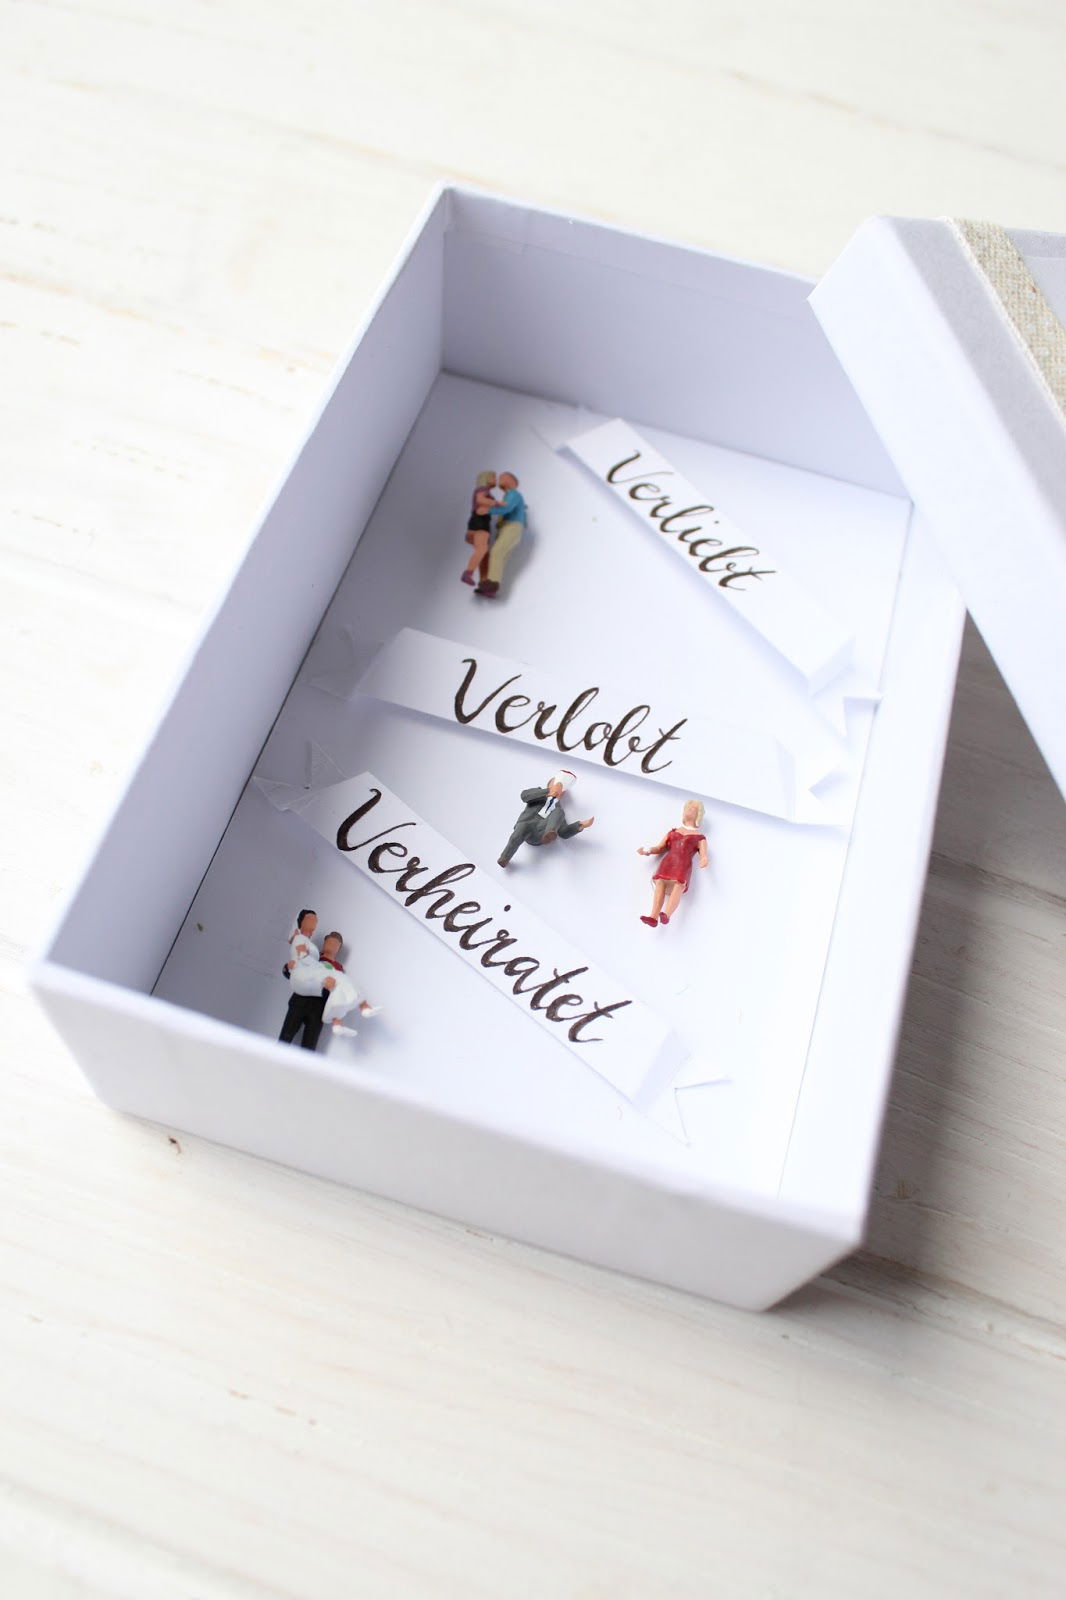
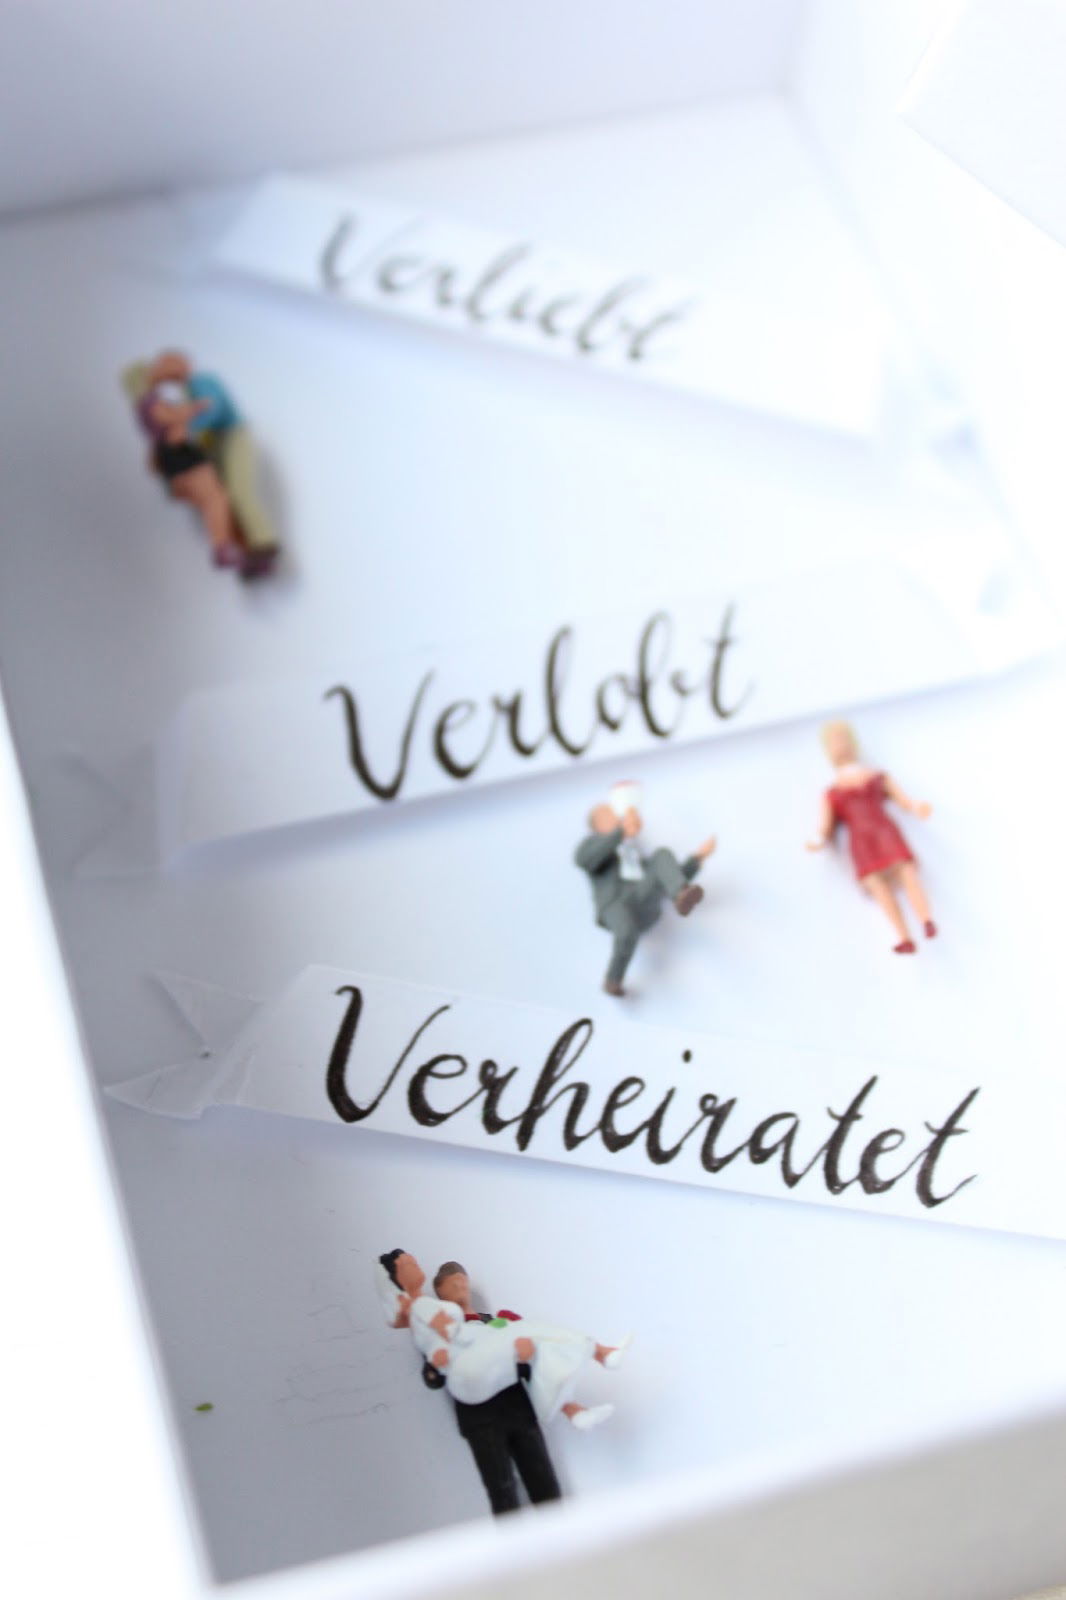
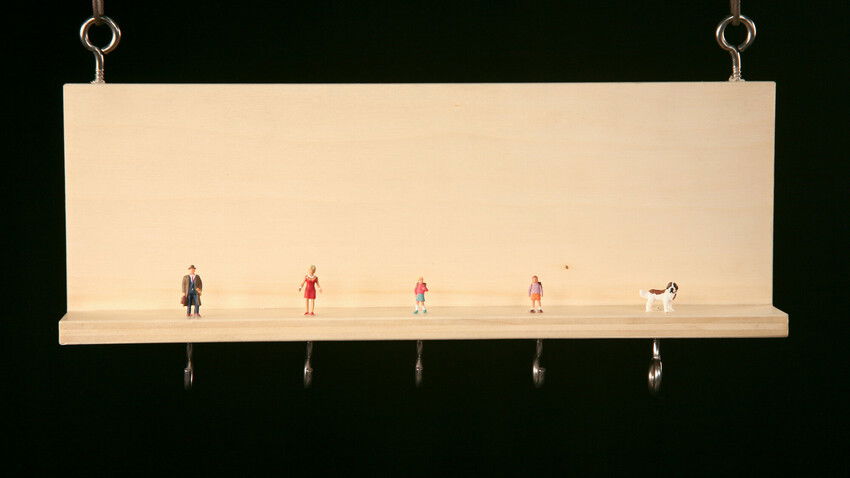
Now it’s time to get down to the nitty-gritty, because it’s what’s inside that counts, after all – again, a parallel to a wedding! Cut a strip about 1 cm wide out of the sturdy white paper. It should be a bit longer than the box. At the end, cut into the strip on both sides like a dovetail and bend it inwards once and outwards again a little further back. This is how you make a little ‘flight of stairs’. Do this at both ends of the strip and then label it to suit the wedding. We opted for the old saying ‘Verliebt, verlobt, verheiratet’, which means ‘In love, engaged, married’.
Then glue the banners and the “Love Story” figures from NOCH kreativ one below the other in the appropriate order. The banners are only glued at the dovetails so they stick out a bit from the box, thus creating a great 3D effect!
Your crafted results
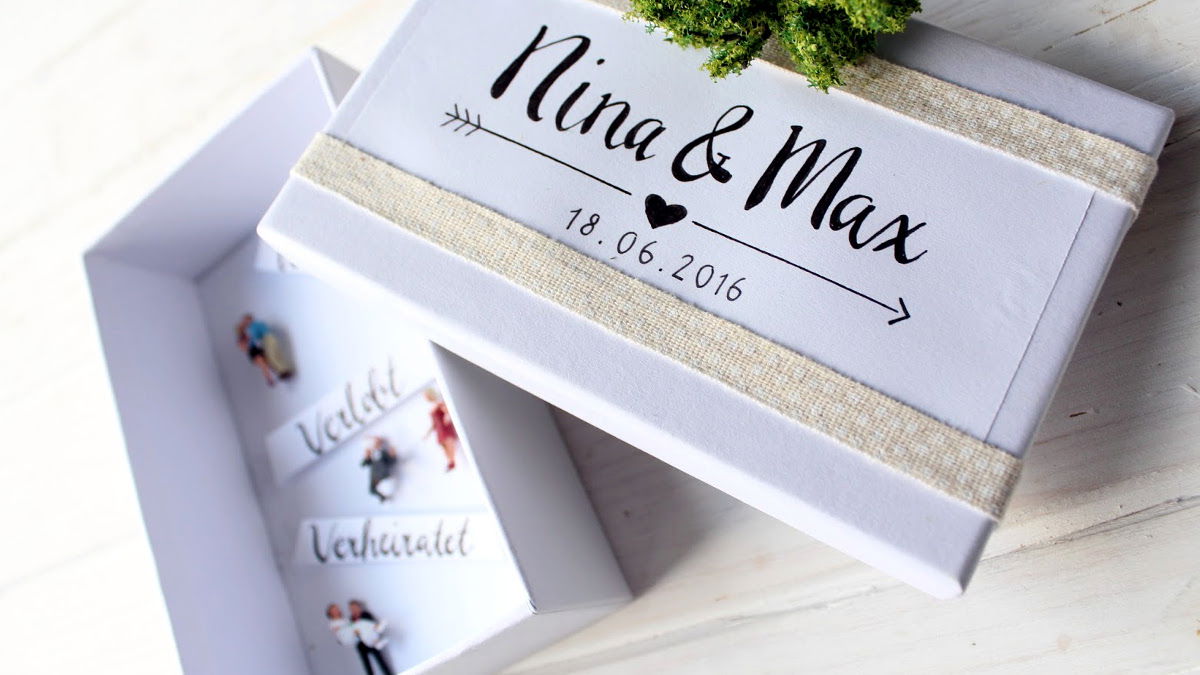
You can also craft great gift vouchers for the wedding in this way. Because gifts of money are often in demand, and an envelope for such a special experience is an absolute no-go, so give your creativity free rein! Another tip: if your calligraphy isn’t quite as perfect as Sara’s, you can also print the labels and banners in a beautiful computer font – that looks super too!
We very much hope that you enjoyed crafting and wish you all the best for the most beautiful day of a couple’s life! If you fancy doing even more great DIY projects and reading some creative blogs, you’re welcome to visit our blog, Feines Handwerk! We look forward to seeing you!
Yours, Moni & Sara

