
DIY Christmas Snow Globe Cards
Is there anything better than a white Christmas?
But unfortunately we can't determine the weather, and Frau Holle usually does what she wants. But here you can find out how you can conjure up a little snow and Christmas spirit anyway (and all without Frau Holle). Together we will make snow globe cards - a very special gift for Christmas.
Step-by-step instruction
Instructions from Dekotopia
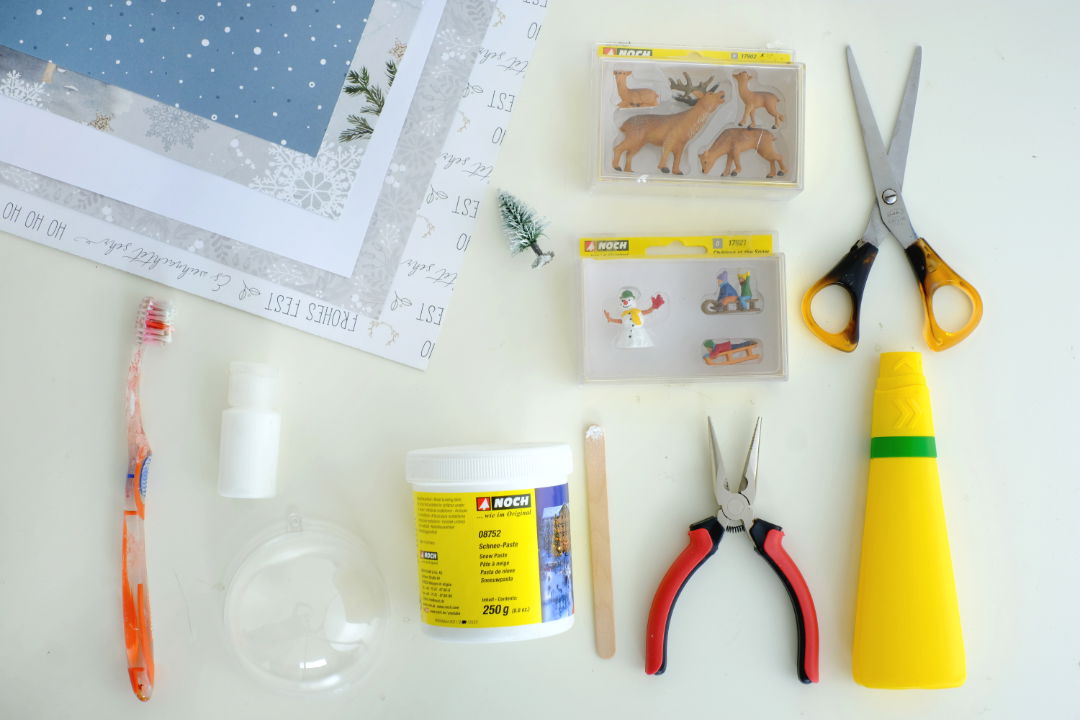
You need that
- patterned or plain paper, 250g/m²
- Scissors
- Pencil
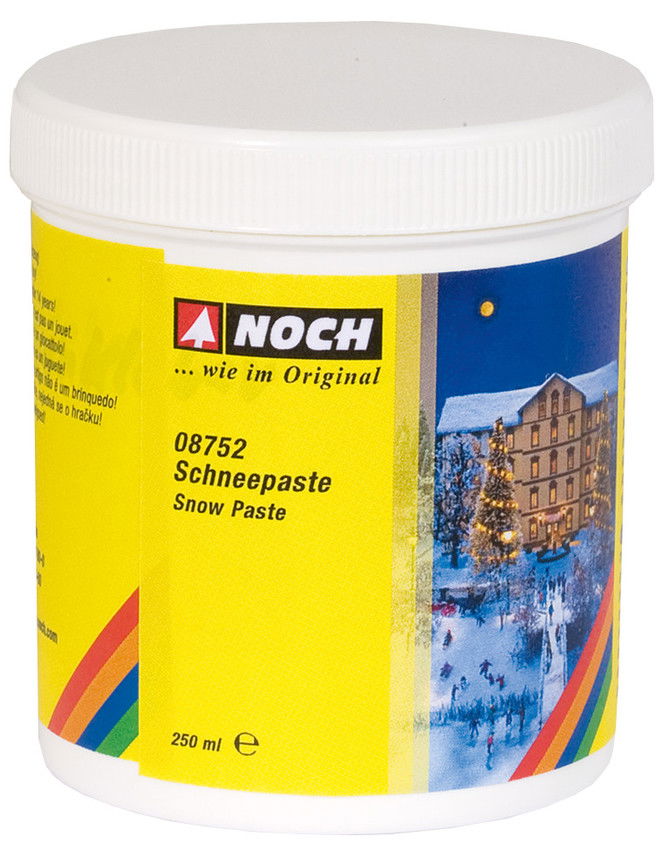
- Snow Paste
- Spatula or ice stick
- Plastic ball (diameter 8 cm)
- Pliers (here: small flat-nose pliers)
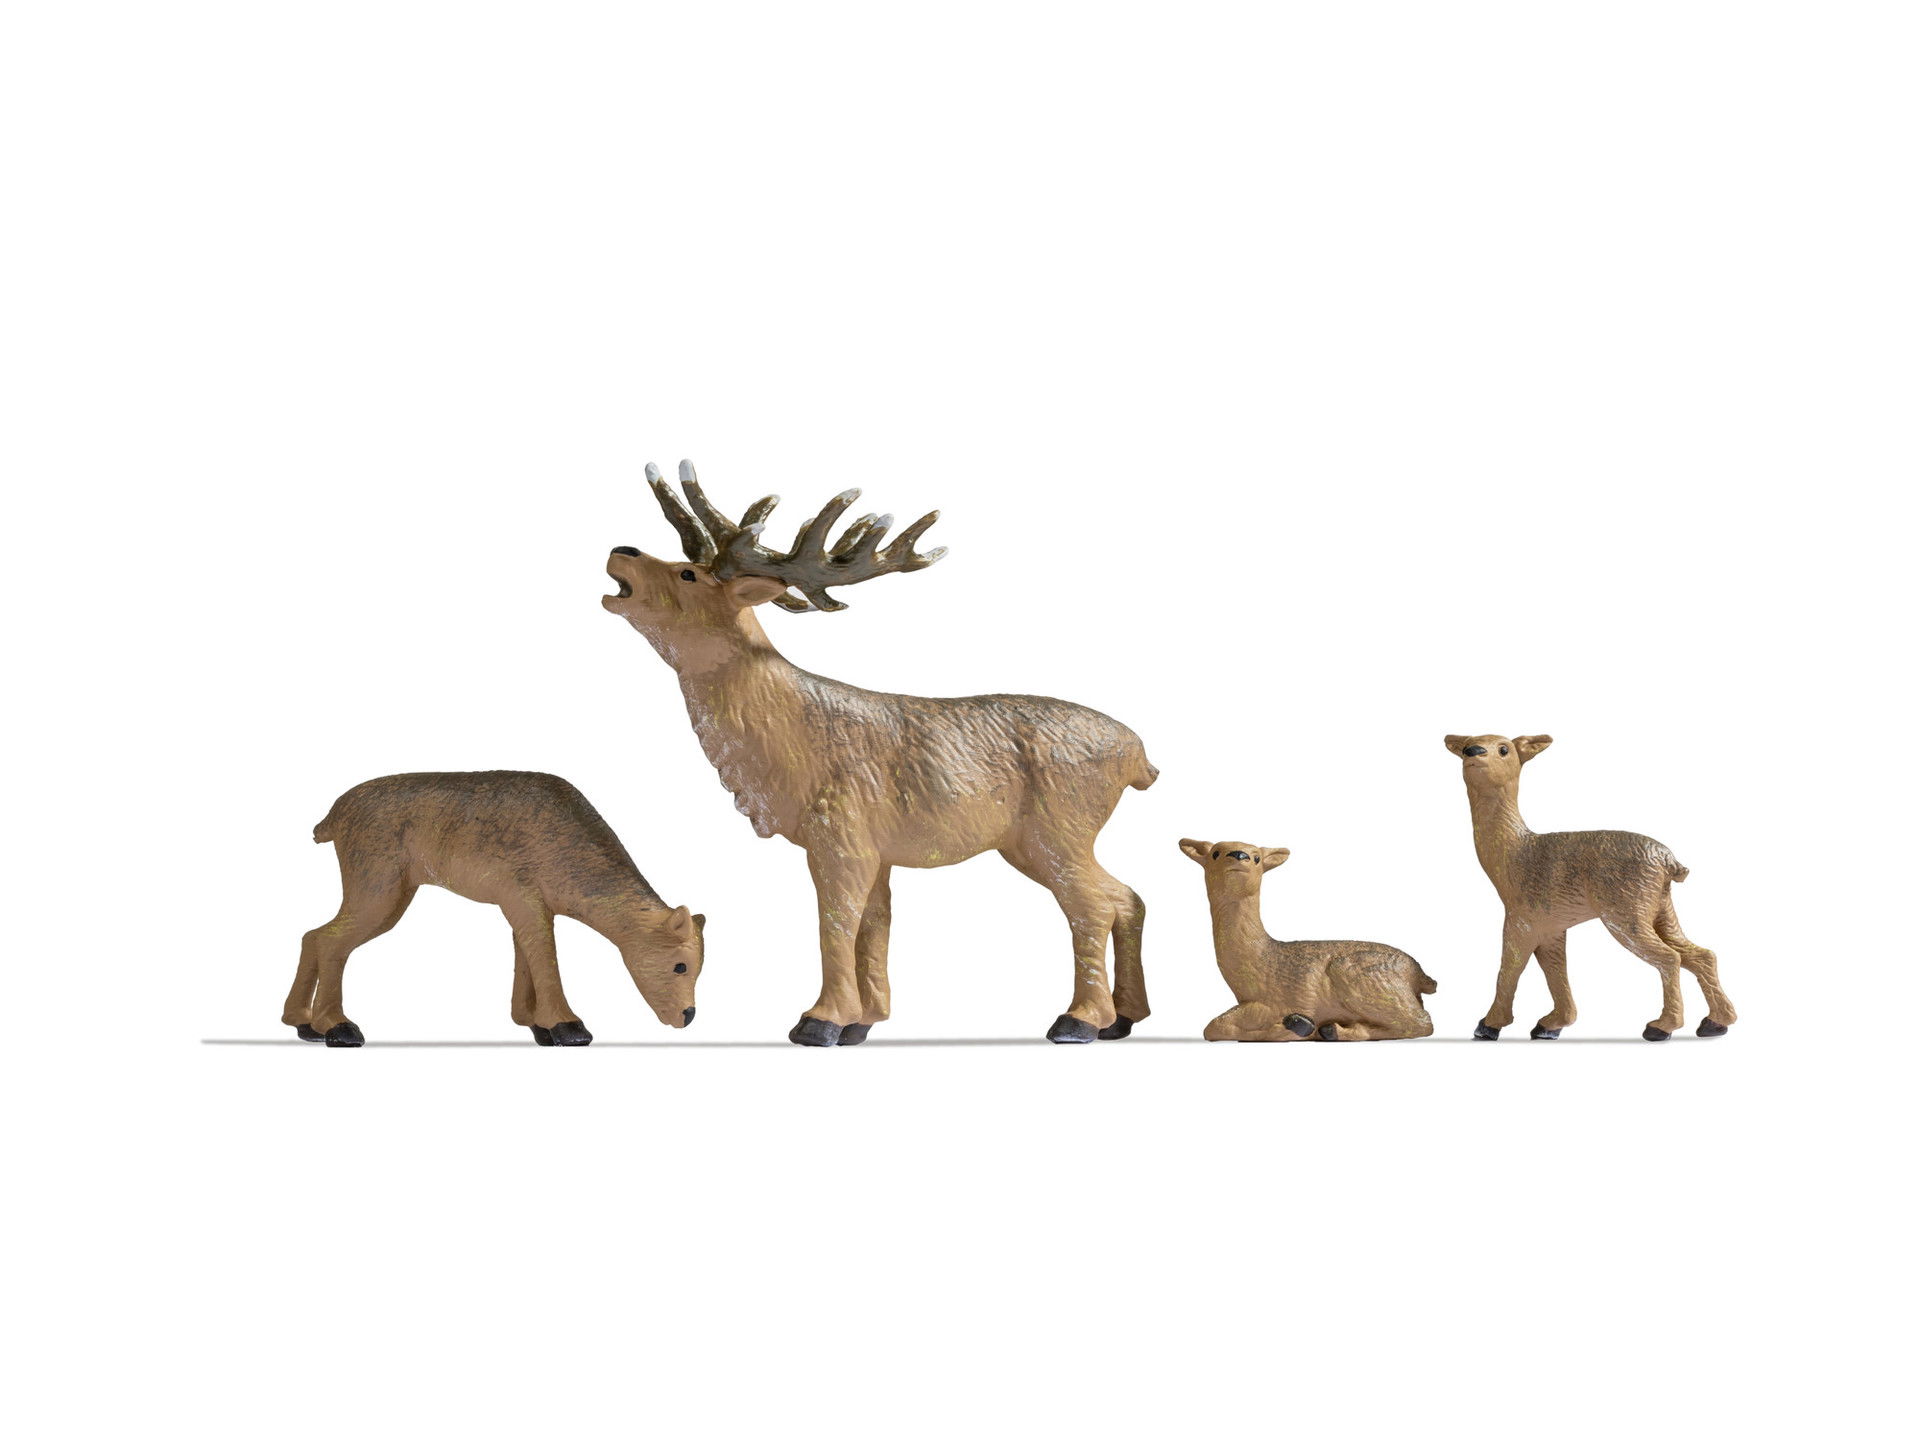
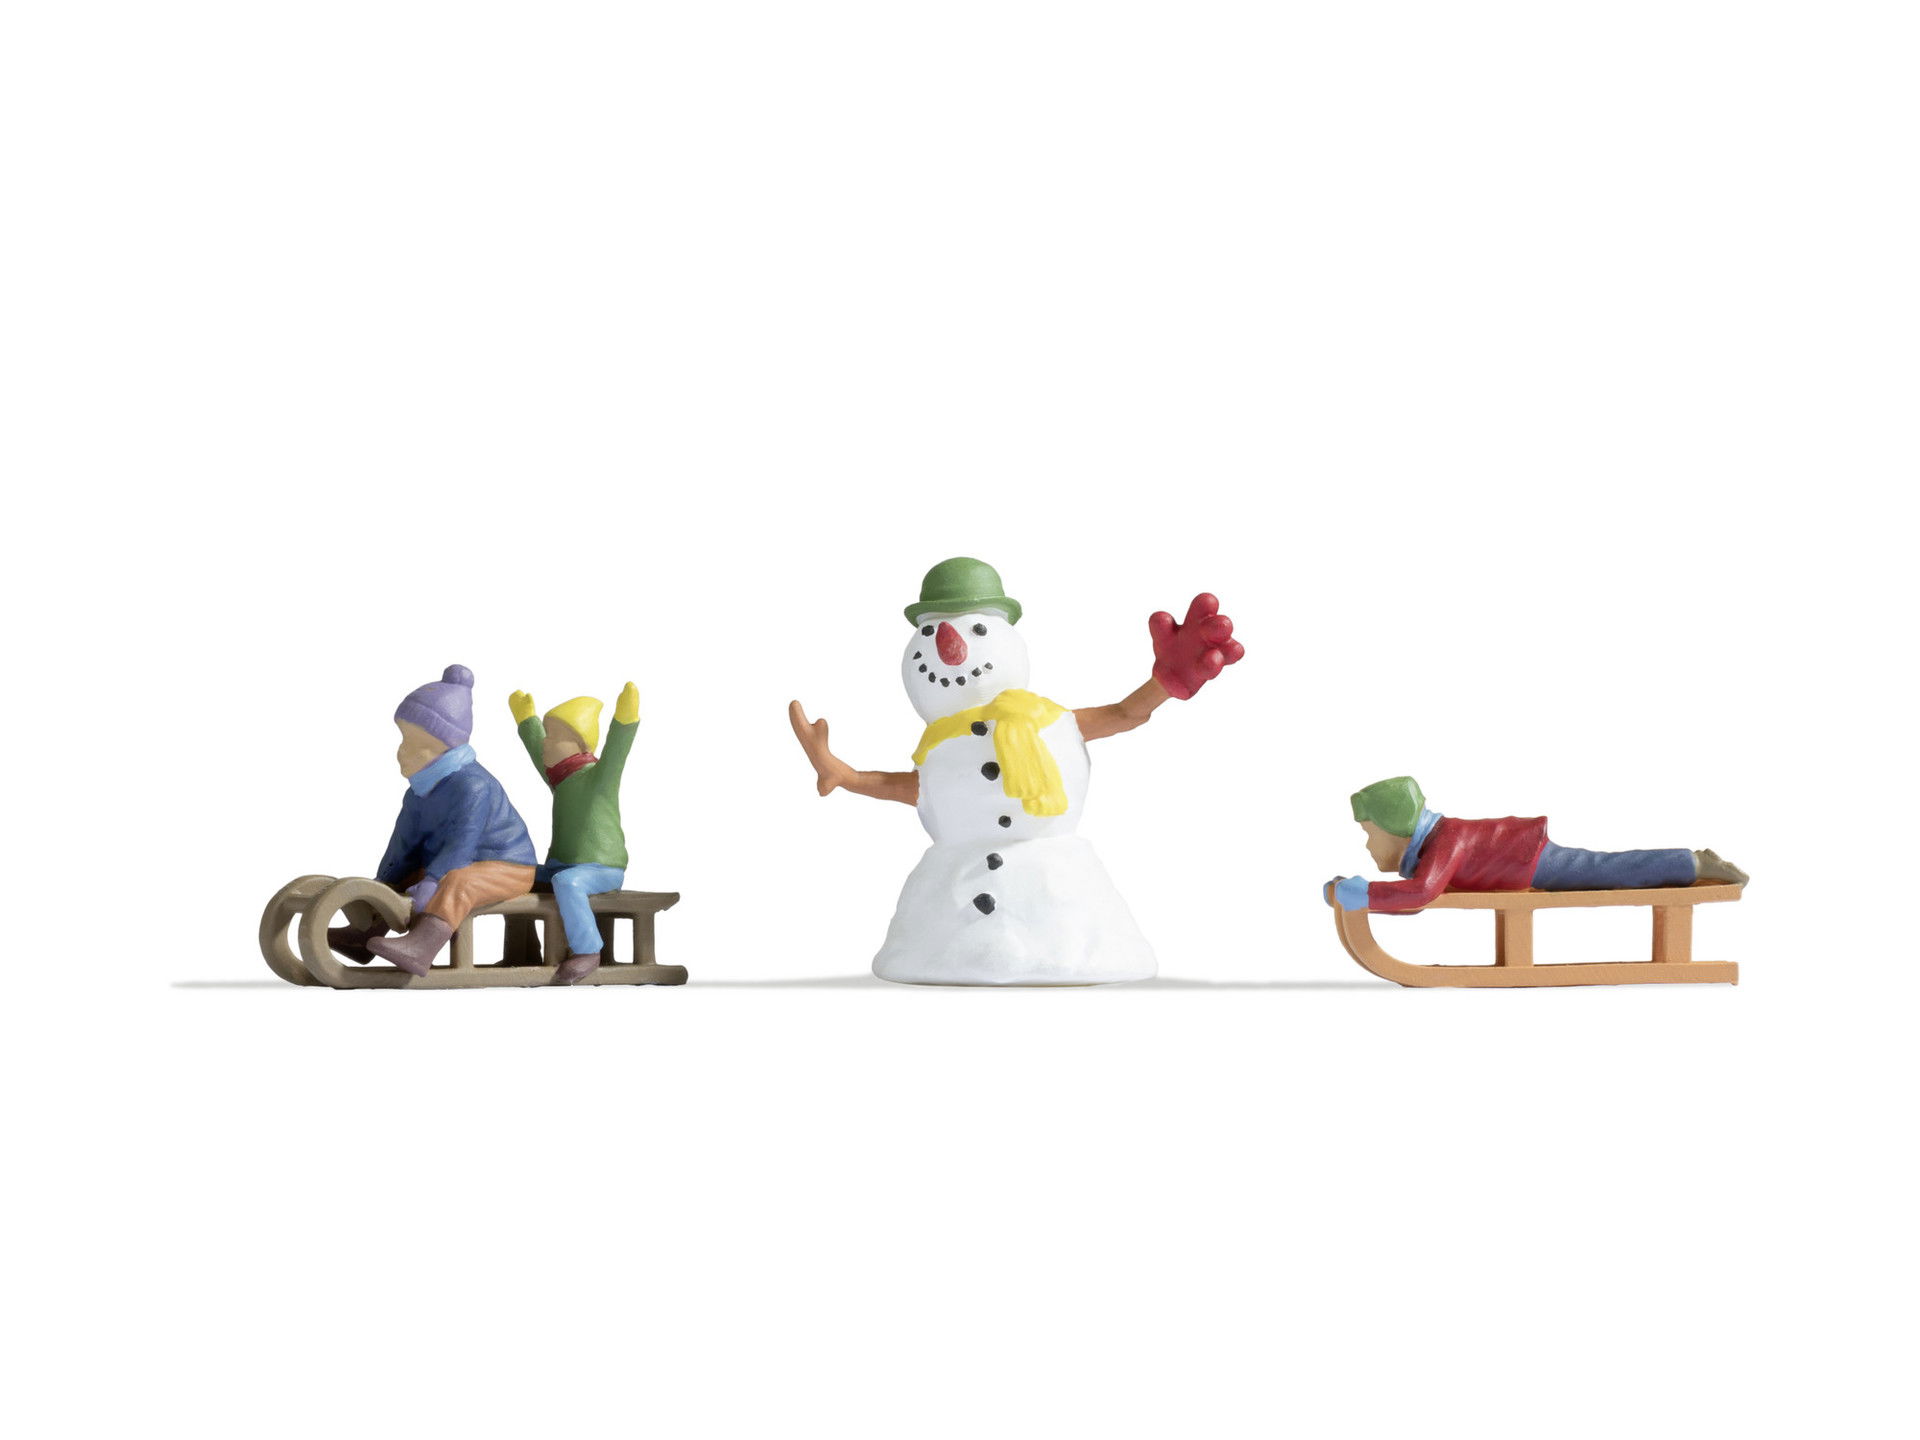
- Model figures (gauge 0) : Deer and children in the snow Handicraft glue
1. Design the base with snow paste
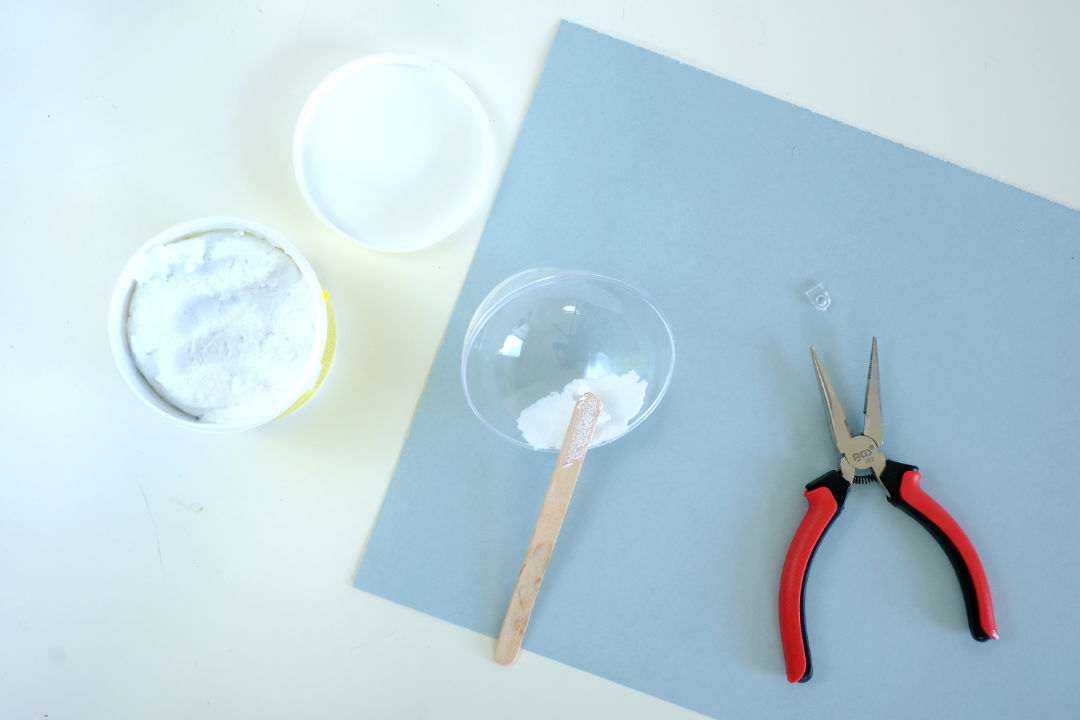
Remove the suspension of the plastic ball with a pair of household pliers.
Now use a spatula or ice cream stick to coat the inside of the ball with the NOCH snow paste. Once the first layer has dried, apply a second layer of snow paste. This forms the basis of the base.
2. Create snow effects with a toothbrush
Now use a toothbrush and the NOCH acrylic paint to speckle the inside of the snow globe so that it looks like it is snowing.
3. Cut the Card to size and define the background
Now cut a suitable card from the coloured paper (here 12x17 cm).
Use another colourful paper to create the background for the snow globe. To do this, place half the snow globe on the paper, trace the circle with a pencil and then cut it out.
4. Attach figures
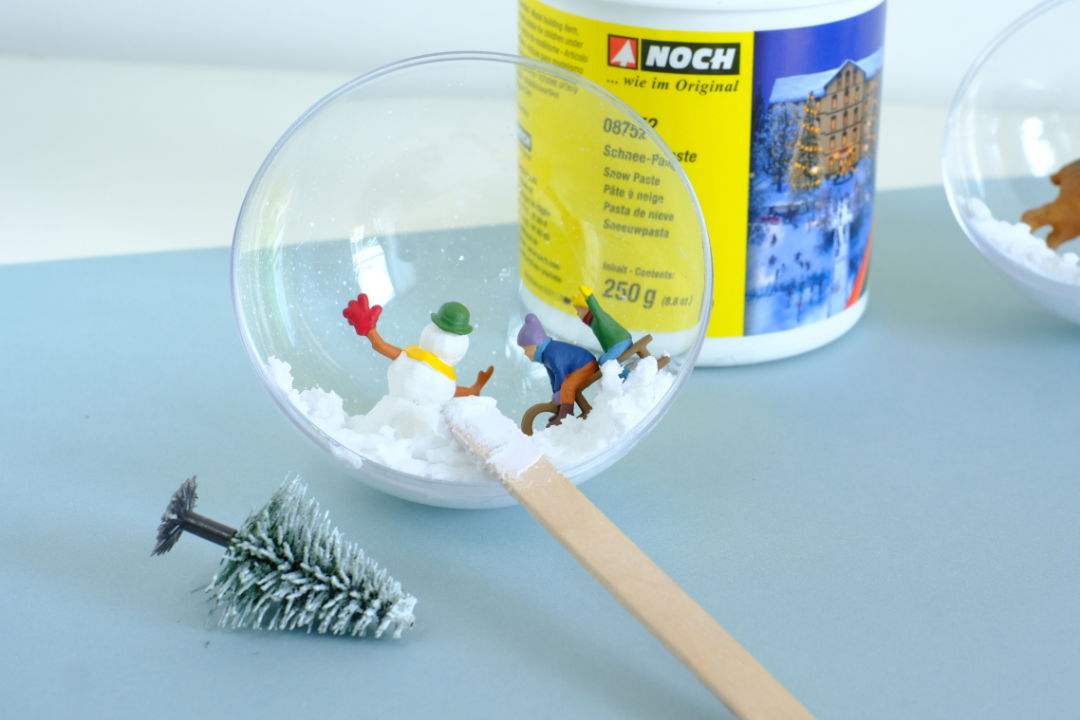
Nun wird eine weitere Schicht Schneepaste aufgetragen und die Modellfiguren in die noch feuchte Paste gesteckt.
5. Putting everything together
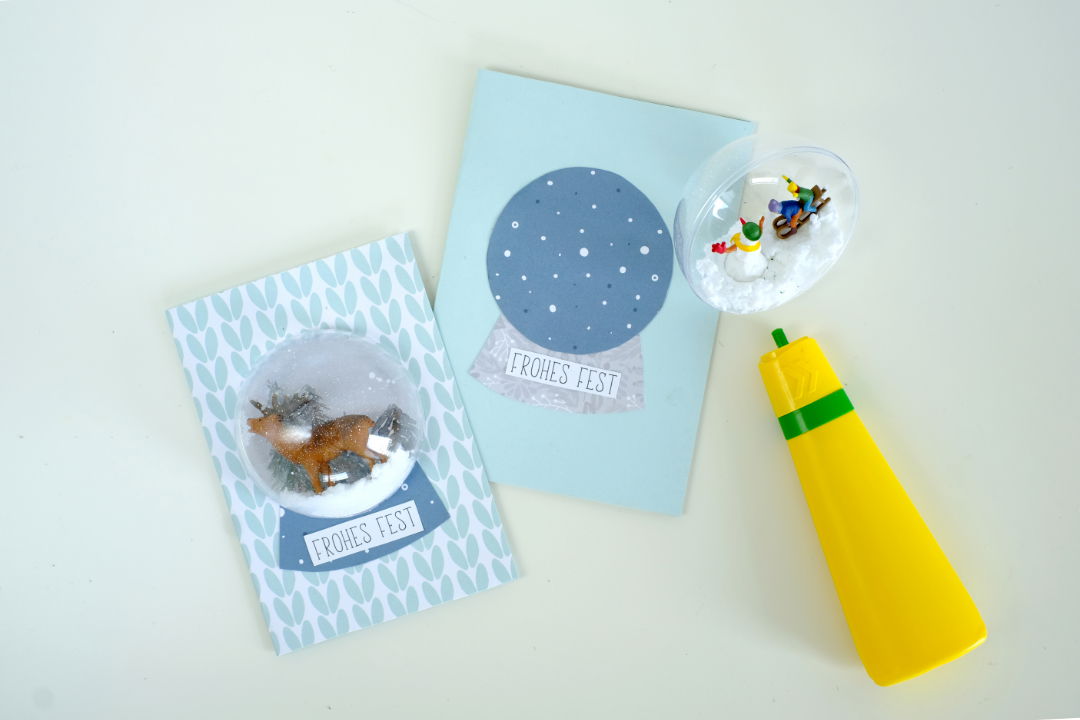
Now glue the individual parts onto the card step by step. The snow globe card is ready.
Your crafted results


Featured products
Shopping List





Have fun making them!
Kind regards, Liska